Watching high level Flesh and Blood coverage can be an intimidating experience for prospective players. They might balk at the price tags on the decks people are playing and decide that it’s not something that was meant for them. They might have the impression that playing a budget deck is too far removed from “real” Flesh and Blood and decide not to even bother. I think this is an unfortunate outcome. Flesh and Blood is a beautiful game everyone should have the opportunity to experience, within whatever capacity of financial commitment they are comfortable with.
Many heroes were designed to have complete gameplans with only a few Majestics, but leaving the players that want those lists to find the right combination of cards can be a tall order. The deckbuilding resources of the Flesh and Blood community are overwhelmingly biased towards competitive lists with little consideration for cost constraints. This means that prospective budget brewers are left to their own devices, which can be frustrating when there are few informative resources for them to draw on. I would like to mitigate this problem by drawing on my 2 years of experience playing Rhinar, from budget builds all the way to competitive, and distilling the most important elements from each step on the way.
This guide won’t be presented as a linear build path, because my experience with Rhinar was anything but linear, and I don’t want to give the impression that there is some correct sequence of upgrades. Instead, I’ll start by presenting a list with the absolute minimum required investment to have a cohesive gameplan, and the list I would consider taking to a Calling. From there, I’ll present all the upgrades as packages that can be inserted at the builder’s discretion - all without ever reducing the power of the deck’s core strategy. A builder should get a very good idea of what the deck feels like and decide for themselves if it is something they want to invest further in. My hope is that whatever upgrade a builder chooses, they’ll see an improvement in the list, and each consecutive upgrade should reflect a linear improvement in the deck’s power.
I believe in a player’s right to pursue what they believe is exciting, and I want to direct that excitement with a range of choices I know to be effective, while leaving room for them to make changes beyond the original scope of the deck. I’m also restricting my recommendations to cards that make the final list, because experimenting with cards that don’t make the final list can add hidden costs and feelings of wasted purchases.
Without further ado, your starting point.
The Intro Deck
Weapons
- Mandible Claw (1)
Equipment
- Beaten Trackers (1)
- Ironrot Helm (1)
- Nullrune Gloves (1)
- Ironrot Gauntlet (1)
- Nullrune Hood (1)
- Nullrune Boots (1)
- Heartened Cross Strap (1)
Loadout
- Alpha Rampage (Red) (3)
- Barraging Beatdown (Blue) (3)
- Awakening Bellow (Red) (3)
- Barraging Beatdown (Yellow) (3)
- Bloodrush Bellow (Yellow) (3)
- Pack Hunt (Red) (3)
- Predatory Assault (Blue) (3)
- Awakening Bellow (Blue) (3)
- Reincarnate (Yellow) (3)
- Fate Foreseen (Red) (3)
- Pack Hunt (Blue) (3)
- Smash Instinct (Yellow) (3)
- Sink Below (Red) (3)
- High Roller (Blue) (3)
- Madcap Muscle (Red) (3)
- Predatory Assault (Red) (3)
- Barraging Beatdown (Red) (3)
- Riled Up (Yellow) (3)
- Sigil of Solace (Red) (3)
- Smash with Big Tree (Red) (3)
- Smash Instinct (Red) (3)
- Savage Feast (Red) (3)
- Wrecker Romp (Blue) (3)
There are many ways to approach Rhinar at the investment floor. Many people (myself included) might choose to offset the lack of powerful effects with more volatile effects like Wild Ride, Pulping, or Pummel (I’ll explain why Pummel is volatile in a bit). However, I'd like to start you off with an approach that my friends have come to referring to as “a Bloodrush delivery device”. This perfectly encapsulates how I conceptualize the class these days, and it is something that can be easily executed with only 1 set of Majestics: Bloodrush Bellow itself.

In terms of what $20 can buy, attacking for 18 damage off 4 cards (2 Mandible Claws for 5, and a 2-cost attack for 8) is excellent bang for your buck. This alone gives you the punch to scrap with more powerful decks. But piloting this deck requires discipline: you only have 3 Bloodrushes in your deck, so you need to make them count. That’s why it is critical that you choose your moments to go off very carefully.
The Gameplan
Your minimum requirement to resolve a Bloodrush reliably is a 4-card hand with a blue pitch, two 6-power attacks, and the Bloodrush itself. Some part of this can be waiting in arsenal - typically either the Bloodrush or a 2-cost attack.
If a hand with Bloodrush is lacking these components, you should probably block away most of the hand and arsenal the Bloodrush - waiting for a better hand is almost always worth it. You can let it rip with worse hands, but you’re very likely to have to use Heartened Cross Strap to ensure your 18-damage floor.

Speaking of Cross Strap, your goal for the card (alongside Beaten Trackers) is to secure a 26-damage turn. If you ever line up a 5-card hand that can safely resolve a Bloodrush, be sure to activate Beaten Trackers as part of Bloodrush’s discard cost; from there, it’s two Mandible Claws, then two 8-power attacks fueled by Cross Strap. This incredible ceiling is enabled by the consistency of the deck and its ability to preserve life by blocking.
Generally speaking, you want to be very defensive with this deck until a Bloodrush hand lines up: either blocking with two cards and playing a 7-power attack, or blocking with everything. Too many null blocks (llike Pulping or Wild Ride) and cards like Pummel (a 2-block that doesn’t synergize with Bloodrush) make this plan less viable.
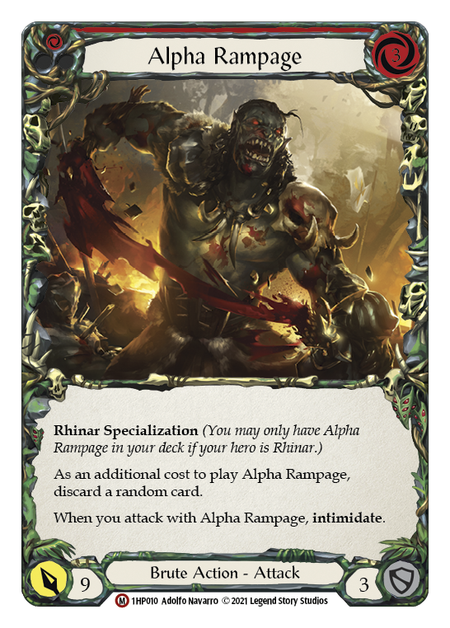
Alpha Rampage is an important piece of the deck as well: it helps you close games once you force your opponent to block to survive, and it allows you to play larger hands whenever they have a poor turn that isn’t worth blocking. While Bloodrush Bellow is the key high-rarity card for beginning with Rhinar, a trio of Alpha Rampages should be cheap enough to also include, and they really do make a difference.
The sideboard is speculative. Feel free to customize it based on what you expect to run into. Just be careful that you’re always submitting 18 blues and at least 30 6-power attacks to keep things consistent.
The Destination
Weapons
- Romping Club (1)
- Mandible Claw (1)
Equipment
- Scowling Flesh Bag (1)
- Nullrune Robe (1)
- Fyendal's Spring Tunic (1)
- Gambler's Gloves (1)
- Scabskin Leathers (1)
- Heartened Cross Strap (1)
- Skullhorn (1)
Loadout
- Alpha Rampage (Red) (3)
- Barraging Beatdown (Blue) (3)
- Awakening Bellow (Red) (3)
- Beast Within (Yellow) (3)
- Barraging Beatdown (Yellow) (3)
- Bloodrush Bellow (Yellow) (3)
- Energy Potion (Blue) (3)
- Dig Up Dinner (Blue) (3)
- Pack Hunt (Red) (3)
- Reincarnate (Yellow) (3)
- Fate Foreseen (Red) (1)
- Smash Instinct (Yellow) (3)
- Reckless Swing (Blue) (2)
- Sink Below (Red) (3)
- Barraging Beatdown (Red) (3)
- Savage Beatdown (Red) (3)
- Remembrance (Yellow) (1)
- Riled Up (Yellow) (3)
- Skull Crack (Red) (3)
- Smash Instinct (Red) (3)
- Sand Sketched Plan (Blue) (3)
- Savage Feast (Red) (3)
- Wrecker Romp (Blue) (3)
- Swing Big (Red) (3)
- Warmonger's Diplomacy (Blue) (3)
This is a list I would take to a Calling - in fact, a version of this won me a Baltimore Pro Quest through a very tough field (most of last year’s Canadian Nationals Top 8 was present). Its strategy is almost identical, but it has a more consistent ceiling, and access to some higher power play patterns.
So how does one plot a route from our $20 starting point to a $500 end point?
I’ve broken down the upgrades into packages based on what they offer; from there, simply choose what interests you and matches how much you’d like to invest in the deck.
In terms of what cards to cut, the deck is designed to be modular - if you think an upgrade is just a better version of a card not in the final list, swap it out and see how it feels.
Improved Consistency
Staples in a Bloodrush delivery device. Cards that make your Bloodrushes more consistent are high impact ways to improve the deck without significantly changing how it plays.
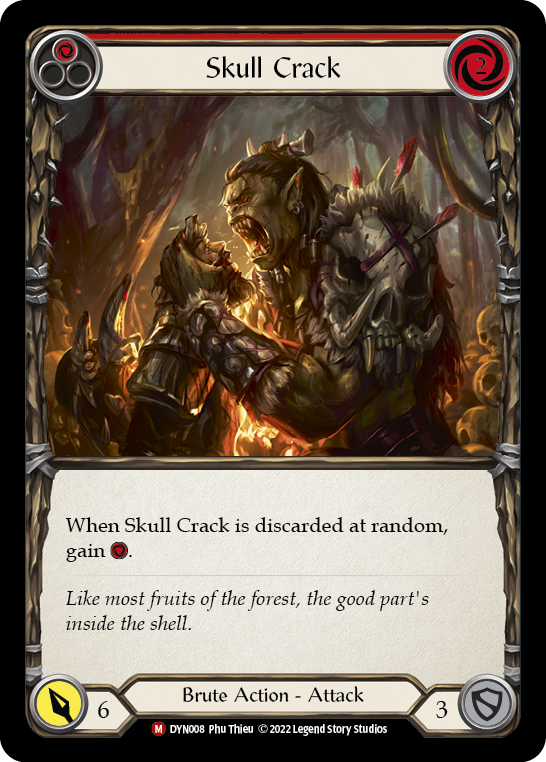
Skull Crack is an excellent all-rounder. Bloodrush turns typically require a 2-cost attack and 7 resources to spend. If you discard this, you put less pressure on your draws to provide the resources you need; and if you’re stuck with it, it's a perfectly acceptable 8-damage chain closer.
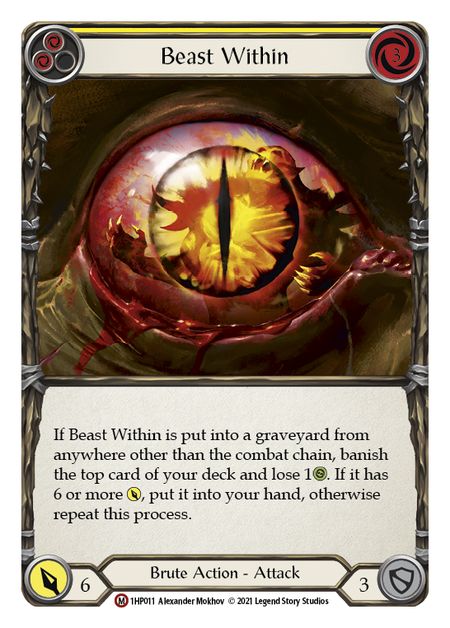
Beast Within is an incredible comeback enabler. The most obvious use case is that it allows you to Bloodrush with only 3 cards - your hand post-Bloodrush will look identical to a 4-card Bloodrush. This can also unlock some very explosive turns when combined with Sand Sketched Plan or Scabskin Leathers.
Be careful pitching this card for the second cycle - you might not have the life left to survive its effect, and it always resolves before the damage of Reckless Swing. Try to block or attack with this whenever you see it without combo pieces.
New Strategies
The following upgrades are cards that unlock new ways to pilot the deck. With this comes added complexity. Consider picking these up once you have a firm grasp of the deck’s core gameplan.
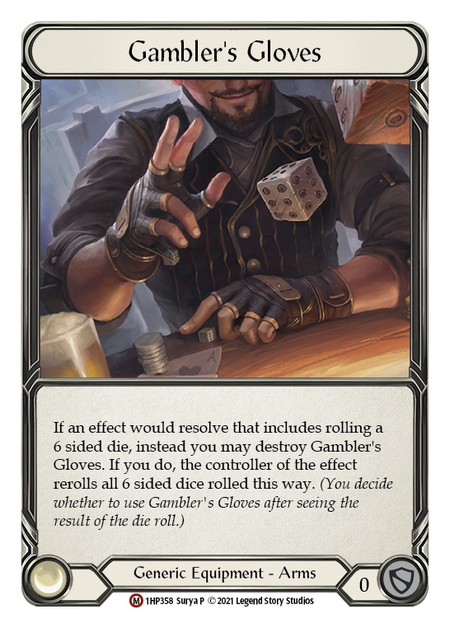

My first article published with Rathe Times was devoted to proper usage of Scabskin Leathers and Gambler's Gloves. Naturally, they unlock some pretty potent play patterns, but don’t feel pressured to buy these cards early - Beaten Trackers does everything the deck needs, Scabs only does it more often.


For a game plan where we want to present an eye-watering turn of over 20 damage, both Beaten Trackers and Scabskin Leathers have restrictions. Beaten Trackers only enables this once and lacks Scabskin’s extra armor, while Scabskin leaves things to chance. Savage Beatdown makes this plan much more stable. Two claw swings and Savage Beatdown is 24 damage from 5 cards - a game-winning turn.
Energy Potion and Cross Strap are MVPs in supporting the strategy because they can either enable massive Beatdown turns, or salvage Bloodrush turns that would have otherwise gone off the rails.
Be careful arsenaling a Beatdown if your life is in the 20’s. It can get stuck there for the rest of the game if you don’t draw a Bloodrush in the next couple turns.

Reckless Swing is a key component to creating stable endgames and enabling sucker punch comebacks. If your opponent ever goes to 2 (and you know they can’t gain life or prevent direct damage), you are free to block for the rest of the game until you draw a Reckless Swing and a 6-power attack to discard. To this end, I tend to go against the grain of common pitch theory. It’s understood that you want to block with your attacks and pitch your intimidate effects to close out the game in the second cycle, but this only works if you’re far enough ahead to eat a full turn of damage to do this. Leaving lots of non-attacks in your deck makes Reckless Swing less reliable, and given the option of closing a game while ahead, or winning from a deficit with Reckless Swing, I’d much rather take the latter.
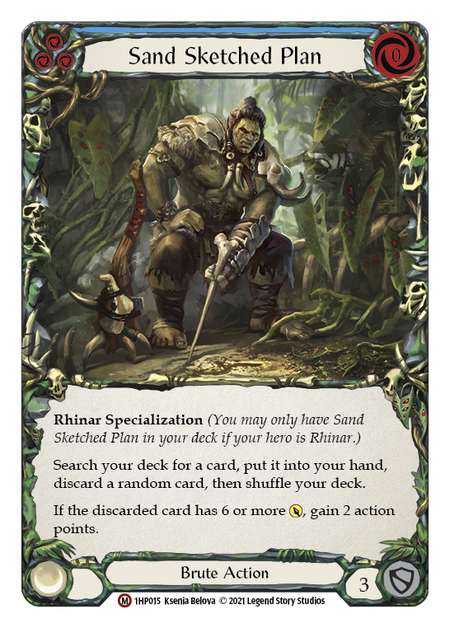
A somewhat maligned card in some circles, I consider Sand Sketched Plan to be the most skill intensive card Rhinar has access to. If you resolve the card, its floor is abysmal: if you discard the wrong card, your damage for the turn might be pitiful, and your ceiling may only be a fair 12 damage. That being said, what this card allows you to do can far exceed the scope of what a blue 3-block should permit. For that reason it’s always there to improve edge case scenarios - but this card should still mostly be used to pitch and block.
Unfortunately, explaining how to effectively use this card goes beyond the scope of this article. Consider putting off this upgrade until you have a strong understanding of how it supplements Rhinar’s weaknesses.
Raw Power
These are direct improvements to cards already in the deck. However, with direct improvements come inflated price tags. These cards will add oomph to the deck, but don’t feel like you need them - they don’t change how you play the deck.
Swing Big is simply 2 cards for 8 damage - the gold standard of Flesh and Blood. Costing 2 makes it synergistic with Bloodrush, and it’s incredible on its own. A word of warning though: be mindful of your opponent's arsenal and their armor. Heroes like Bravo and Dorinthea might jump at the chance for a quicken token if you present it, so consider saving them for Bloodrush turns.
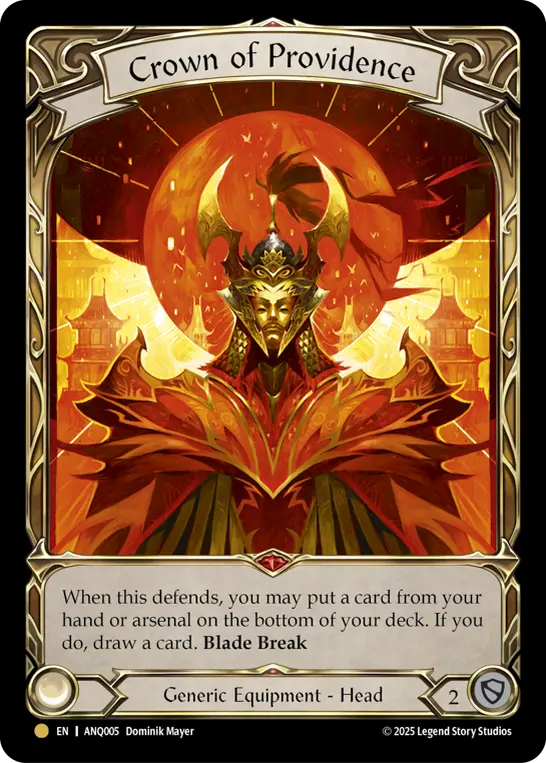
Scowling Flesh Bag OR Crown of Providence are your big ticket headpieces. Both are very good, but serve different roles. Crown of Providence allows you to be more aggressive with your arsenal, and protect Bloodrushes from arsenal destruction. You’re also free to arsenal Savage Beatdowns at lower life totals because it won’t get stuck there. Scowling Flesh Bag is a tool to control the ceiling of aggro decks and buy you room to resolve a Bloodrush.
Despite their different functions, it’s hard to justify the space for both in a deck, so choose what you think is more relevant for your field and don't spend more than you need to.
Tech Cards
Depending on the context of your local metagame, your mileage with these cards will vary. Make sure you know what to expect before committing to these cards; this is a spot you can save some money on, especially if you know which matchups you're unlikely to see.
Warmonger's Diplomacy is meant to call out Rangers and Runeblades. Devastating in the right contexts, and relatively low opportunity cost in Rhinar. As of the writing of this article, Rangers are quite fashionable now, which is reflected in how expensive this card is. In time, the larger metagame may shift, which should deflate the price tag or even make these unnecessary.
In this build, Fyendal's Spring Tunic is a tech card, specifically for Iyslander. I wouldn’t even recommend running this card unless you have one lying around. For this build, Cross Strap offers so much more in nearly every context.
Remembrance is a tool against Uzuri, to ensure you get one last good Bloodrush in the end game.
Skull Horn is great into Wizards, and that’s about it. You might consider this a stopgap headpiece on your way to a Legendary, but I’ve never used it for anything besides AB so I can’t speak to its effectiveness.

Dig Up Dinner (specifically, when paired with Romping Club) is a speculative attempt at countering Vynnset, Uzuri, arcane Iyslander, and Ice Lexi builds that are too disruptive to Bloodrush effectively. The deck isn’t designed for a pure fatigue strategy, so it remains to be seen if this even works, but the opportunity cost of attempting this is quite low.
Closing Thoughts
You now have the recipe to build a strong Rhinar deck. My hope in explaining the components of this list is that you are better equipped to assess other cards as well.
The modular nature of Rhinar means that players find success with all sorts of card choices. Cards that I don’t necessarily like may better suit another pilot’s play style or risk tolerance - experimenting with them by inserting them into an otherwise proven list can help you understand the strengths and weaknesses of those cards. This in turn creates fertile soil for new approaches to emerge.
What I’ve laid out is meant to be a gradual process - it took me nearly a year to assemble all the pieces for a version that I thought was competitively viable. It’s essential that you enjoy the process and not be intimidated by other players along the way, so good luck and happy building!