Michael Hamilton won the 2022 US Nationals with a unique take on Iyslander. The 'Wounded Bull' build has legitimized Classic Constructed Iyslander decks split between physical and arcane damage.
Iyslander is a hero that many people have been intrigued by. She’s a fascinating hero, and many different ways to build her have seen success. Even before she received her set of supporting cards in Uprising, people were still playing her in blitz to great results.
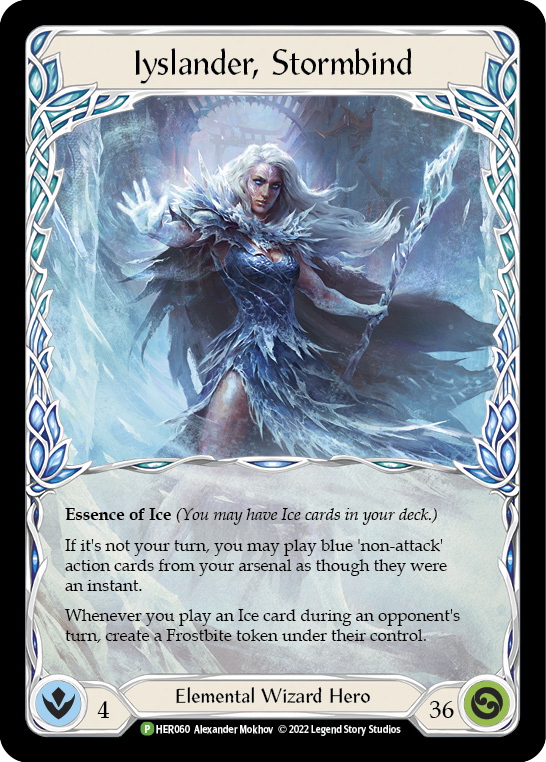
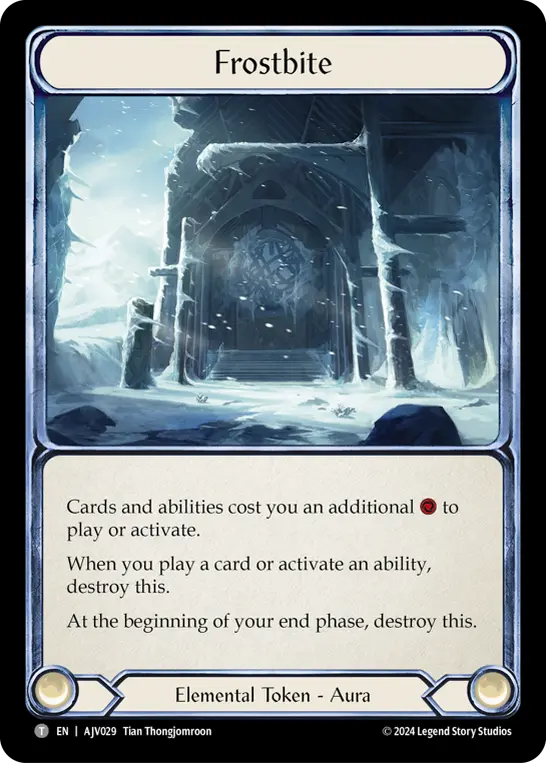
Iyslander has a very powerful ability. Because of the nature of this game, decks are built to be as efficient as possible- and consequentially, the strongest play patterns and lines can frequently be disrupted by a single frostbite. Easy access to this disruption- combined with her consistent access to a powerful weapon- is where the bulk of Iyslander’s power comes from.
Despite how many different builds there were, and how many people were working on her, I had not seen an Iyslander build that I thought was overly impressive. She was plagued by clunky hands and inefficient damage output. Flashy cards like Encase and Icebind have powerful effects, but can be completely neutralized by arcane barrier 3 and a single blue pitch. On the other hand, decks that could present significant amounts of damage turn after turn could punish Iyslanders trying to set up a Frost Hex combo kill.
I think the only way to play Iyslander viably into a lot of the more aggressive decks out there is taking on a more tempo-focused role, where you deal efficient damage as much as possible and prevent their damage as efficiently as you can as well. Because of this, you are kind of forced to try to combine a reasonable damage output with disruption to race these aggressive decks. But her raw damage output with her damaging spells is low. Let's look at the math on some of the ice actions.
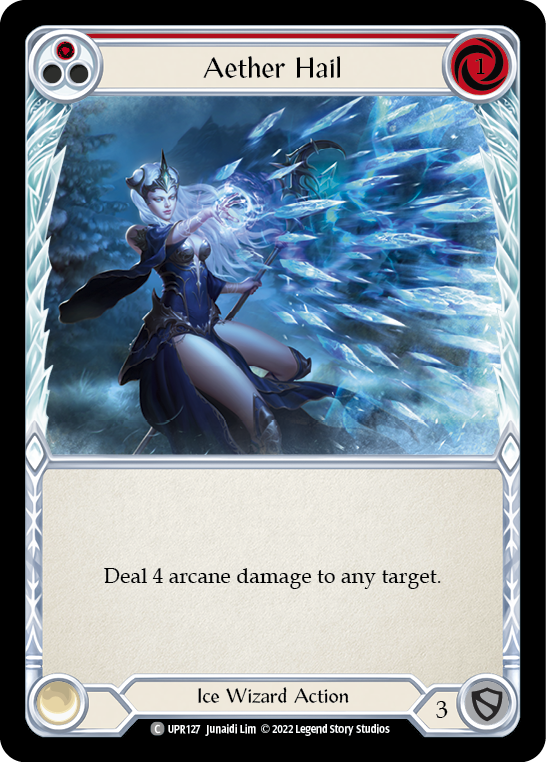
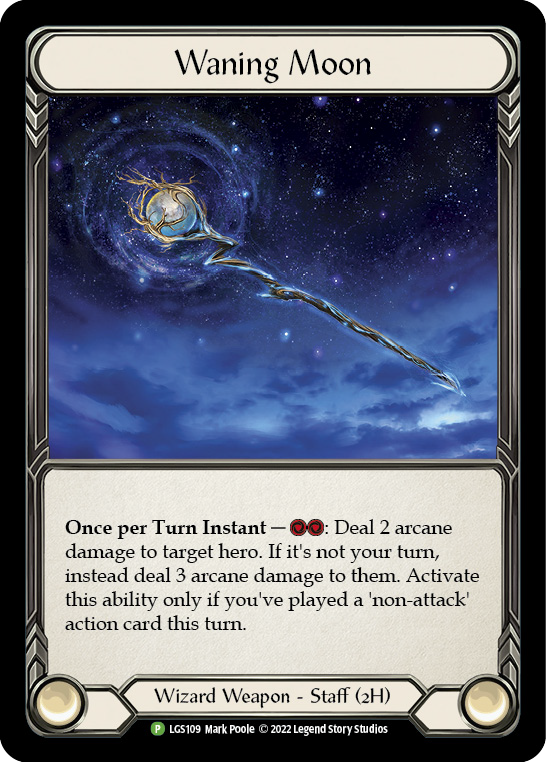
Aether Hail (red) gives you 4 damage for the cost of 1 resource. If you pay for this cost by pitching a blue, you can use the two floating resources to activate Waning Moon. Alternatively, you can just use a counter from Fyendal's Spring Tunic to cast this- without a Waning Moon to follow. The cost here is 1 card (Aether Hail) and a Tunic counter to deal 4, or 2 cards (Aether Hail and a blue pitch) for 6 damage.
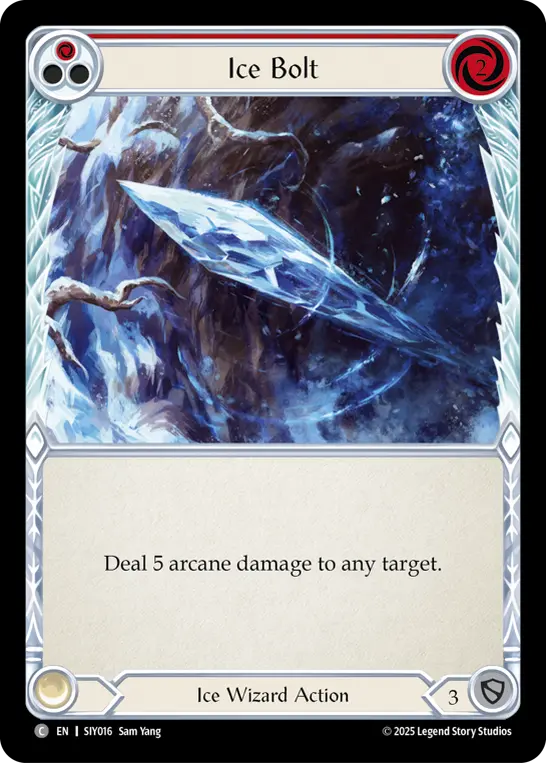
Ice Bolt (red) gives you 5 damage for the cost of 2 resources and a card. This means to play Ice Bolt, you always have to spend 2 cards on it: the card itself, and the card pitched to pay for it. If you pitch a blue and have a Tunic resource floating, you can get 7 damage (Ice Bolt + Waning Moon) off two cards using a Tunic counter, or you can get just 5 damage off your two cards.
Neither of these is particularly efficient- especially when you compare them to what other heroes can do in classic constructed with 1 or 2 cards. Playing these inefficient damaging spells never felt like it was enough to get you across the finish line- which lead me to look at other options.
The Decklist
Weapons
- Waning Moon (1)
Equipment
- Coronet Peak (1)
- Crown of Providence (1)
- Alluvion Constellas (1)
- Fyendal's Spring Tunic (1)
- Nullrune Hood (1)
- Ironhide Gauntlet (1)
- Metacarpus Node (1)
- Storm Striders (1)
Loadout
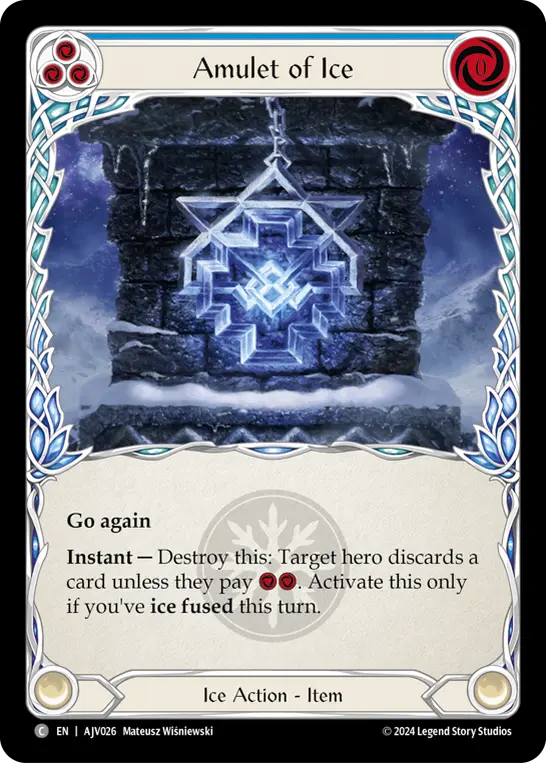
- Amulet of Ice (Blue) (3)
- Frosting (Blue) (3)
- Channel Lake Frigid (Blue) (3)
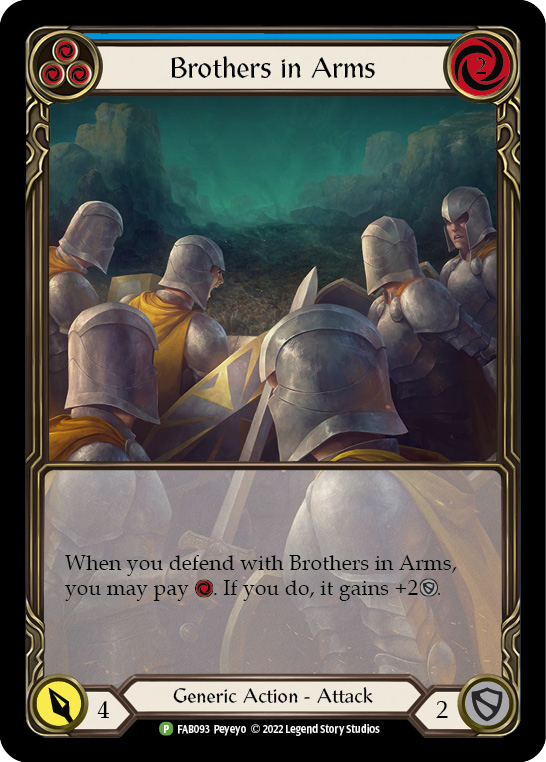
- Brothers in Arms (Blue) (3)
- Energy Potion (Blue) (2)
- Ice Eternal (Blue) (3)
- Cold Snap (Blue) (3)
- Aether Hail (Blue) (3)
- Aether Icevein (Red) (3)
- Aether Icevein (Blue) (3)
- Emeritus Scolding (Blue) (3)
- Enlightened Strike (Red) (3)
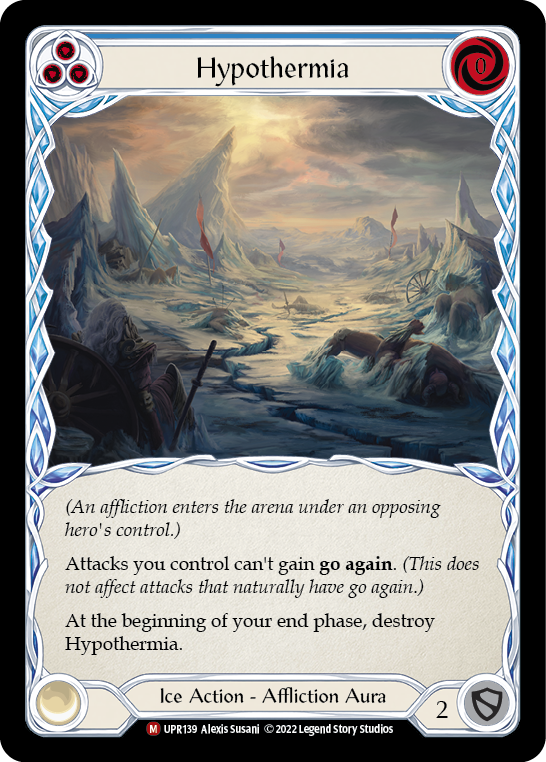
- Hypothermia (Blue) (3)
- Polar Blast (Blue) (3)
- Heart of Fyendal (Blue) (1)
- Brain Freeze (Blue) (3)
- Ice Bolt (Blue) (3)
- Fyendal's Fighting Spirit (Yellow) (1)
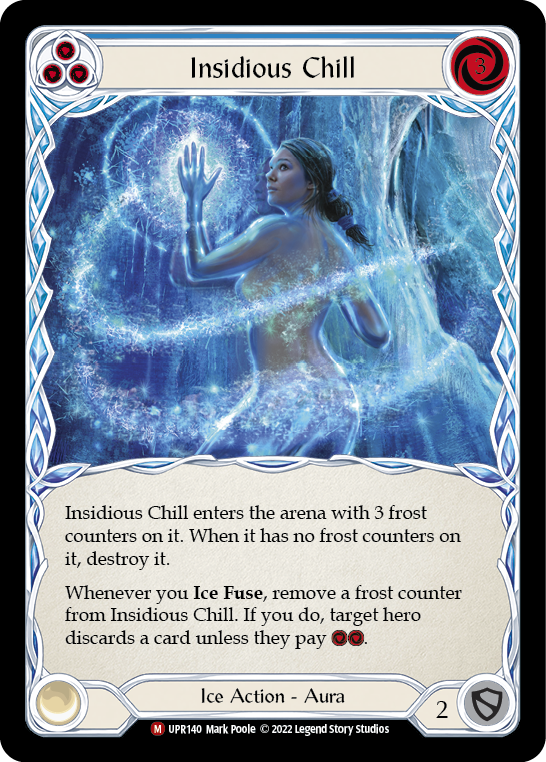
- Insidious Chill (Blue) (3)
- Sink Below (Red) (3)
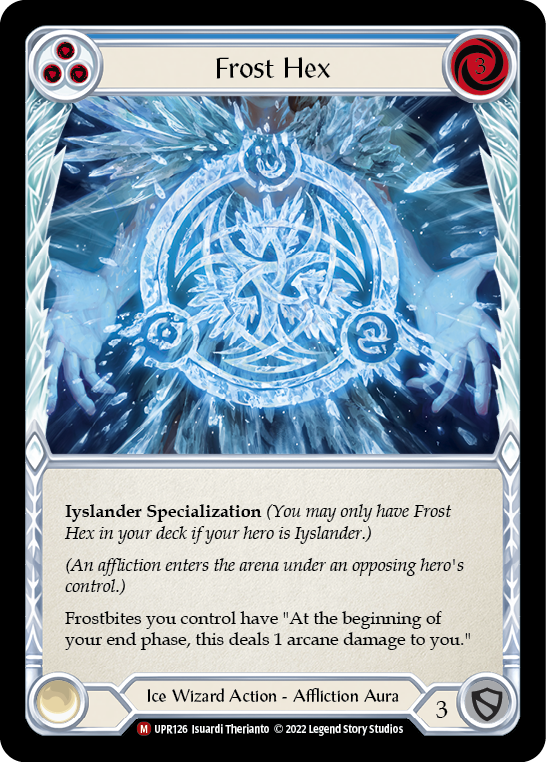
- Frost Hex (Blue) (3)
- Scour (Blue) (1)
- Scar for a Scar (Red) (3)
- Fyendal's Fighting Spirit (Red) (3)
- Blizzard (Blue) (3)
- Wounded Bull (Red) (3)
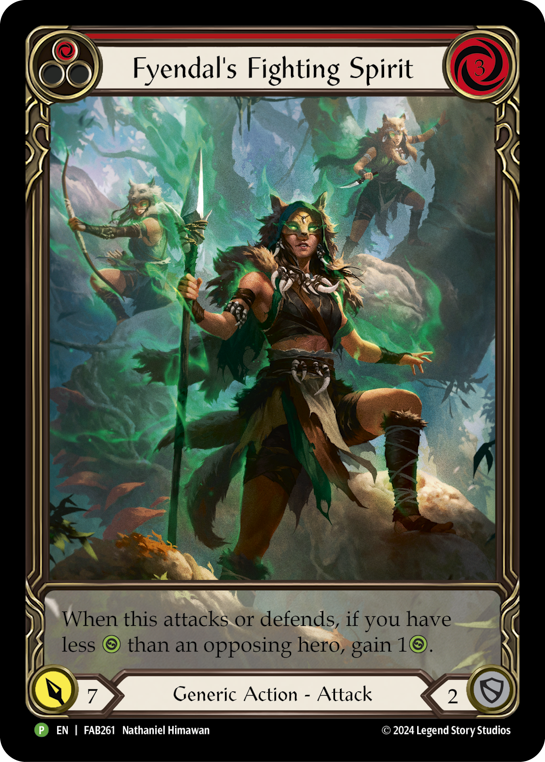

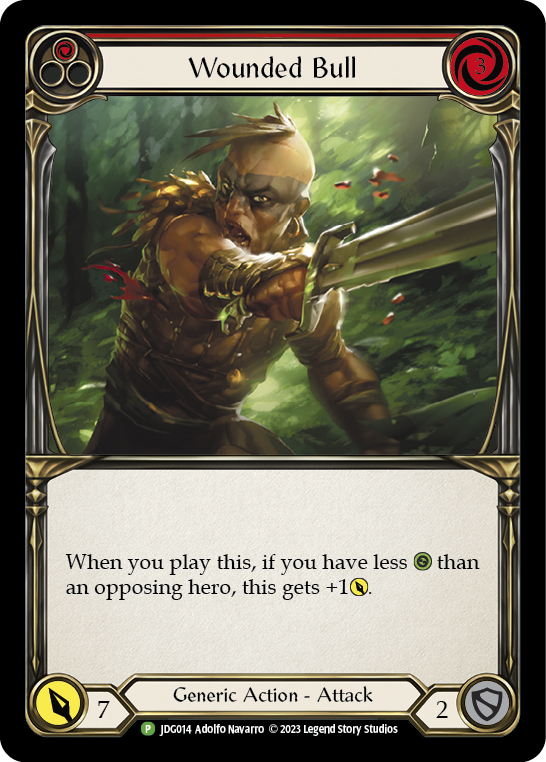
Wounded Bull, Fyendal's Fighting Spirit, and Scar for a Scar all have very good rates. Due to Iyslander starting behind, and generally almost always being behind on life points, cards like Fyendal’s Fighting Spirit and Scar for a Scar almost always have their ability enabled. These cards allow Iyslander to deal very efficient amounts of damage. The biggest downside to these attacks is that they don’t disrupt the opponent. Generally, aggressive decks like Fai and the Runeblades can put out more efficient damage than these cards do- if they are not disrupted.
Iyslander’s unique ability to disrupt the opponents on their turn makes these big, efficient attacks perfect for her. She doesn’t need to play attacks that force blocks because she can disrupt the opponent through her ability to play blue cards from arsenal. Any time she plays an Ice card on her opponent’s turn, they also receive a frostbite. These two abilities- combined with the many powerful disruptive Ice effects in the format- put Iyslander in a unique position to attack with raw damage, and then rely on other cards to disrupt the opponent on their turn.
I’m not going to give a specific list of things to cut or add for each matchup. It changes based on going first or going second and what you know about the specifics of each opponent’s list. For example, if you are against an Oldhim playing multiple copies of Zealous Belting and Rouse the Ancients, Hypothermia is a solid card to include. If you know they are not on those effects, it isn’t a card you want to play in the matchup.
In general, when you are going first, you want the maximum number of Amulet of Ice, Insidious Chill, and Frost Hex in your deck. These cards are great when going first. Going second, I will frequently trim or cut Energy Potion and Amulet of Ice due to their inability to block. Insidious Chill is also a card I’m happy to cut to make room for more disruption or cards that block better.

The last piece of sideboard advice is to very careful with cutting too many reds from the deck. I rarely cut more than 3 and frequently cut 0. The deck is primarily blues, and a lot of the blues are very good cards, but you need a solid number of reds to keep your deck efficient.
Matchups
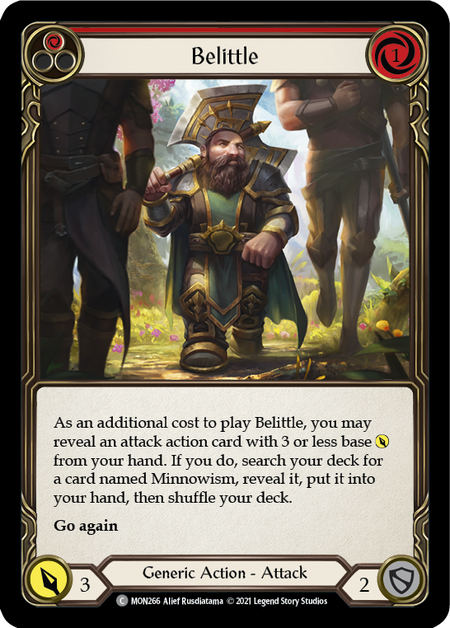
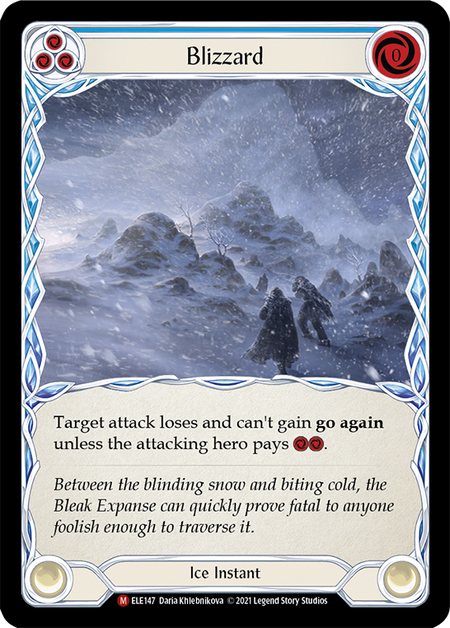
Blizzard is an all-star in this matchup. Fai isn’t great at blocking, so generally playing big attacks followed up with disruption is enough to win the matchup. The main thing to look for with Blizzard is casting it against a Belittle that they play off of a Tunic counter or a red/yellow pitch. Doing that will almost always buy multiple cards from their hand to pay for the go again.
Another thing to note: if they play a Belittle and get a blue Minnowism, none of your disruption effects are going to be very impactful that turn. Additionally, the extra resources they have will mean that they can arcane barrier some of the damage from a Waning Moon at no extra cost. Make sure not to waste valuable resources by giving them frostbites or firing Waning Moon into extra resources.
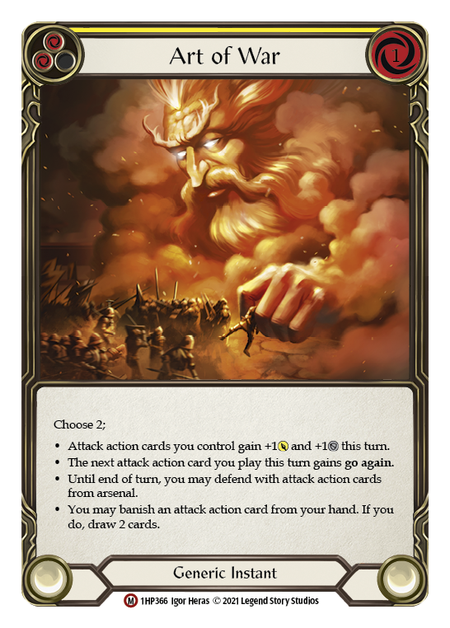
Lastly, any time your opponent casts an Art of War, and you intend to activate Waning Moon that turn, do it before they get the banish + draw 2 effect of Art of War. Given that they are drawing 2 random cards off the top of their deck, they aren’t going to know how much of the Waning Moon they want to arcane barrier. Doing it before the powerful instant resolves means they will frequently get the decision wrong.
Against Oldhim, you need to be ready to go in two different directions. Plan A is the tempo game, playing big attacks and generally trying to be more efficient than they are. Oldhim isn’t like the other aggressive decks, where they can play very powerful 4- or 5-card hands. Most 3 card hands are less efficient than a Wounded Bull or a Fyendal's Fighting Spirit, and adding more cards to that generally doesn’t make it much stronger.
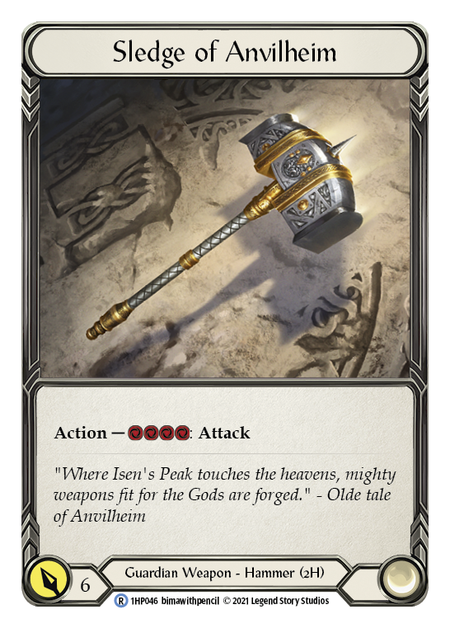
A common play pattern in the Oldhim matchup is they will pitch 2 blues to swing Sledge of Anvilheim. Do not activate Waning Moon into these two floating resources! It is just giving them value by letting them productively use the 2 resources on arcane barrier.
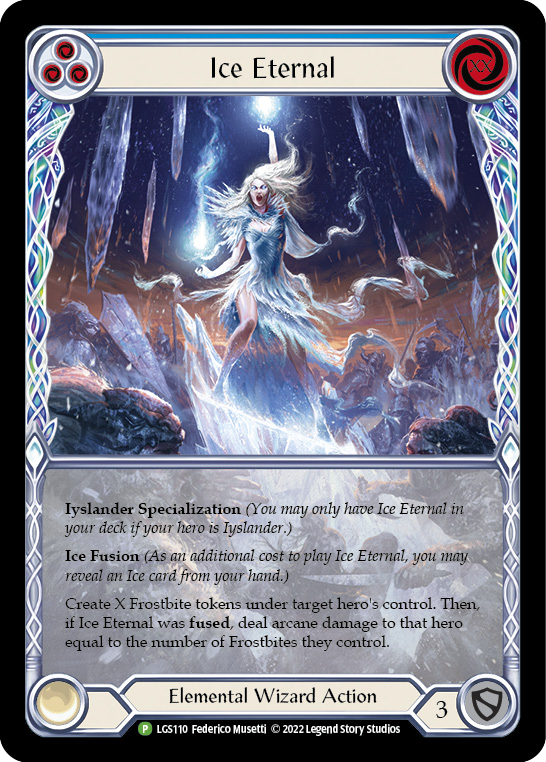
If the Oldhim is playing very slow and defensively, then you should be setting up your items and Frost Hexes. With 3 Frost Hexes, 2 Energy Potions, and enough Amulets and Insidious Chills to strip their hand, a single fused Ice Eternal can easily kill them from the mid-20s. If they are playing super slow and defensive and give you plenty of time, just be patient and set up your Hexes. If they are trying to race you instead, rely on your efficient attacks to outvalue them over the game, and then you can threaten Storm Striders kills later.
This matchup is pretty tricky, but having the attack actions gives you an advantage. Against a more traditional Iyslander deck, you will get a lot of “free” Alluvian Constellas counters as they play their damage-dealing spells. Try to set up your Energy Potions as early as possible to make sure you don’t die to the Frost Hex/Ice Eternal combo. Energy Potions can be super helpful to give you resources to clear frostbites.
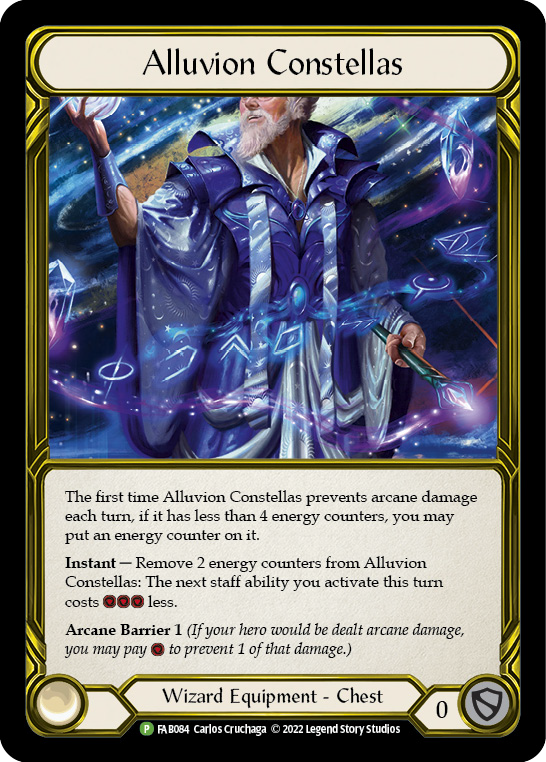
An important interaction to know is that Waning Moon costs 2 resources. Alluvion Constellas reduces the cost of a wand by 3. This means if you have activated Alluvian Constellas, and you have 1 frostbite, Waning Moon is still free, because it costs 2 + 1 - 3 = 0. This interaction is important to be aware of because it means you can have 1 extra resource on many turns if you use this to clear a frostbite.
Lastly, Frost Hexes are very good in this matchup. Because of how much instant speed stuff Iyslander can do, it is very easy for her to dance around frostbites and avoid paying the tax. Getting one or two Frost Hexes down means that dodging the tax will just result in taking extra damage.
The Viserai matchup is honestly the biggest reason to be playing Iyslander. Alluvian Constellas gives you a lot of value throughout a game. Brothers in Arms is also another all-star in this matchup to help you hit Mauvrian Skies breakpoints. Because Viserai is almost always presenting arcane damage to you when he attacks, it always leaves room for you to spend resources defensively however you’d like during his turn.
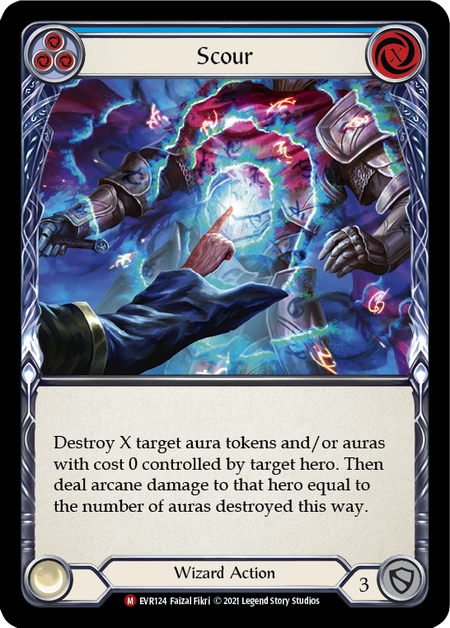
One possible way the Viserai can approach the matchup is by playing a lot slower and building up runechants, similar to the way OTK Viserai used to play into Guardians. This can be pretty effective because it means you get much less value out of Alluvian Constellas. Against this strategy, don’t be afraid to take turns off to set up items and permanents to have bigger turns against them. The singleton copy of Scour is also extremely good against this kind of strategy.
Briar is one of the harder matchups for this version of Iyslander. She can play some very powerful 1-2 card hands with Enlightened Strike, Snatch, and 0-cost go again attacks. The other reason this matchup is quite difficult is that her pesky Embodiments frequently let her block for 4 with random extra non-attack actions. On top of that, she also gets access to Crown of Seeds to mitigate the cost of arsenaling random leftover blues that she held to pay for the potential disruption we would have. If Briar is a common deck in your metagame, I’d recommend looking into the more arcane-heavy versions of Iyslander.

The best way to approach this matchup is similar to Fai, where you want to time your biggest disruption spells with her Channel Mount Heroic turns. Try to keep her off of Embodiments when possible. A neat interaction is the Embodiment of Earth has a triggered ability to sacrifice it at the start of her action phase, so you can respond to the embodiment going away with a Cold Snap to attempt to freeze her arsenal before she has a chance to play it.
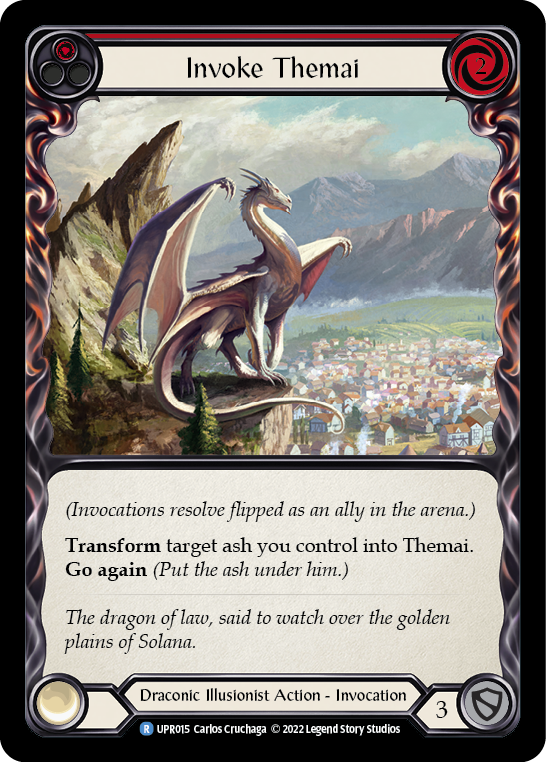
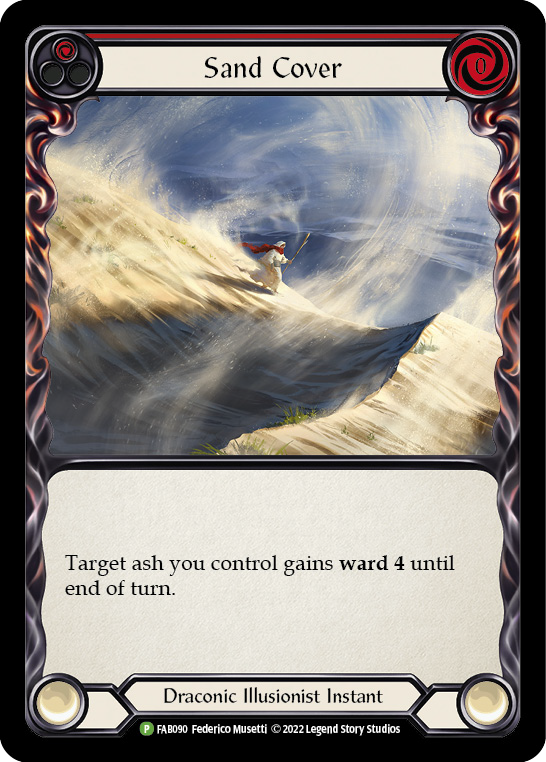
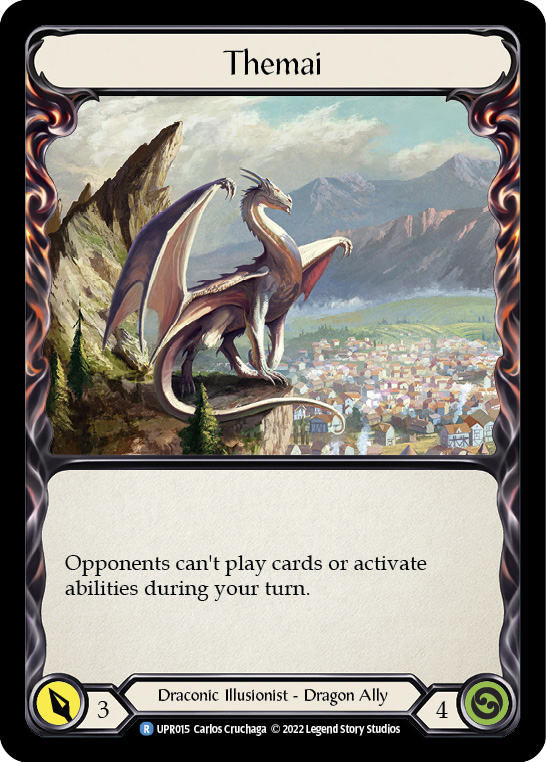
Dromai is a hero that can be built to destroy Iyslander. Themai, Sand Cover, and an endless supply of arcane barrier all are extremely powerful. Combine that with these permanents that are hard to deal with and it starts to look a little bit like the nearly-impossible prism matchup.
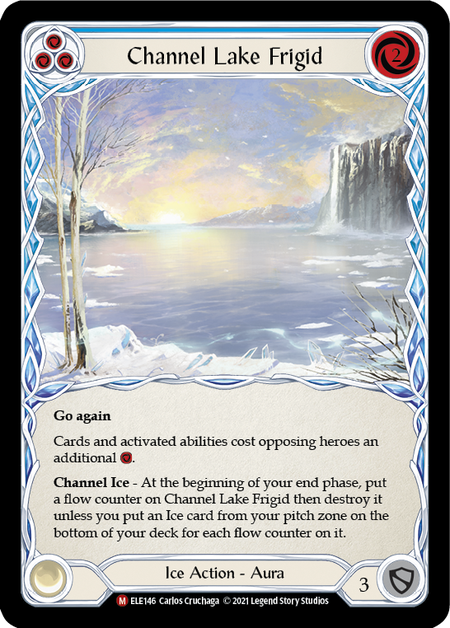
However, in actuality, I’ve found the matchup to be not nearly that bad. Although Dromai can build up a lot of permanents and has a lot of ability to prevent your damage, she generally has a pretty low blue count, which means that it's hard for her to take advantage of all that arcane barrier. On top of that, as Dromai is taking damage to build up a board, we can easily disrupt the damage she would have from a strong board. Blue damage spells from arsenal can kill dragons as they are declared as attackers and shut down her turns. Hypothermia, Blizzard, Channel Lake Frigid, and our 7 poppers also get a lot of mileage into her.
Dromai can also attempt to hard fatigue us. In that case, it's okay to try to set up a couple of Frost Hexes and go for the OTK into her. If she is holding cards back on her turn to play around Waning Moon, you can generally just set up a few items and a couple of Frost Hexes. The only downside to this is that Dromai also can access Thaw to destroy your Hexes. If she has Thaw and a lot of powerful damage prevention tools, the best thing you can do is set up powerful back-to-back turns with attacks on your turn into arcane damage on her turn.

Dash can be played in two different ways. There’s the super slow turtle Dash where she builds up several items and Pistols you to death, or there's a more aggressive boost Dash where she tries to deal significant amounts of damage early with her very efficient boost cards. Either way, the same cards are very effective at slowing her down. Hypothermia, Channel Lake Frigid, and Blizzard can all buy you tons of time against Dash.
If she’s on the slower more controlling pistol build, just set up some big Frost Hex turns. It’s hard for her to use her whole hand offensively, so feel free to take setup turns.
If she’s on the more aggressive boost version, you can just race her with your big, efficient attacks and arcane damage. She usually has access to arcane barrier 3 or 4, but it's hard for her to output as much damage as Fai or the Runeblades, and is equally if not more vulnerable to our disruption.
Wrap Up
Although I tried to share a ton of Iyslander knowledge and information here, none of this can make up for getting practice with Iyslander. She is far from the easiest hero to play, and sequencing your cards correctly and lining them up well against your opponents' cards will be vital to doing well with her. Be patient with yourself as you learn her ins and outs. She’s not for everyone, but I’ve found learning Iyslander to be a very satisfying experience.
Music by Wavecont | Licensed under creative commons Attribution- ShareAlike 4.0 International | Music promoted by chosic