Azalea's road to competitive viability has been long and winding; but as of Outsiders, she's finally become a hero you can play seriously. With that has come a lot of interest in the deck. But Azalea isn't for everyone, and investing in her can be an expensive prospect - especially as her class cousin Lexi sits at the forefront of the meta, driving up the cost of key cards!
With this roadmap, I aim to give you a feel for what Azalea's capable of at an inexpensive floor; then, we'll build on the collection you've acquired until we've built a competitively viable deck.
Beginning from Behind
Let's get one thing straight from the outset. At her competitive best, Azalea is a hard deck to play. Sequencing of actions is extremely important, and you need to have a strong understanding of where your advantages lie - and when to press them. Conversely, you need to know when enough is enough, to save some fuel in the tank for next turn. Rangers live and die by delaying their 'off turn' for as long as possible.
As you pick up this budget deck, expect to take losses. There is a strong core here, but we are lacking a few incredibly helpful tools, especially when it comes to the Legendary Ranger equipment.
There's also a learning curve to the class, and until you've really gotten some reps in, you're going to make mistakes that cost you games. You're also going to have games where you did everything right, but the fickle nature of Ranger still does you in. That's part of the ride, and you really don't have the tools eliminate that risk (though at the highest budget we do get some options for mitigating it).
With all that said, the budget build below is a great way to figure out if Azalea is a fit for you.
Weapons
- Death Dealer (1)
Equipment
- Blossom of Spring (1)
- Hornet's Sting (1)
- Honing Hood (1)
- Nullrune Robe (1)
- Nullrune Gloves (1)
- Snapdragon Scalers (1)
- Crow's Nest (1)
Loadout
- Drill Shot (Red) (2)
- Infecting Shot (Blue) (3)
- Fate Foreseen (Red) (3)
- Razor Reflex (Red) (2)
- Death Touch (Red) (3)
- Lace with Bloodrot (Red) (3)
- Hamstring Shot (Red) (3)
- Infecting Shot (Red) (3)
- Lace with Frailty (Red) (3)
- Spire Sniping (Yellow) (3)
- Searing Shot (Red) (3)
- Memorial Ground (Yellow) (2)
- Murkmire Grapnel (Red) (2)
- Fatigue Shot (Red) (2)
- Nock the Deathwhistle (Blue) (3)
- Read the Glide Path (Yellow) (3)
- Read the Glide Path (Red) (3)
- Red in the Ledger (Red) (3)
- Release the Tension (Red) (3)
- Scout the Periphery (Red) (3)
- Sleep Dart (Red) (2)
- Spire Sniping (Blue) (3)
- Ravenous Rabble (Red) (3)
At its core, an Azalea deck is all about disruption via on-hit effects. Every tool we have, from dominate to attack buffs, in in service toward pressing at least one damage through, so we can disrupt what our opponent wants to do.
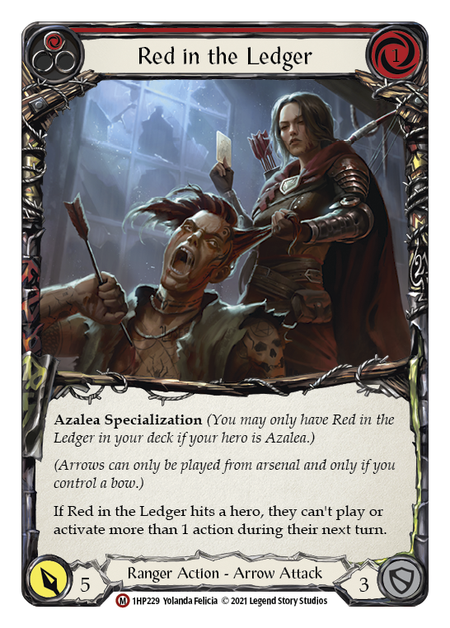
The gold standard of on-hit effects is found on Azalea's signature arrow, and one of two Majestics I'm going to ask you to pick up even at the intro level. You shouldn't play Azalea without Red in the Ledger. It is, perhaps, the strongest specialization in the game, limiting the opponent to an absolute one action on their next turn, regardless of go again or extra action points. In most matchups, it is your goal to find this arrow as quickly as possible and ensure it hits. With the momentum you steal via this card, you can stay ahead in the game for several turn cycles.

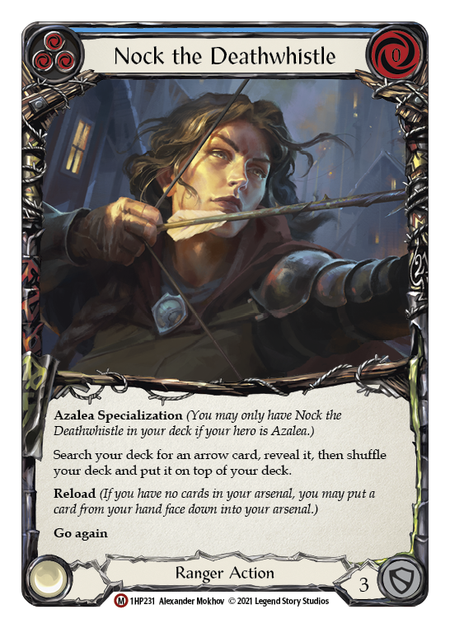
To help you find RitL, I've also asked you to invest in 3 copies of Nock the Deathwhistle. A blue block 3, Nock justifies its existence across all 3 axes of pitch, block, and play. I've also included 2 copies of Memorial Ground; at this point, we're limited by our budget in the number of high impact arrows we can run, and should therefore look to recursion to artificially inflate that number (while giving us an element of control that is its own advantage).
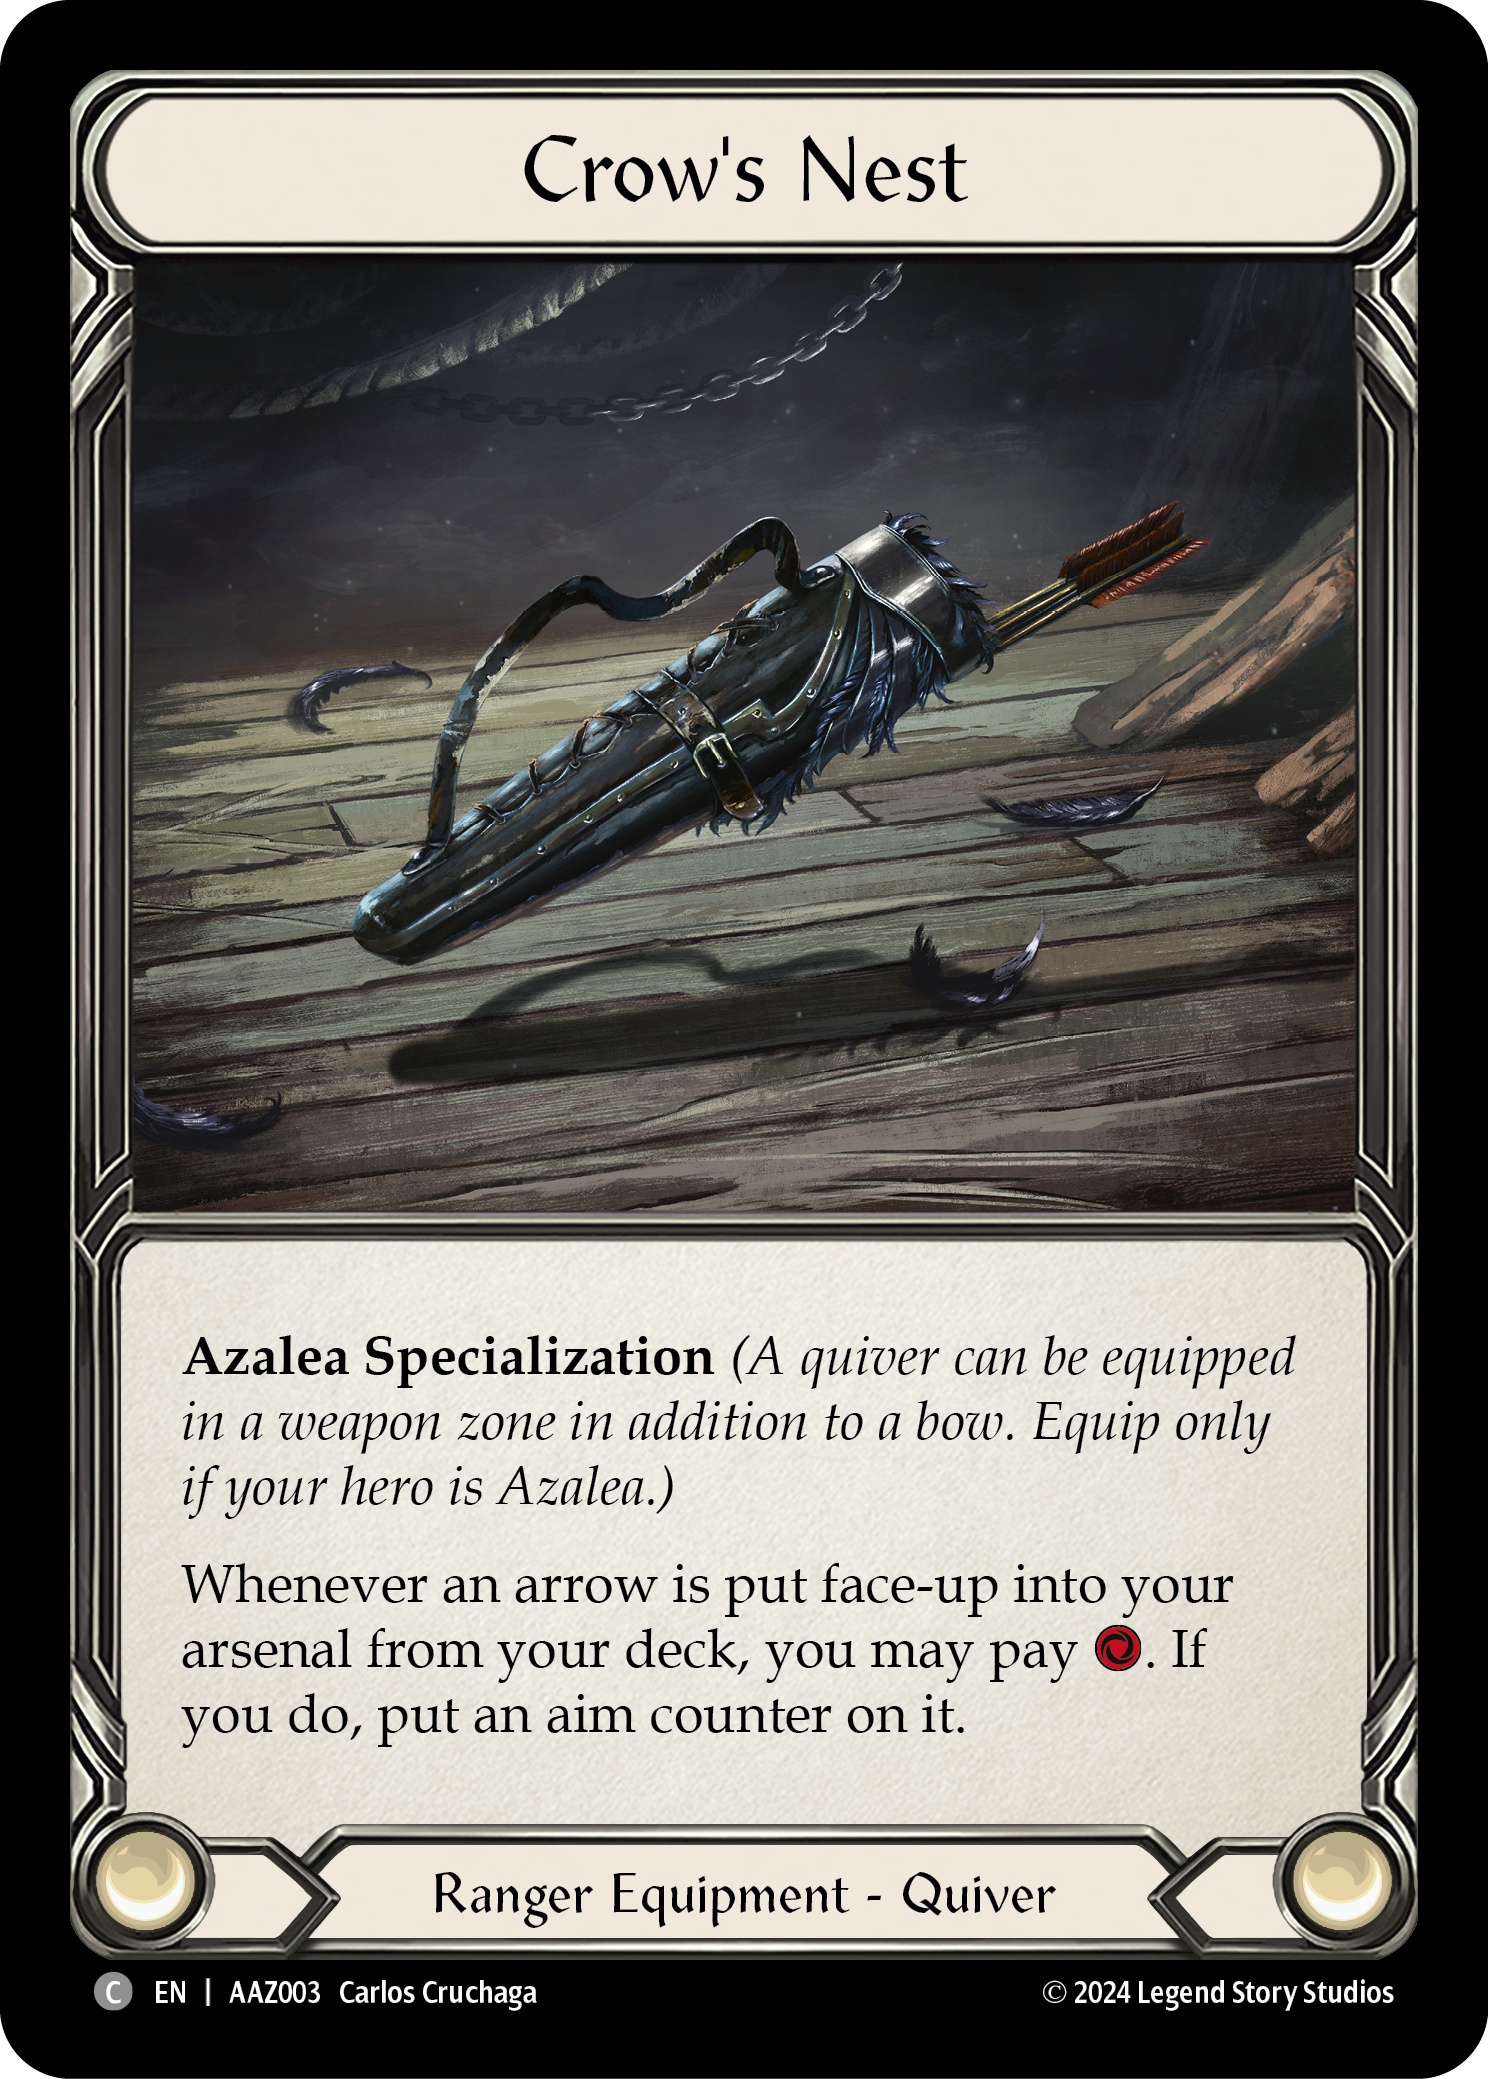
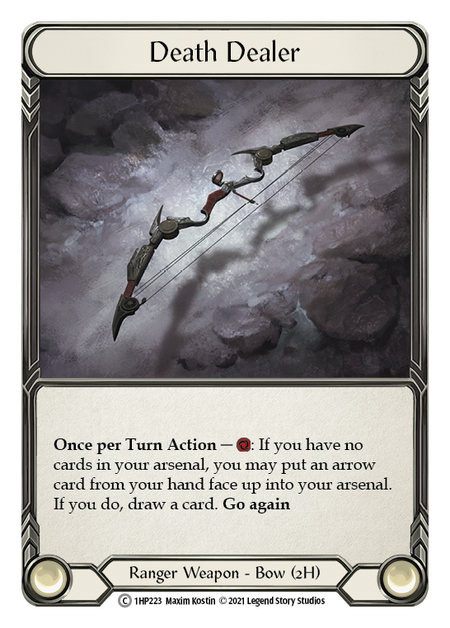
We're going to stick with a Death Dealer built till the very end of this article, as it's not reliant on a Legendary headpiece to function at its fullest. You'll usually want to pair this with Crow's Nest, as the quiver gives you a way to acquire aim arrows and unlock the full potential of a host of arrows.
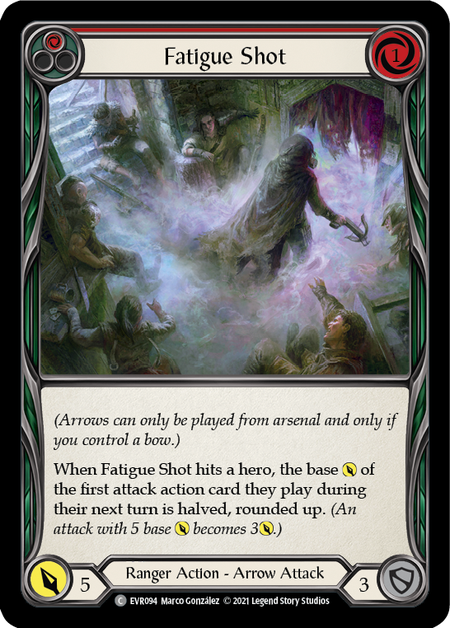
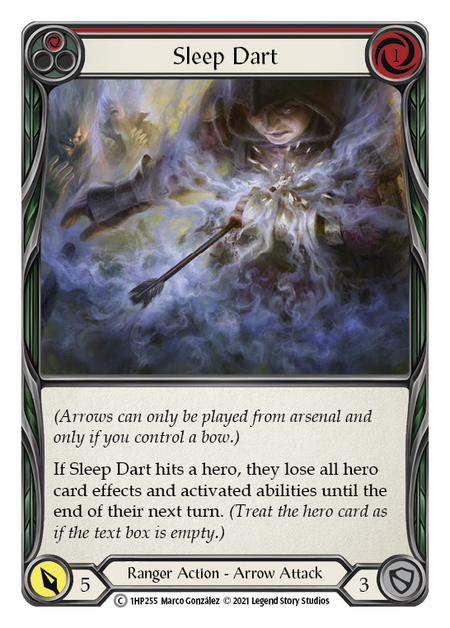
The 72-card list has 32 arrows; in pairing down to 60 cards, you can afford to side out the ones whose on-hit effects don't apply to the matchup in front of you. Sleep Dart, for example, varies wildly in its impact, representing an absolute murder for Levia while completely inconsequential versus Dash. Likewise, Fatigue Shot has a role to play in matchups with go-tall heroes, like Bravo and Rhinar, but matters little to Fai.
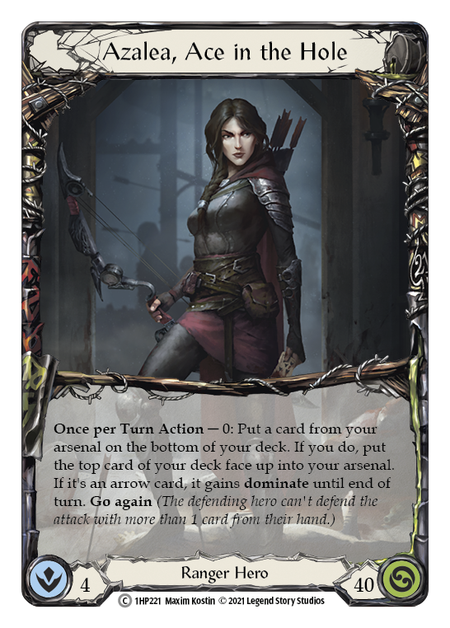
At this point, focus on learning the play patterns and options available to Azalea with each hand. Pay attention to how you can fix bad hands, the pros and cons to saving a card in arsenal (and which kind of cards play out better or worse), and when to use Azalea's ability to pull a card off the top of the deck. These have to become second nature to you, especially as your investment and competitive aspirations increase.
If you're uncertain about Azalea, or haven't had the change to learn the basics, I recommend reading other articles on her found in the Ranger section, starting with our FAB101.
(Note: our FAB101 has not been updated for Outsiders, but that doesn't mean the core strategies aren't relevant!)
Modest Investment, Big Improvement
Weapons
- Death Dealer (1)
Equipment
- Blossom of Spring (1)
- Perch Grapplers (1)
- Hornet's Sting (1)
- Snapdragon Scalers (1)
- Trench of Sunken Treasure (1)
- Crow's Nest (1)
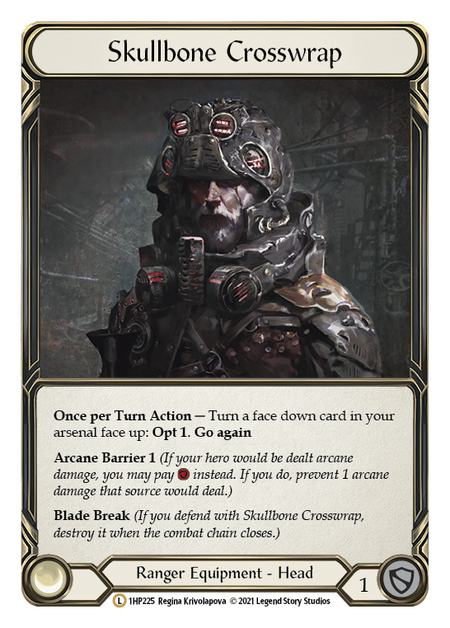
- Skullbone Crosswrap (1)
Loadout
- Battering Bolt (Red) (3)
- Drill Shot (Red) (2)
- Infecting Shot (Blue) (3)
- Fate Foreseen (Red) (3)
- Razor Reflex (Red) (2)
- Lace with Bloodrot (Red) (3)
- Barbed Undertow (Red) (3)
- Hamstring Shot (Red) (3)
- Infecting Shot (Red) (3)
- Spire Sniping (Yellow) (3)
- Dead Eye (Yellow) (3)
- Memorial Ground (Yellow) (1)
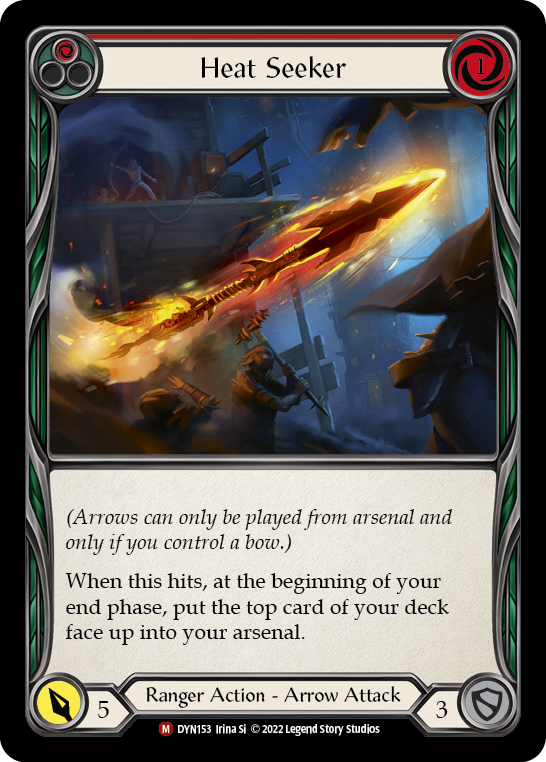
- Heat Seeker (Red) (3)
- Nock the Deathwhistle (Blue) (3)
- Remorseless (Red) (3)
- Read the Glide Path (Yellow) (3)
- Read the Glide Path (Red) (3)
- Red in the Ledger (Red) (3)
- Release the Tension (Red) (3)
- Seek and Destroy (Red) (3)
- Sleep Dart (Red) (2)
- Spire Sniping (Blue) (3)
- Ravenous Rabble (Red) (3)
Because Azalea lags behind Lexi in competitive success, the cards that are specifically tailored toward her are relatively cheap on the secondary market. In our second step, we're even going to pick up some Legendaries! Skullbone Crosswrap and Trench of Sunken Treasure, to be precise.
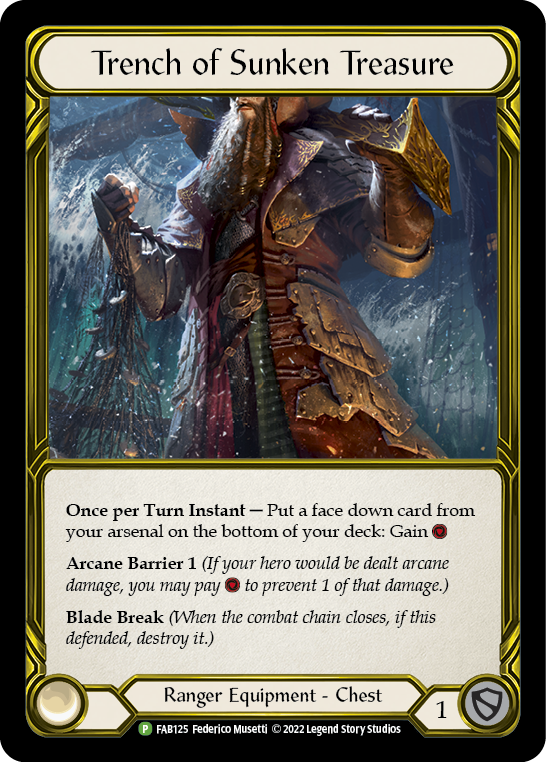
If you're strapped for cash, the latter can wait; it's primarily an upgrade to Nullrune Robe, though its ability to clear out your arsenal in exchange for 1 resource can have uses. Ideally, as you grow as a Ranger player, you'll find yourself needing Trench's effect less and less; it should be insurance, not a key part of your playlines.
Skullbone Crosswrap has incredible synergy with Azalea, and with the general patterns of Ranger. When you're able to end a turn by sliding a card into arsenal, Crosswrap will turn that face-down card into top-deck knowledge and manipulation. Then, you can use Azalea's ability - perhaps paired with Crow's Nest - to load an arrow from the top of your deck and tack dominate onto it.
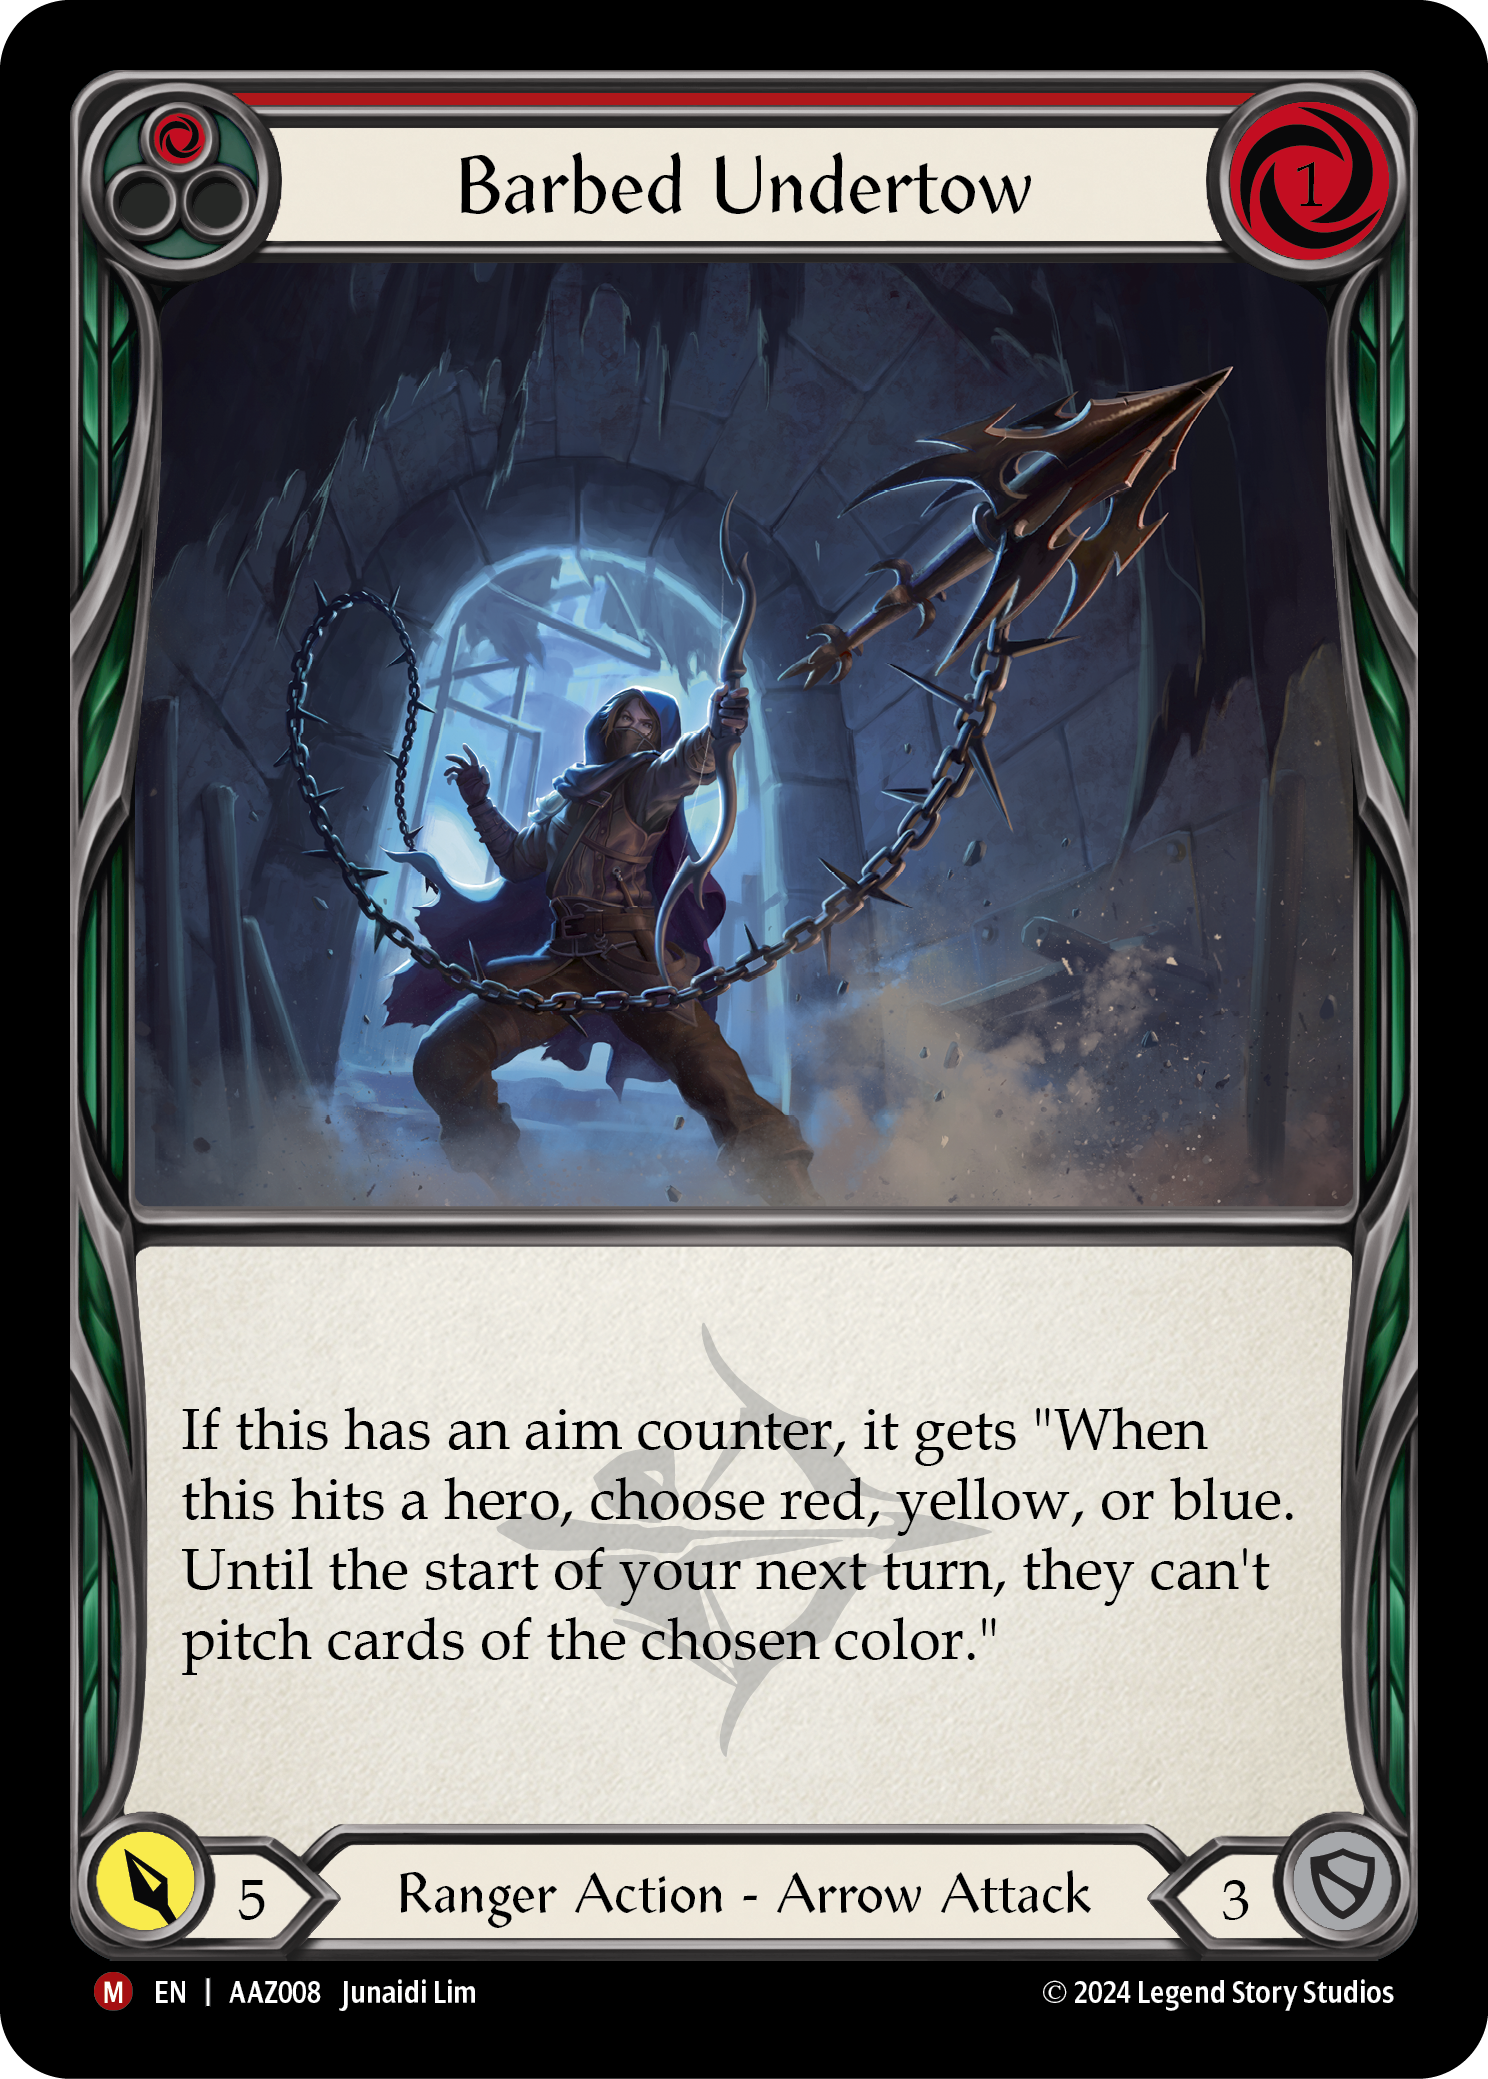
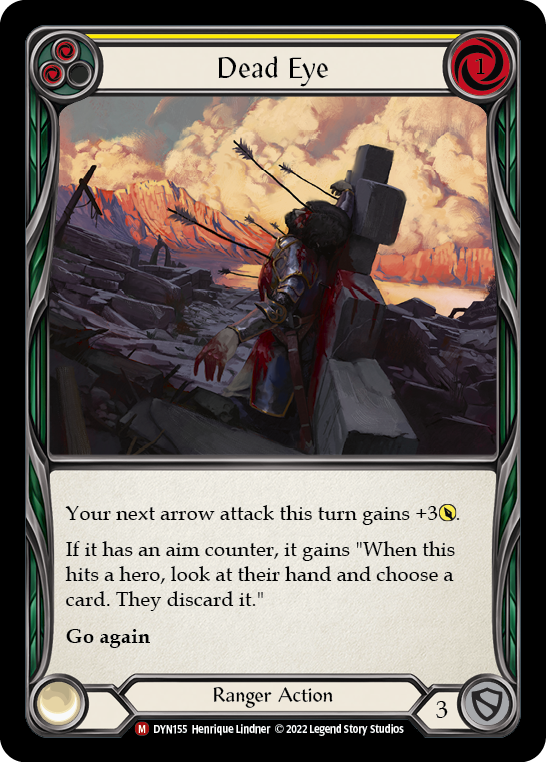
With the increased Azalea effectiveness due to Crosswrap's opting, we can invest more heavily in aim-enabled cards. Barbed Undertow and Dead Eye give us hand disruption paired with hand knowledge; you'll often want to aim for discarding pitch cards, though there are a few heroes who run on 0-cost cards for which discarding their best red may be more valuable.
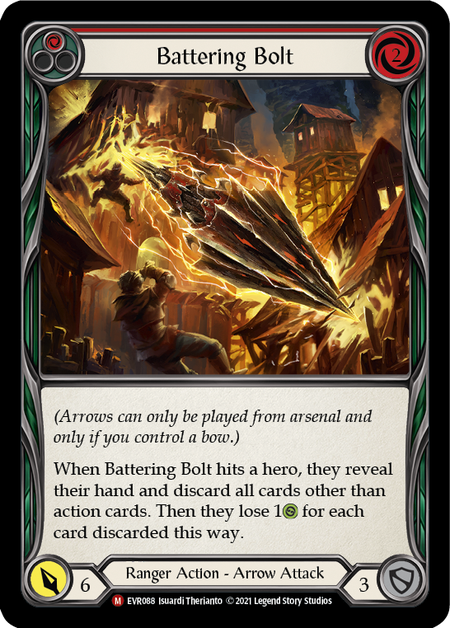
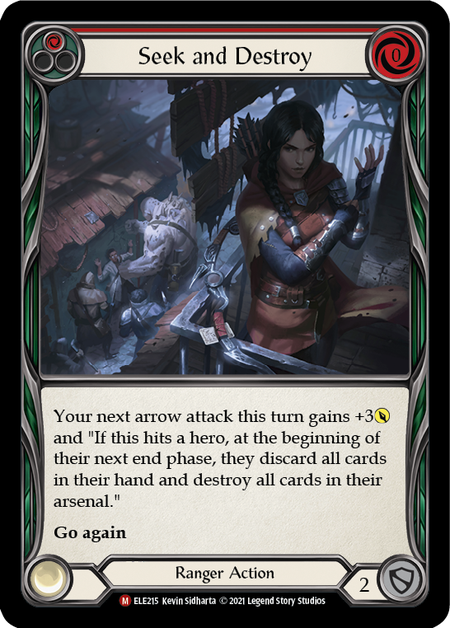
Battering Bolt becomes our popper of choice for the Illusionist matchups - though Azalea struggles hard with Dromai, so don't expect too much. Battering Bolt is also incredible into reaction-heavy Warriors. Meanwhile, Seek and Destroy is a disruption tool for the Iyslander matchup, preventing her from storing blues to use on our turn; in other matchups, it's just a +3 for zero, and we're always happy to play those.
Heat Seeker sets you up with that card-in-arsenal start that Azalea can do so much with. Because the free card comes in face up, Crow's Nest can Aim it too.
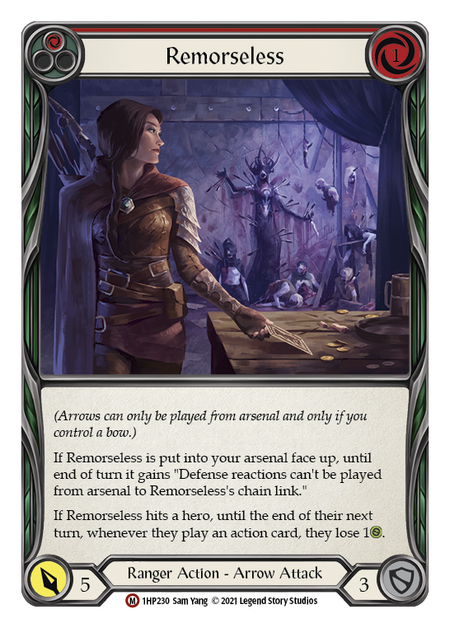
Remorseless expands on our action control, but is a much softer way. Many opponents will choose to play through the 1-life penalty per action, which simply means Remorseless did more damage in the end. Really, it's the 'no defense reactions from arsenal' part that's more impactful, and makes this card one to prioritize in defensive matchups, even if its bleed effect doesn't seem as applicable in those games.
At this point, your deck should consistently be pulling in wins vs. opponents who feel your disruption hard. You've added consistency with additional opting, improved the efficacy of your on-hit effects, and put in the reps to understand the fundamentals of the class. But the deck is fairly rigid, and you have to maintain tempo or risk collapse. You will need two cards in hand to make a turn work, but ideally you've got 3; and more than that, you need an arrow and a buff and a good top deck to really make your turn sing.
The next step will be about improving your consistency with guardrail cards, improving your odds when things go wrong or when you're faced with an opponent you didn't want to see.
OK, So We're Maining Azalea Now
Weapons
- Death Dealer (1)
Equipment
- Perch Grapplers (1)
- Hornet's Sting (1)
- Nullrune Gloves (1)
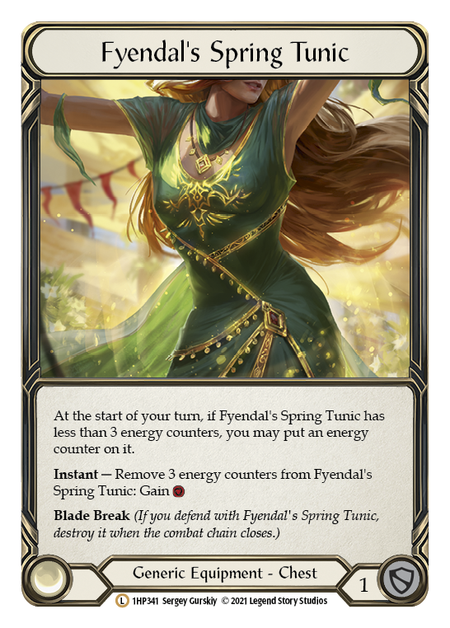
- Fyendal's Spring Tunic (1)
- Snapdragon Scalers (1)
- Crow's Nest (1)
- Skullbone Crosswrap (1)
Loadout
- Battering Bolt (Red) (3)
- Drill Shot (Red) (2)
- Codex of Frailty (Yellow) (3)
- Infecting Shot (Blue) (3)
- Fate Foreseen (Red) (3)
- Lace with Bloodrot (Red) (3)
- Barbed Undertow (Red) (3)
- Hamstring Shot (Red) (3)
- Infecting Shot (Red) (3)
- Spire Sniping (Yellow) (2)
- Dead Eye (Yellow) (3)
- Heat Seeker (Red) (3)
- Nock the Deathwhistle (Blue) (3)
- Remorseless (Red) (3)
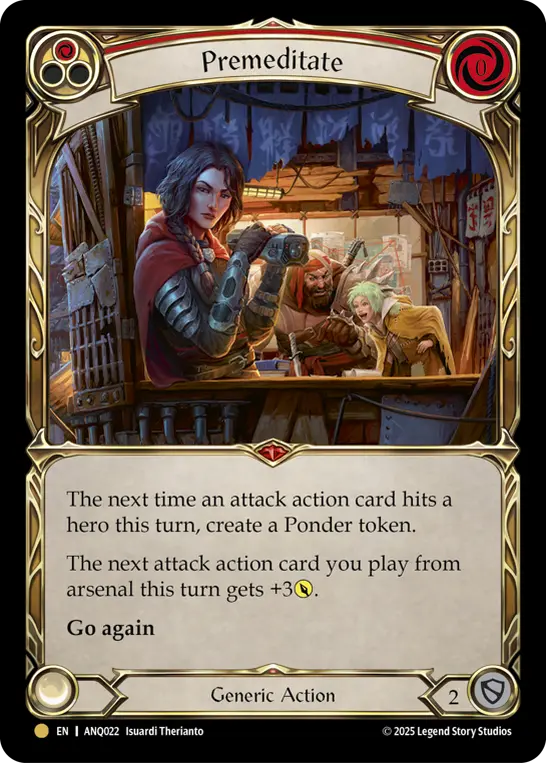
- Premeditate (Red) (3)
- Read the Glide Path (Yellow) (3)
- Read the Glide Path (Red) (3)
- Red in the Ledger (Red) (3)
- Release the Tension (Red) (3)
- Seek and Destroy (Red) (3)
- Sleep Dart (Red) (2)
- Spire Sniping (Blue) (3)
- Ravenous Rabble (Red) (3)
So you're committed to Azalea. At this point, we have two paths. This is the first: continuing with Death Dealer, we shore up our weaknesses and pick up those last few cards that sat at the outside of our budget.
(You can also feel free to search for Levi Rauch's Azalea decklists for your blueprint. In fact, I'd probably recommend that if you're thinking of taking Azalea to a Calling event.)
The first thing you'll notice is that we've added a Tunic- and dropped the Trench! Apologies for your $17 investment that's now in the binder, but if you have Fyendal's Spring Tunic, you've got a better source of 1 resource than Trench was offering, and you really shouldn't give that up for Arcane Barrier 1.
As far as the deck goes, we've only added two big ticket cards: Premeditate and Codex of Frailty. Premeditate is a premiere buff, and sets you up to cycle another card into your arsenal at the end of your turn.

There's been no shortage of discussion around Codex of Frailty, so let's talk about when to play it instead of what it does or why it's here. Codex is primarily an insurance policy, a 0-cost card that can give you a turn from a 1-card hand. I find that it's often the right move to pitch it when it comes up early; in the late game, it serves as a good way to recur our key arrows, while getting us out of tight defensive spots.
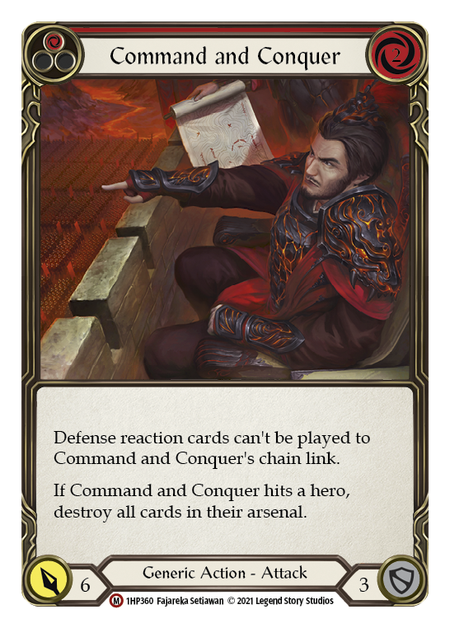
You'll notice that I didn't throw generic staples Enlightened Strike and Command and Conquer into the list here. You're welcome to, but honestly, they're general 'good stuff' cards that don't have strong synergy with our gameplan. There's room to debate whether they're essential or just good-to-have, so consider them flex cards if you've got them on hand.

The second path is a vastly divergent take, abandoning the Death Dealer for the Sandscour Greatbow. This is my personal favorite build for Azalea, but it requires un-learning everything you've learned from Death Dealer. The decklist is here. If you'd like to learn more about how to play it, you can check out my article on Sandscour Azalea (available exclusively for our Rathe Times subscribers).
FAB Works Fine on a Budget
This has been the third in our series laying out clear paths from budget builds to unrestrained competitive decklists. We aim to show that starting from zero isn't a waste of time, laying foundations that can be built upon until you've got everything you need. You can read similar articles for Iyslander and Rhinar below.
Since Uprising elevated her status, Iyslander has reshaped the meta around her icy presence. While top tier builds require steep investments, it's entirely feasible to get results from a budget build, and to build up from there. Rhea takes you every step of the way.
by: Rhea Adams & Will Reinhardt
Don't let the final price tags of competitive decklists scare you off! We'll show you how to start out with Rhinar, and a path forward once you're ready to commit more to him.
by: Clay DeAngelis


