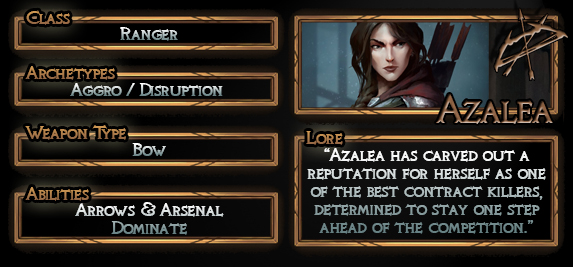
In the lore, Azalea is a hardened assassin, merciless and deadly. But her reputation on the tabletop is much less respectable. Azalea, and by extension the Ranger class, has resided on the bottom tier of the competitive landscape since her debut.
If that hasn't dissuaded you, then you're in the right place. Ranger is an incredibly intricate- and incredibly rewarding- class. No other victory leaves your opponent stammering, "I had no idea Ranger could be so broken!" Those victories are hard-earned, but once you've put in the work- and the reps- to gain a strong understanding of the strategies and lines of play, you'll find Azalea equipped with all the right tools to disrupt any opponent.
You simply need to know how to make the most of your advantages- and how to compensate for your counterbalancing weaknesses.
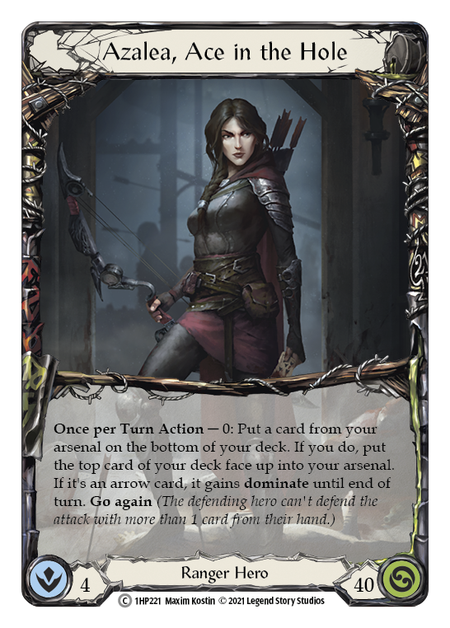
Ace in the Hole
Azalea is master of the on-hit effect. In general, Rangers have a higher density of on-hit effects than other classes. Azalea ensures they trigger thanks to her hero ability.
To fully understand the implications of that ability, we have to touch briefly on Ranger's unique mechanic: Arrows. We'll discuss these a lot more in-depth further down, but here are the basics.
Arrows can only be played from arsenal and only if you control a bow.
As you can see, the arsenal is a critical zone for a Ranger, and Azalea's ability interacts with it. The flexibility this affords- essentially, this is card cycling- is already useful enough; but if the card that comes off the top of your deck happens to be an arrow, Azalea attaches 'dominate' to that attack, making the hit effect nearly impossible to avoid.
For those taking notes, you may have noticed two major things have to fall into place for Azalea's ability to make a meaningful impact, and I just kind of swept past them like they weren't even hard.
- You need a card in Arsenal.
- You need an arrow on top of your deck.
Thankfully, Azalea has incredible tools for doing both of these things.
Tricks of the Trade
Rangers are defined by their unique choice in weapon. The bow is intrinsically linked to the arrow- a sub-type that appears on every attack action card the class has. Bows grant unprecedented access to the arsenal, but in exchange they have no attack of their own. Every attack a Ranger makes comes at the cost of a card.
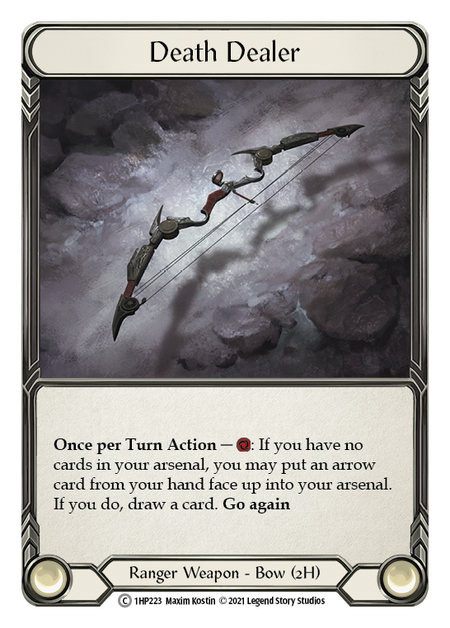
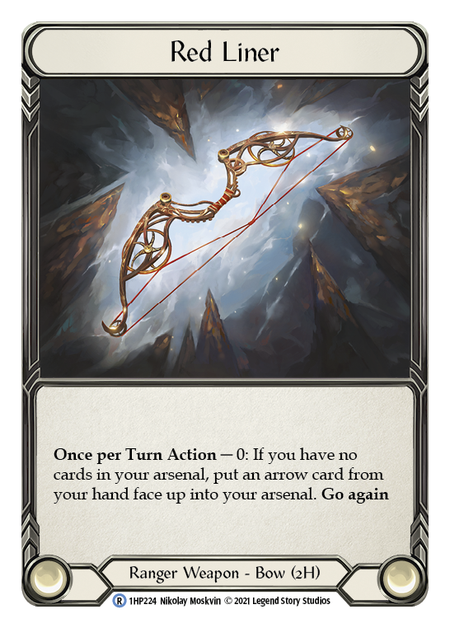
While Red Liner and Death Dealer essentially do the same thing- put an arrow into arsenal- the strategies they support and lines of play they enable are drastically different. Death Dealer requires 2 cards in hand: one to pitch, and one- an arrow- to load into arsenal. Red Liner, in contrast, can function from a single arrow in hand. (We'll explore the strategies each bow aligns with later in the article.)
In addition, the Ranger class has an ability called Reload that allows Azalea to place a card into arsenal mid-turn. Since all arrows must be played out of arsenal, Reload is essential to pursuing a wide attack pattern.
So that solves Azalea's need for cards in arsenal. But how do we ensure the top deck is a card we want? Let's start with a keyword developed for Arcane Rising: Opt.
Opt X: Look at the top X cards of your deck. You may put them on the top and/or bottom in any order.
This ability is incredibly useful for Azalea. Luckily, she doesn't need to fill her deck with copies of this effect. It can be found on the Ranger's legendary equipment: Skullbone Crosswrap.
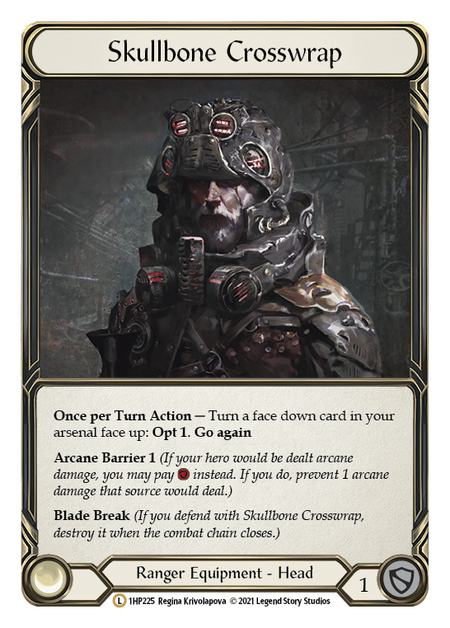
Having constant access to Opt would be incredibly powerful, so Crosswrap has the ability tied to your having a face-down card in arsenal. To be clear, this is essentially a cost: you must have a face-down card in arsenal that you can turn up, or you can't Opt.
Pro Tip: Keep your eyes open for Opt effects when deck building Azalea. When using Opt, be sure your arsenal is ready, so Azalea can swap a great-looking top deck directly into play!
While Opting is nice to ensure you don't make a mistake and load a useless card into arsenal, ultimately you're still at the mercy of the shuffle. When we take it one step further and actually set up the top of the deck, Azalea takes on a whole new depth.

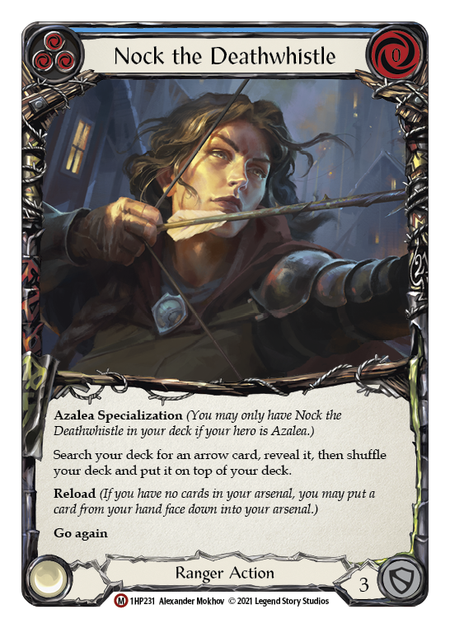
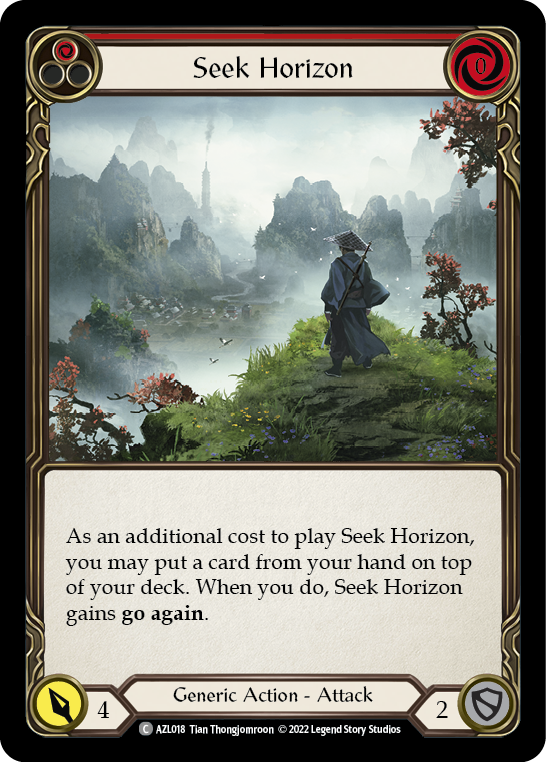
First teased with her specialization card Nock the Deathwhistle, Azalea now has multiple tools for stacking the deck with exactly the arrow she needs. Nock pulls that perfect arrow from your deck; Seek Horizon pulls the card out of hand to enable a Dominate tag; and Memorial Ground digs into the graveyard for that best arrow and gives you one more turn with it. Between these three cards, Azalea has unrivaled access to the on-hit effects that will matter the most to your enemy.
An Arrow for Every Occasion
So what do these arrows offer that are worth all the work to utilize them?
Arrows don't sport hard-hitting numbers; you'll only find a single 6 in the Ranger suite. But nearly every arrow penalizes an opponent for allowing it to hit. Additionally, they're incredibly affordable: arrows range in cost between 0 and 1.
Pro Tip: Because arrows must be played out of arsenal, there is an additional cost associated with arrow attacks- that being the cost of whatever effect puts it there.
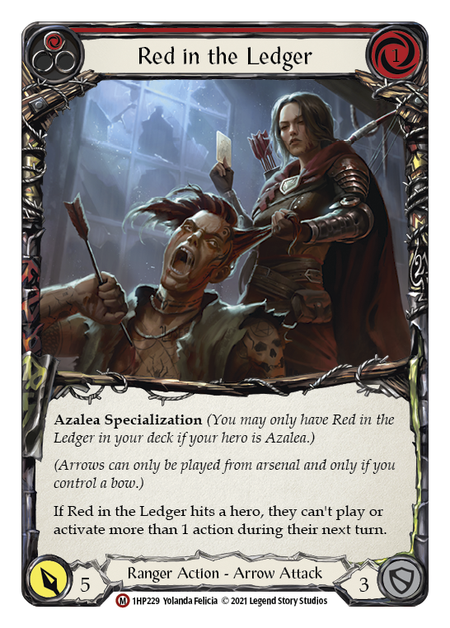
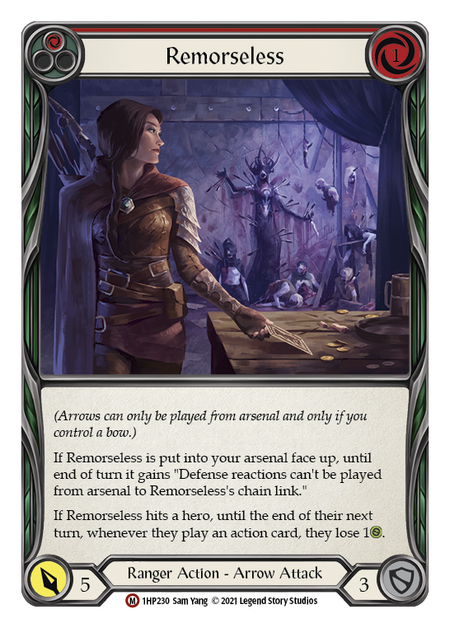
Remorseless and Red in the Ledger are considered Azalea's signature attacks. Both cripple an enemy's ability to string actions together, and deal a solid 5 damage as well. When dominated, these arrows absolutely own any opponent.

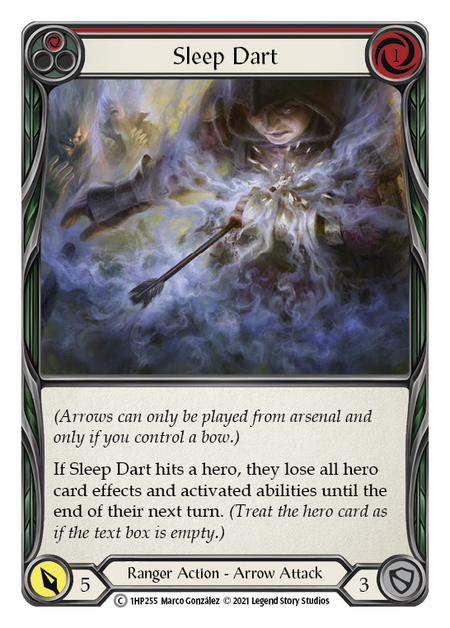
While Red and Remorseless are the preeminent arrows in Azalea's quiver, Sleep Dart and Hamstring Shot are equally meaningful attacks in certain matchups. A well-timed Hamstring Shot can ruin the careful calculations that go into how a player blocks and how they pay for their next turn. And Sleep Dart can end a Shadow hero's whole career.
(Back when Monarch debuted, I wrote a piece on why I saw Azalea as a natural counter to the entire Monarch meta; unfortunately, we never saw the Azalea meta develop!)
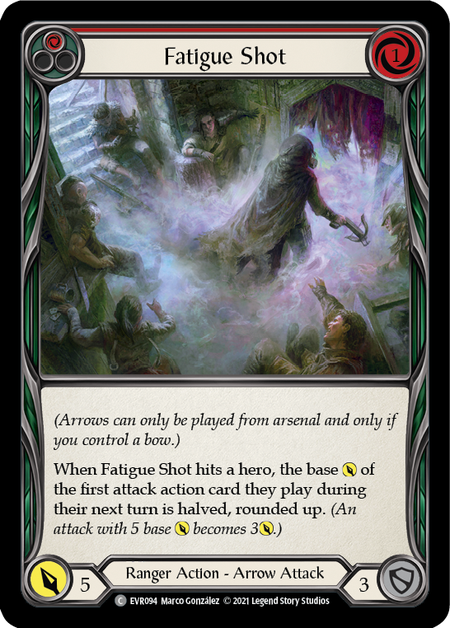
Fatigue Shot also counters those tall hits, cutting in half the first attack that comes your way. While that's useful against anyone, it's substantially more potent against Bravo's sole attack for 10 than Katsu's opener for 2.
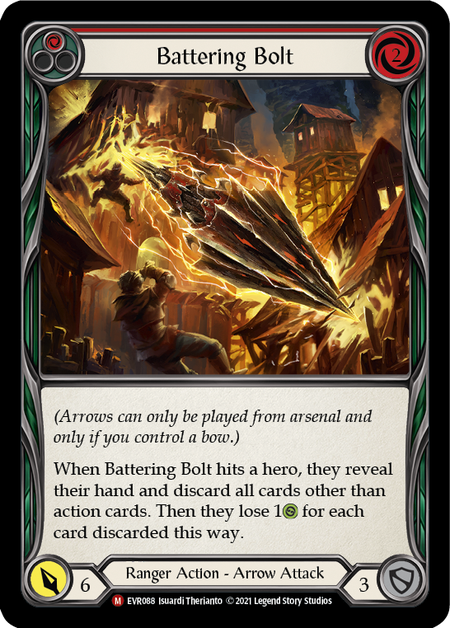
Then there's Battering Bolt, whose main purpose is simply to give Ranger access to an in-class 6 attack for breaking Illusionists' phantasm attacks. The on-hit effect here isn't likely to prune much from the opponent's hand- especially as they're likely to throw any defense reactions they might have against it- but it can devastate a Warrior.
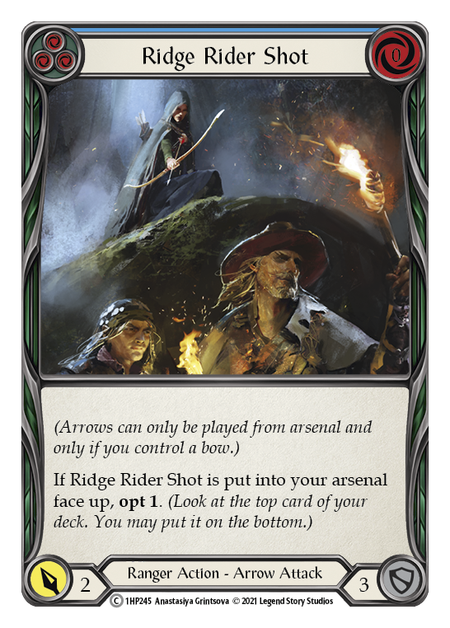
Throughout this article, we've highlighted the red versions of all these attacks. That's because a Ranger's card costs are so low, they can afford to run a heavy lineup of reds. Ridge Rider Shot is a rare exception, as it's an arrow you never intend to fire. Instead, this is an Opt with arrow synergy, and a pitch card that more than pays for even the widest Ranger turn.
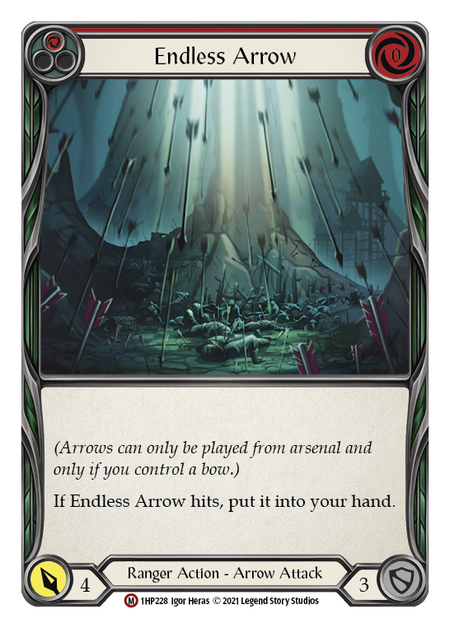
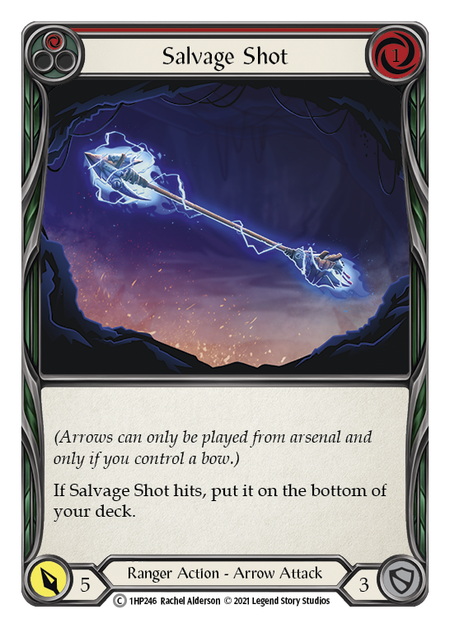
Sustainability is a real concern for Rangers. As they have no way to attack without cards, Rangers run a real risk of decking themselves before the game ends. Salvage Shot and Endless Arrow give you options to outlast that inevitable fatigue horizon. Endless Arrow has a more immediate recursion cycle; and in decks capable of reloading and going again, you can fire Endless multiple times in one turn.
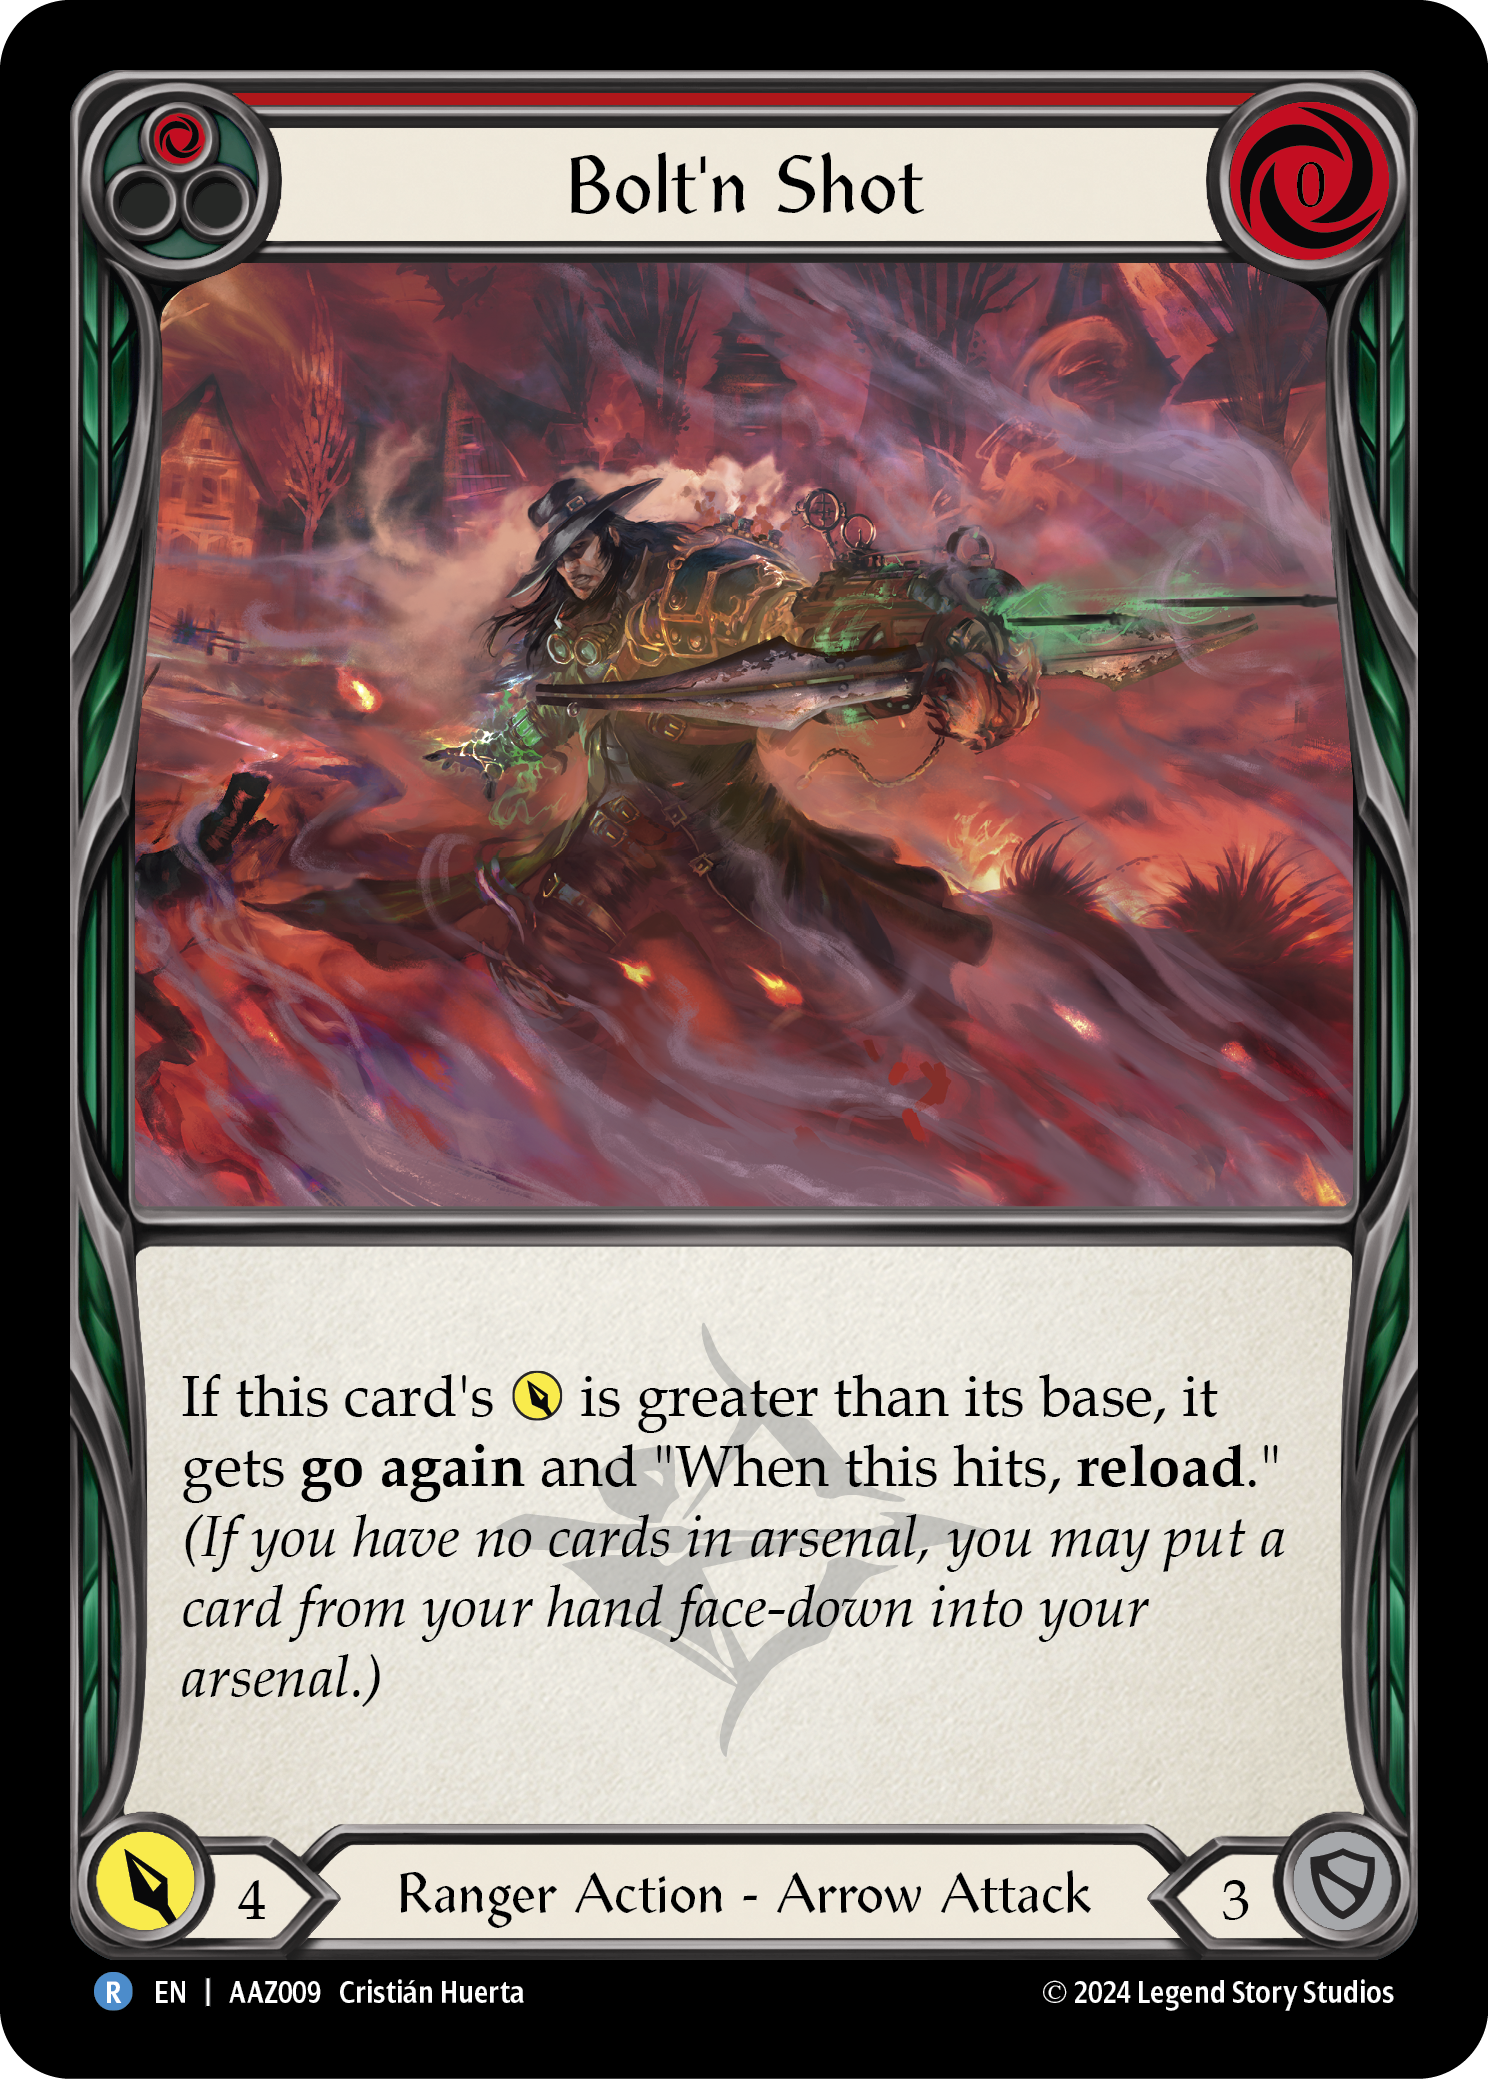
Let's set up the value of the buffs we'll be examining in the next section with a final arrow, Bolt'n'Shot. On its base level, this card acts as an excellent filler arrow to up the count of cards that synergize with your deck's main theme, while also raising your average defenses. But stick a modifier on it, and now it's a free attack to precede your main attack. Because it gains both 'go again' and 'on hit, reload', it does all the work to prepare your next arrow attack.
Deadly Aim
Arrows benefit from a number of class-specific buffs, and a few generics that pair especially well with Ranger's low-cost emphasis. Buffs are especially important because of the comparatively lower damage numbers found on arrows. Even with dominate from Azalea's ability, any arrow for 4 or less is at risk of being blocked, costing you the hit effect you were counting on and losing the momentum Ranger's live and die by.
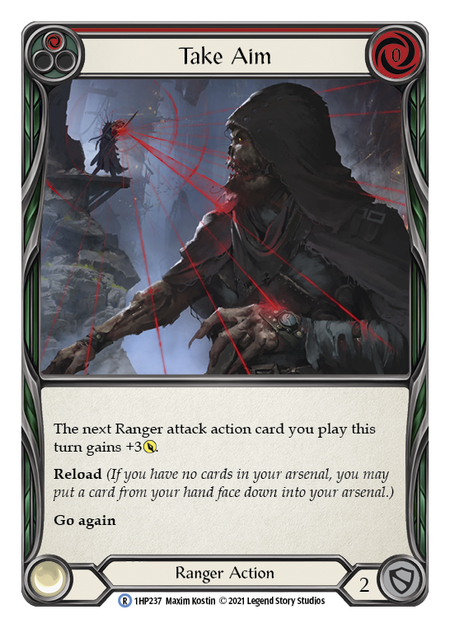
Take Aim is a straightforward Ranger staple. We touched on the reload keyword earlier, but it's worth noting that this is an effect that doesn't specify putting an arrow into arsenal and doesn't place it there face up (leaving something for your Skullbone Crosswrap to reveal). Often you'll see Azalea play Take Aim, reload, opt from Crosswrap, use Azalea's ability, and fire a majorly buffed arrow with dominate.
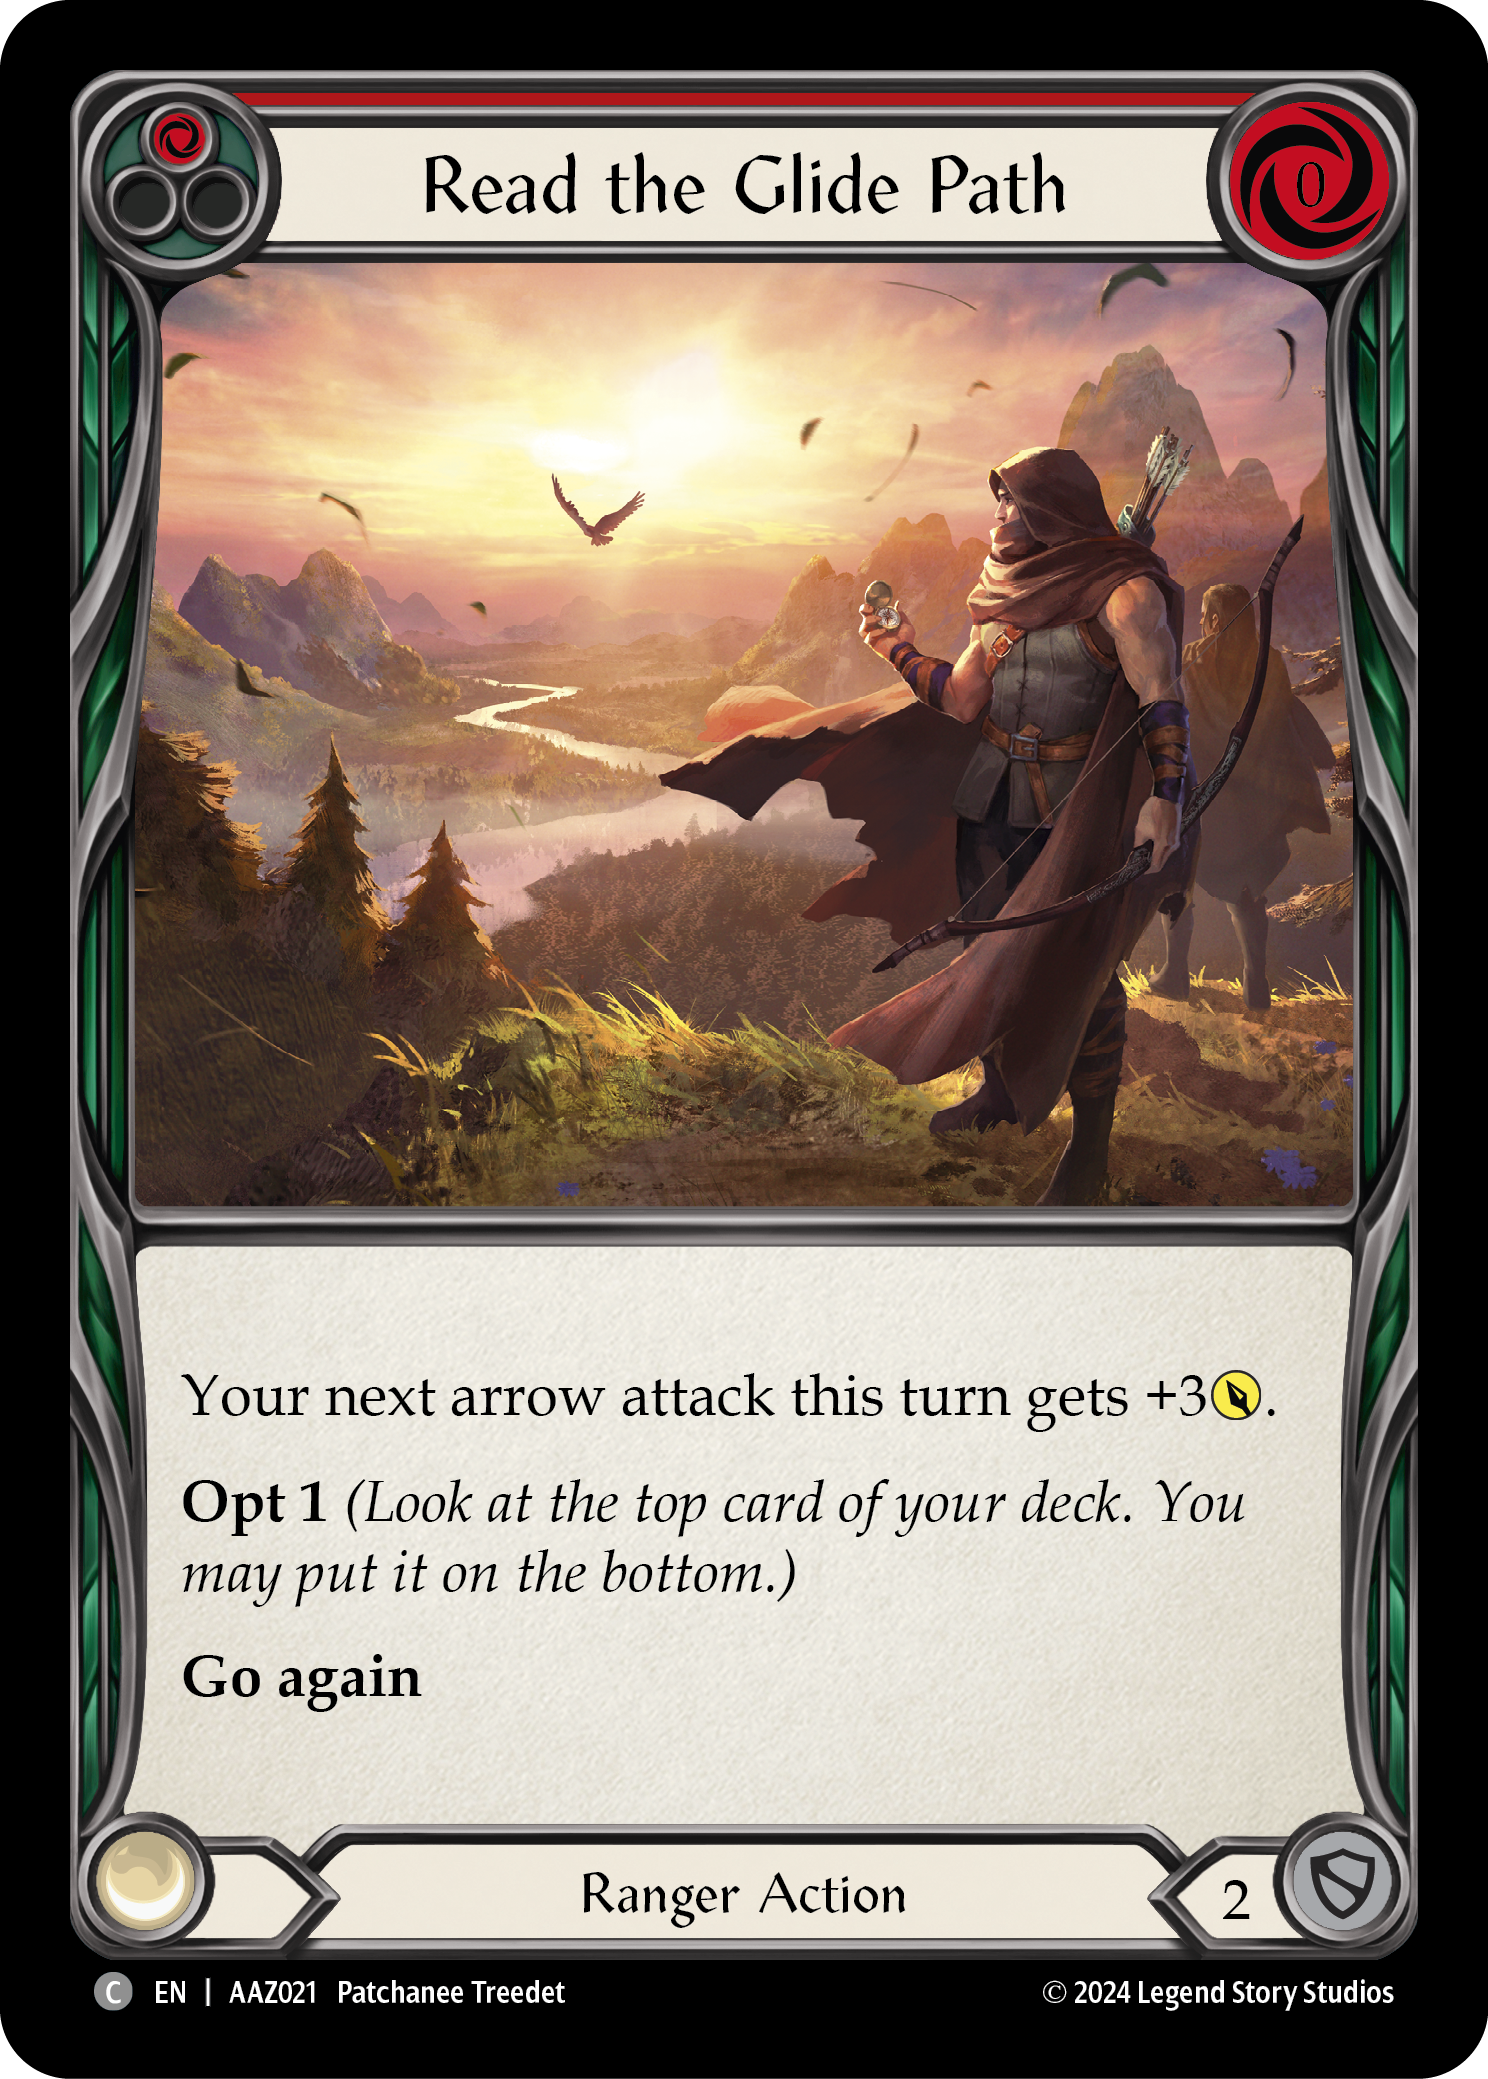
If you don't need reload, you can instead use Read the Glide Path for another opt 1. This is especially useful when your strategy is to go tall with one dominated arrow per turn; and when you're looking to get the benefit from loading an arrow with your bow, reload can often go to waste anyway.
Increase the Tension can essentially ensure a dominated arrow will hit. Without defense reactions, a single card can't mount more than a 3 defense; if you see their arsenal is empty, you have only equipment and the odd instant to worry about. Tension complements Remorseless nicely, completely cutting off defense reactions from any zone. Its 1 cost makes this a bit of a luxury card for Azalea, who isn't used to paying for any turn with more than a yellow, so you'll have to watch your resources carefully.
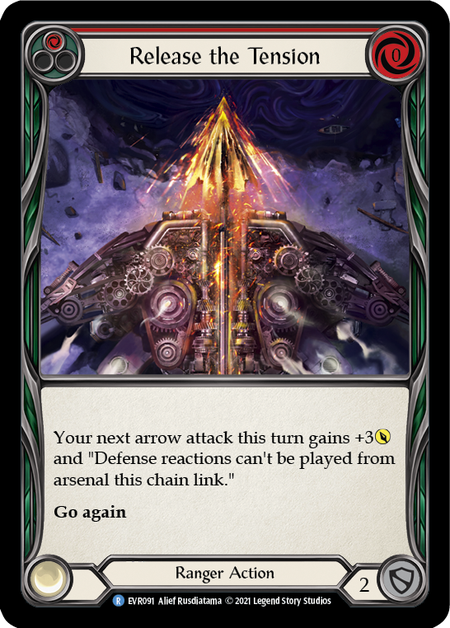
Then there's Release the Tension, a 0-cost buff that flips the script on its similarly-named counterpart. Taking a page from Remorseless' playbook, Release can help any of your other arrows avoid the same fate, and pairs well with dominate to ensure only one card gets used to defend.
Over Flex is a pretty straightforward buff capable of raising an arrow's attack 2 brackets (a 3 attack going to 7 takes it from a single-card block to a 3-card block).
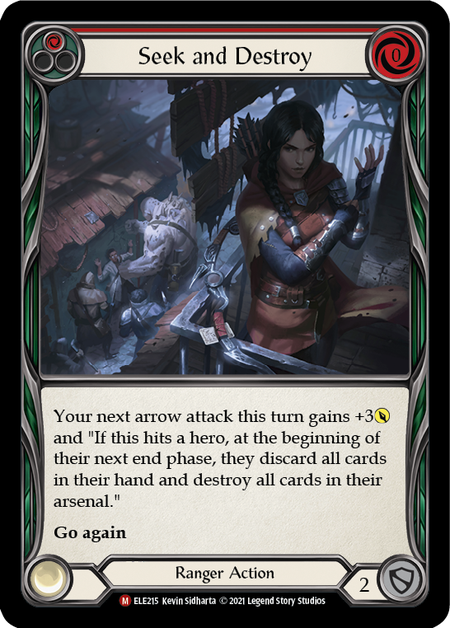
In addition to a damage buff, Seek and Destroy can shut down a setup deck by ensuring they carry nothing over from their next turn. Look to pair it with Red in the Ledger to ruin any plans they may have had of playing out their hand and avoiding the penalty.
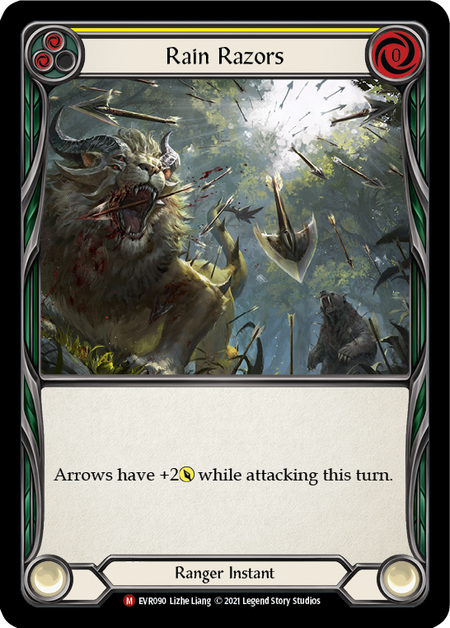
Rain Razors is the buff of choice for any build that's looking to go wide- and probably even those that aren't! A simply +2 to all your arrows, as an Instant, allows you to react to a block with an unexpected climb, while aiding any future shots you may fire that turn.
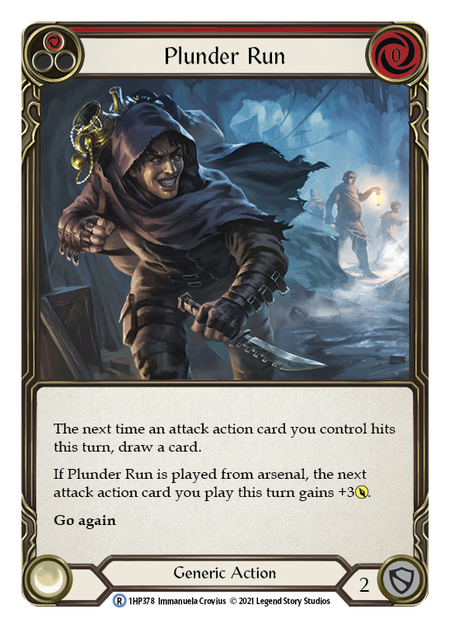
As long as we're talking buffs, let's touch base with the most popular generic options. Azalea keeps her costs low, so Nimblism turns out to be a good fit for her. And because of those same low costs, Azalea can craft wide turns off very low resources, making card draw a valuable effect; Plunder Run (in Blitz only) keeps the threat of a draw live until an attack actually hits, forcing 2-card defenses on 4s and inevitably breaking through. (The usual drawback of Plunder Run is the need to play it from arsenal, but we've demonstrated how that's not a problem for Azalea.)
Arrows can also benefit from some unique buffs that vary from your standard damage modifier. The best example of this is Poison the Tips, one of the few effects in this game that pressures the opponent's hand- and by far the least restricted. Poison adds a deadly on-hit effect to every arrow you fire that turn- and helps make that wide pressure possible with a reload effect of its own. By your second 4- or 5-damage arrow, Poison has likely stripped their entire hand away.
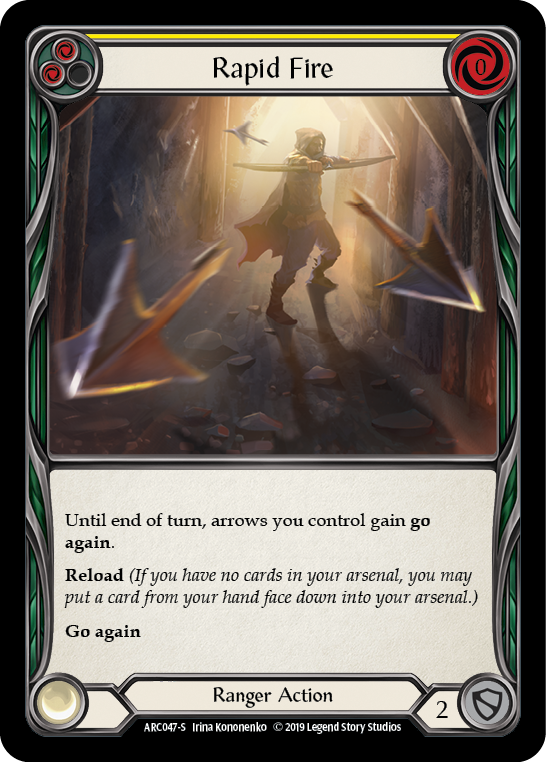
Of course, wide turns with arrows aren't possible unless you can stamp 'go again' onto them. Rapid Fire is another entire turn buff to your arrows, and straight-up that's what it does (again, with a reload to help make this all possible).

Generics can help out here too. Razor Reflex does so much work for Azalea: climbing over defenses to ensure a hit effect, giving go again to continue your turn, and of course increasing the damage you deal! A deck with a go-wide gameplan is likely to consider all three cycles of this card.
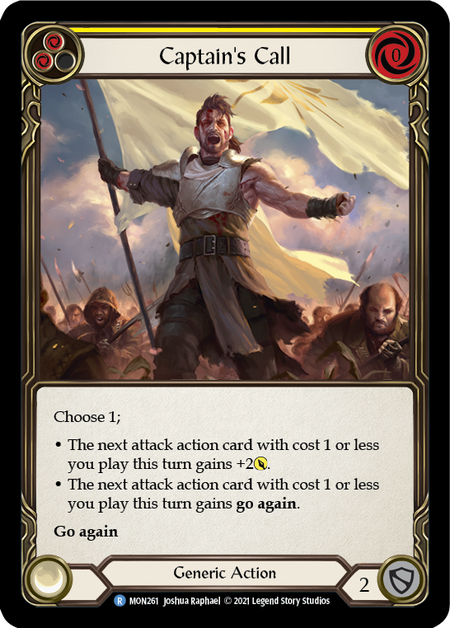
Captain's Call does many of the same things, but because it's an action and not a reaction, its role ends up being very different. Also, it must choose which effect to apply. Its zero cost and yellow pitch are major selling points; already this card has the appearance of a class staple.
Defenseless?
Azalea has a reputation for poor defenses, and if you're looking at your hand planning your next attack phase this often feels true. Ranger cards follow an unfortunate pattern: arrows block for 3, and non-attack actions block for 2. Of course, the arrows are essential to your attack phase, so you're reluctant to toss them out as blocks.
Because of this, Azalea tends to play an overtly aggressive game, following the "best defense is a good offense" mantra with sustained pressure. This can work incredibly well against some decks- and very poorly against others. Taking a moment for opinion rather than fact, I would go so far as to say that a misunderstanding of Azalea's defensive options- and how to utilize them when the matchup calls for them- is the main reason Azalea can't make it through multiple rounds of a tournament with a winning record.
The fact is, Rangers do have an incredible defensive kit, but it's completely divorced from their attack plan. The Ranger class has more defense reactions than any other class- plus a defensive instant! These cards compete for space in the deck at every turn: card count at deck construction, draw integrity in-game, even arsenal space between turns! Again, mastering the movement of cards is essential to Azalea's success.
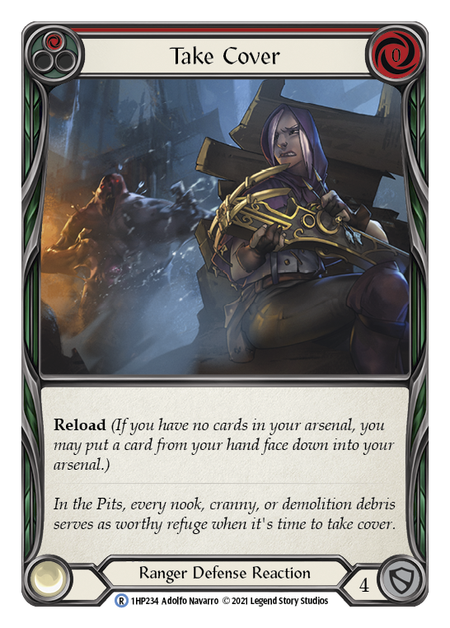
The easiest defense reactions to use are the 0-cost 4s: Ranger's Take Cover and the generic Fate Foreseen. Both cards offer secondary effects that Azalea wants to see anyway, and can be played out of hand. Sink Below can be a solid inclusion too, but Azalea doesn't want to dedicate too many cards to defending, and often this one won't make the cut.
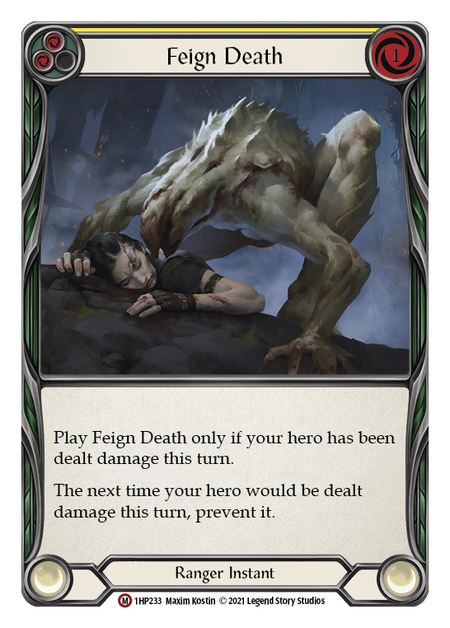
Feign Death is a total shutdown effect. While it requires taking damage from some source first, it's a single-card total block. Feign Death is ideal for defending against Prism, Chane, Katsu, and other heroes who tend to lead into their strongest attack.
Pro Tip: When defending against a Runeblade attack accompanied by Runechants, the damage you take from a Runechant will occur before the attack damage- turning on your Feign Death! This is an excellend defense against devastating, game-ending attacks like Arknight Ascendancy and Ninth Blade of the Blood Oath.
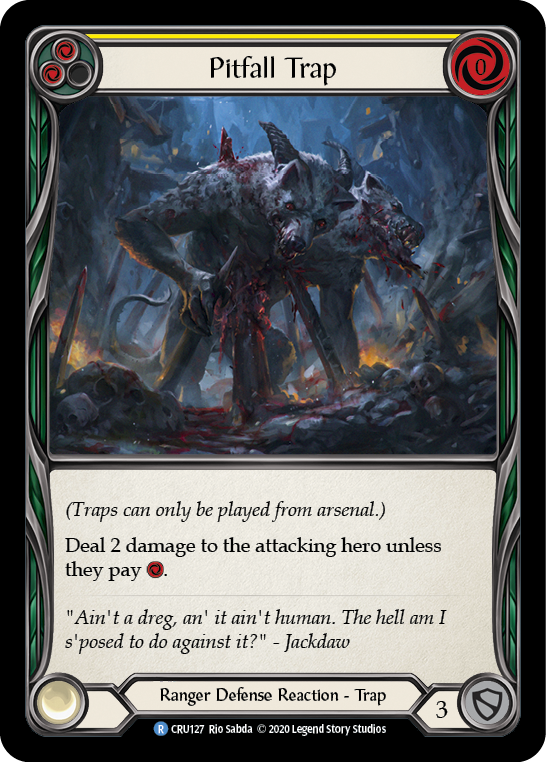
Traps are infamous for telling you exactly what they are: a deckbuilding trap! Many players swear these are the worst cards ever conceptualized, requiring too much work to effectively utilize while offering an out to your opponent in the form of their "unless they pay 1 resource" clause. But traps have their place, especially as the very use of them is still unexpected.
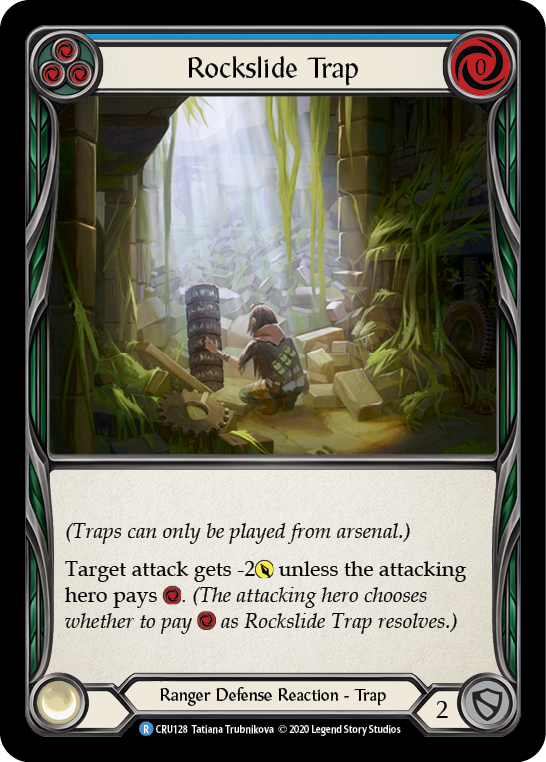
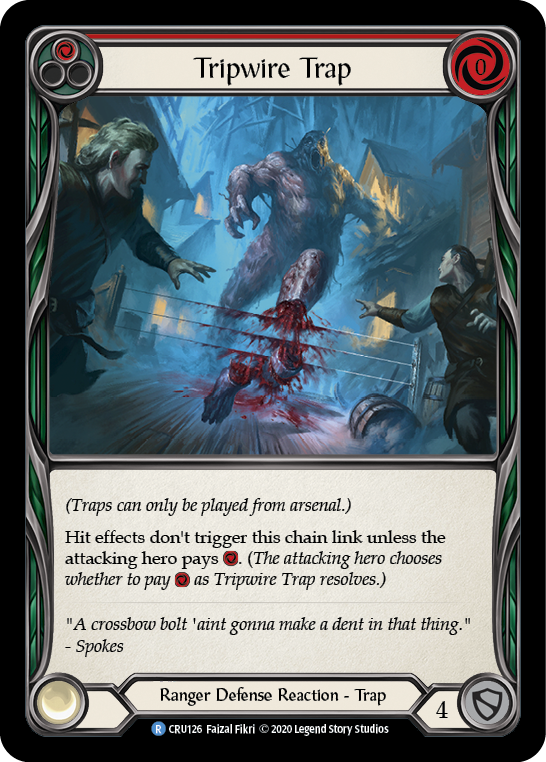
Tripwire Trap can peel away hit effects from decks that are built around them. Consider Dorinthea's Dawnblade, or Prism's herald cards. Pitfall Trap can deal damage on an opponent's turn- Reckless Swing and Steelblade Shunt have shown how this can close a game! Rockslide Trap effectively acts as a 4 defense on a blue pitch, though there are applications where that -2 attack is even more significant than a +2 defense, such as when defending against Boltyn.
Most decks operate on a razor-thin margin of resources to costs, and anything that changes that can bring the rest of their turn to a halt. You can often predict when a trap's effect will ruin their turn and when they'll simply pay the cost to continue.
The best use of a trap is to slip it into your arsenal via reload on Take Cover, but outside of that exceptional circumstance, you want to slide a trap into arsenal at the end of your attack phase. Rangers inherently want to have a card in their arsenal, so don't feel like you need to flip it up the first time an attack comes your way; if it doesn't make sense to defend with it, let it stay until your next turn starts up, then trade that card out with Azalea's ability.
Pro Tip: Azalea doesn't require you to reveal the card you replace, so if you haven't turned that trap up to pay for a Crosswrap Opt, you can still maintain the element of surprise that the trap was in your deck as you send it to the bottom!
Modus Operandi
There are a few main strategies to pursue when playing Azalea. But one of the things that makes the Ranger class stand out among other classes is its ability to pivot between them from one turn to the next. The strongest Azalea decks utilize all of them and flex between them as the cards and opposing playstyles demand.
Rapid Fire (the Wide Approach)
If one killer on-hit effect demands a 2-card defense, two on-hit effects ask an opponent to give up their next turn or suffer the consequences. Because of this easy pressure, Rangers love to string multiple attacks across a turn. Sometimes it's a simple one-two from a pair of deadly arrows, facilitated by a Razor Reflex or Snapdragon Scalers. Other times, a wide turn from Azalea will incorperate a number of generic attacks as well- a few favorites include Ravenous Rabble, Promise of Plenty, and Seek Horizon.
When Azalea goes wide, she needs to account for a few things to ensure it happens. She needs to have ways to get arrows into arsenal; she needs to have ways to give arrows go again; and she needs to have a pitch card sufficient to pay for everything. Death Dealer is a stellar enabler of a wide turn, because while it costs 1 resource to load your arsenal with it, that card gets replaced in your hand. If you pitch a yellow or blue to its effect, you've made resources at zero cost to your hand size- resources that will likely pay for everything else you do that turn.

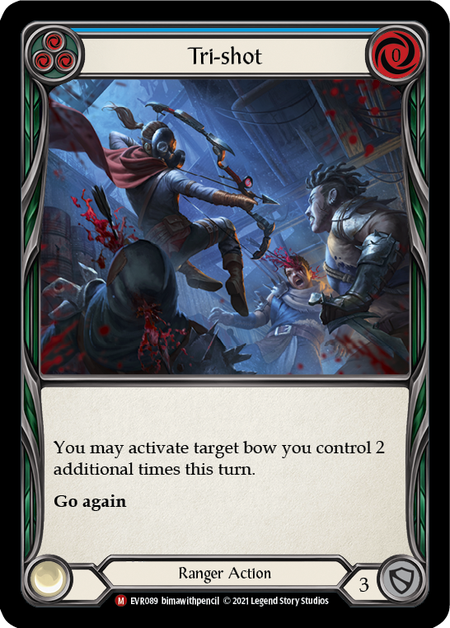
Tri-Shot is essential in a build like this, and what it can do in tandem with Death Dealer is simply remarkable. You'll still need to give your arrows go again, which is where Rapid Fire and Perch Grapplers come in. With so many opportunities to load your bow, a deck like this can even make use of Three of a Kind.
Take Aim (the Tall Approach)
Whenever you see dominate on a card, you should be thinking about how big you can make that attack. Like Bravo, Azalea has the ability to tack dominate onto any class attack. Unlike Bravo, those attacks don't inherently deal big damage- but they can, with the right cards.
When Azalea goes tall, she's looking for non-attack action cards that can turn nuisance arrows like Remorseless into absolutely devastating powerhouses. A single copy of Take Aim turns a card+equipment block at 5 into an unstoppable 8; that hit effect is going to trigger. Tall decks can make good use of Red Liner, since they can act from a single card in hand when needed. Obviously a single arrow isn't going to fit the 'one devastating shot' archetype they're going for, but it allows the deck to ward off hits between big shots- and a tall deck knows it will deal its damage, incrementally, if given enough time to do it.
Nock (the Disruption Approach)
As we said before, Azalea uses all of these strategies at once, though your deck can be built to prefer one of them when given the choice. Perhaps the most dynamic and unique path available to her is the disruption strategy. This approach takes Ranger's nack for having the perfect arrow to ruin the opponent's strategy and hones in on it via tutoring, recursion, and top-deck manipulation.
When pursuing a disruption strategy, Azalea is focused on exploiting a weakness. Whether that's Prism's carefully-calculated card costs, Levia's growing debt to the shadow, Kano's out-of-sequence use of action cards, or Chane/Dash/Katsu's go again strategy, Azalea has a counter to them all. You just need to find the right arrow, then fire it again and again and again.
Because finding that key card the first time is so important, this is a deck where the unconventional Three of a Kind might play a major role. Rangers already do a lot of card cycling- via Death Dealer, Skullbone Crosswrap, and Azalea's ability- but Three of a Kind moves a ton of cards very quickly. Because your plays are now limited to arsenal only, this card is more of a combo piece for the wide build above; but here, it instead acts as a way to refill your hand after heavy defenses, or to find that one particular card you're after. If you're lucky, you may be able to craft a wide turn after this thru the use of reload, but most likely it's just a big draw that ends your turn with a few cards still in hand.
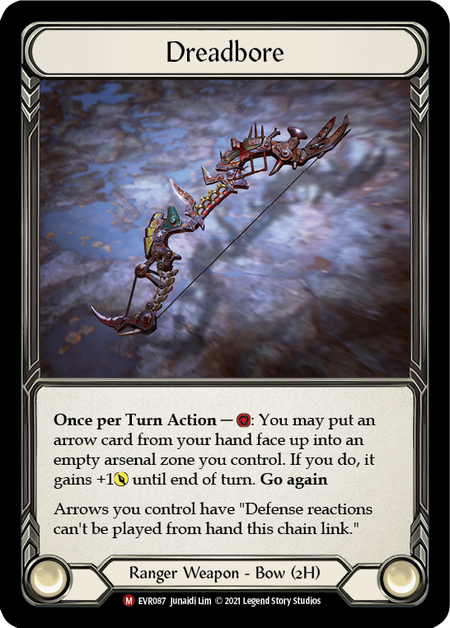
Dreadbore can be a powerful tool in your sideboard, just like the arrows you sideboard in for class-specific matches. Removing defense reactions as an option is incredibly powerful, as is the +1 to that arrow's attack- though the latter bonus is lost the moment you use Azalea to replace the arrow you loaded. Of course, against classes who don't tend to use much in the way of defense reactions, Death Dealer remains a superior choice for its card draw.
What About Aim Counters?
The Sandscour Greatbow and its accompanying arrows introduce a new strategic angle for Azalea in the form of aim counter synergy. There are two main reasons to take up aim counters: to unlock powerful effects on a handful of arrows, and to use the highly overtuned Dead Eye.
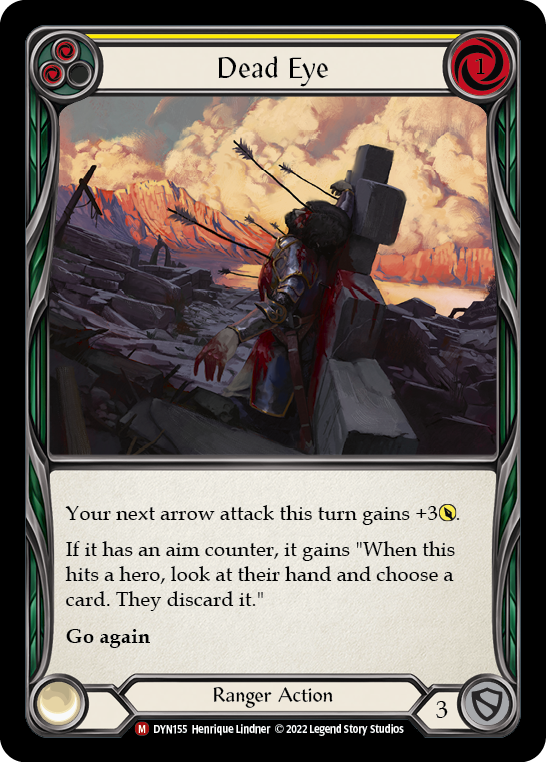
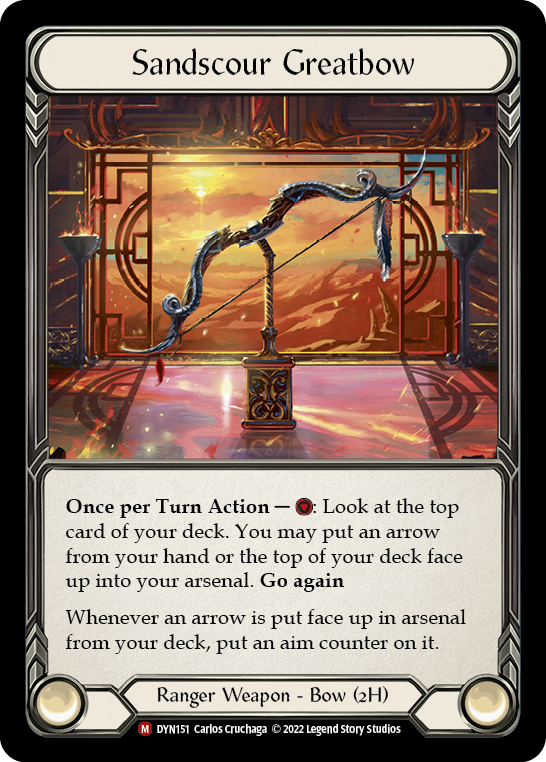
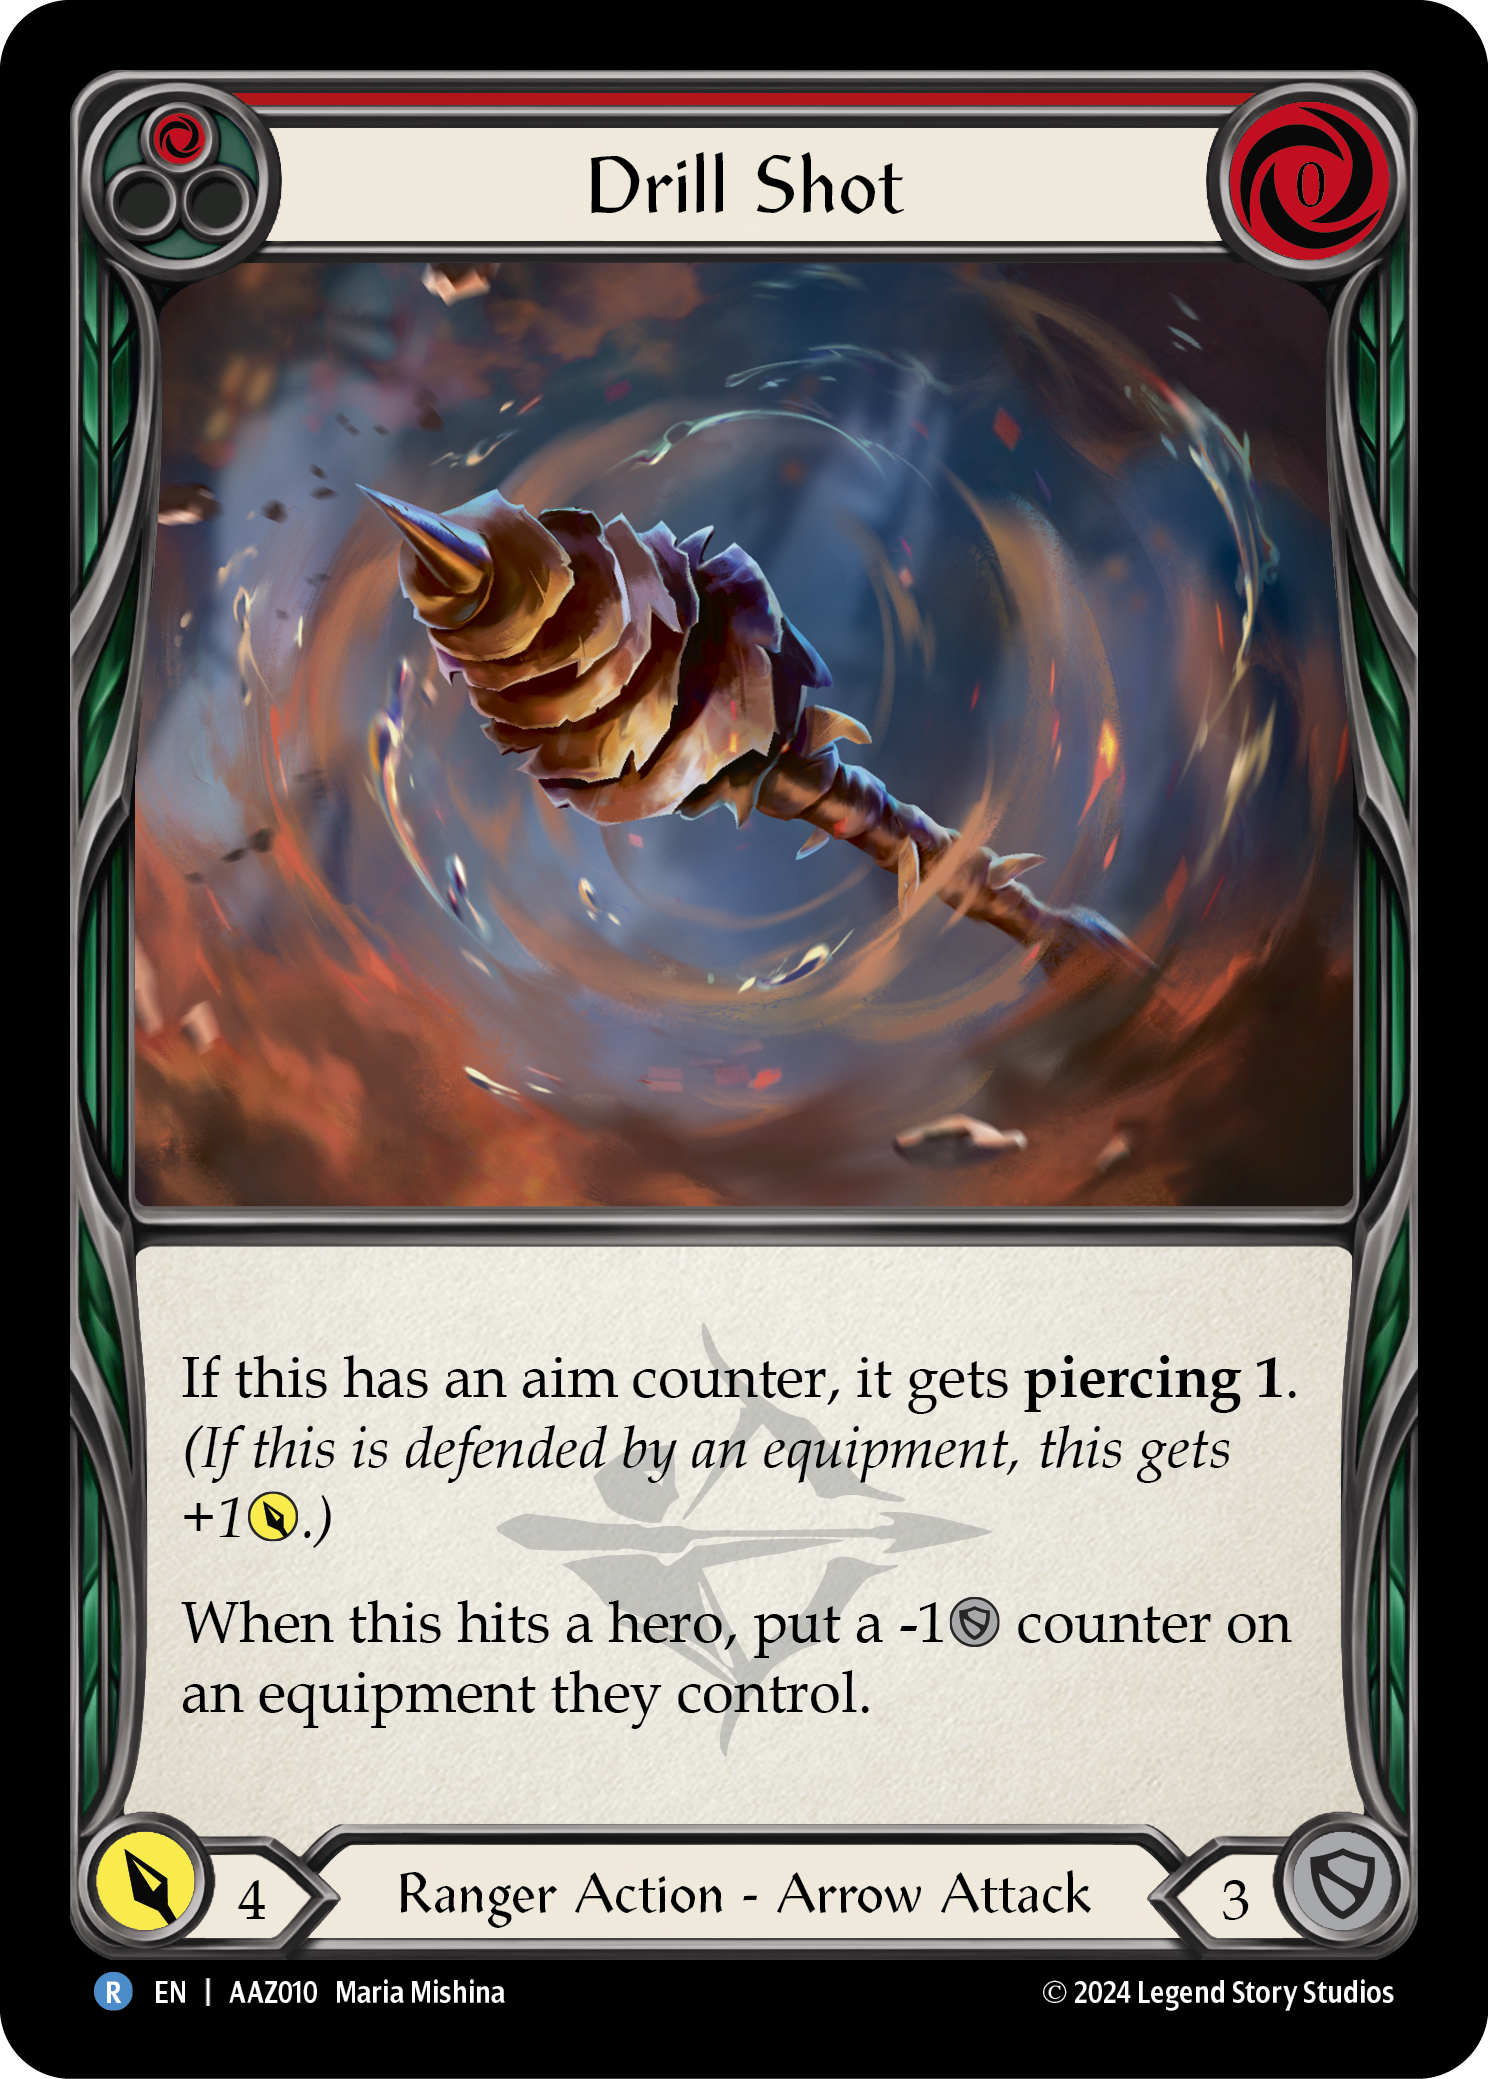
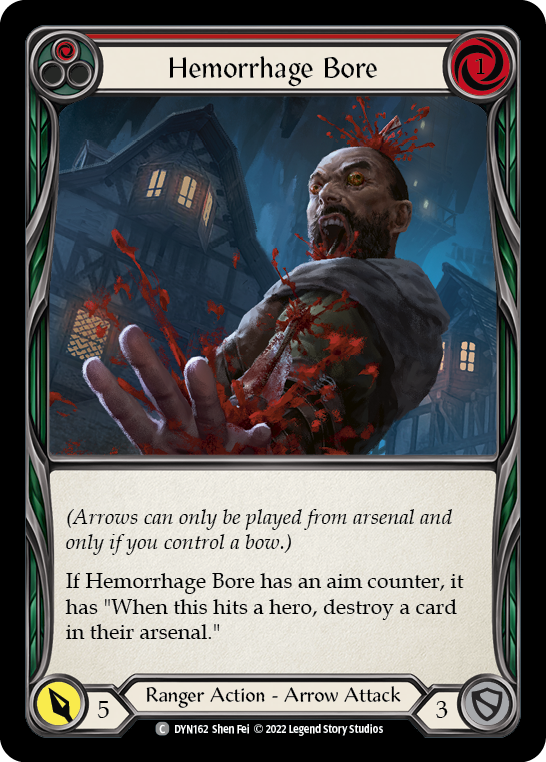
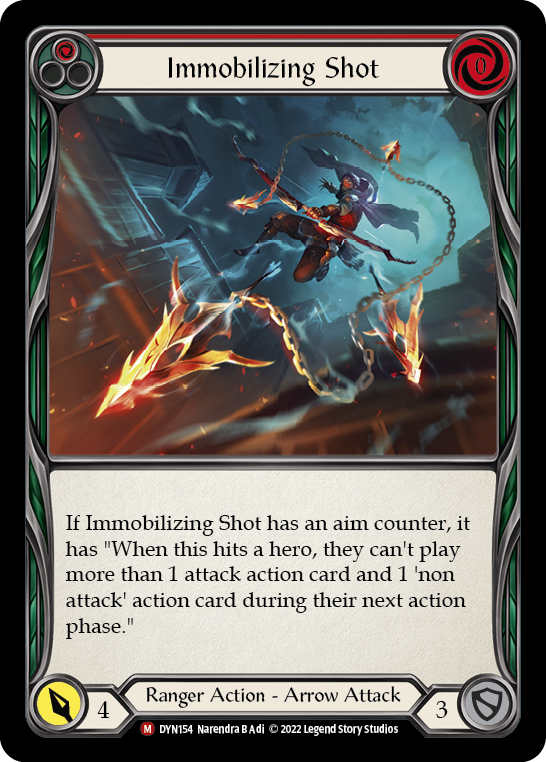
While you could attempt to include this kit in any Ranger deck, Azalea's abilities align nicely with the top-of-deck gameplay that the Greatbow enables. It's fairly easy to trick out your arrow attack with an aim counter and dominate, which adds inevitability to the already stinging secondary effects of Drill Shot, Hemorrhage Bore, and to a lesser degree Immobilizing Shot. Of course, the best outcome is to stack Dead Eye on top of that.
Ready, Aim, Fire
Perhaps nothing is so distinctively 'Ranger' to an Azalea player than the rehearsed sequencing that go into every turn. There are numerous micro-interactions that go into every action you take: the flow of cards into and out of your arsenal, the state of the top deck and how draw impacts it, the cards in your hand at any given moment. All carefully considered, until it becomes second nature.
In general, Death Dealer Azalea wants to load an arrow, use any opting she has access to, then use her ability to put a known card into arsenal. This avoids ruining your top-deck knowledge with a Death Dealer draw, while having everything in place to gain that dominate, if you want it. Red Liner Azalea, in contrast, can feel free to load her arsenal at whatever point in the sequence makes the most sense to you.
But what if you started the turn with a face-down card in arsenal? Now you may want to Crosswrap first, perhaps swap the card in arsenal for the top of your deck? Or fire the arrow you arsenal'd last turn? Of course, with Red Liner and go again, you can fire the arrow you saved last turn, load a new one, use Azalea's ability to swap it, and fire off whatever you found on top of your deck... the lines of play are wide open, with every component creating new options to consider!
When you first start playing Azalea, you are bound to make mistakes on this intricate lines of play. Don't get discouraged! Soon you will be thinking of cards and actions as connected to how you can manipulate them across the three zones Azalea has control over: your hand, your arsenal, and your top deck. Keep practicing, and soon you'll be finding your target, the rhythm of archery fading from conscious thought to muscle memory.