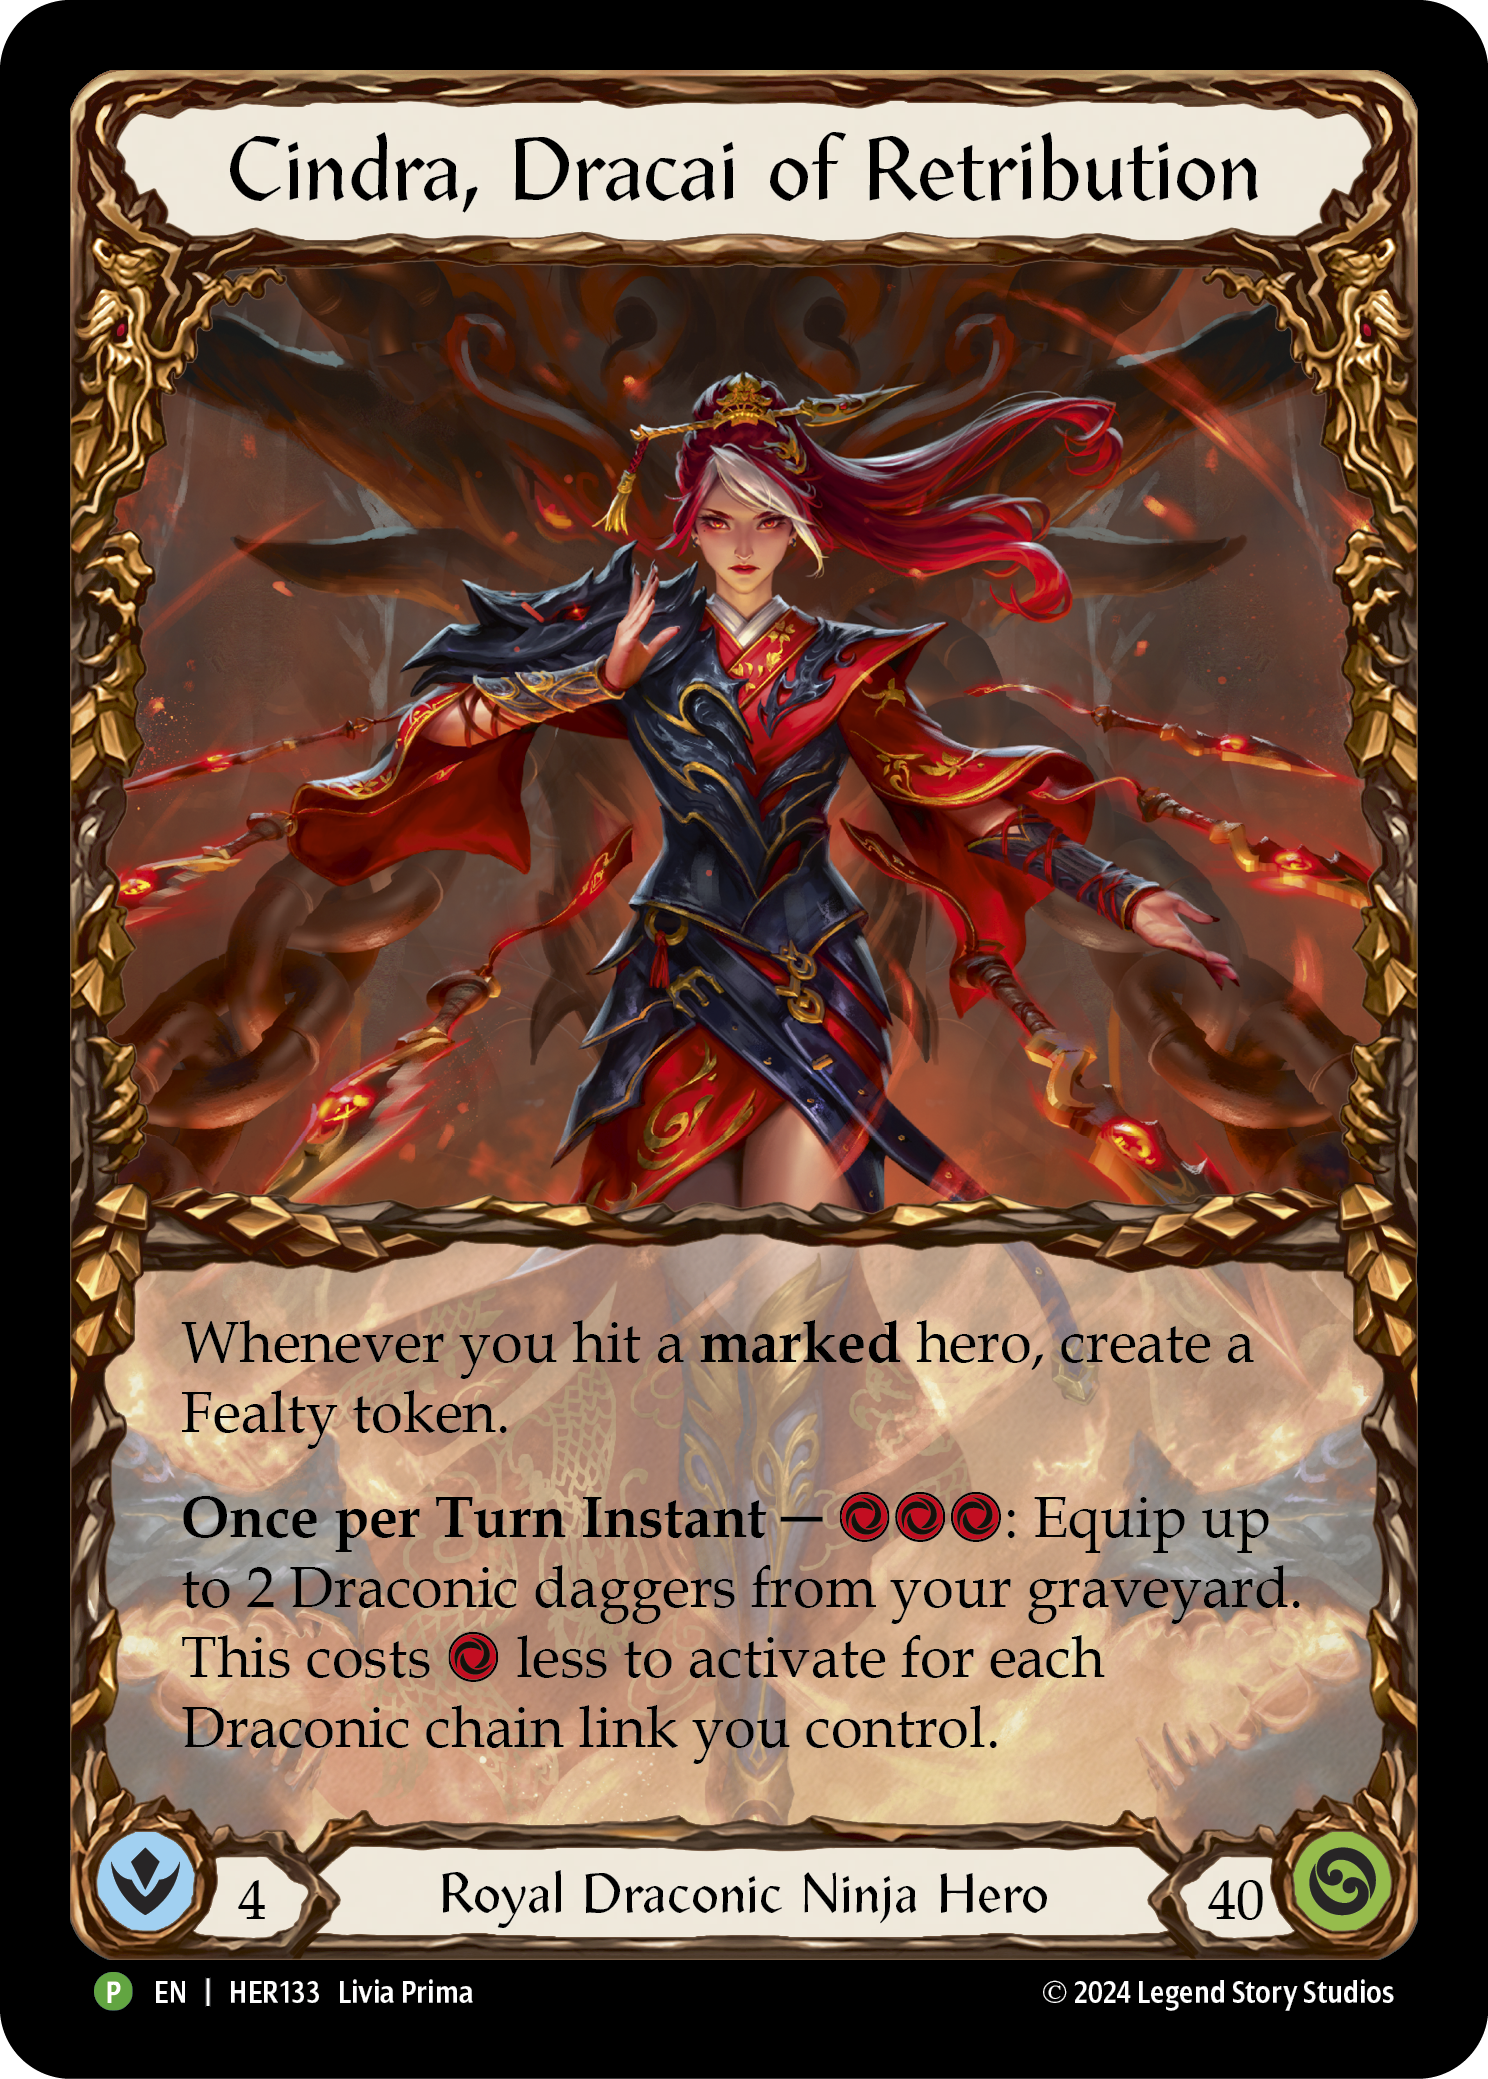
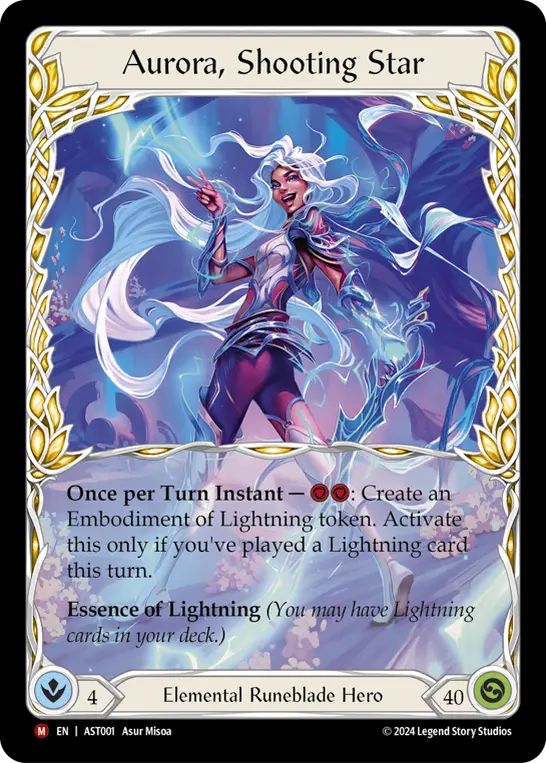
While not as dominant as she used to be, Cindra’s run to Living Legend took aggro deckbuilding theory to its most extreme. Naturally, a deck built on 0 for 4’s and 'Head Jabs' skimps on blues, but even these redline aggro decks are still required to dedicate some slots to pitch cards in order to swing weapons or activate hero powers. How these red-heavy builds incorporate blues can vary widely. Fai might run 12 to 15 blues, while Aurora ran closer to 9 by the end of her tenure in CC. Cindra has shown a particular disdain for blues; redline pilots often registered Throw Dagger or Warmonger’s Diplomacy as the only blue in the list, and not always all three copies either! Some audacious players found good results with zero blues while Brand with Cinderclaw was legal, relying on yellow Brand and Salt the Wound in a pinch.

All of these decks are built with one thing in mind: redundancy that kills.
The theory behind it is sound and well-expounded upon already. In his analysis of 4s in Flesh and Blood, Alex Truell clearly laid out why this formula is so strong at getting damage through. Frank Hung’s Case for Synergy is an in situ breakdown of how this deck construction method works from back when pre-errata Briar introduced the concept. Both of these are foundational theory pieces to aggro. While I will cover some content of them briefly, if you haven’t read them, I’d recommend doing so before continuing on.

When 4+4+4+4 continues to add up to victory, is there a fault in our stats?
by: Alex Truell

Frank Hung makes his debut with a close examination of synergy and its importance in deck building.
by: Mark Chamberlain & Frank Hung
Cindra’s success boils down to taking these concepts and pushing them to their maximum. Rather than maybe 10 blues, Cindra can run almost zero -although these days she’s closer to 6 or 8 once you include the sideboard. The redline rushdown lists have formed almost the entirety of Cindra’s path to Living Legend, with little sign of it being halted in the Classic Constructed portion of ProQuest: Las Vegas season. Indeed, it may be we’ll say goodbye to her soon; while redline isn’t as strong as it used to be pre-ban, it’s still scoring top placements at events time and time again. Surely that’s still good enough, right?
I disagree. I believe there is a better build for the hero, and it’s the undersung Blue variant.
Building on Blues
I’ve played a blue-er build since I started on Cindra, seeing the spark of power and flexibility behind an aggro deck with a solid blue base. In my first ever ProQuest, I scored a Top 8 with it, losing there to the person who won the event.
While I do not consider this a particularly astounding feat, our own Abigail Welday has done her damnedest to remind me just how competitive that Top 8 was, with “multiple Worlds-tier players,” per her estimation. I do not believe in tooting my own horn on my accomplishments, especially one that is not terribly unique to me, but she would yell at me more if I downplayed it or failed to mention it at all.
However, it’s clear I’m in the firm minority in going blue, and most top level players disagree. After all, 'blueline' Cindra hasn’t made a top placement of an event since Kinga Piper Balázs’ 3rd place finish at Calling Hamburg, all the way back in October. Compare this to the innumerable finishes from redline. What is a blue-based Cindra honestly offering over the all-red list?
I think that question is important; but I also believe that, without understanding the deeper theory behind aggro in FAB, neither the question nor the answers are particularly compelling. If we want to better understand why this build exists, let alone why to play it when it seems so obviously flawed, we need to know the technicalities behind why and how aggro works in FAB at all.
The Art of the Aggro
Arguably the most important part of a rushdown deck is the cost curve of the cards compared to their power. If your TCG experience began with Flesh and Blood, this might not seem obvious at first. But if you’re like me and coming from other card games like Magic: the Gathering, it’s the most obvious thing we notice. We know this to be true in FAB already: The prevalence of 0 for 4’s with go again is the most extreme application of the idea of the cost curve. I won’t go deep into the story of Sligh Theory or how MTG adapted Paul Sligh’s deck into the idea of the cost curve, but it's a good read.
As a note to the reader, finding this foundational text is not as easy as it used to be. You can find the first chapter from Classic Dojo here. However, there's no way to change chapters. This is because Classic Dojo is trying to preserve the content as much as the feel, which makes it akin to its original 90's internet form. To find the others, it takes changing the numeral in the sligh.html section in the URL. Chapter 1 is sligh2.html, so Chapter 2 is changing that segment to sligh3.html, and so forth. There are 7 chapters total, ending at sligh8.html. In fact, if you just go looking for it with an internet search, you can only find the last chapter. You can use the Internet Archive, found here, but Classic Dojo still exists as a site and somehow the Archives' version is more finicky because not every chapter was saved, as near as I can tell.
Although I do still highly recommend Mike Flores’ writings to any TCG player, the truth is if you’re reading this article, you probably have a grasp of the idea of a cost curve anyway. The goal is to use your resources as efficiently as possible each turn. We prefer to call it “cycling a hand” in FAB, but the idea remains the same: efficient use of our resources - and that includes both pitch and cards in hand, in the case of FAB.

Returning to the ubiquitous "0 for 4 conditional go again" attacks associated with the beatdown heroes of FAB, the most successful aggro decks by and large operate off these solely, with a minimal cost curve. This is due to the math of how cards work. Alex Truell already does an excellent breakdown of this, but I do want to reiterate the example equation for newer players because it’s foundational for understanding aggro deck curves:
Power + Block + Pitch Value + (effects) - Cost = 8
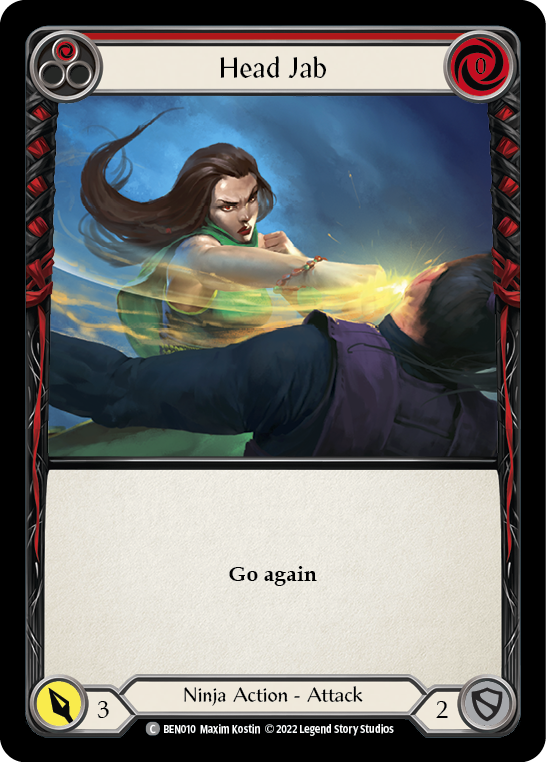
On almost every card in the game, the equation has to be balanced to equal 8. A red Head Jab’s equation is:
3 Power + 2 Block + 1 Pitch + (Go Again = 2) - 0 cost = 8
Thus, a blue Head Jab that pitches for two more has to give up two points elsewhere. Almost always, it’s the power of the attack, or the number in the text box for the ability. A 1 Power, 3 Pitch attack that blocks 2 and costs 0 still adds up to 8. If we value conditional go again at 1, Alex shows a 0 for 4 will still equal out fairly.
4 Power + 2 Block + 1 Pitch + (Conditional Go Again = 1) - 0 Cost = 8
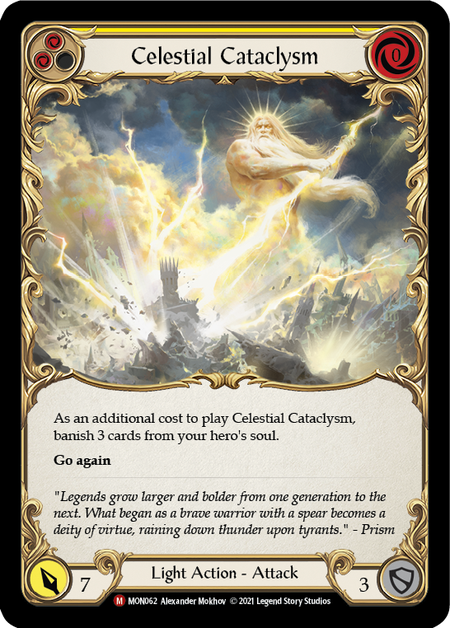
This is an extremely efficient split, and a card likely won’t get better on the power-to-cost ratio without a serious condition like Duty Bound Blitz has. While cards like Celestial Cataclysm try to push this math and make us question how valuable an effect or additional cost might be, it’s important to remember overrate and underrate attacks do exist.

The other aspect of having a high density of zero cost go again breakpoints is it makes our deck organically synergistic. Frank Hung described it as "the ability to play out one’s hand naturally". Put another way, a deck with high organic synergy, like an aggro deck of mostly conditional go again, is extremely consistent at playing out its hand: there are very few, if any, statistically likely 4-card hands that are bricks, with no clean way to play out the hand. Another way to think about this is "the deck is extremely redundant".
In this way, it may be that a Head Jab deck is much closer to a density-based combo deck, like Burn decks in other games, than an aggro deck. Of course, FAB is also a much different beast than boardstate-based games, but it’s useful to keep this comparison in mind because it does give insight into the game, even while not being a perfect analogy.
Combined, these constitute the prevailing theoretical basis of aggro decks: organic synergy in a deck of difficult to block damage, presented as efficiently as possible, often while spending as little pitch as possible. Taken together, I call this the Head Jab Theory.
All told, Head Jab Theory is compelling and proven to be sound. It’s seen multiple heroes off to Living Legend already. The ability to consistently and efficiently convert a hand into damage above the Rule of Three is a surefire way to win a game.
There are some exceptions to this formula, namely Dash I/O, who foregoes almost all 3-power cards in favor of 1 for 4’s and 5’s with Boost to get her Boom Grenade damage. In fact, she might be the closest cousin to Blue Cindra: we have similar ideas of how we want to formulate our turns and why. Where they diverge is that Blue Cindra has more paths available for converting a hand both offensively and defensively. However, a difference in methodology does not always point to a difference in theory.
Now the question becomes: why raise the cost of our cards and introduce variance into our deck when Cheerios is a viable build? How much are we really gaining by re-balancing the equation to have a cost for an additional effect? Is it worth that cost - that potential to draw multiple one-costs without a blue - to pay for them efficiently?
My results and testing overwhelmingly show there is significant reason to alter our deck for these cards and play patterns. In a format without Brand with Cinderclaw and Wrath of Retribution, Blue Cindra can clearly dominate – if the pilot is willing to experiment and find the right build for them. The most common complaint I hear against 'blueline' is that it’s too inconsistent. My own record begs to differ. A list that’s inconsistent is built incorrectly. It is difficult to find the right number of blues paired with 1-cost attacks, but if you are willing to playtest, you will eventually find the right ratios. While I am providing my current list, this is not a deck tech or guide, but rather provided as an example for case study. This is an examination of the theories behind the deck, and how they are applicable to our understanding of aggro as a whole.
All That Lies Behind the Mask
Weapons
- Claw of Vynserakai (1)
- Kunai of Retribution (2)
Equipment
- Blood Splattered Vest (1)
- Dragonscaler Flight Path (1)
- Mask of Momentum (1)
- Flick Knives (1)
- Tide Flippers (1)
Loadout
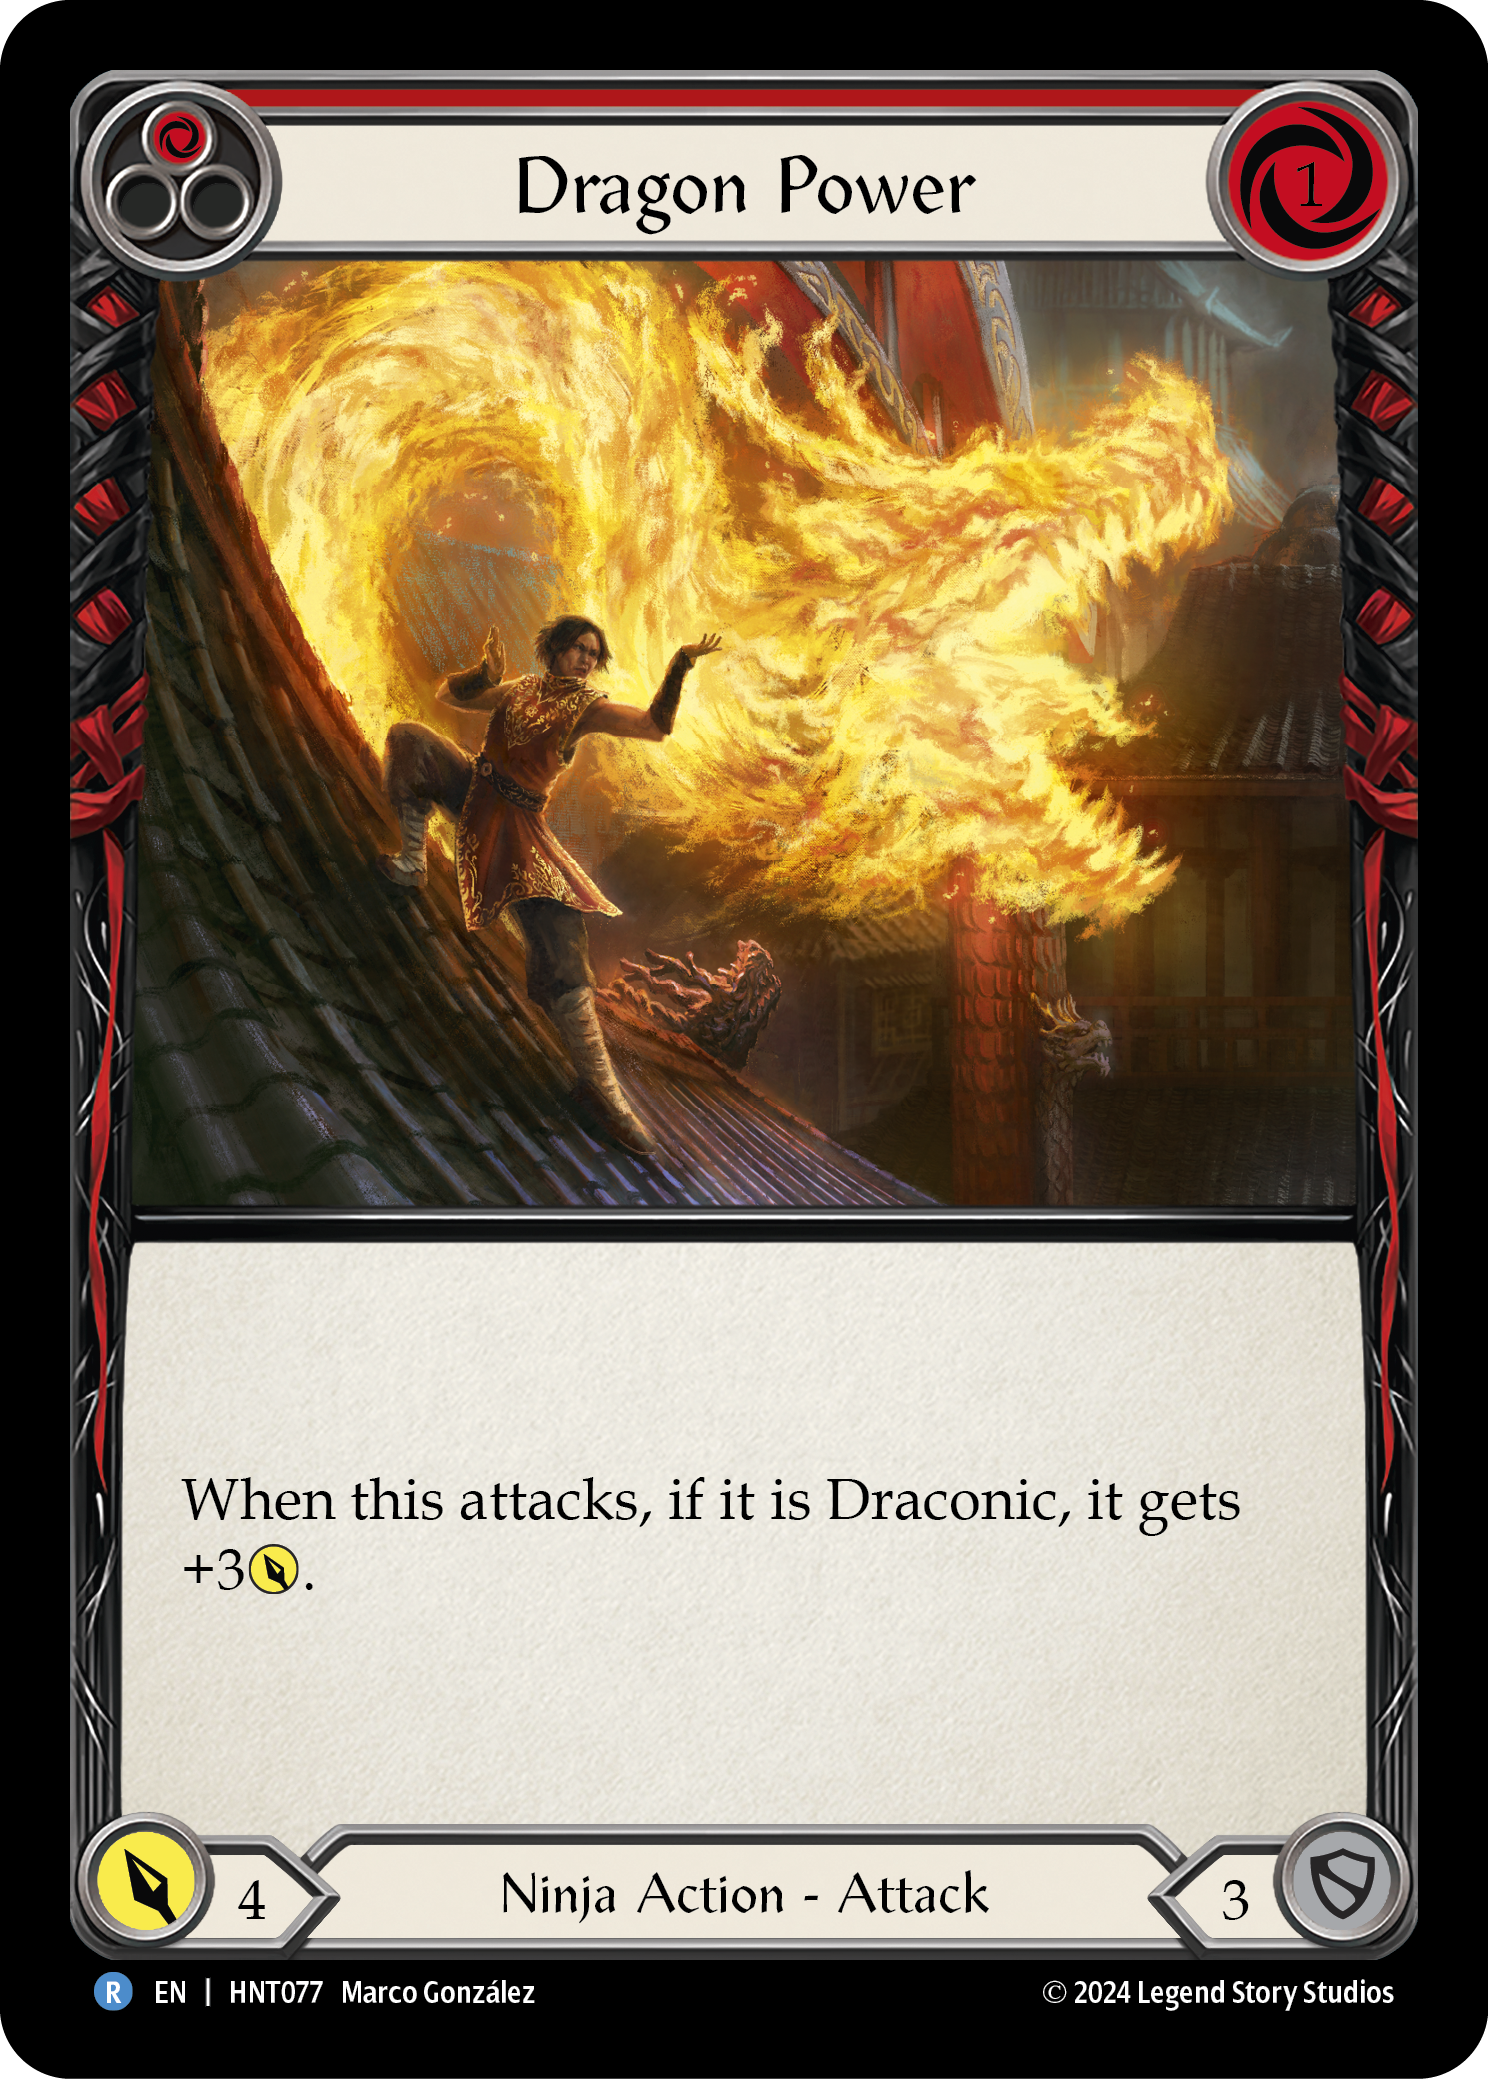
- Dragon Power (Red) (2)
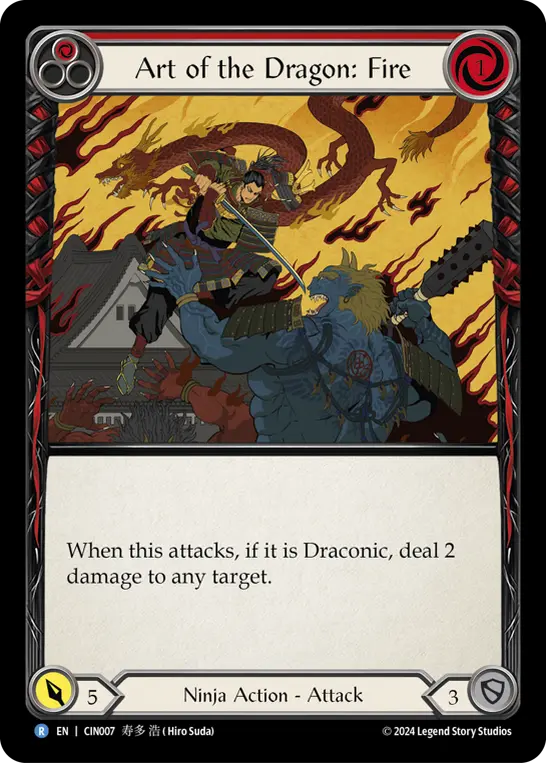
- Art of the Dragon: Fire (Red) (2)
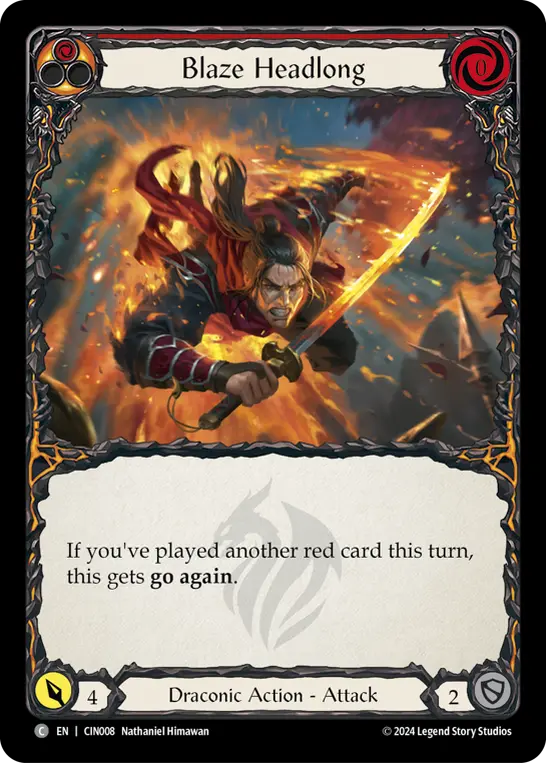
- Blaze Headlong (Red) (3)
- Blood Runs Deep (Red) (3)
- Breaking Point (Red) (2)
- Ancestral Empowerment (Red) (3)
- Ignite (Red) (3)
- Devotion Never Dies (Red) (2)
- Dragon Power (Blue) (3)
- Demonstrate Devotion (Red) (3)
- Display Loyalty (Red) (3)
- Art of the Dragon: Blood (Red) (3)
- Art of the Dragon: Scale (Red) (2)
- Enflame the Firebrand (Red) (3)
- Enlightened Strike (Red) (2)
- Imperial Seal of Command (Red) (1)
- Mark with Magma (Red) (3)
- Hot on Their Heels (Red) (2)
- Command and Conquer (Red) (3)
- Concealed Blade (Blue) (2)
- Lair of the Spider (Red) (3)
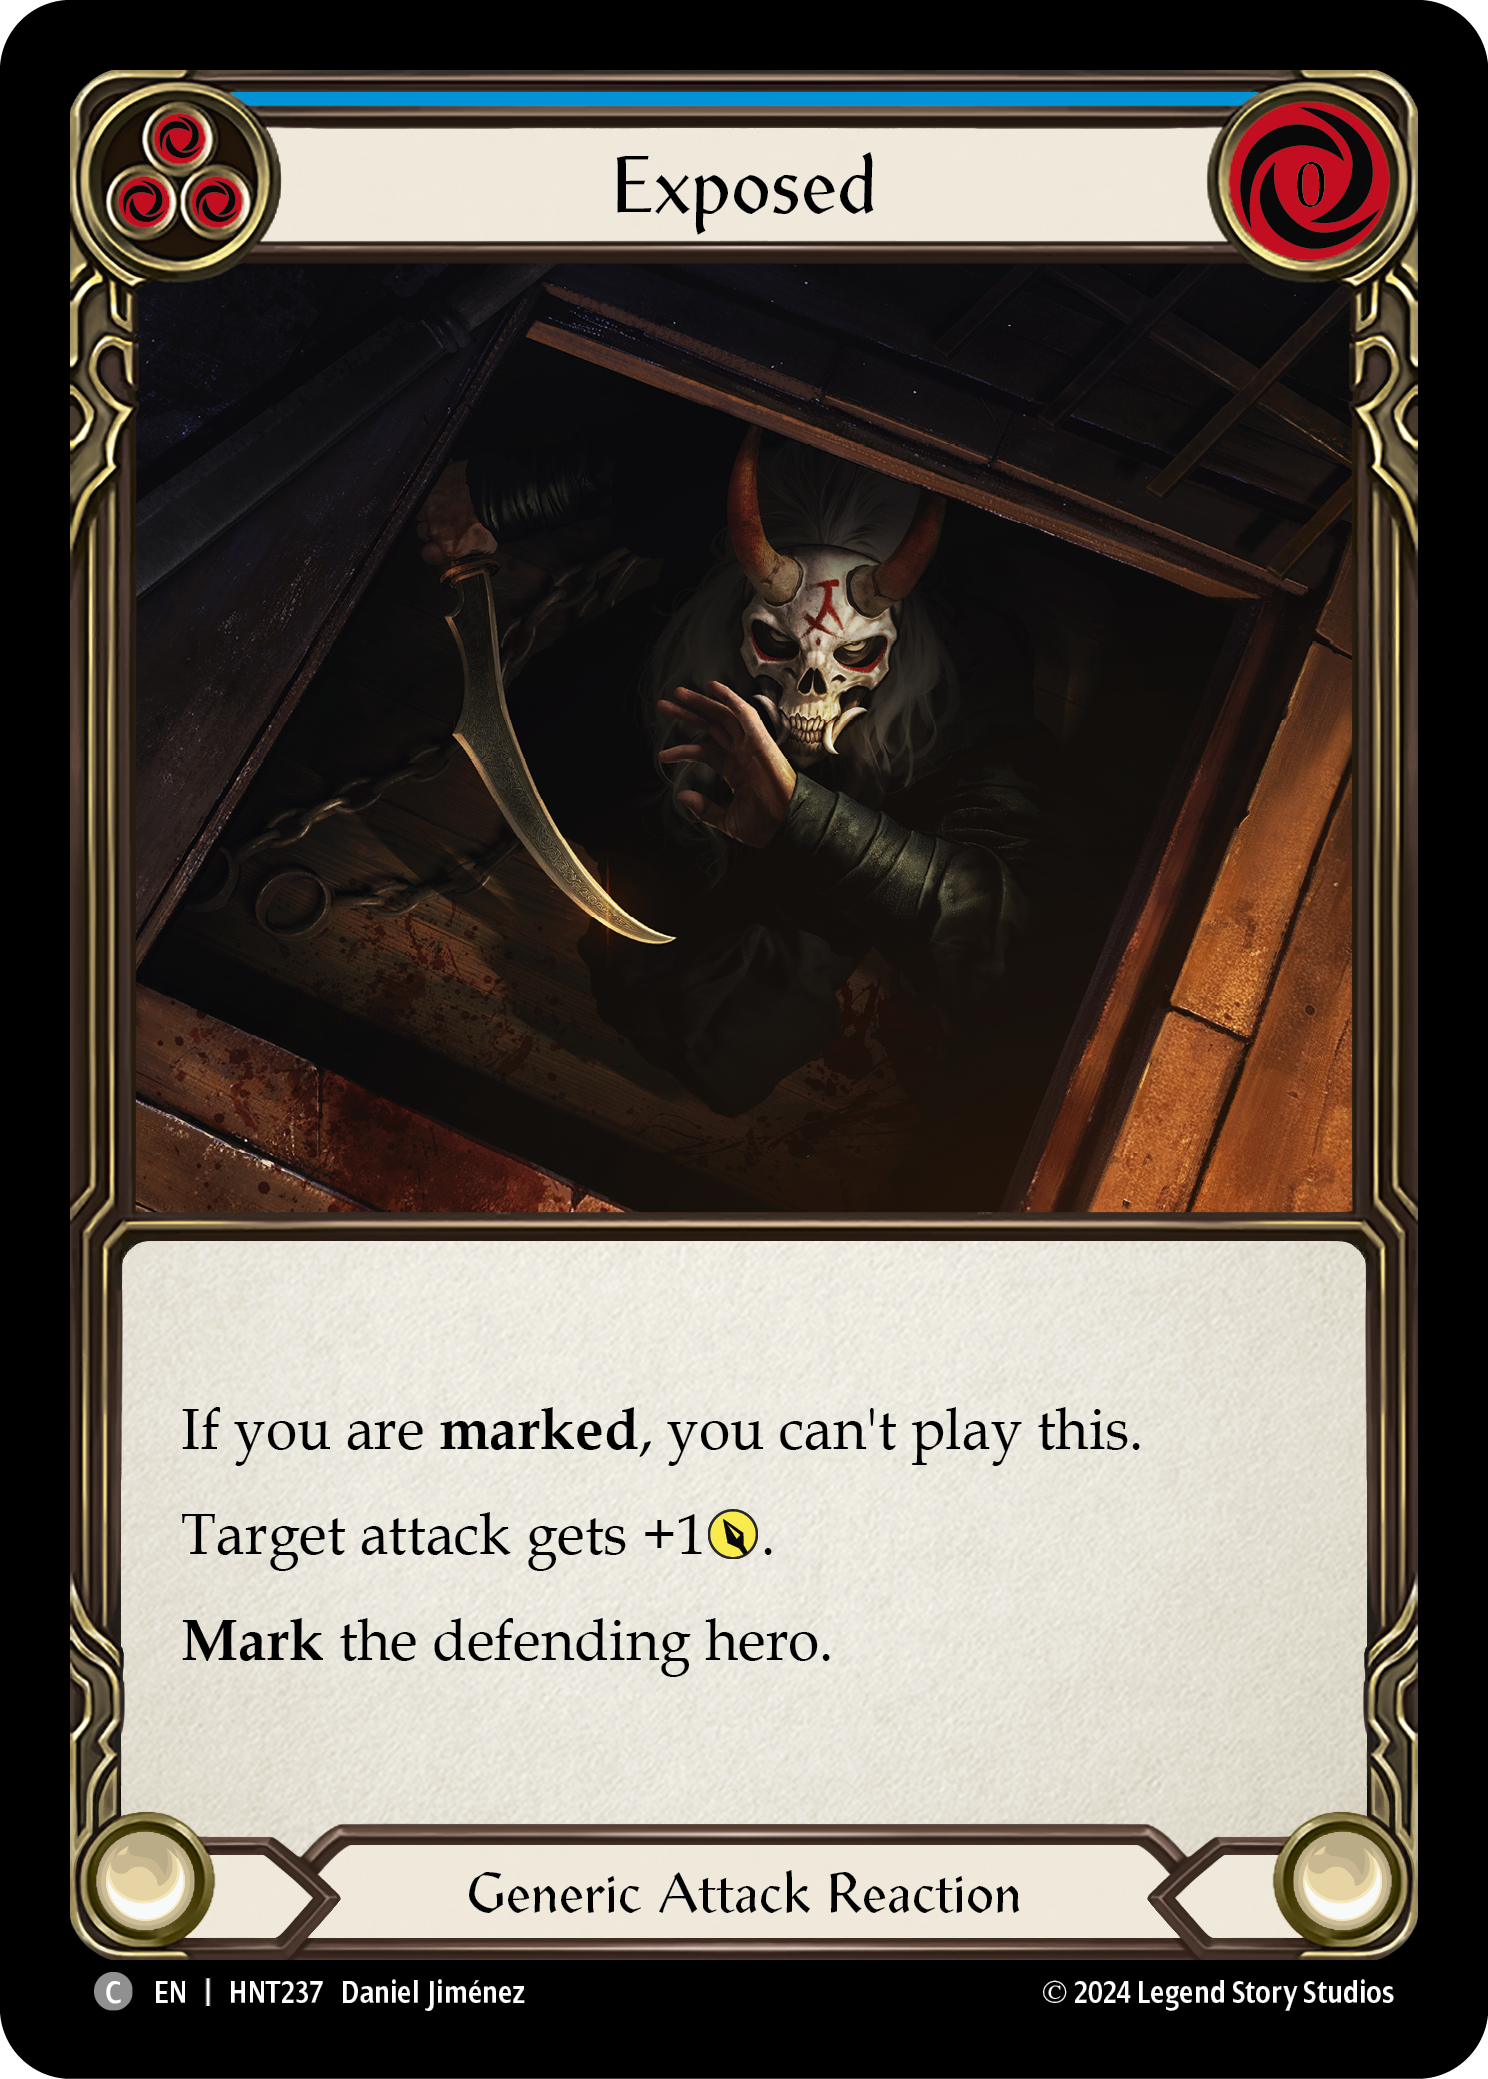
- Exposed (Blue) (3)
- Sink Below (Red) (3)
- Throw Dagger (Blue) (3)
- Rising Resentment (Red) (2)
- Salt the Wound (Yellow) (2)
- Spreading Flames (Red) (3)
- Warmonger's Diplomacy (Blue) (3)
Mask of Momentum - or MoM for short - and Flick Knives have been terrorizing top tables together since Cindra’s inception. Flicking a dagger to get a hit on a blocked chain link, thus keeping Mask alive, is the entire conundrum Cindra presents. She forces you to commit harder to blocking or taking damage because the middle ground is arguably the highest value for her. In a deck of 'Head Jabs' and 0 for 4’s, this routinely demands about three cards to block out for the head jab that gets Flick Knives out, plus the 0 for 4. (It goes without saying that a defense reaction can count for two of these cards in the case of covering the 0 for 4). This is very efficient, and certainly a good way to get cards out of the opponent’s hand. However, it can also frequently only be two cards, with how many head jabs are present in Cindra already. Cards like Ignite, Display Loyalty, and Hot on Their Heels are foundational cards to the hero, but the typical chain looks like:
(Starter) + (Everything Else)
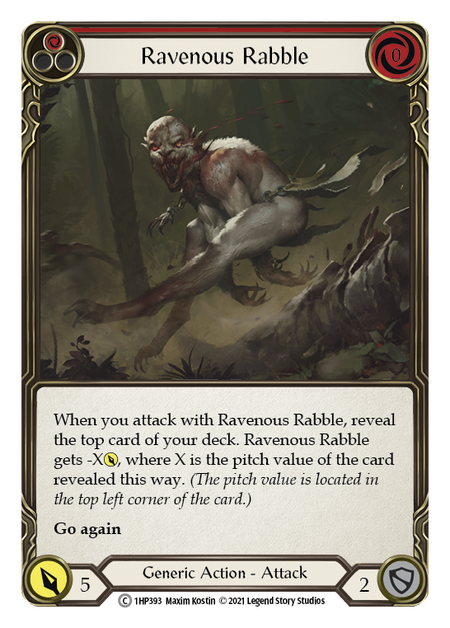
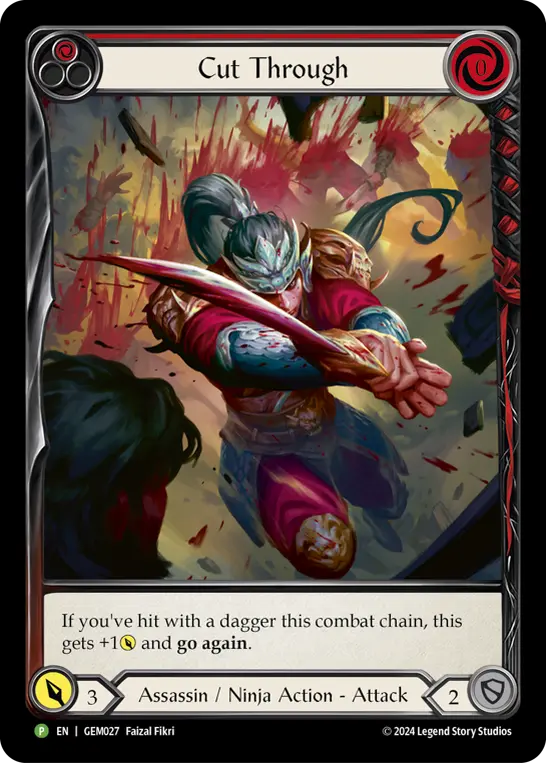
Sequencing is important to Cindra, but beyond getting the first Draconic - if you even need it - there’s little determining the order of the cards. Sequencing to maximize your Mask of Momentum threat matters, but beyond enabling the crucial go again on a few cards by having the first Draconic attack, there’s little dictating how you need to structure your turn. With how many non-Draconic attacks she plays, like Ravenous Rabble, Pain in the Backside, and Cut Through, she can get efficient 0-for-4 gameplay without needing a Draconic starter that Fai demands.

To further emphasize how little Draconic matters to redline, there are so many good non-Draconic attacks that Oath of Loyalty scarcely sees play beyond a single copy anymore. With this comes a decreased dependency on daggers, because some of her most powerful hands lack the capacity to return them. This is organic synergy at its finest, and it sacrifices inorganic synergy to make it that much more consistent.
Blueline turns these concepts around. Blue Cindra crafts its deck to threaten Mask of Momentum in the most brutal fashion possible. We want every attack after our Kunai to be a breakpoint above 3 power. While we do play some 0-cost go again, we limit them to only the most impactful while lowering our curve enough that we're not totally dependent on having enough pitch to go around. Doing this demands more cards to answer our aggression; otherwise, we draw another card to play down that same turn.
If we want to maximize our breakpoints, we have to raise our curve to compensate, and play more Leg Tap equivalents. These are all central to triggering MoM, so it may be better to think of Blue Cindra as on-hit aggro, and leg taps enable that rather than being the focal point. Let’s consider a typical Blue Cindra hand:


This hand threatens MoM much better than Redline can, and demands far more to turn it off. Blue Cindra, in order to play its Draconic leg taps, is inherently more dependent on the dagger. We have a higher inorganic synergy element in our deck, and therefore have a higher chance to draw a hand that doesn’t convert as efficiently. This might look like a weakness, but it’s actually how blueline draws a card off Mask of Momentum far more often than redline: because it’s very rare for someone to commit a card to the dagger when there’s a more efficient block later.
Our sequence might look like:
Kunai > Mark with Magma > Demonstrate Devotion
Our Kunai attacks for one, and almost always that will be let through. Now we follow it up with a breakpoint. Our opponent now has a choice. If they take the hit, they have to block the next two links minimum to cover Mask. However, committing two cards early in the link is difficult, and not always particularly high value.
Our opponent is in a lose/lose situation, especially when we follow it up with another breakpoint. Now our opponent has to give us two cards again or we trigger Mask. If we don’t get the mask trigger, we can simply arsenal the Enlightened Strike; if we do, we can play it for 7, or 5 and draw a card. Alternatively, we have the option to play it on the third link instead to demand serious defensive commitment or get a five card hand for next turn.
Redline has these options with some hands; but blueline is built around this decision point. Blue Cindra, above all else, wants to craft as many lose/lose situations to block against, where we either net cards or they invest significant resources and we leak damage.
Blue Cindra, above all else, wants to craft as many lose/lose situations to block against.
This becomes even scarier with the numerous pump effects Cindra has access to. These cards can rip the balance away even further. My list plays 11, but most Blue Cindra lists are off Concealed Blade and play a couple less blues for it. Ancestral Empowerment is obviously the most powerful, often equating to two drawn cards. Exposed often gives us our MoM card and a Fealty beside it.
Throw Dagger is technically a pump. It keeps the chain alive, and replaces itself if it doesn’t meet a Shelter from the Storm – something we usually know is coming if our first link is Kunai. If we catch our opponent’s defense reaction on our leg tap, we can push it over and save our Flick, or get the MoM trigger anyway. These cards give our opponent the worst of both worlds, and the fact that 8 of them pitch and can be arsenal'ed for value still makes all the difference. All our cards are live if we draw them from MoM or in multiples, which preserves our organic synergy.
Finishing What We've Started
If we raise our curve, the quality of our finishers can also increase. While a pile of only go again cards is strong and consistent, it’s also predictable to block. It’s very unlikely the opponent will be put into a difficult blocking decision outside sheer pressure. However, in a style of aggro all about putting the defender into awkward scenarios, we want to take full advantage of this play pattern. To do this, we play as many 7-power cards as we can.
There are two reasons for this. The first is these represent a massive spike in damage. If drawn off Mask, they are a haymaker finisher. Our opponent will have to commit more blocks to not give us a strong lead. If they’re the third link, it takes more than four non-defense reaction cards to block them out and deny us a five-card hand on the next turn - or immediately, with Dragonscaler Flight Path or Snapdragon Scalers. We are now forcing our opponent to commit equipment to the chain to preserve cards in hand, or else we draw a card. With a higher curve, we get to abuse both of these outcomes more often without committing a Blood Splattered Vest resource, although we commonly still will.
The second is we leave considerable value on the table if we aim to be as redundant as a head jab deck. Our same one resource that gives us a 1-for-4 go again also gives us access to some of the most powerful Fealty targets in the game. The occasional 7-power attack in hand raises our damage ceiling per turn more consistently to the 18-to-20 damage turn. This is a significant spike in damage happening more often than the redline lists. This isn’t to say redundancy isn’t powerful; it’s very obvious by looking at the Living Legend chart that it is. By giving up some go again redundancy, we get more damage for it.
Our finishers aren’t just damage, however. The extra resource in our cost equation is extremely flexible, and building our curve around it grants us a toolbox of new cards and effects we couldn’t play otherwise. In our Kunai > leg tap > leg tap curve paired with MoM, we are incentivizing our opponent to invest into defense or we gain a significant reward. We set an expectation of what our deck does, and enforce a play pattern around it. This gives us a new angle of attack: preying upon expectations. We’re keeping our opponent second guessing what could be coming next.
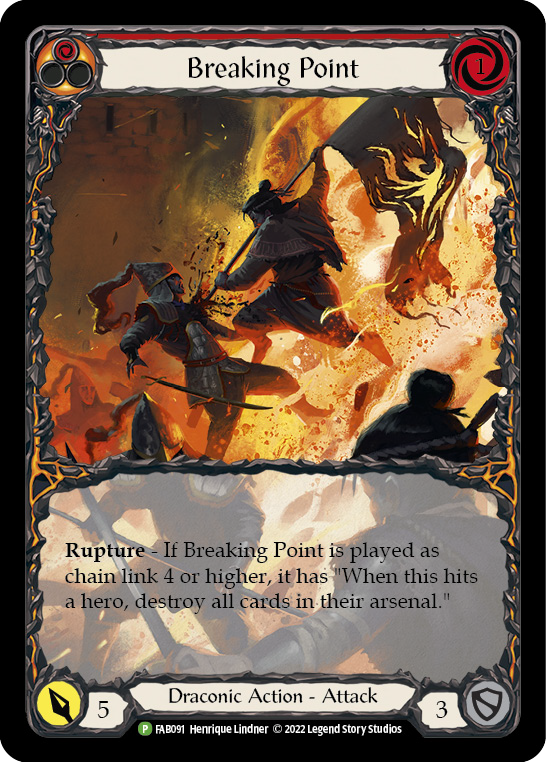


This is how we elevate an aggro deck from being fast to being brutal. A chain-ending Breaking Point after shutting down MoM is back-breaking. Remember, a single Command and Conquer is not all that scary, but against an aggro deck where the turn length of the game is inherently shorter, that single on-hit becomes much more important. Because of our curve, we can pack actual Command and Conquer in the sideboard as both a popper and sometimes just evasive damage with an on-hit.
Art of the Dragon: Scale is also an extremely powerful card. I have won many games from baiting Verdance into shutting Mask of Momentum off, only to present an on-hit that destroys Storm Striders, usually winning the game on the spot. Similarly, Mario’s Flick Knives – or those in the mirror – and any midrange deck’s Tunic is up for grabs. This card connecting should end the game immediately, and while redline has begun packing it, we’ve been able to do this far longer.
Devotion Never Dies is up there for my favorite card in the game, and certainly in the deck. This is the type of versatile on-hit a deck like ours needs. In a pinch, it can just be a leg tap for setting up MoM. At the end of a chain with a pile of Fealty, however, this card becomes devastating. While no longer easily enabled by Wrath of Retribution with Blood Splattered Vest, this card often represents 8 extra damage on a turn. Alternatively, it can be a mind games card we use to bait blocks. It also wears our combat tricks very well.
All of these fill the necessary role of keeping our opponent guessing on what’s coming next. Are we just playing for Mask of Momentum, or is there a greater threat hiding on the next link? Neither of these lines are usually telegraphed; one bleeds into the other. Which threat are they playing around? It should be MoM - it’s the only guaranteed one - which makes our finishers that much more sinister.
Just Spreading Flames
Another excellent reason to raise the curve of a deck is a card so powerful, it’s worth accommodating. For Blue Cindra, this is Spreading Flames.
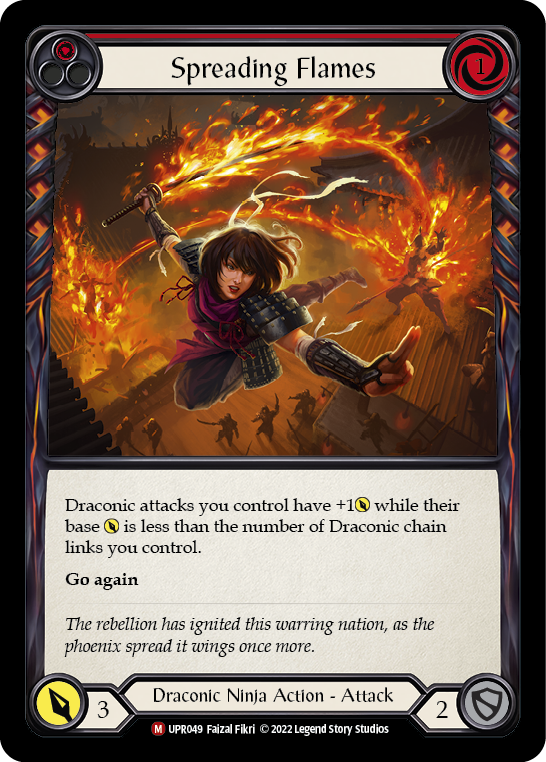
As a ubiquitous Draconic starter, Spreading Flames needs no introduction. With a blue and our Kunai, it represents 7 damage, or 8 with a flick. These are our turns to burn Vest resources. With one of our few head jabs and a leg tap, Spreading Flames has the value of a 1 for 7. It’s not a turn that always threatens MoM particularly well, but is another way we raise our damage ceiling. Paired with any 0-cost and a leg tap, it becomes a 16- to 20-damage turn. For both Red and Blue, they put out an average of about 14 damage a turn. Paired with our 7-power cards however, we get significantly more above-average turns than our Red counterparts, and we achieve heights of 20+ far more often than they can. In short, Spreading Flames does everything we want in a card: pushes our damage beyond where it is easily blockable, while playing into our MoM-oriented strategy.
Playing Patiently
Fundamentally, the deckbuilding decisions of a leg tap aggro deck go against the mindset of a head jab deck. The head jab deck wants to build itself to convert four-card hands as consistently as possible by playing them out in the optimal order. To do this, it runs as low to the ground as it can on resources and relies on conditional go again to make the odds of a dead hand as low as possible. Introducing blues and more attacks without go again introduces variance, and thus increases our risk of bricking. Our better damage presentation doesn’t matter if it’s inconsistent! Proper ratios smooth out the bulk of this – if your Blue Cindra deck is inconsistent, then it’s built improperly.
But when we inevitably brick anyway, what do we do? Given we brick more often, what if we draw dead multiple turns in a row?
In aggro decks, the largest skill check might be how and when to block. For redline decks, the deck is populated by 2 blocks, and usually sport around twenty 3-blocks, with at least 3 defense reactions and as many as 9 being more common. This makes blocking a tough proposition for the pilot. So much more value is gained by playing offensively (after all, it is what the deck is designed to do) that when you do draw a bad hand it’s hard to see blocking as a viable alternative.
One of the ways a leg tap deck benefits from its cost is in its block value. Blue Cindra plays upwards of forty 3-blocks, with about 6 defense reactions. If we draw a brick, it’s easy to keep the best card for the arsenal or block with all of it and draw a new hand. Not only will we block more efficiently, but it sets us up for a bigger follow-up with potentially 6 cards in hand. Aggro decks thrive on presenting more punishment than they will take by not blocking: If it’s not profitable to send the hand, don’t. It’s better to block and save your life total to attack with better hands. Alternatively, with one of our 7-power threats and a Fealty, we can pitch a blue to go Kunai > 7 with Flick for 9 damage. Blocking 6 and sending 9 is an extremely efficient hand. In a leg tap deck, blocking and trading in midrange’s fashion is correct more often than one might first expect.
If it’s not profitable to send the hand, don’t! It’s better to block and save your life total to attack with better hands later.
The Criteria for the Leg Tap Theory
Putting it all together, this paints a picture of a very different breed of aggro deck. While built for speed just as much as a 0-cost-based deck, this highlights a different, deadlier approach using math and ratios to increase the brutality of our hands.
This is not an approach that, as near as I can tell, has found as much success in FAB. Successful aggro decks have by and large bought into the Head Jab school of thought. Primarily, this may stem from the age of the game. FAB is relatively young compared to giants like Magic: the Gathering, whose age lend themselves to having an incredible variety of different styles within the same macro archetype. The longer a game exists, the more these styles emerge.
It may be that FAB is finally old enough to see diverging styles within the same class and talent pairing or hero. Not every class or talent has something quite like Mask of Momentum either, a start-in play, stays-in-play (SIPSIP) on-hit so powerful it’s worth building around. What sets these different builds apart are their strengths and weaknesses: we need reasons to raise our curve, and good ones.

I’ve identified four criteria for evaluating if it’s worth raising the curve of an aggro deck:
- Is there a SIPSIP or high density on-hit or ability that you can threaten consistently?
- Are there enough quality breakpoint attacks to build your deck around the SIPSIP?
- Is there one or more sufficiently powerful cards on their own that justify the change in construction?
- Can we weave a sufficient number of other on-hits or disruption into the deck to make blocks hurt that much more?
For Blue Cindra, I’ve laid out these answers already. (1) We’re built around Mask of Momentum, and have made this on-hit our angle of attack and have pushed it to its limit. (2) Mark with Magma, Demonstrate Devotion, Art of the Dragon: Blood, Blaze Headlong, and Devotion Never Dies are all excellent cards, and we back them up with Art of the Dragon: Fire, Dragon Power, and Breaking Point as finishers. We’re not scraping the bottom of the barrel for 1 for 4’s here. (3) Spreading Flames meets the third criteria: we gain access to a notorious powerhouse by building this way. (4) Art of the Dragon: Scale and the aforementioned Breaking Point and Devotion Never Dies are excellent on-hits for the cost, and at least for Cindra, Command and Conquer is viable. Blue Cindra meets all of the criteria, and thus a Leg Tap build of the deck is at least doable on paper.
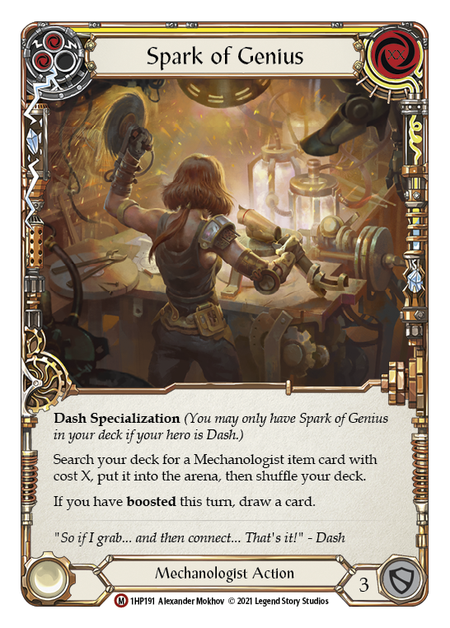
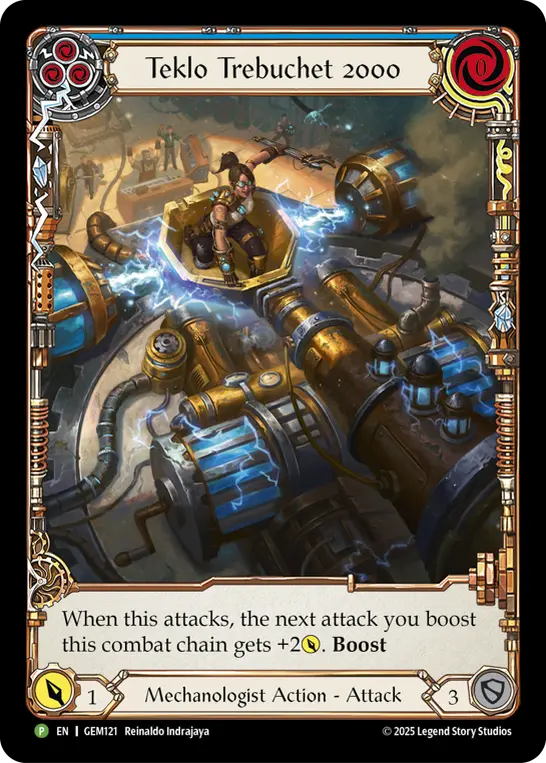
Blue Cindra isn’t the only deck that fits this criteria. I’ve already stated that Dash I/O is the closest relative to this deck, and it also fits our outlined criteria. The first criterion is establishing the angle of attack. Red and yellow Boom Grenades represent major spikes in damage. Being able to play these after blocks burns the opponent down quickly. Spark of Genius can fetch these or any other item to put the pedal to the metal, and Teklo Trebuchet 2000 is so powerful because it both forces an inefficient block – much like Kunai of Retribution – and pumps the next attack to threaten the Boom Grenade hit.

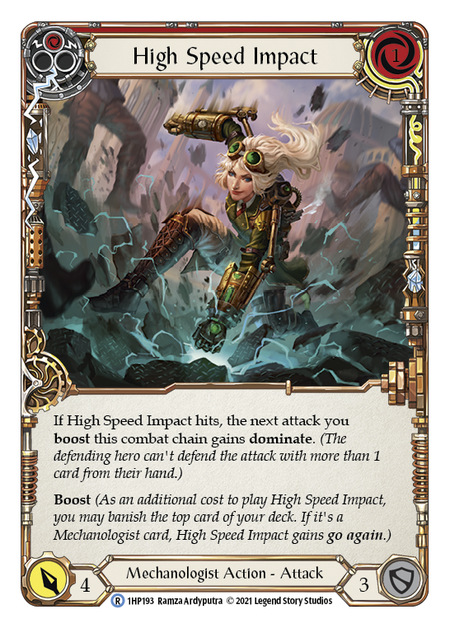
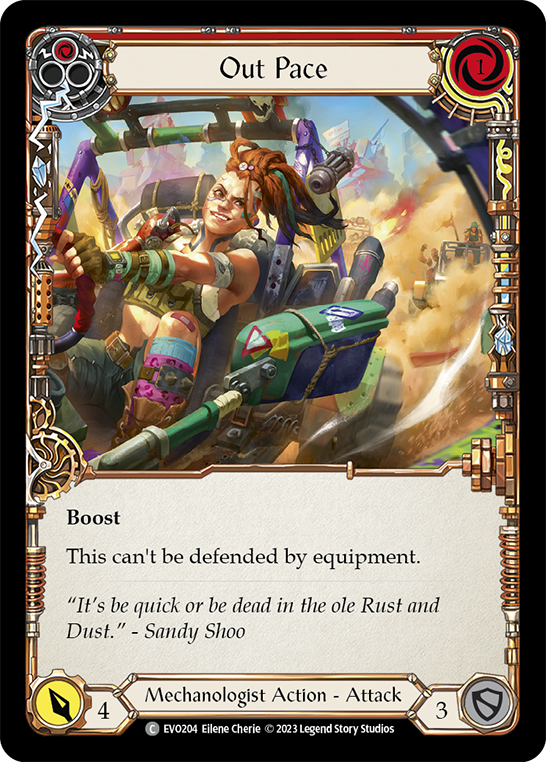
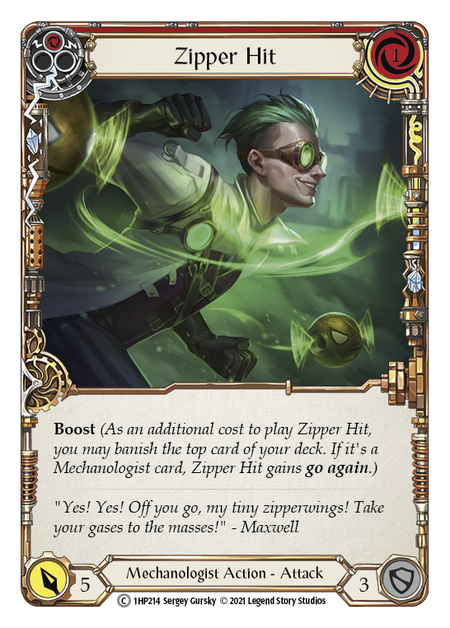
The second criterion is concerned with the ability to secure our on-hit. Dash has access to several, arguably more than Cindra. Dash can present evasive damage, like Out Pace and High Speed Impact. Zero to Sixty is borderline unconditional go again, as is Zipper Hit, which makes them extremely underrate. Head jabs like Data Link don’t present difficult choices in shutting down Boom Grenade. Every breakpoint is needed, so Dash raises her curve to accommodate.
It may be the case that Boom Grenade is simply the only way a Mechanologist rushdown hero can present enough damage to win, due to the prevalence of boost at time of writing. It’s also true that DIO’s hero ability requires pitch to use, and thus it makes sense to build her deck with that curve in mind to utilize resources the most efficiently, in addition to just being better cards to spend a boost on. Whether we put the breakpoints first or Boom Grenade, both of these together incentivize the strategy by default. Put another way, compared to the rest of the rushdown cast of characters, DIO may be the only one predisposed to this build over a head jab-oriented one.
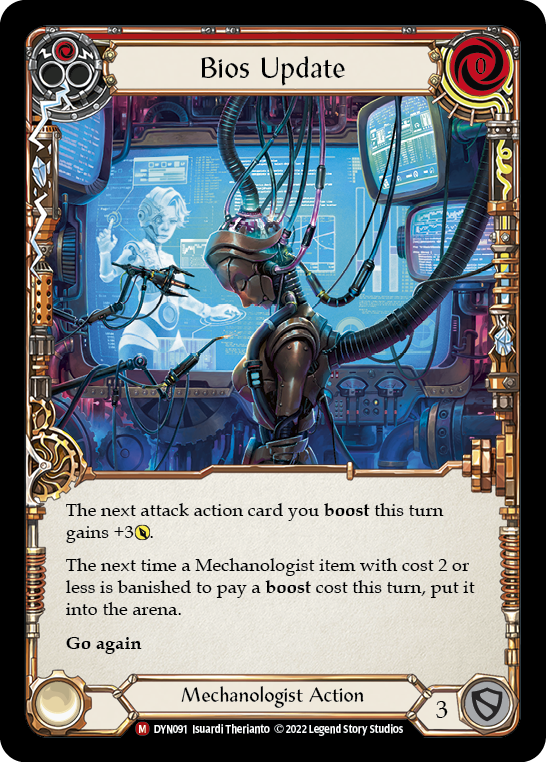

The third criterion states we should have something beyond our on-hits that incentivizes us to raise our curve. Maximum Velocity is a powerhouse of a card if it can be played, and the ability to run it out regularly is a major part of DIO’s success. While not on the same tier, Bios Update is another powerful enabler for the deck, and synergizes with Dash’s copious amounts of items she plays to both keep the opponent on the backfoot and enable Max V.
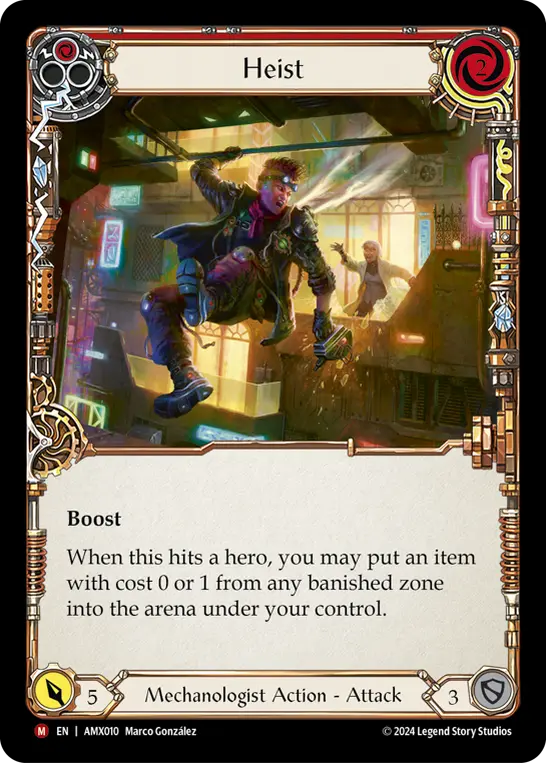
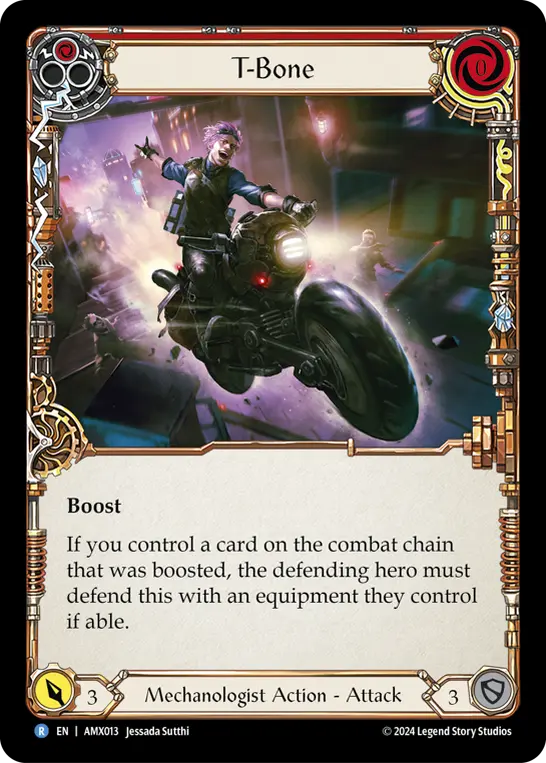
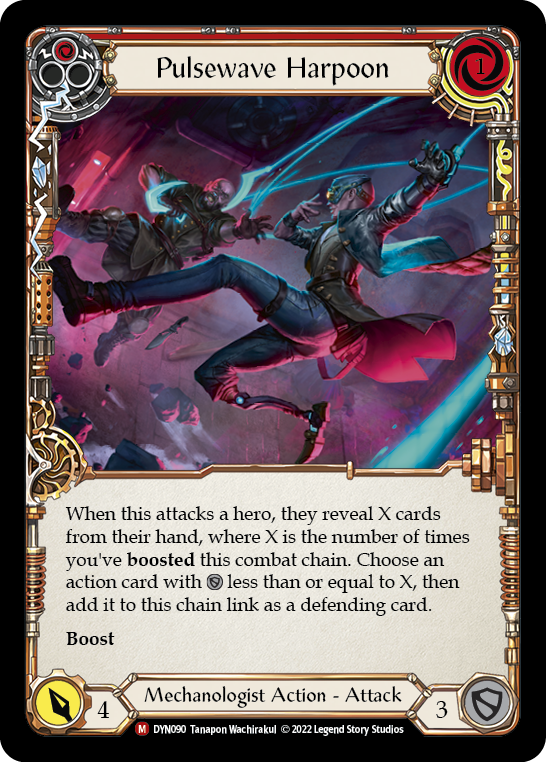
The fourth and final criterion states we must have other disruption – usually in the form of on-hits – to better enable our strategy. Dash has no shortage of cards to throw a wrench into your opponent’s defenses. Heist and its younger brother MetEx place spare items, and thus actions points from crank, into play without giving up tempo. Pulsewave Harpoon strips their most powerful card from hand when Boom Grenade isn’t on the table. The threat of T-Bone alone is enough to make a player reserve their armor, and thus tax their hand further to prevent Boom Grenade from connecting.
Judging by this criteria, Dash I/O satisfactorily answers all four criteria. Thus, DIO has good reason to adopt a leg tap aggro build. Again, it’s also true that she needs to in order to find success in the aggro shell, but being predisposed to the shell does not defeat the criteria or its evaluation: After all, we see it also applies to Cindra, therefore the criteria is applicable across hereos. DIO is merely the one hero built to adopt this shell on purpose.
Staying Ahead of the Curve
When Briar first entered the scene, she brought a whole new style of play built around generics and redundant go again, a type of aggression never seen before. Blue Cindra and Dash I/O are both doing this again. Rather than being a pile of 0-for-4 go again, both of these heroes ask us to raise the curve higher to claim value left on the table. Organic synergy is powerful, but making a lean 0-cost machine is not always the answer anymore. This isn’t to say we sacrifice it entirely or it's an outdated concept. Make no mistake, Leg Tap Aggro still needs organic synergy, as does every deck in the game.
There is significant upside to chasing the value of a 1-cost curve rushdown deck that is largely still ignored - but maybe not for long. Cindra is indicative that the builds we come to expect may not be the best, and that the card pool is beginning to support multiple versions of the same archetype under the same hero. FAB is reaching an important threshold in card game development, and may never be the same because of it. It will be a long time before each of these theory groups reach equal recognition, but it is impossible to deny now that these are growing and developing. Notably, Dash I/O makes a strong case for the validity of the Leg Tap Aggro theory due to her recent success on the larger stage. A new school of thought in rushdown is coming to be, and I believe it’s here to stay.