From the beginning, Flesh & Blood has always been a game that offers various and unique ways to play. As the years have passed and more sets have been released, the options for what you can do in this game have expanded with it. Yet there is a specific type of strategy - present in many other card games - that had long been absent from Flesh & Blood: graveyard decks. While Shadow heroes - Chane, Levia, and Vynnset - have made good use of the banished zone, the way those mechanics play out doesn’t have the same feel: as a mechanic, Blood Debt doesn’t play well into the idea of filtering through cards and letting them sit for a while until their hour of greatest use arises.

As someone who has been drawn to graveyard-based strategies in every card game I've played, not having any way for me to scratch this particular itch in Flesh & Blood has been disheartening. During Rosetta’s preview season, Call to the Grave - quite literally a FAB version of Magic: the Gathering's graveyard staple Entomb - rekindled a spark within me. Surely this was a sign of things to come! Maybe, just maybe, we’d be getting something graveyard-based in the future.
When the sails dropped and LSS unveiled High Seas and its heroes, I knew I was in for what would likely become my favorite set to ever be released.
What Lies Beneath
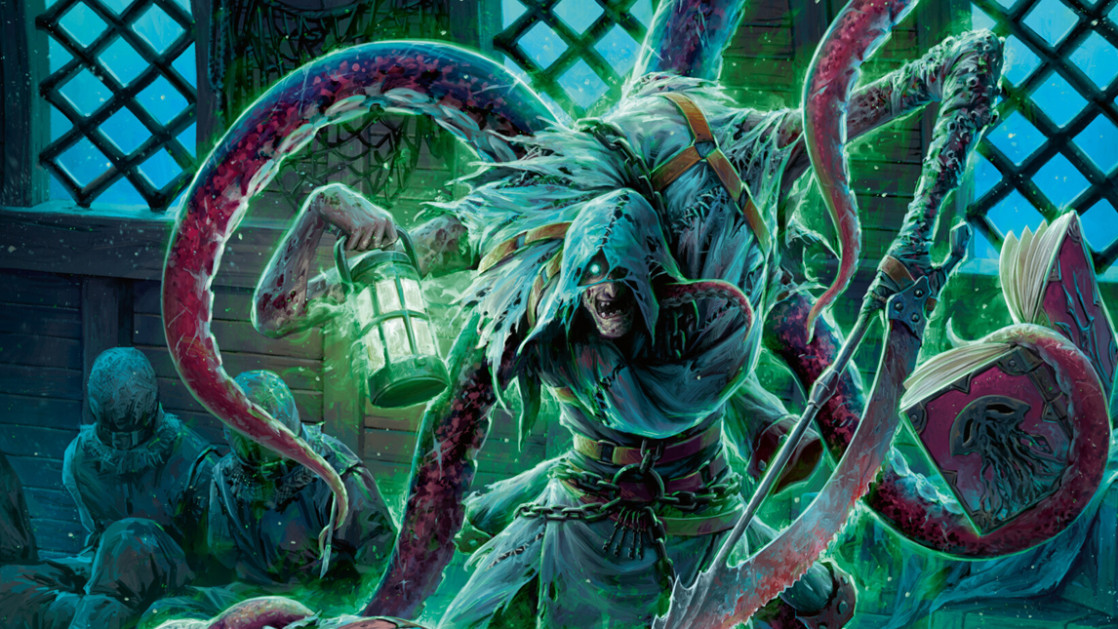
Welcome aboard the Dreadnought ladies, gentleman, and all those nowhere or in between. Be warned, this isn’t a gentle, calm cruise along the shore. No - where we’re going, we’ll be hitting hard to loot and pillage from our foes, leaving naught but destruction in our wake! If you’re interested in a slow methodical graveyard deck that works to slowly build up large, oppressive board states... this isn’t the article for you. If your inclinations, however, lean toward throwing damage at your opponent that they didn’t see coming while cards in your graveyard allow your life total to stay high and dry, I think you’ll fit right in...
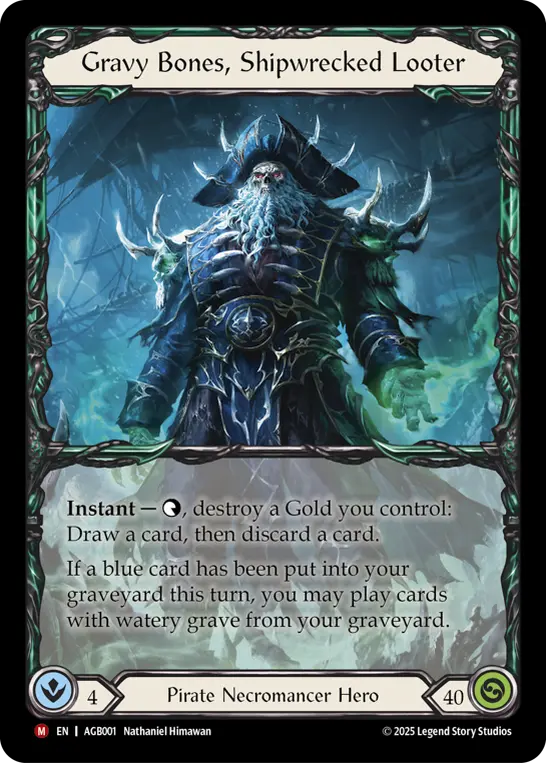
I've been testing Gravy Bones since long before we even had full knowledge of every card he was going to have access to in High Seas. At first I was skeptical if the type of graveyard decks I enjoy playing - those being extremely aggressive ones - were even possible with him; thankfully, upon seeing the full set during the World Premiere weekend, it became clear that the elements were there.
And so I embarked on my brewing cruise. Unfortunately, initial testing was not great. Early on, I was trying any and every card I could think of to find what worked and what didn’t. Some ideas were a little novel, and ended up being more cute than actually good; for example, blue Strategic Planning turned out to be hilariously bad, despite my initial hopes to the contrary.

Eventually I realized that one of the big problems facing Gravy Bones is that of action points. Unlike the Illusionists we've had so far, Necromancer allies' attacks don’t have go again. Instead, you have to rely on other ways to go wide on the board. Without a way to gain action points, you may be able to raise two allies in a single turn, but you won’t be animating them.
It felt like the only real way to solve this problem was by using regular attack actions that had go again themselves, to fill the deck with aggressive attacks that can keep pressure on your opponent and force them to sacrifice cards to keep their life total high - or take damage so they can destroy the ally. Suddenly I saw it: the bones of what I was looking to do. I started with a lot of reds in the deck, thinking that a higher red count would mean the deck could be more threatening and push more damage; but Gravy Bones thrives on his yellows and his blues, and so in the end I arrived at this.
The Decklist
Weapons
Equipment
- Crown of Dominion (1)
- Quickdodge Flexors (1)
- Nullrune Gloves (1)
- Fyendal's Spring Tunic (1)
- Mage Master Boots (1)
- Nullrune Hood (1)
- Nullrune Boots (1)
- Gold-Baited Hook (1)
- Compass of Sunken Depths (1)
Loadout
- Arcane Compliance (Blue) (2)
- Blood in the Water (Red) (3)
- Avast Ye! (Blue) (3)
- Call to the Grave (Blue) (3)
- Chum, Friendly First Mate (Yellow) (3)
- Diamond Amulet (Blue) (1)
- Oysten, Heart of Gold (Yellow) (2)
- Saltwater Swell (Blue) (3)
- Scooba, Salty Sea Dog (Yellow) (2)
- Sea Legs (Yellow) (1)
- Golden Tipple (Blue) (3)
- Rally the Coast Guard (Red) (3)
- Back Alley Breakline (Blue) (2)
- Loot the Arsenal (Blue) (3)
- Saltwater Swell (Yellow) (3)
- Loot the Hold (Blue) (3)
- Moray le Fay (Yellow) (1)
- Jittery Bones (Blue) (3)
- Limpit, Hop-a-long (Yellow) (1)
- Murderous Rabble (Blue) (3)
- Portside Exchange (Blue) (3)
- Oasis Respite (Red) (2)
- Prismatic Leyline (Yellow) (2)
- Riggermortis (Yellow) (1)
- Remembrance (Yellow) (2)
- Restless Bones (Blue) (2)
- Conqueror of the High Seas (Red) (3)
- Swabbie (Yellow) (1)
- Shelly, Hardened Traveler (Yellow) (1)
- Chart the High Seas (Blue) (3)
- Sawbones, Dock Hand (Yellow) (3)
This deck is far and away the best deck I have ever built for Flesh & Blood. It took a lot of work and a lot of testing to get here, and in my opinion this is where you want to be if you want to play an aggressive Gravy Bones deck in Classic Constructed. Do I think it’s perfect? Of course I don’t. There are changes I would definitely make to this deck, but those changes are entirely dependent upon what the meta we’re going into looks like. With the metagame being a complete mystery, however, I think this is a good starting point for anyone wanting to give this hero a try.

Prismatic Leyline is the first card I want to talk about, as it is the one I see most often discussed online. Players seem more than willing to completely write off the actual power Leyline presents in this deck, but I do get why they are being skeptical. The card has not put out any good results since it was initially released, mainly due to the various downsides it has - downsides that Gravy Bones completely fixes.
The main two issues of Prismatic Leyline are ones of value and opportunity cost. On the value side of things, red and blue cards are most common in standard decklists, with the occasional hero that focuses on yellow cards like Prism or Boltyn. This means your average deck is going to be getting, at best, the red and blue bonuses from Prismatic Leyline, making the card a 0 for 4 in terms of value. Not terrible value, as 0 for 4 is a very common rate for powerful aggressive cards - but that is where the opportunity cost problem comes in. In order for Prismatic Leyline to present that 0 for 4 value, you need to attack with both a red and a blue attack. Combined with the Leyline itself, that already means 3 of 5 cards you have access to in your hand and arsenal need to be held back when defending. If one of your two attacks has some sort of resource cost and you need to hold yet another card because of that? It just isn’t worth trying to force Prismatic Leyline to work when it is only presenting the value it does. Again, 0 for 4 is good, but not amazing.
Enter Captain Bones to fix all of Leyline’s problems! Gravy’s deck runs mostly yellow and blue cards, meaning that Leyline's value is now 0 for 5, which is a much more impressive stat being presented. What about all those cards you need to hold in hand to make Leyline work? Nonsense! Not only do almost all of our yellow attacks get to be played from the graveyard, but they’re also allies, so if our opponent doesn’t spend resources removing them, we just already have that attack set up and ready to go!
In a Gravy Bones deck, Prismatic Leyline allows you to have turns where you can block with two or even three cards and still throw 11 damage right into your opponent’s face. You can create turns that completely assert dominance on the board and be the player with all the tempo. Leyline doesn’t even have the drawback of being red or a 2-block; it’s yellow and blocks for a solid 3! So even if you end up having a hand where it is difficult to line up your Prismatic Leyline, you don’t have to feel bad about blocking with it.
All Hands on Deck!
I’ve played a lot of Mechanologist in my time with FAB, and one of the things you learn quickly playing that class is how to have proper item counts for your deck. Since Mechanologist items don’t block, if you have too many you run the chance of drawing into hands you just can’t defend yourself with; but too few and you never get to make use of the class' item synergies.
I bring this up because I have been drawing parallels between my Mechanologist item count heuristics and how many ally cards I want to be running in Gravy Bones. Much like Mechanologist items, your Pirate Necromancer allies cannot block, so you are presented with the same problems when you run too many or too few of them. The allies also share another similarity here, which is their lack of innate go again when being played or being used. You only get go again once per turn when playing an ally, and only when it is played from your graveyard. Moreover, every single ally you play has to be immediately impactful on the board, since your opponent can directly attack them and remove them forever.
I’ve been very selective of the crew I’ve got aboard this ship, and I’ll give you all a quick debrief on a few of the important ones and what it is they’re bringing to the arena.

Chum is a little bit of everything you want in a crewmate. He lends a hand to the other pirates by discarding them, and then pulls all of your enemy’s attention to himself - all while being able to take a respectable amount of punishment and returning a fair share of his own.
The fact that we get to run an ally that acts as our own little Arc Light Sentinel is honestly fantastic. It helps keep our life total safe, and if we time things properly he could even potentially brick some of our opponent’s turns. But it's important when playing Chum to keep in mind when priority windows are active and when you can actually make use of the ability. Until your opponent plays a card or activates an ability that goes on the stack, you do not have priority to activate Chum. This matters because your opponent can just send their first attack at anything that isn’t Chum, and he will be unable to redirect it to himself. Only once your opponent has done something and passed priority to you do you have a chance to activate Chum.
Sometimes this timing doesn’t matter, as your opponents just focus him down anyway, doing his work without you needing to tell him to! You’ve got to respect someone who works that hard at their job, don’t you?
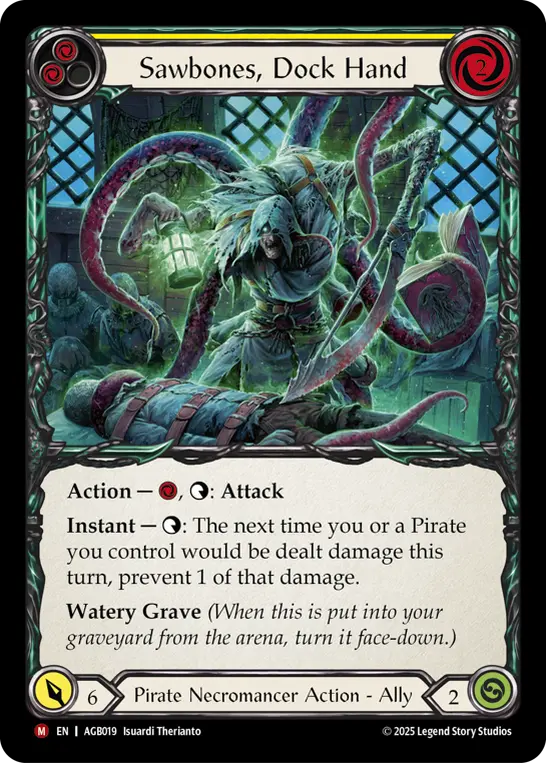
Sawbones is the other ally I want to talk about, as he’s just as important to us as Chum. It appears that his name isn’t just for show either - between keeping his crewmates alive, Sawbones can still swing for 6!
Sawbones’s instant ability is the only way we currently have to protect our allies from damage, as other damage prevention effects in the game (like Oasis Respite) only prevent damage that is done to our hero specifically. This added utility does make Sawbones extremely important for both offense and defense, which is why sometimes it isn’t worth it to immediately throw him onto the board just to swing for 6.
If you're able to line up a turn where you can get both Sawbones and Chum onto the board, that can be an annoying board state to get through for most opponents. Chum forces attacks to go into him, and Sawbones can give him effectively 7 health, making him even harder to remove. If your opponent attacks Sawbones first, that’s even more damage they need to deal to Chum to still get him off the board. These two together are extremely efficient at pushing damage and regaining tempo; you just need to make sure to line them up appropriately.
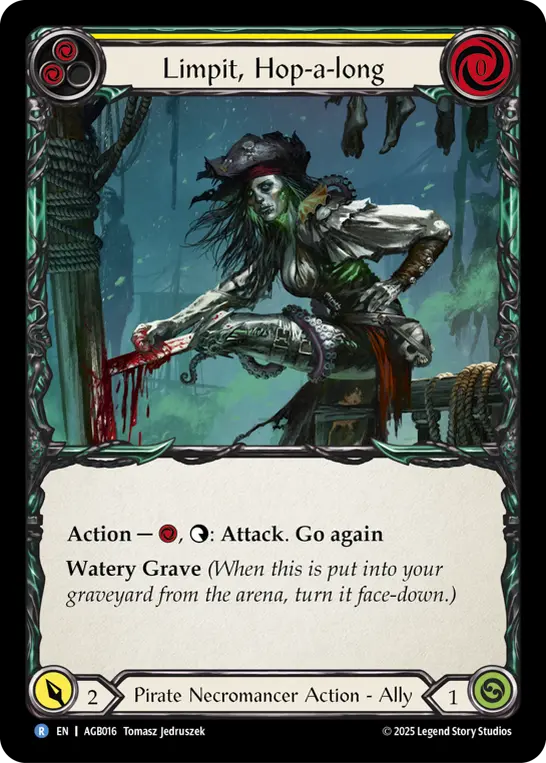
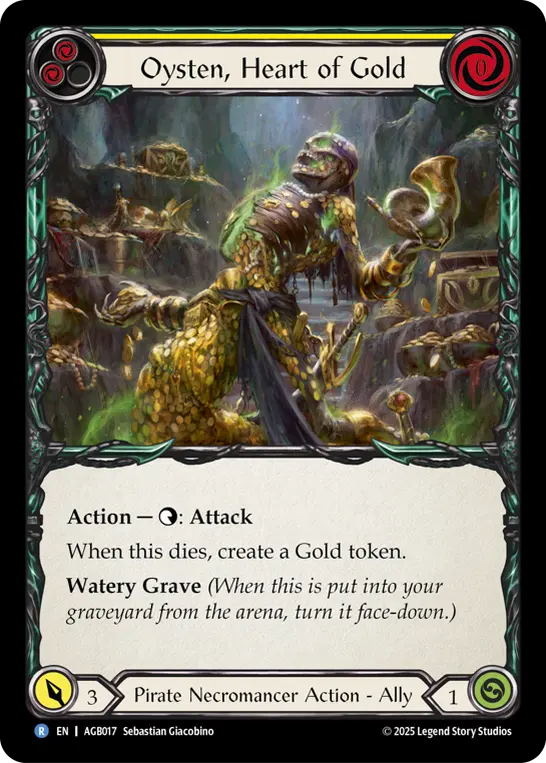

The remainder of the allies you have in the deck are there to serve some sort of utility, and are less important than the two lead acts. Oysten is great as he costs no resources to play or attack, and will leave behind gold to help you keep digging through your deck. Limpit helps go wide against decks that struggle to deal with multiple allies a turn, like Guardian. Scooba is able to help you get extra uses out of your non-ally yellows, such as Sea Legs and Prismatic Leyline.
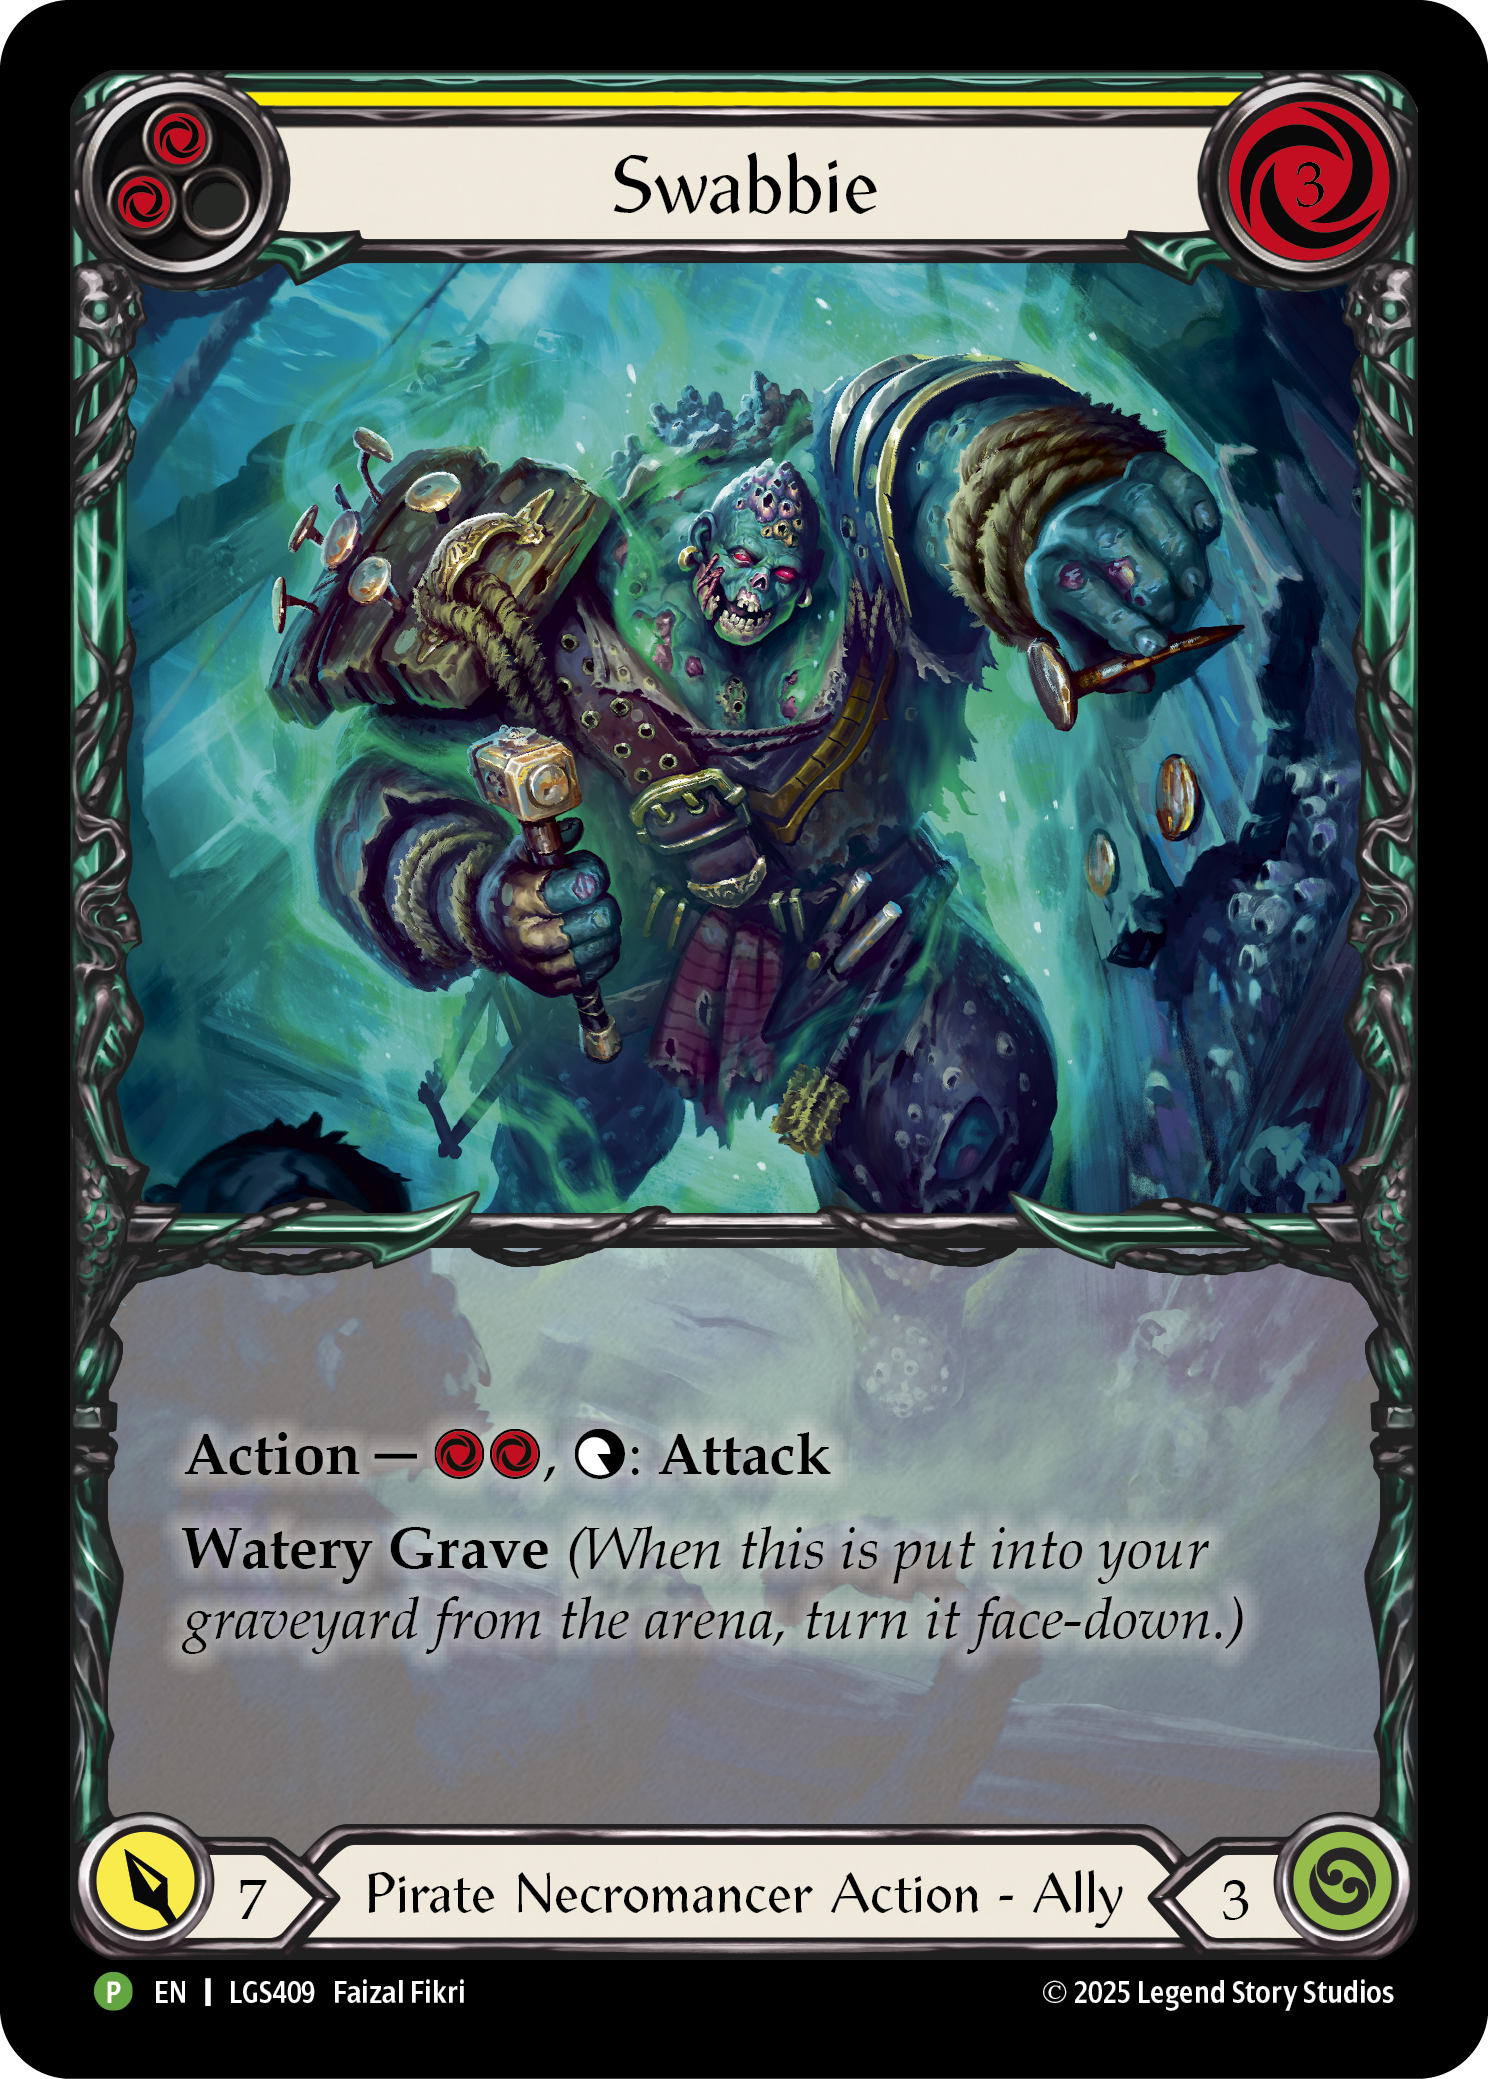
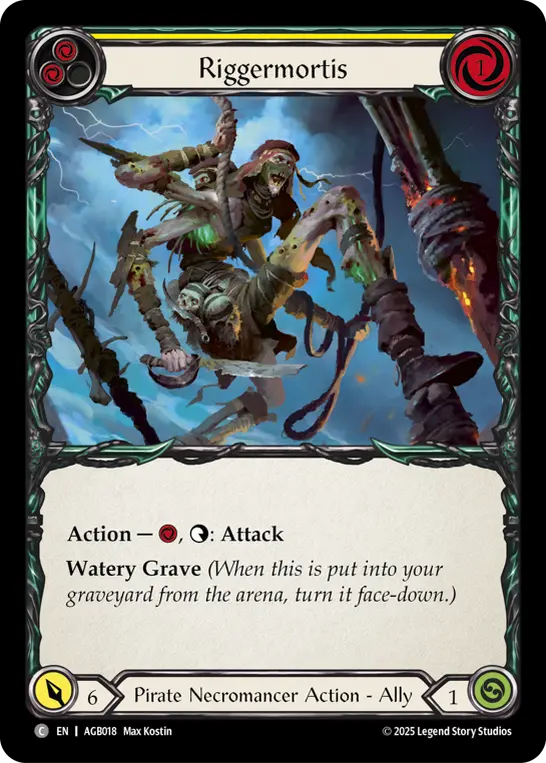
Finally, Swabbie and Riggermortis are just good bodies that are effective at sending damage. Each of these allies aren’t powerful enough, in my opinion, to warrant a full three deck slots, but each is uniquely powerful enough to get at least one. A great benefit this deck has is that, since we are on a full set of Call to the Grave, we can run single copies of some of our allies and still be able to reliably get to them in a game.
One ally I’m not running (that I know for a fact I have been underestimating) is Anka, Drag Under, and I am honestly looking forward to seeing how well they work into various match ups. You’d be surprised just how many decks have some sort of dedicated card draw in them that can really get messed up by a well-timed Anka activation.
To Bury the Dead
Now if we want to have our deck focused around a bunch of cards we can play from our graveyard, we will need ways to get those cards there in the first place. This is where the deck’s various enablers come into play - from destroying cards off the top of our deck to discarding cards from hand. We have a lot of ways to fill the graveyard, but you want to make sure you are using the ones that are the most efficient.
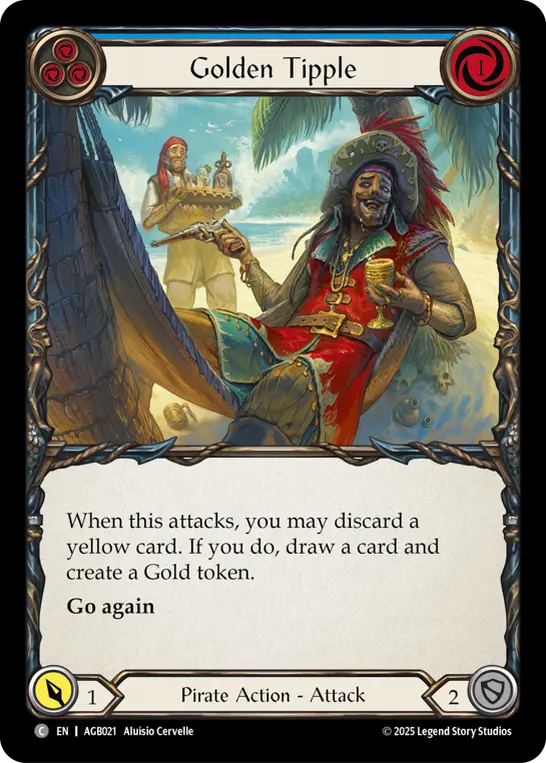

Golden Tipple and Portside Exchange are, by far, the premier enablers within the deck. Both cards being blue allow for us to play watery grave cards once we’re done with them, while their effects put those cards into our graveyard in the first place. (I am honestly going back to the drawing board for a little bit because I want to try out an excessive number of Golden Tipples in this deck because the card is just that good.) Obviously, there is the downside of it only blocking for 2, but when you’re trying to be an aggressive deck, you try to not concern yourself with blocking - you let that be your opponent’s problem. While Portside isn’t an attack, it has the benefits of not costing any resources and blocking for 3 while providing us with the same value Golden Tipple does; and as an added bonus, if it's the only card in your hand, you will still draw a card from the effect, as it is not conditional upon you discarding.
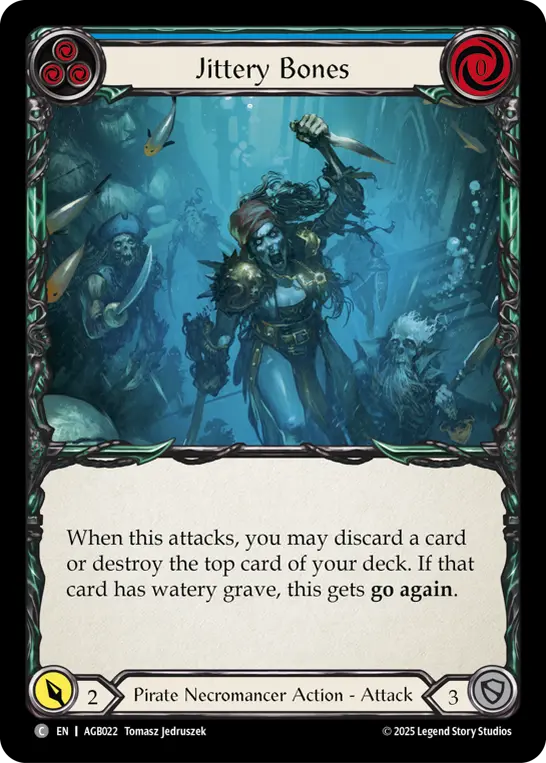
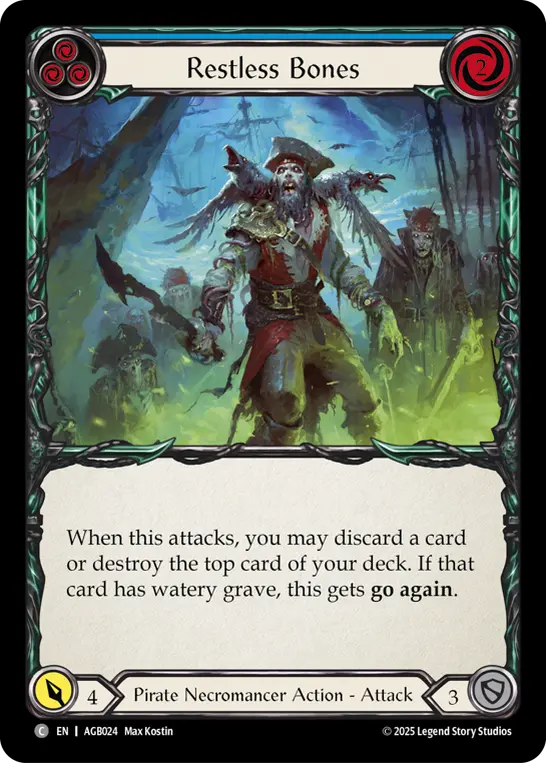

The other set of enablers I will refer to as “Bones cards”. These are Jittery Bones, Restless Bones, and Blood in the Water - all cards which gain some sort of additional effect when we either discard a card with watery grave or destroy a watery grave card off the top of our deck. Preferably, you want to be doing the latter, as it makes playing any of these require one less card in hand to get the card’s full effects. Blood in the Water's opportunity as a 0 for 6 defense reaction is huge for keeping our life total nice and healthy, while Jittery and Restless gaining go again are ways for us to keep a steady pace of aggression on our opponents. On a Prismatic Leyline turn, they attack for 5 and 7 respectively; and even when not playing Leyline, attacking for 2 and 4 is still average for blue attacks. (It's important to note that the Bones cards themselves don’t require an ally specifically to be sent to the graveyard, just a card with the watery grave ability; as such, any of the Amulet cards in High Seas with the “Legend of the Watery Grave” ability will count to trigger them.)
All of these enablers are great to have access to, but the one you will be using most frequently is the ability built into Gravy Bones himself that allows you to draw and discard a card once per turn cycle by tapping him and sacrificing a gold token. Do not underestimate just how strong this ability will be for you over the course of a game - but also, be sure not to activate it needlessly. This deck lives or dies by its ability to effectively set up plays from the graveyard on your own turn. If you are consistently using Gravy’s looting effect on your opponent’s turn in order to try to find better blocking cards for your hand, you could end up in situations where you don’t have ways to enable playing your watery grave cards, or ways to discard ones in your hand on your own turn. You also need to make sure you are prioritizing gold creation throughout the game so that you continue to have access to this ability endlessly. Once the Shipwrecked Looter has run out of treasure, his boat really does begin to sink.
Pulling the Breakline
One of the last cards I want to talk about in this article is Back Alley Breakline, as it may be a card people are surprised to see in this decklist, much like Prismatic Leyline was. Breakline is a card that has extremely powerful synergies with multiple cards in our deck and allows us to have multiple turns where we can gain an extra action point quite literally “for free”. This will enable us to go wide on board or send multiple attacks at our opponent, quite often when they are not expecting it.
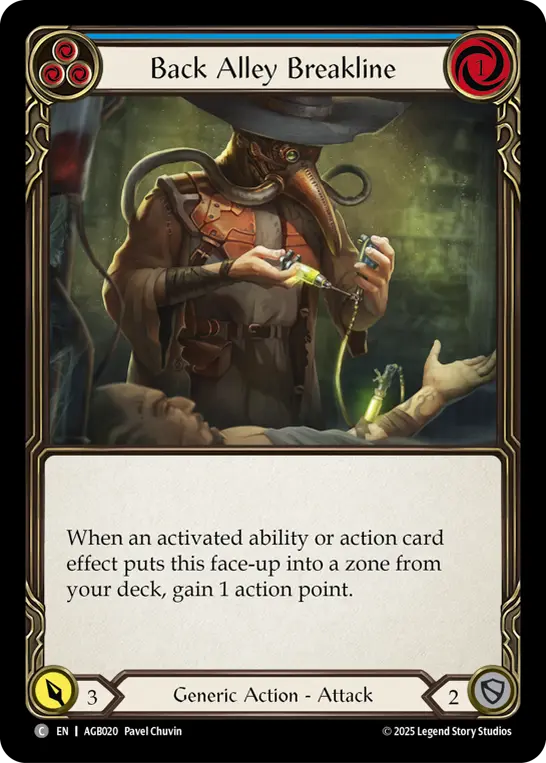
The first way we abuse the action point generating effect on Breakline is through putting it into our graveyard with Call to the Grave. This is a strategy that was tested in Levia decks early after Rosetta’s release, but was swiftly abandoned as it was more gimmicky than powerful. In Gravy Bones, however, the ability to play Call to the Grave and get an extra action point is fantastic since not only does getting either of these two cards in our graveyard allow us to play our watery grave cards, but we have so many uses for that extra action point. If we haven’t yet used our Mage Master Boots and have the available resources, we can use this combo to play out two allies and attack with both of them in the same turn. This immense pressure will likely draw some form of blocks from your opponent, as two ally attacks can present as much as 12 or 13 damage. With fewer cards in your hand, your opponent will have less resources to remove both the allies you have in the arena and the snowball effect can begin. The only downside to using Call to the Grave with Breakline is that the effect is limited to the number of copies of Breakline in your deck. This list only runs two, meaning you can only do this twice in a game. Make sure you are able to fully use the power of this combo before attempting to fire it off.

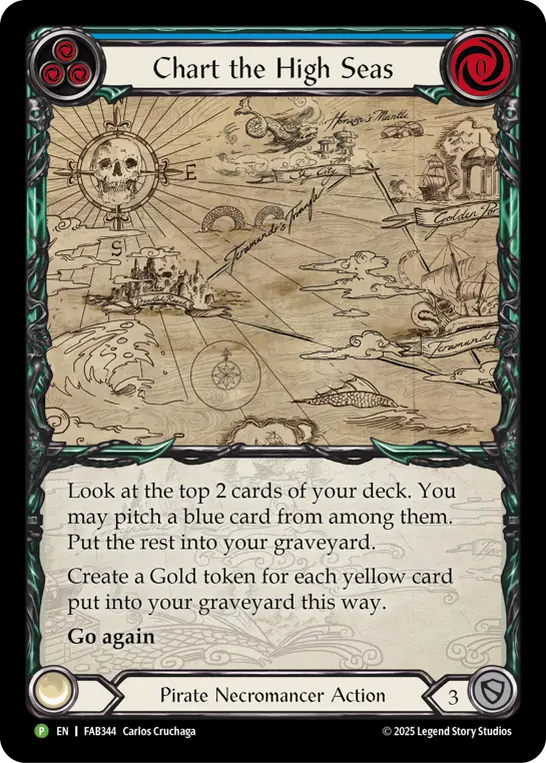
But beyond Call to the Grave, we have a few cards that interact favorably with Breakline and don't have limits. Saltwater Swell and Chart the High Seas both put Breakline from the top of our deck into our pitch zone, which meets the condition for its effect. In this instance, we are not only gaining an action point, but also generating 3 resources. Since Breakline is just being pitched for these effects - as opposed to being put in our graveyard - we can use this ability multiple times throughout the game. We just need to keep hitting Breakline in our pitch stack, or shuffle our deck after we’ve already encountered the card so that we can randomize when we’ll next get our free action point. I won’t lie, the turns where you get to hit Breakline off of a Swell or Chart, this deck feels extremely absurd, and no other deck really compares.
A Different Set of Threads
Okay, maybe there's one more card I wish to discuss before I close things out here: Fyendal’s Spring Tunic (as opposed to the new Necromancer chest equipment, Dead Threads). This is not a budgeting decision on my part, choosing to run an equipment piece I own instead of an expensive new one; rather, this is a deliberate choice because, at least for this list specifically, Tunic is much stronger and synergizes with the cards in this list to a much higher degree.
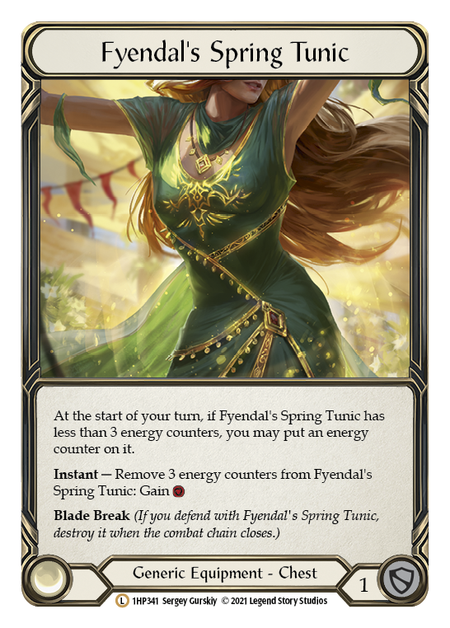
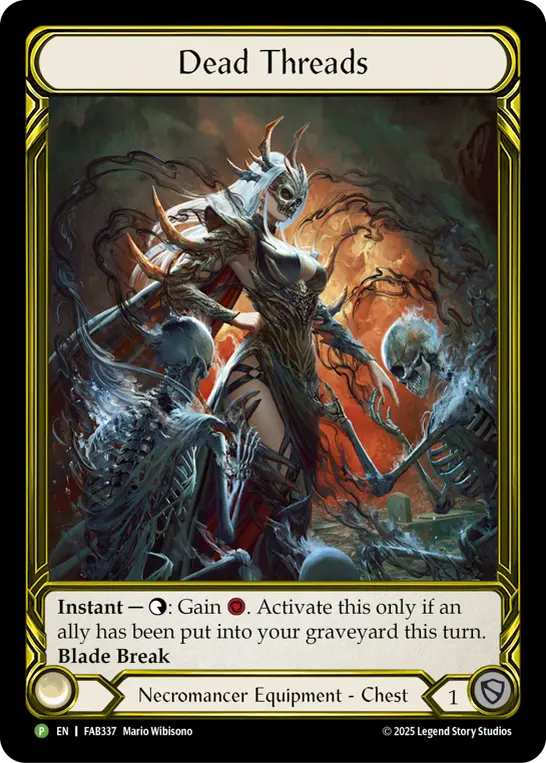
This list wants to make efficient use of every single card and resource you have access to. While it may seem like this would indicate that you’d want to be running Dead Threads because of its ability to theoretically provide more resources, that isn’t the case. Golden Tipple and Saltwater Swell have a huge downside in that they both cost a single resource for you to play them. Since you can’t use Dead Threads until an ally has been put into your graveyard, this means your chest equipment can’t generate resources for either of these cards until you have gone and ruined the setup for either of them.
Yes, you can just normally pitch another card you have in hand in order to play either of these cards. The problem arises though when you are put into situations where you're forced to block and no longer have the requisite number of cards in hand to effectively use either of these cards. In those specific situations, being able to use your chest equipment to play them without ruining their effects will be how you are able to regain any lost tempo and try to push the game back into your favor. Once Gravy Bones starts to fall behind, it can be very difficult to catch up.
Setting Off
Gravy Bones is easily my new favorite hero in this game, and I suspect he will be for quite a long time. Through the years I have been playing this game, I’ve been looking for a hero that does exactly everything he offers, and I think I will be exclusively playing this hero - or at least the Necromancer class - until every one printed has entered the vaulted halls of Living Legend. Just in the past week of doing continued testing for this deck, I have already come up with so many more ideas on the different ways this deck can be built and the various ways I can push its strategy. I look forward to seeing what the future holds for both myself and Gravy Bones. I think it’s time I got back to sailing.
This article was written to condense and distill some of the information I laid out in a 38-page document I wrote and released on June 6. If you liked this piece and want to dive deeper into the thoughts and rationale behind each card choice and Gravy Bones himself, you can find that document here.
Thank you all for reading! If you want any future updates on my adventures with Gravy Bones, feel free to follow me on my Bluesky here.