
I find Scabskin Leathers fascinating.
You trust a game-altering event to a single die roll. When you choose to activate Scabs, you are willingly engaging with variance; an observer may justifiably see you as inviting self-destruction - but that does not have to be the case.
Events with uncertain outcomes are commonplace in card games; after all, every hand you draw is a semi-random event. The skill of card games is in maximizing the risk vs reward, and choosing the terms under which those events occur. Everything that we do in card games can be modelled in a die roll.
Used properly, rolling Scabskin Leathers is not 'inviting self-destruction', but showing confidence in your deckbuilding and decision-making skills. With a bit of napkin math, I can demonstrate that you should be rolling when: a) it is the best option available; and b) when you can unlock powerful synergies while mitigating risk.
Savage Land Life
Before getting into the theory of when one should roll Scabskin Leathers, we should answer why someone is playing Brute at all. Why would someone opt for an awkward, non-linear hero like Rhinar instead of proven heavy hitters like Oldhim or Fai?
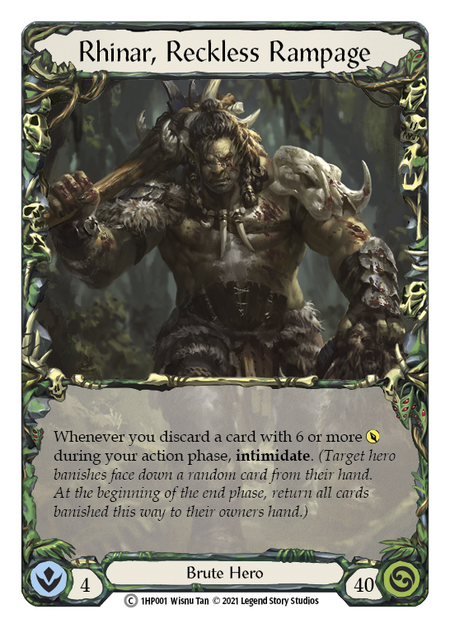
Ruling out thematic appeal, one would play Rhinar because he represents a unique threat to a very defensive metagame, while avoiding being completely rolled by aggro decks. He occupies a true midrange, where he is most comfortable trading two-card hands.
In exchange for that advantage, he struggles to profitably convert larger hands. This drawback ceases to exist, however, when he gets to use Bloodrush Bellow in conjunction with Mandible Claws.


Bloodrush Bellow is a truly broken card in an otherwise fair class, so prioritizing it is a strategy I recommend. With Mandible Claws, a good Bloodrush represents 18 damage for 4 cards - which is basically cheating in Flesh and Blood.
There are other options to work around Rhinar's card mobility limitation, but many of them reduce the power of Bloodrush - sometimes in non-obvious ways. Wild Ride and Pulping represent a means of mobilizing big hands, and when paired with Romping Club, become genuinely powerful.
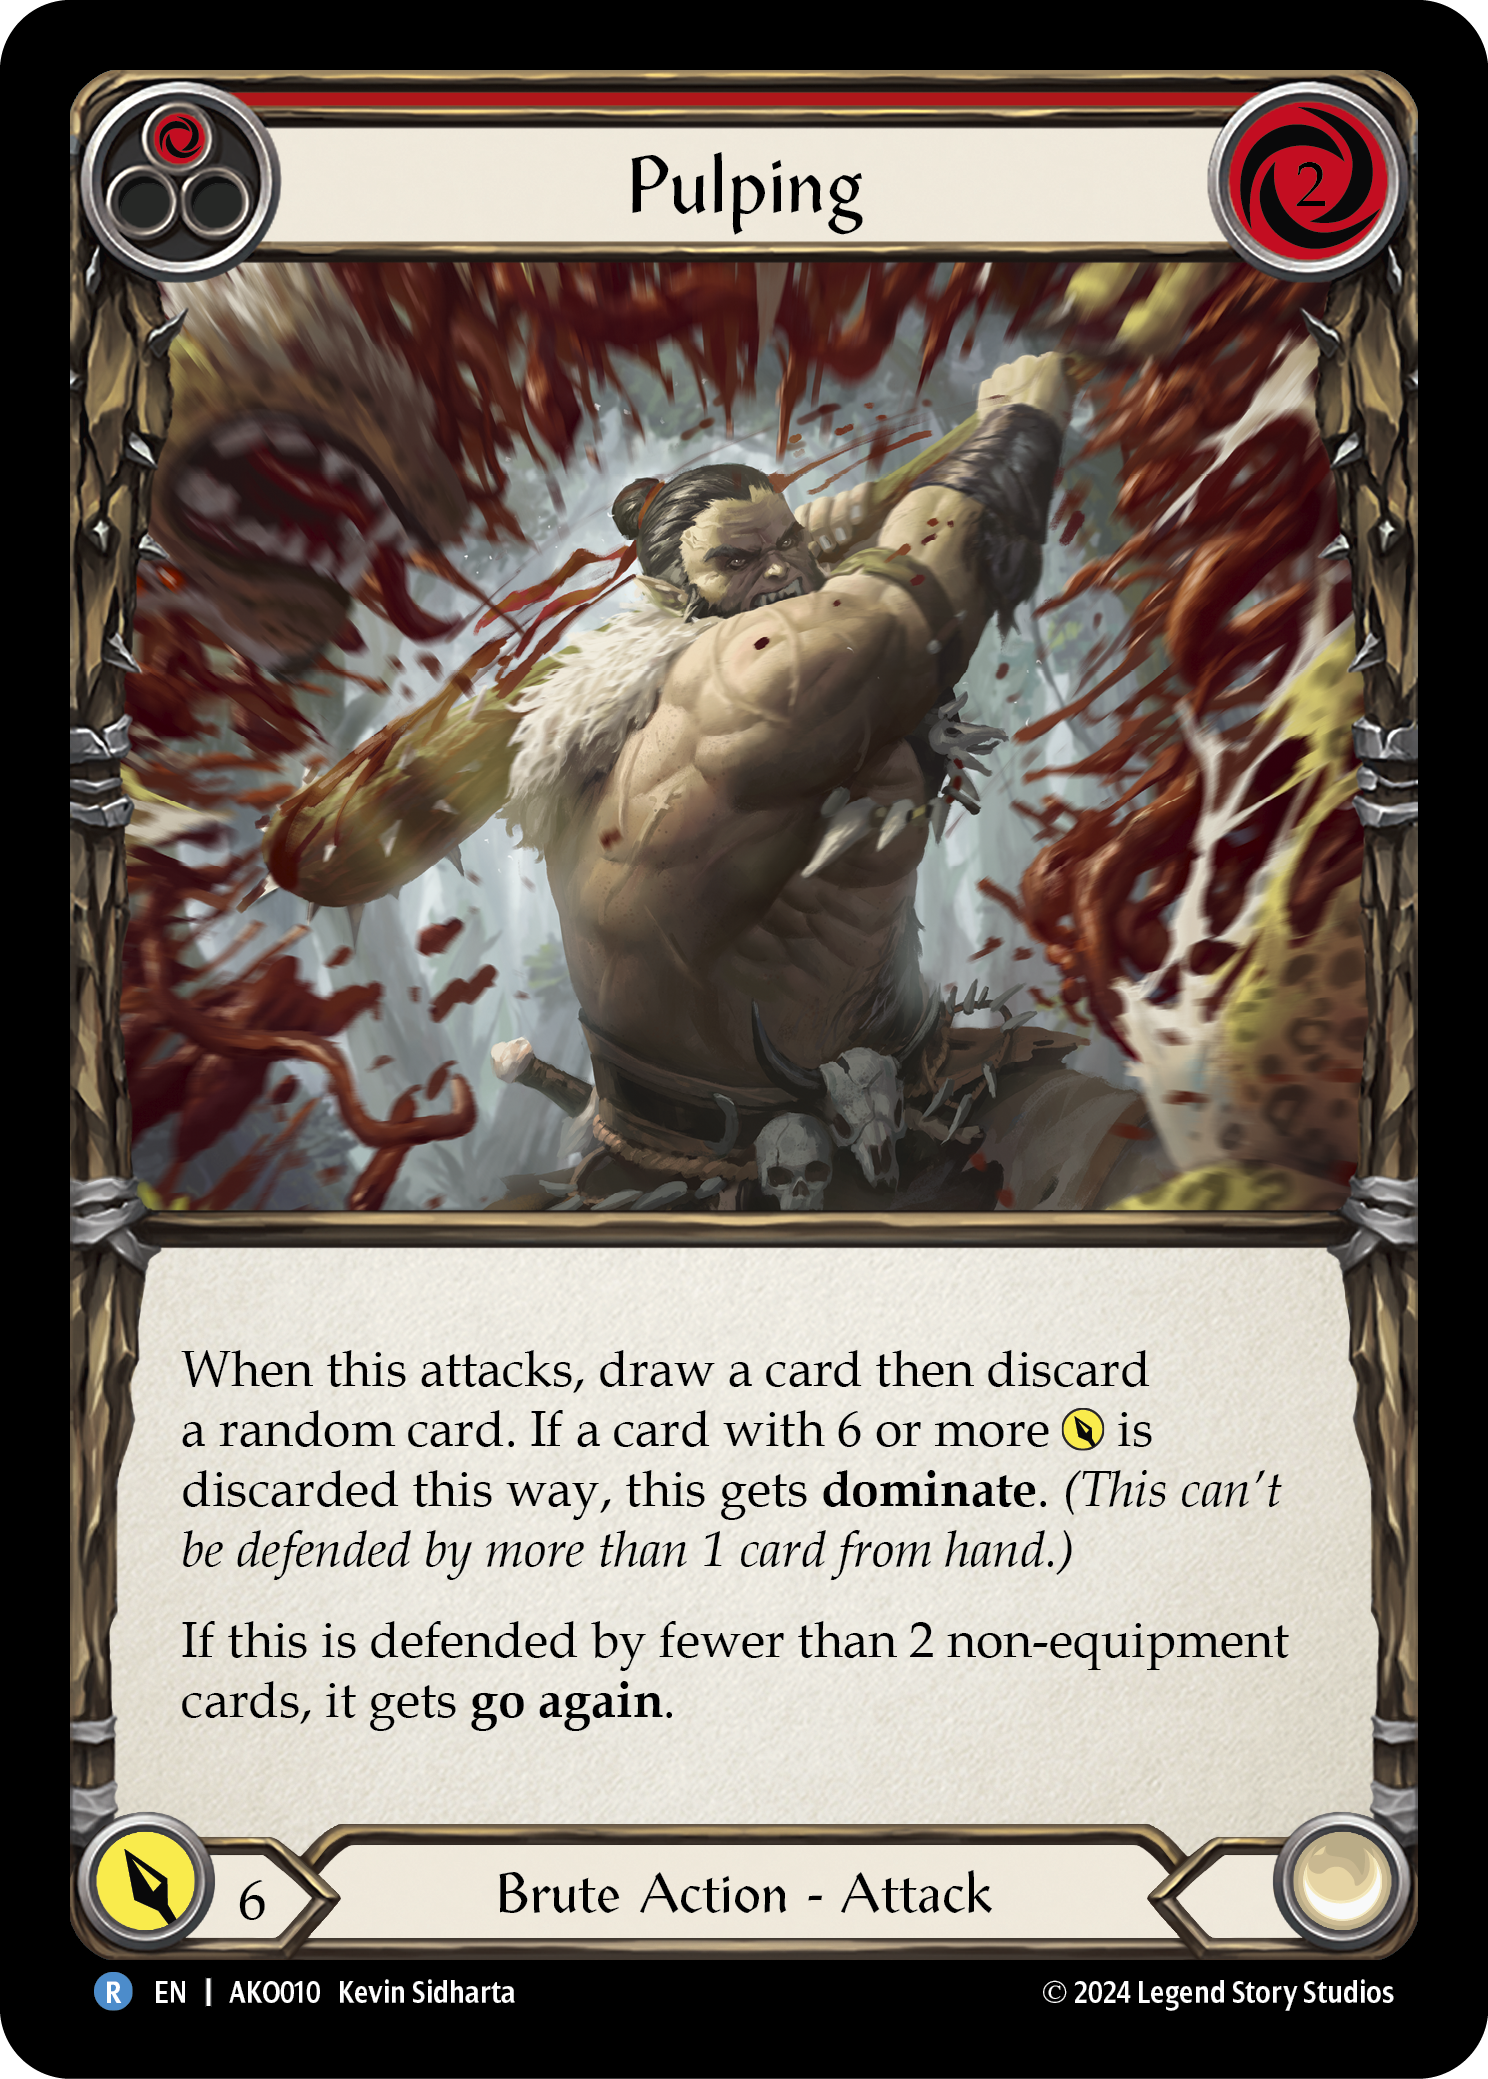
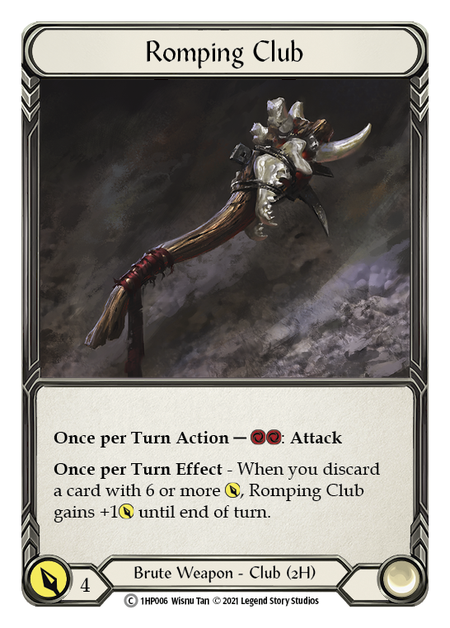
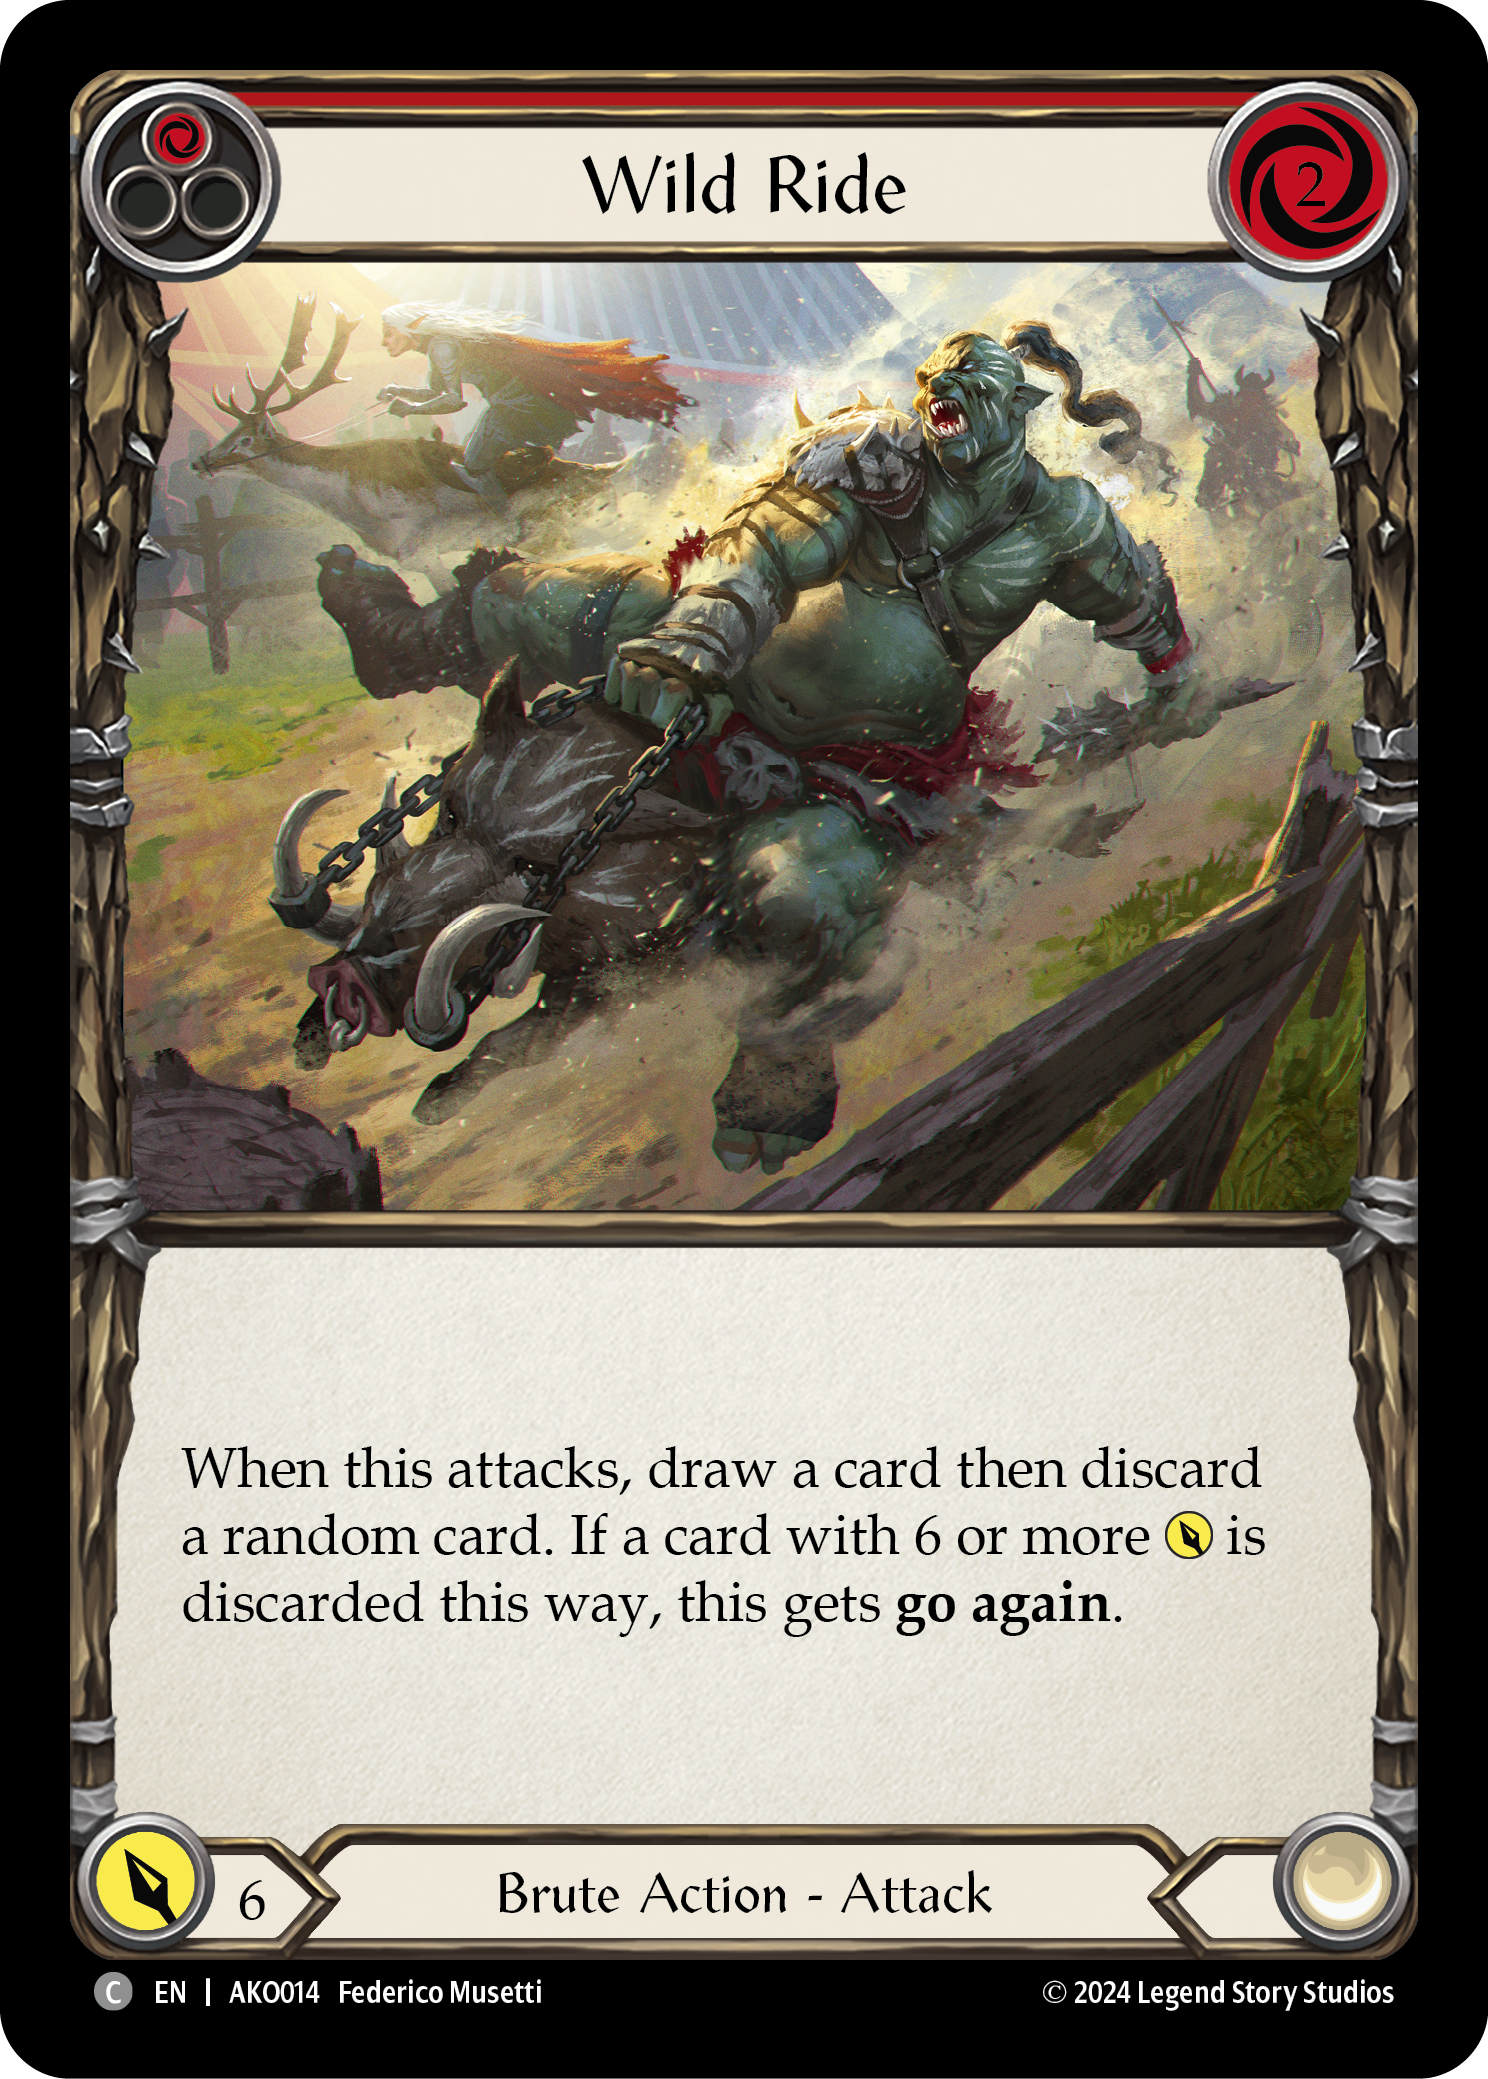
However, excluding the Claws diminishes the damage output of Bloodrush; and if Wild Ride is used with Claws, most of the time it represents 12 damage for four cards (damage that is too fair to keep up). If you account for the damage you have to take in order to play out this hand, you make it harder to take damage on the turns when the Bloodrushes come around and you want another full grip. If the goal is to maximize our Bloodrushes, we sacrifice convenient options to mobilize cards.
Sand Sketched Math
By eliminating non-Bloodrush ways of reliably converting large hands into damage, we instead rely on our opponent to present us attacks to block so that we are still able to leverage our entire hand. As we want to maximize our Bloodrushes, blocking aggressively extends the game such that we draw as many of them as possible.
However, occasionally they will present attacks that are simply too inefficient to block, or they will not attack at all. For most decks, an opponent's bad turn presents an opportunity; but this can be a dangerous turning point for Rhinar if we can't overcome our card mobility issues and punish their weak turn. If we simply play our 2-card hand, arsenal, and sit on the 4th card, we're letting them back into the damage race too easily.
This is the first case where we would use Scabs: in order to leverage resources we are incapable of using otherwise. The most likely risk whenever you use Scabs is that, half the time, you do not get to play all the cards in your hand - but only on a roll of 1 are you any worse off than you were.
To evaluate the potential value of a Scabskin Leathers roll, we want to take the damage that we get to deal in each event, and multiply it by the probability that the event occurs. We add them all together to get an average damage that our turn represents. It looks something like this:
Average Damage = 0.16(0AP) + 0.33(1AP) + 0.5(2AP)
AP is the damage you would deal, given however many action points you have. I don't give much consideration to 3 action point turns because it is extremely hard to use more than 2AP, so we roll the 3AP result into 2AP (which you could consider to be 2+ AP, if + didn't imply addition in a mathematical formula).
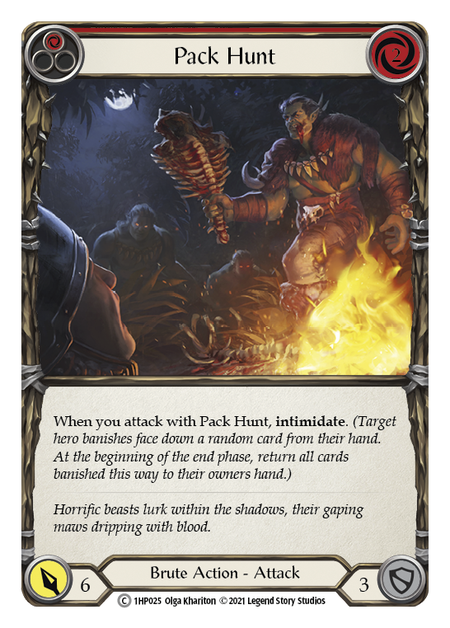
Let's say we have 2 Pack Hunts and 4 resources to play them. We're on the defensive, and want to decide if it's worth keeping all 4 cards for a potential Scabskins play.
If we were to activate Scabs, we would deal 0 damage on a 1, 6 damage on a 2 or 3, and 12 damage on a 4, 5, or 6. Plugged into the formula we would get:
0.16(0) + 0.33(6) + 0.5(12) = 8
This reveals that this 4-card hand will, on average, attack for 8 damage. Given the option of blocking 6 damage and attacking for 6 or taking everything to deal an average of 8, we would rather block here.
But let's say we're not presented with an opportunity to block. The risk of not being able to play all the cards in our hand is moot. We were never going to be able to play all the cards anyway. We may risk rolling a 1 and skipping our turn, but since the average damage is significantly higher if we roll, it means that the extra damage we deal 50% of the time is made up for by the damage we lose 16% of the time.
If we were to not activate Scabs whenever this opportunity presented itself, we would miss out on an average of 2 damage per opportunity. That adds up to a lot of extra damage.
Plugging in other lines of play are also revealing. Rolling Scabs to leverage a 3-card hand, like playing a 6-power attack and swinging Mandible Claw for 3, is an average of 6.5 damage – only a 0.5 increase over not rolling Scabs. If possible, you would prefer to arsenal the third card.
Saving Some Room
The other time you want to roll is to take advantage of Savage Feast.

Savage Feast is a very efficient card that represents no real obstacle to our Bloodrush-oriented gameplan. Unlike in the previous case, where we value blocking very highly, Savage Feast represents a case where we are OK taking some damage, because it allows us to deal significantly more damage than what we would prevent by blocking with the card. To do that, we need to structure our turn to account for all possible outcomes. That starts with the right hand.
For Savage Feast, we are looking for hands as follows:
- Savage Feast,
- a blue card to pitch, and
- a 6-power attack to discard.
If we draw Feast but are missing either of the other conditions, we'll play out the rest of the hand and aim to arsenal the Feast. Otherwise, our plan is to block with the fourth card remaining in our hand, and then roll Scabs to start our next turn.
If we roll a 1, we immediately use Gamblers Gloves (more on this later).
If we roll a 2 or 3, we play out the 6-attack, pitching the blue.
If we roll a 4 or higher, we attack with the Feast, pitching the blue, discarding the 6. Then:
- If we draw a red pitch or Bloodrush off the Feast, we'll swing a Claw with the floating 2 resources and arsenal the drawn card.
- If we draw anything else, we'll swing Claws twice.
As long as Feast is in arsenal, we'll continue to block with two cards, keeping a blue pitch and a 6 attack, and continuing to roll Scabs until we hit that 4+.

Tome of Fyendal represents a very similar play pattern. As long as it's in arsenal, keep 2-card hands and roll Scabs. Eventually you get to gain 3 life, make an attack, and arsenal whatever is left over. You might have a card left over, but the play is still powerful enough despite that.
The common thread here is to structure your turns such that you always maximize the cards you draw at the end of your turn, regardless of the die roll.
The formula I discussed earlier can be a little misleading, since some of the time our '2 action point' turn is only doing 9 damage, which isn't great value over the 6 damage for 1 action point. This is a danger with napkin math: sometimes the numbers don't tell the whole story.
Say that card we put into arsenal is a red pitch - these are some of the strongest cards in our deck! Most of them are above-rate damage like Swing Big, or critical combo pieces like Pack Hunt. In other cases it is a very powerful disruption like Command and Conquer that we might want to use instead of Mandible Claw with the floating resources. However, in all these cases, the red card represents at least 3 additional effective damage that we'll get to use in a future turn, so the equation is still, overall, effective.
Strong Stomachs Only
While the formula accounts for rolling 1s, it also assumes that in a game where you roll a 1, you will be presented with enough opportunities to make up for the lost damage. Generally speaking, this will not be the case. Even accounting for Savage Feast and Tome scenarios, it is rare to roll Scabs more than a couple times a game.
This means that you will have a small sample size each game, which will magnify both the strength of success cases and the harm of fail cases. Skipping a turn represents a loss in damage. Sometimes it will lose you the game. But at the end of the day, we are choosing lines that maximize damage in the aggregate.
Staying cool-headed and continuing to make smart decisions throughout the game can allow you to win out of deficits - after all, our opponents can get unlucky too. Even if you lose a game, tournaments are not single elimination. You can absorb a couple losses due to variance. Over the course of a day of rolling Scabs with proper discipline, your variance will balance out and you will deal more damage per game on average, getting you to higher standings.
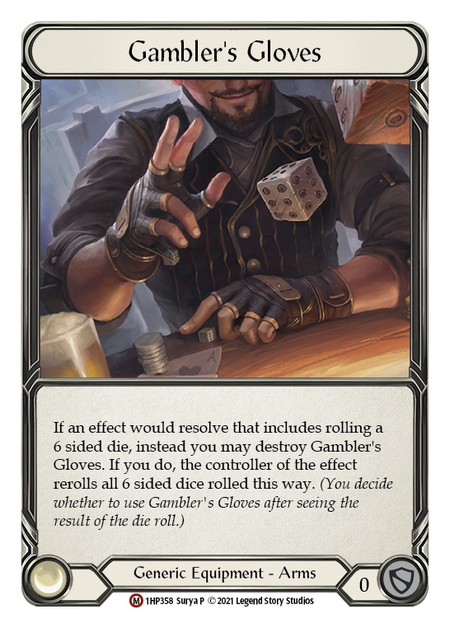
Of course, we are not without tools to mitigate that risk. The capstone to this theory - and the reason I choose to rely on Scabs - is the strength of Gambler's Gloves.
Before this point, I have not really mathematically accounted for Gambler's Gloves. Ideally, you should be able to activate Scabs without Gambler's Gloves, confident that risk vs reward is weighted in your favor. However, Gambler's Gloves represents so much power in one slot that the only reason you wouldn't take it into a game is if you needed the arcane barrier.
Let's say you make a habit of activating Scabs whenever your average expected damage is 8.
Now let's say you rolled a 1.
The intrinsic damage of the turn becomes 0.
By deciding to activate Gambler's Gloves, you get to add your expected damage of 8 back into your turn.
This means that with proper discipline to maximize each roll on the Scabs, and a willingness to risk enough rolls to hit a 1, Gambler's Gloves represents 8 damage added to each game in which it activates. This is insanely good. In theory, Gambler’s Gloves is better than the value Stubby Hammerers offered Fai, which is largely why the latter is banned. In practice, you won't roll exactly one 1 each game, so you aren't realizing its optimal value all the time, but you can be confident that you are still using one of the most powerful pieces of equipment available.
Wrapping Up
To conclude, calculating average damage provides a framework to influence our decision to roll Scabs. The important point here is that it influences the decision - it shouldn't dominate it.
At the end of the day, this is napkin math, and over-relying on it can result in misleading conclusions. Whenever you explore the value of a line with this method, it is important to test it in-game thoroughly before making a claim as to whether it is valid.
Please roll responsibly.