Flesh and Blood's newest class has been dazzling all manner of players. Necromancer has captured the imagination of those who enjoy legions of zombies to command or fight against, and players at the top tables are deeply interested in the consistent value the deck generates and the awkward game states it puts opponents into.
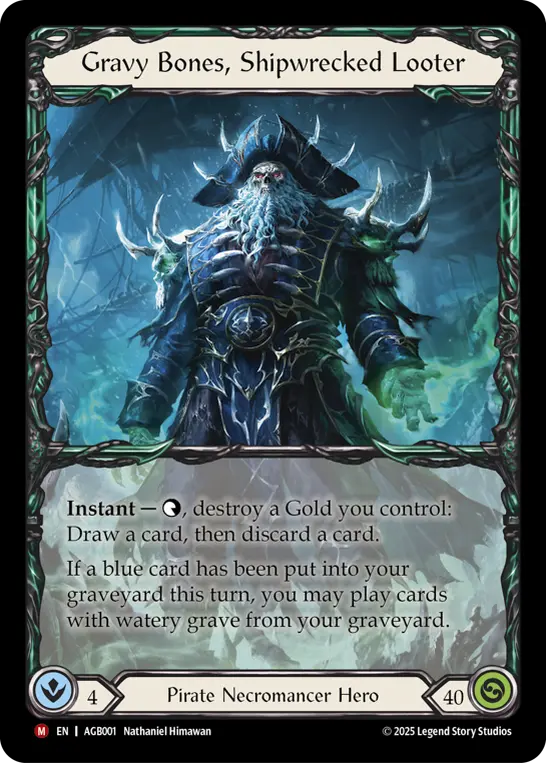
While we can only wonder how other Necromancer heroes in the future will play and whether we can expect them to be base Necro or if they'll be paired with other Classes and Talents like Shadow or Earth (it makes sense, think about it), we can all rely on the Pirate Necromancer Gravy Bones to dominate the current High Seas metagame.
A lot of power comes from his signature Weapon - er, I mean Equipment - Compass of Sunken Depths. By having pseudo-5 intellect, you can plan your turns around cards in his card pool to resolve some truly powerful effects. All throughout streamed Gravy Bones games (like the finals of UK Nationals or the finals of Pro Tour Singapore), we heard the commentators talk about those winners being disciplined with their Compass activations. In this article, I seek to help you navigate the ever-evolving game state by giving you the heuristics I've picked up on for how best to use your Compass during your Gravy Bones games. Blast the Sea of Thieves soundtrack, we're going sailing!
Chart a Course
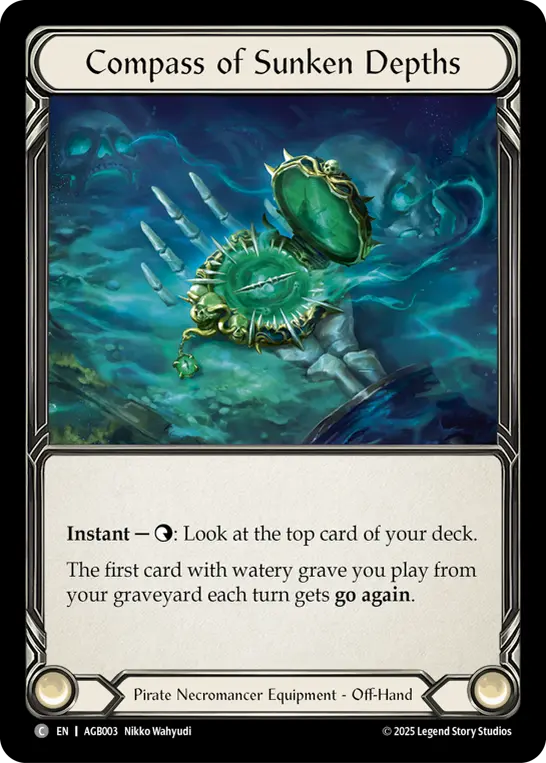
Mechanically, the Compass doesn't really push the design envelope. Dash I/O consistently looks at the top card of her deck, whereas Compass only gives you one cheeky peek. In the event you activate the card, look, and then put the card back, the rules dictate you can't look at it again - even if the top card of your deck has not changed. Gotta get good at remembering what the Compass has shown you. When you have that knowledge, it's all about how the cards in your hand modify the implied value of the top card of your deck and vice versa.
This is why I said that Gravy Bones has pseudo-5 intellect: that card on the top of the deck might as well be in your hand. The Pirate Class card pool is very well suited to the “casino” play style. You will be seeing a boatload of cards.
But does it always pair well? The usual considerations you need to give any hand in Flesh and Blood only get more complex when you consider how many cards you see, how many resources and how much Gold Gravy Bones can generate. The deck can truly do powerful things, but it can spin its wheels into doing nothing. By looking ahead and mapping out your turn properly, you can have some of the most explosive turns in the current meta. Let's look at some of the staple cards played by most Gravy Bones lists and see when it's best to use Compass.


While it might seem like it'd be good to know what you're drawing into with Portside Exchange and Golden Tipple, I would advise against using Compass until after you're done resolving these cards - assuming you didn't use Compass on your opponent's turn. If you've built your Gravy Bones decks correctly, you're either discarding an ally or Sea Legs to this card's ability, gaining significantly more than the 3ish value that a random draw will give you.

In contrast, Saltwater Swell is absolutely where you want use Compass to check your top card. You want it to be a blue to ensure that it's getting you the resources to enable high tide for Conqueror of the High Seas or Swiftwater Sloop. If you know your list well enough to count cards in grave and math out the likely hits, then by all means save Compass for a later game action - but there is merit for making absolutely certain. In some cases, once you draw up and you can sense your opponent wants to send an aggressive turn, then you might want to use the Compass proactively to see if the Swell is enabled, and if the rest of your hand needs the resources. If it doesn't, then you're free to use Swell as a 3-block, which is something of a premium in a deck that requires multiple cards to work and runs a fleet of 2-blocks and even more no-blocks.
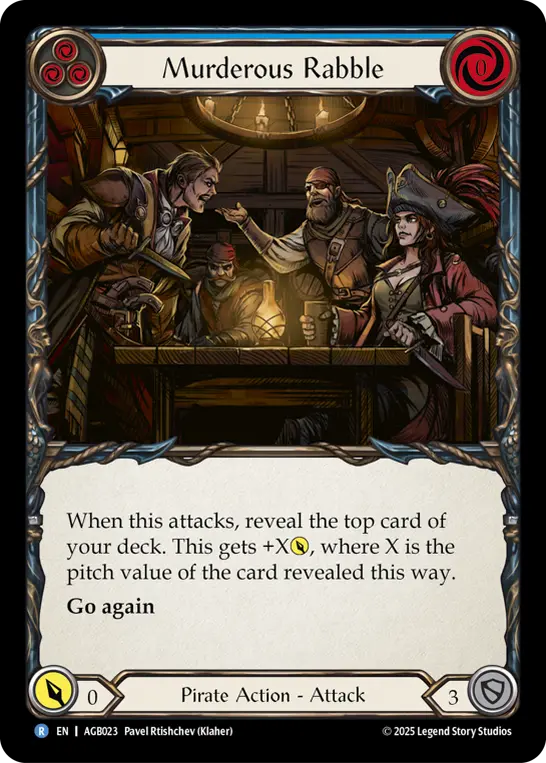
Murderous Rabble is a little more nuanced. It's at its best at its highest attack power, sure; but in the early game, it does not have to be. If you're using this attack when the game is early, sure it's nice to know what's coming in your next hand - but you're most likely using this is as the blue to unlock your graveyard and help you summon the first ally or two you've been able to discard. As the game gets later and later, being able to pitch stack Murderous Rabble next to some blues would be a great way to ensure that you're sending an attack that requires an entire card to block, so pairing it with a guaranteed blue (verified thanks to Compass) is always helpful.
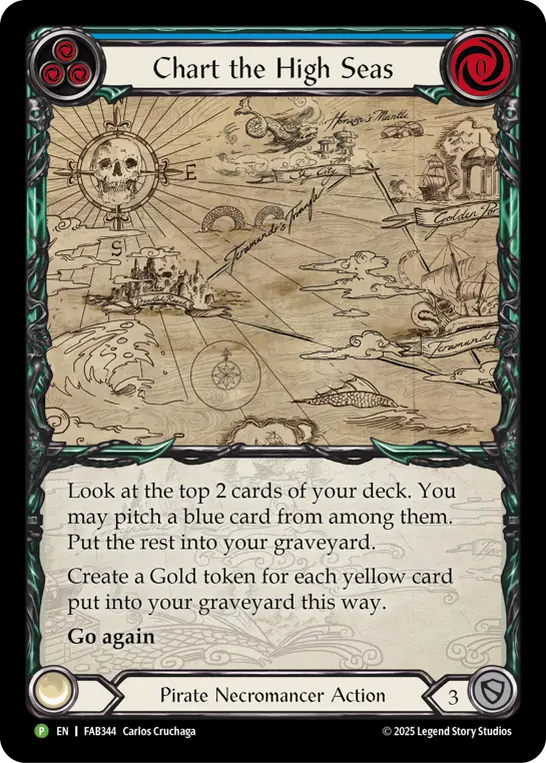
The more I play with Chart the High Seas, the more it's become a love/hate relationship. When it hits, it's incredibly powerful: a Gold and 3 resources, fueling your graveyard and pitch for the turn. But it does need to hit perfectly for this outcome, which is why I personally consider this to be a card best used in second cycle. If you can pitch stack it, you're set for that late-game position. Against Cindra or Oscilio, that'll never come around, so by all means block with the card. Other than that, there is a lot to be said about how to Compass with Chart, because the more one thinks about the card, the more you want to be okay with one of the two outcomes.
When you go to your turn and you want to play Chart, ask yourself: do you need Gold, grave fill, or resources? If you see a red, then Chart the High Seas is a pitch or block card; if it's either of the other two colors, then you have some decisions to make. It depends what you need the Chart to do on your turn. If you need Gold to filter your hand or make activating Gold Baited Hook safer, then hope that the Compass shows you a yellow. If you need a lot of resources, and you don't have a Saltwater Swell, then you're in a spot to hope you see a blue.

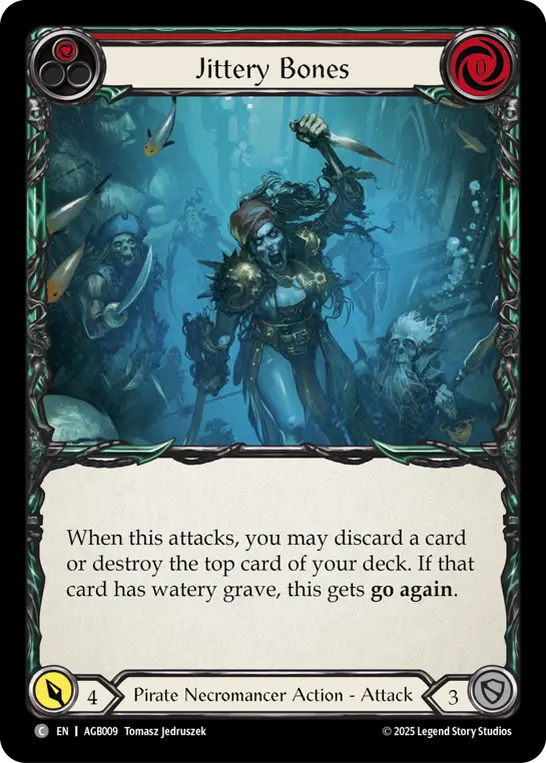
Blood in the Water and any of the “Bones” cards: while the defense reaction is at its best when you can turn a non-blocking ally card into a 2-card-6 on defense, there might be some unfortunate times when you don't have an ally (or amulet) in hand, so you can check the top deck for that. I would encourage you to Compass on these cards only when you absolutely need to. Pitch or block with the Jittery Bones if you can't guarantee it having go again. Blood blocking 4 is often good enough, so you can save the Compass use for something more impactful that turn cycle.
Then there's Gravy Bones. Don't forget the undead lad himself can care about the top card of the deck, and using Compass before or after activating his draw/discard ability. It all depends on why you want to use Gravy Bones' ability on that turn cycle. If it's during your turn and you want to bin an inconsequential blue to open up the graveyard or an ally to be able to play that turn, then you already know that the discard downside has been mitigated and almost any card off the top will have upside. If it's during for your turn and you know that you're looking for a specific kind of card, then by all means do Compass. If it's during their turn and you need to find blocking cards instead of non-blocking watery grave cards, please Compass. There's nothing more heartbreaking than using Gravy blind to try and filter away an ally only to draw another ally when all you wanted to do was block.
Digging for Treasure
While knowing when to look with Compass is a good skill to have as a Gravy Bones player, it's all intuitive the more you play.
Knowing when to peek with Compass is one thing, but then there's the question of the information it gives you. You could have a functional hand that could truly rely on the top card being something very specific, or it could be any card in the 60 and you'd be fine. Knowing how that top card could affect your turn is crucial when it comes to planning out your turn.
The most important rule for using Compass is ultimately when you would want to know what the top card of the deck is. If you want to draw into a certain kind of card with an effect, it doesn't hurt to check, but being curious is not a reason to use the Compass just because. Be disciplined with the activations! There have been turn cycles where the consistency of the cards in hand have been so good that I did not need to use Compass.
Seeking Clarity
There might be game states or certain combinations of cards where just one Compass activation isn’t enough. Or you kept a lot of cards to be able to send a very impressive turn, that’s only impressive if Chart the High Seas hits exactly one red and one blue. There’s only so much top deck fixing the Compass can do, and sometimes you need more, or to see more cards.
Opt is a keyword action that has been done in a lot of other games. Being able to look at the top card of your deck and decide to put it on the top or bottom has always been strong card quality manipulation. A quick look at the opt keyword can give us a few deckbuilding alternatives to look even further into our deck.
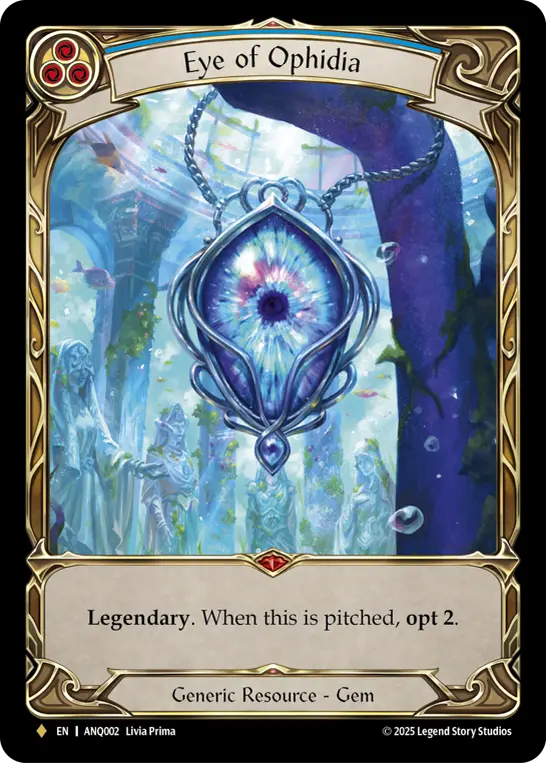
The most obvious opt effect to include in Gravy Bones is one that high level players are already using: Eye of Ophidia. It’s exactly what you want the deck to do, being a blue that opts 2 cards. You get the effect when you pitch it for Saltwater Swell and Chart the High Seas. It’s too good not to play, despite the one card being worth hundreds of dollars. It’s a piece of treasure I deeply want for my own Gravy deck.
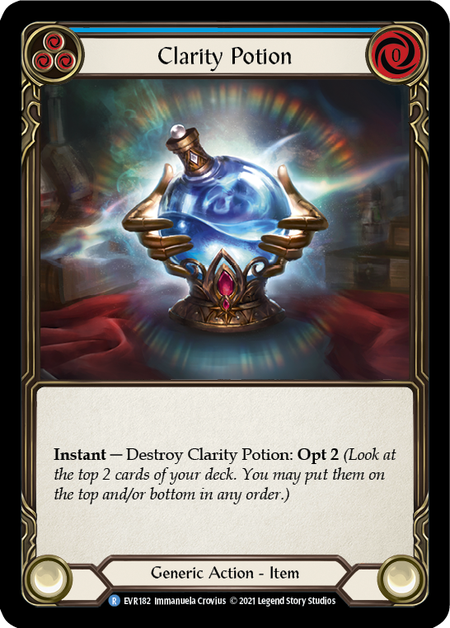

Other cards which fit the bill of being an effect which opt might be Clarity Potion and Opal Amulet. Being both blues adds to the deck’s blue hunger, and the fact they both go to the graveyard as part of their effects also enables Gravy Bones’ ability. (There’s added synergy with Opal Amulet having watery grave, as it works alongside Chum, Anka, and Blood in the Water.)
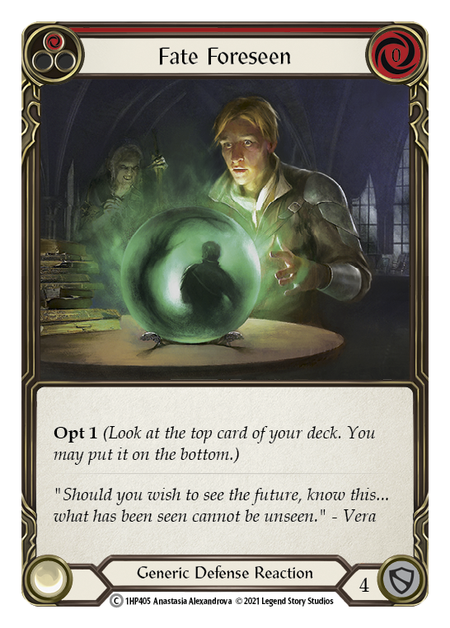
While blocking is a struggle for the Necromancer, the deck does have access to Fate Foreseen as a defensive option - an innovation I encountered in Sam O’Byrne's Three Floating video. Being able to block and check/fix the topdeck is powerful; but at its best, it’s another red card that the deck may be averse to, and the other colors do not block very effectively.
The rest of the opt card pool leaves a lot to be desired (with one exception which I’ll get to in a moment). LSS has been deliberately printing fewer and fewer opt effects, as Opal Amulet is the first card printed with opt since Bright Lights. Equipment with opt like Talismanic Lens and the Seeker’s cycle would all jockey for equipment slots that Gravy Bones already has locked down. Cards that may be budget alternatives, but for now they’re best reserved for Blaze, Firemind in Blitz.
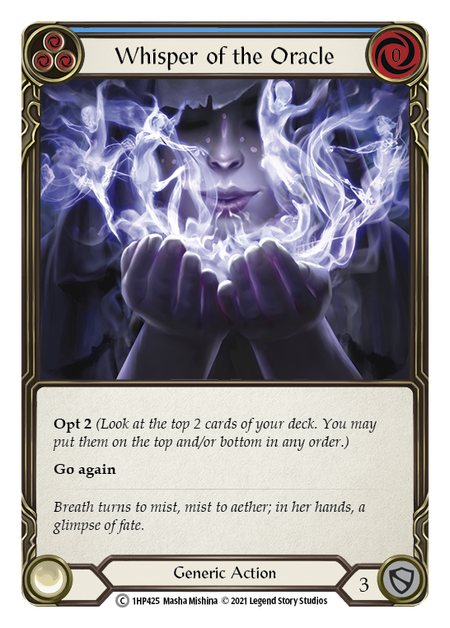
If there’s a sleeper card to be discovered here, it might just be blue Whispers of the Oracle. The card having the ability to look at 2 cards for Chart is already a strong point in its favor, and being a blue non-attack with go again enables mister Gravy Bones. The part that surprised me in my deck building research is the fact that it blocks 3. I could have sworn it was a 2 block like so many other Arcane Rising non-attacks. Again, the card sees fringe play in Blaze in Blitz, but the blue version of Whispers could see some place in future builds of Gravy Bones in the right meta, if the top deck manipulation is something that Gravy players deem useful.
Returning to Port
While knowing when to look with Compass is a good skill to have as a Gravy Bones player, it's all intuitive the more you play.
Knowing when to peek with Compass is one thing, but then there's the question of the information it gives you. You could have a functional hand that could truly rely on the top card being something very specific, or it could be any card in the 60 and you'd be fine. Knowing how that top card could affect your turn is crucial when it comes to planning out your turn.
The most important rule for using Compass is ultimately when you would want to know what the top card of the deck is. If you want to draw into a certain kind of card with an effect, it doesn't hurt to check, but being curious is not a reason to use the Compass. Be disciplined with the activations. There have been turn cycles where the consistency of the cards in hand have been so good that I did not need to use Compass.
Gravy Bones is a new deck built with a card pool of almost exclusively cards from the High Seas expansion. As the deckbuilding theory continues to grow with the Pirate and Necromancer card pool, the prevailing theory about good Compass practice will continue to evolve.
I would stick to the outline of using it sparingly, only to ensure that your top of deck effects always hit, and that your draws are going to be profitable if you need to check before you draw. Gravy Bones played to the highest levels rewards players for knowing the exact compositions and distributions of cards in deck, and playing to that can help mitigate the downside. If you know how many allies or blues you're on, and it's late in the game, you can count and have a reasonable estimate of what the top card is, no Compass needed.