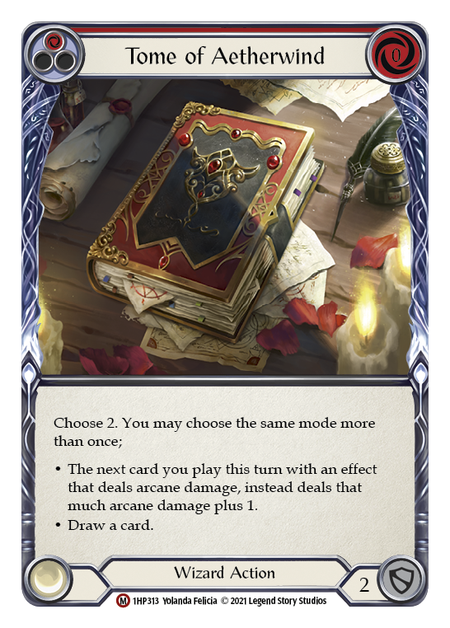
September 4th was a monumental day for Flesh and Blood. A much-anticipated article by James White addressed the state of the game and how LSS planned on addressing issues plaguing the competitive scene. Alongside expected targets Bonds of Ancestry and Art of War were two cards that shook Kano players to the core: Tome of Aetherwind and Tome of Fyendal. Two pillars of the Kano deck are gone with no replacements in sight - the darkest day in Kano’s existence.

With Rosetta’s release moments away and no apparent viable Kano deck swimming to the surface, Kano players panicked en masse, and many (including myself) planned on jumping ship. Kano was finally dead and gone, burnt to ash with his beloved books.
Yet from the ashes, Kano has come roaring back.
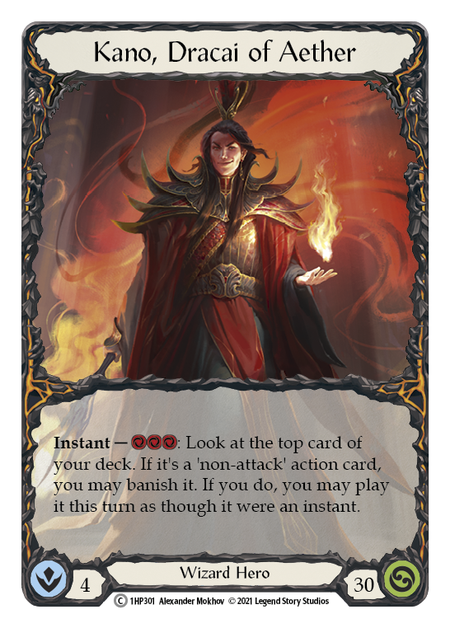
My name is Ronán Sovitzky, better known as my discord name Blazing for Lethal. I have over 12,000 games on the Lord of Aether, and I am here to explain the ins and outs of Kano in a post-tome world.
Kano has solidified into two major archetypes: a pure combo variant running nine Open the Flood Gates, affectionately dubbed "Unga Bunga", and a tempo-oriented variant. Today we will dive into Unga Bunga, how it differs from tempo, key cards for the archetype, and why you may choose this deck from the other. (Stay tuned for my follow up article on Tempo Kano.)
Kano's Core
Before dissecting each build, we must discuss the core elements of Kano which have not changed, and likely never will.
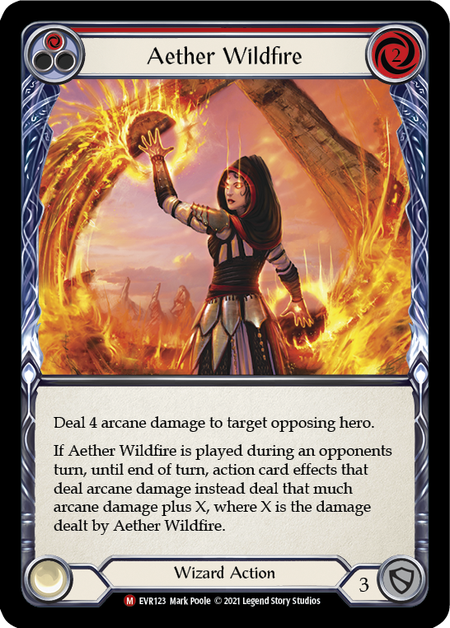
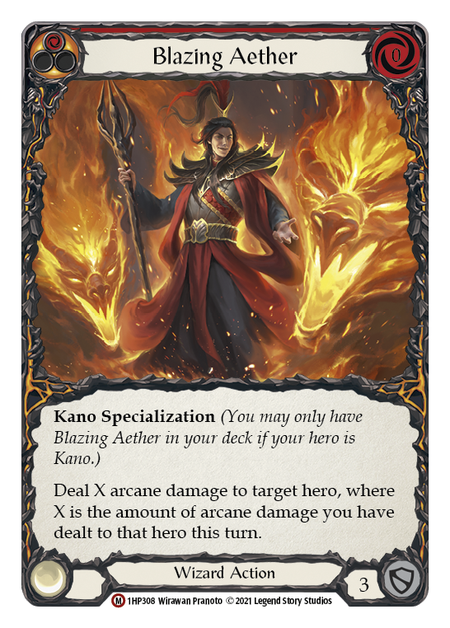
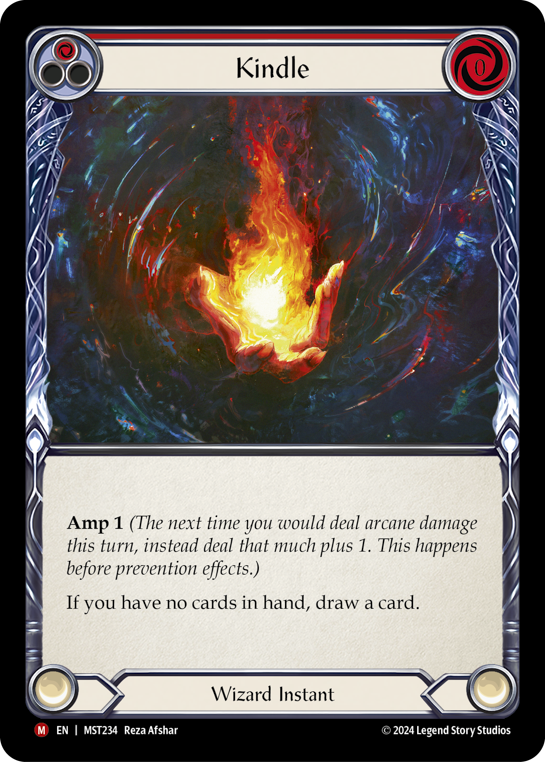
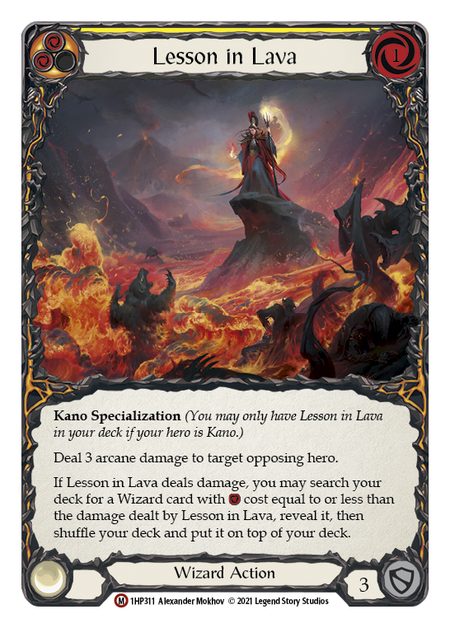
Each deck contains the minimum requirement of Aether Wildfire, Blazing Aether, Kindle, and Lesson in Lava. No Kano deck in this age can leave home without a playset of each card.
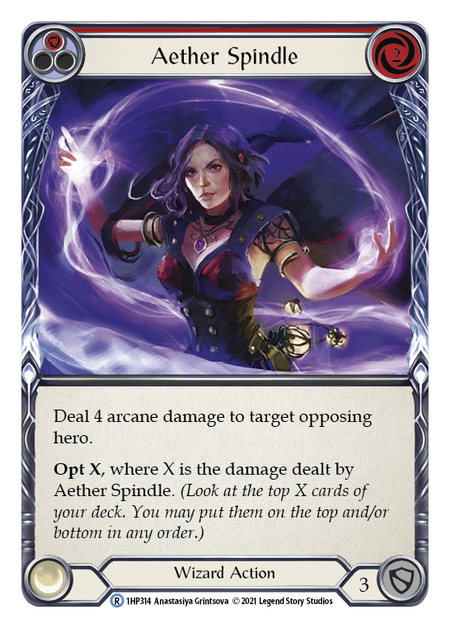
Joining their ranks as staples are Aether Spindle and Sonic Boom. Three Energy Potions and one to three Potions of Déjà Vu maintain their treasured slots as combo extenders, enablers, and emergency resource generators. Gaze the Ages, Will of Arcana, and Eye of Ophidia round out our haymaker slots as extremely flexible blues, allowing for many devious tricks combined when with Potion of Déjà Vu - these are never an unpleasant draw.
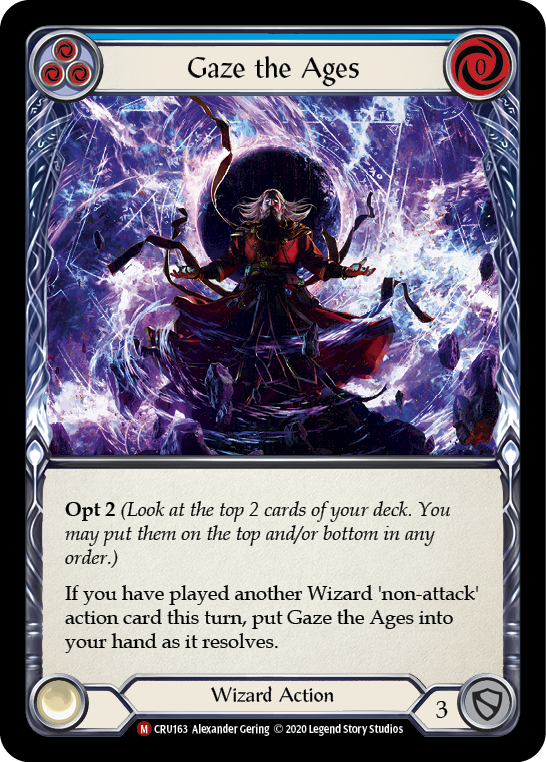
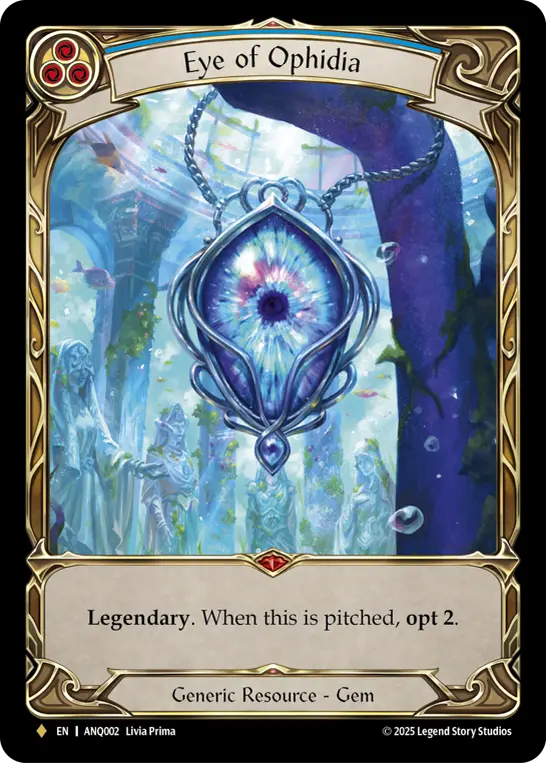
Finally, Kano relies on a robust 33-36 blue count to fuel his Arcane manipulations, and it is here that we begin to see distinct variations between Unga Bunga and Tempo.
Unga Bunga

Weapons
- Waning Moon (1)
- Crucible of Aetherweave (1)
Equipment
- Alluvion Constellas (1)
- Ragamuffin's Hat (1)
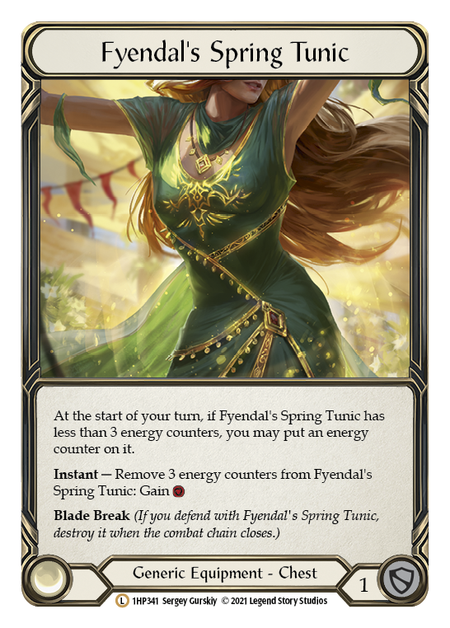
- Fyendal's Spring Tunic (1)
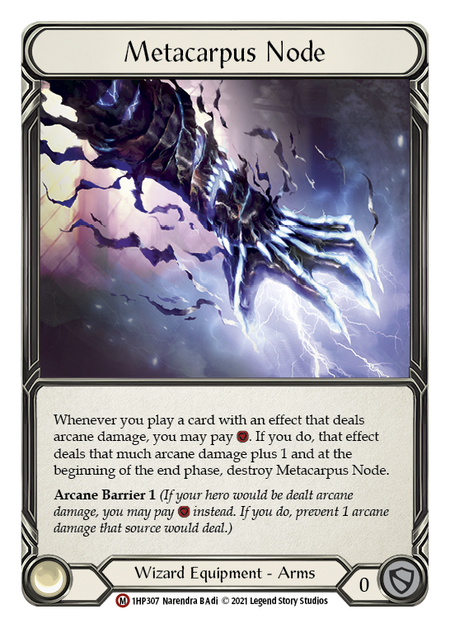
- Metacarpus Node (1)
- Storm Striders (1)
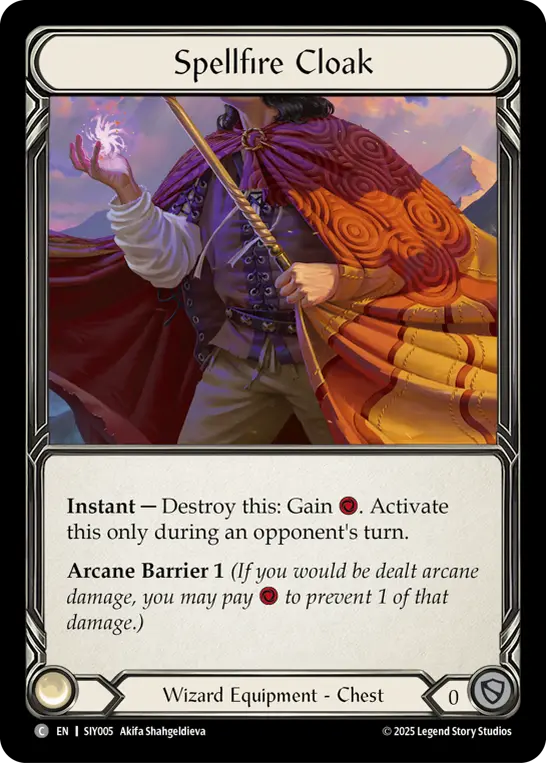
- Spellfire Cloak (1)
Loadout
- Aether Flare (Blue) (3)
- Aether Quickening (Red) (3)
- Aether Spindle (Red) (3)
- Aether Wildfire (Red) (3)
- Blazing Aether (Red) (3)
- Aether Arc (Blue) (3)
- Energy Potion (Blue) (3)
- Arcane Twining (Blue) (3)
- Clarity Potion (Blue) (2)
- Potion of Déjà Vu (Blue) (3)
- Overflow the Aetherwell (Blue) (3)
- Prognosticate (Blue) (3)
- Gaze the Ages (Blue) (3)
- Destructive Aethertide (Blue) (3)
- Open the Flood Gates (Blue) (3)
- Eye of Ophidia (Blue) (1)
- Snapback (Red) (3)
- Open the Flood Gates (Yellow) (3)
- Kindle (Red) (3)
- Lesson in Lava (Yellow) (3)
- Pop the Bubble (Blue) (2)
- Open the Flood Gates (Red) (3)
- Scour (Blue) (3)
- Sonic Boom (Yellow) (3)
- Will of Arcana (Blue) (1)
- Wounded Bull (Red) (3)
Unga Bunga Kano seeks to launch the biggest combo it possibly can by utilizing “extender” cards. Open the Flood Gates and Sonic Boom allow you to cheat on resources, drawing cards to replace themselves (Floodgate) or providing a pseudo-Kano activation free of charge (Sonic Boom). In essence, they allow you to extend the combo with a single card, dealing damage along the way.

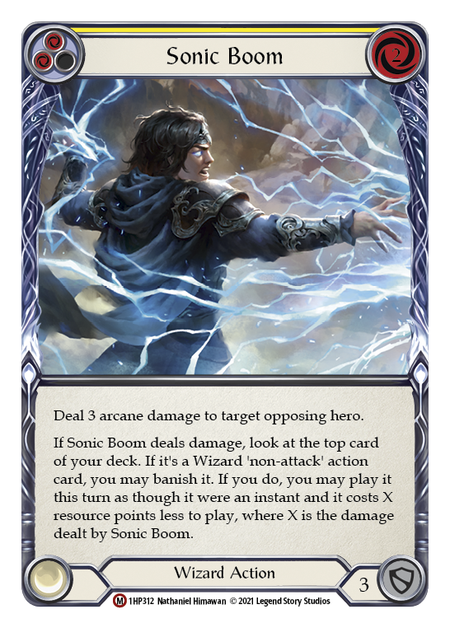
Where traditional Kano combos threatened 26 base damage, Unga Bunga combos now threaten a minimum of 32. It is not uncommon to deal 0 damage during the early turns, only to sling 40 damage through blocks thanks to the nature of extenders. Unga Bunga is very powerful into any deck that cannot run large amounts of spellvoid or prevention cards like Oasis Respite or instant speed Ward (heroes like Viserai, Zen, Azalea, and Earth heroes are prime examples).
Where traditional Kano combos threatened 26 base damage, [he] now threatens a minimum of 32.
How are these marvelous numbers reached? Open the Flood Gates and Sonic Boom offer a simple way to threaten four spells on our combo turn. Unga Bunga seeks to find a basic combo setup of:
- Aether Wildfire or Blazing Aether in arsenal, plus
- The other combo piece (above) in hand, and
- Three blues in hand.
Then activate Kano and try to flip a Sonic Boom/Open the Flood Gates off the top and go wild. Sonic Boom simply casts an extra card for free, and Flood Gates draws us two cards - ideally drawing up two blues and allowing for another Kano activation and playing that card.
As a baseline, let’s imagine you have Aether Wildfire in arsenal, three blues in hand, and Blazing Aether in hand. You Kano into blue Flood Gates, so:
- Layer 1: You activate Storm Striders, floating two resources -
- Layer 2: Activate Kano in response -
- Layer 3: Activate Ragamuffin’s Hat in response to the Kano.
- Resolve Layer 3: drawing a card and putting Blazing Aether on top.
- Resolve 2: You now allow Kano to banish Blazing Aether.
- New Layer 2: With your two floating, you activate Crucible of Aetherweave.
- Resolve New Layer 2 and, finally, Layer 1.
- With Crucible and Striders resolved, you play Aether Wildfire from arsenal, pitching the blue drawn from Ragamuffin’s Hat and paying for Metacarpus Node.
- Let’s say the opponent has AB2, so Wildfire connects for 4.
- You then use your chestpiece resource to pay for Flood Gates - which we banished to be played this turn at the very beginning, and now hits for 5 and draws you two blues.
- You Kano again and flip a 0-cost blue.
- You play the blue for 5+1 with Metacarpus Node.
- Finish with Blazing Aether, also paying for Metacarpus Node.
In total you deal 4+5+6+20=35 damage through Arcane Barrier 2!


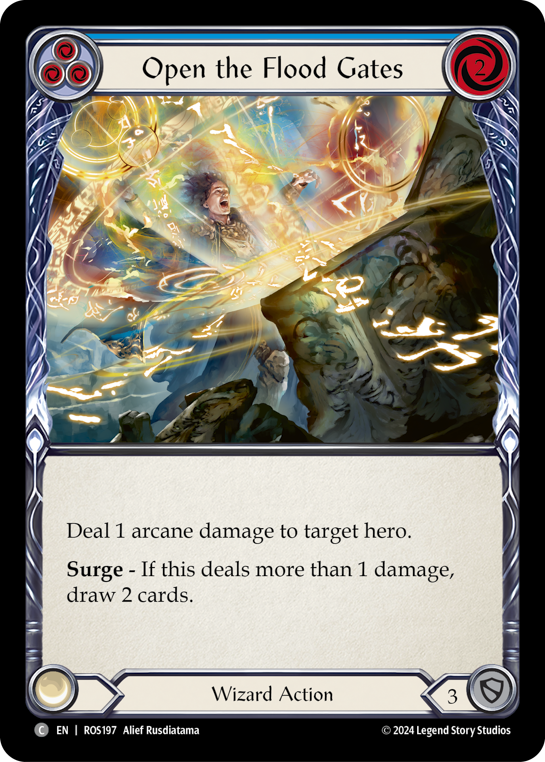
As you might imagine, the rest of Unga Bunga is built to maximize our ability to find extender combos and launch them. Here we see another marked difference between the traditional tempo Kano builds and Unga Bunga. Energy Potion and Potion of Déjà vu are expected playsets, but we now add two copies of Clarity Potion - a baffling choice to many, but secretly one of Unga Bunga’s greatest assets.

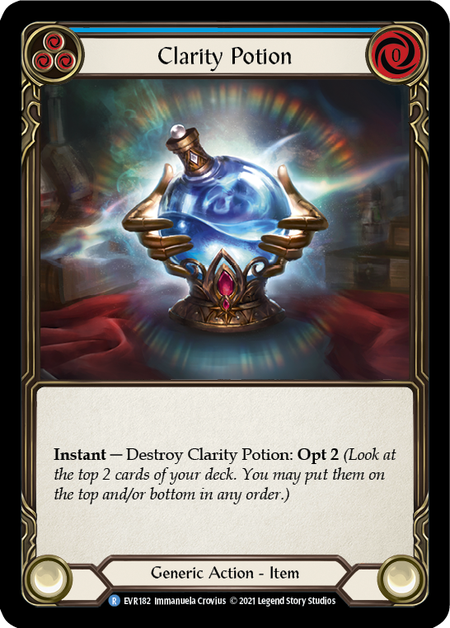
When Open the Flood Gates draws two cards, we desperately want to draw blues, if you draw at least one blue, you will either be down one resource (blue-red), resource neutral (blue-yellow), or resource positive (blue-blue). Increasing the odds of drawing blues is everything we want to do, and Clarity Potion allows us to opt 2, digging into the top of the deck to ensure a double blue or blue-yellow draw. It also allows us to find an extender on our combo turn.
For example, we have Wildfire, three blues, and Blazing Aether. Clarity Potion lets us check the top of the deck without committing resources, searching for extenders on top and a blue beneath for our Ragamuffin’s Hat draws.
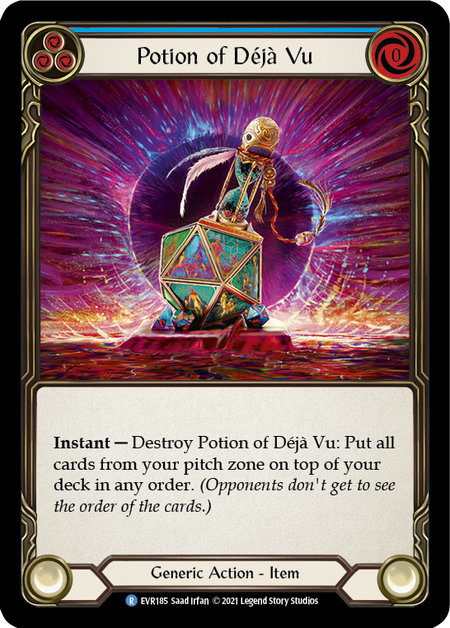
Energy Potion and Clarity Potion are both powerhouses in their own right, but a special mention must be made for Potion of Déjà vu. Running nine Open the Flood Gates and three Sonic Booms means we will often draw at least one, but what if we draw them on combo turn? Potion of Déjà vu solves this dilemma by allowing us to pitch a combo piece to activate Kano, then break Déjà Vu to put it on top!
For example, you may have Blazing Aether, two blues, and yellow Open the Flood Gates in hand, with Wildfire in your arsenal. You decide now is the time to combo and begin by activating Kano twice, pitching yellow Floodgate and a blue, then another blue. Holding priority with 2 floating resources, you activate Potion of Déjà vu, placing the Flood Gates on top of the deck and two blues beneath. Now you allow just one Kano activation to banish Flood Gates and respond to your second Kano activation with Ragamuffin’s Hat, drawing one of the blues you placed on top earlier. You have just GUARANTEED Flood Gates will draw at least one blue, making the odds of a four-spell line extremely high.
With all the talk of making sure you draw blues from Ragamuffin’s Hat and Open the Flood Gates, it will not be shocking to discover Unga Bunga typically plays 36 blues. Arcane-dealing blues in Unga Bunga have two requirements: a low casting cost (no two costs outside of Flood Gates) and three block value. Without knowing what color combination Flood Gates will draw, it's important to maximize the chances of successfully banishing and playing the top card of our deck, so the cheaper our non-power cards, the better.
Unga Bunga Gameplay
Now that we have an understanding of what the deck wants to do and the cards included, let's go over the turn-by-turn decision trees most common in Unga Bunga.
Our gameplan is to launch an Avengers-level threat combo, which requires extenders and potions to help fuel those extenders. The first priority of the deck is to land potions quickly and often. With 8 potions in the deck, the odds of drawing at least one by your second hand is fairly high - doubly so when factoring in Kano activations. Chipping is not particularly useful next to the power of our combo, so if you have a choice between playing a potion or forcing damage, potions generally come first.
There are two ways to go about setting up: maximizing blocking and playing out potions, or ignoring blocks completely and sprinting towards your combo pieces and potions. I prefer to forego blocking and blitz my way towards combo and potions. Unga Bunga falls apart if Wildfire cannot be found in the top 20 cards of our deck; without Wildfire, it is nearly impossible to win the game. Therefore, sprinting through the deck via opt and Kano activations increases the chances of finding Wildfire.
But beyond that, an aggressive posture deals psychological damage. Thanks to the explosiveness of Unga Bunga, your opponent is never going to feel safe unless you start blocking. Once you start blocking, the opponent knows that they are safe to dump their hand and go all out. We will discuss resource requirements later, but for now know that without a full grip it is extraordinarily difficult to launch a successful combo. This is, of course, not universal; if you have a potion in hand and a few useless reds/yellows you cannot play, then certainly block with the duds and play your potion. Or if you have several powerful cards and few blues, blocking with spares and sending damage is worth it. However, as a rule I do not block much, but instead use my cards for Kano activations and potion play.
Thanks to the explosiveness of Unga Bunga, your opponent is never going to feel safe unless you start blocking.
On the flip side, you can take the turtle approach: heavily blocking every turn and only playing potions or strong 1-2 card hands like Aether Spindle, Sonic Boom, or Lesson in Lava. This approach makes sense: if you need to find Wildfire in the top 20 cards, then simply blocking and not dying is a reasonable way to find Wildfire. It can be very effective into slower decks like Earth heroes since we are in no danger of dying early; into aggressive decks, it can be dangerous if you are damaged too much too quickly, as again the opponent has free reign to dump their hand knowing you won’t be shooting them back.
I do not believe there is a strictly better option. It comes down to personal preference. I am a very very aggressive Kano player, so I opt for the first option. Try playing both and decide which works best for you and your local meta.
Regardless of which style you choose, there are always exceptions. Sometimes defensive players will take damage to push damage, and aggressive players choose to block out. Just because you normally block heavily or not at all does not mean you are forced to. Always analyze what the opponent is up to and decide if now is a good turn to block or not.
Sometimes blocking is a sneaky way to force the opponent to overextend. If you have 1-2 Energy Potions on board, you can potentially full combo with one less card in hand. Blocking with one card may trick the opponent into going all out, only for you to combo them.
Turn 0 play is almost universally used to dig for potions and play potions. If you play second, block with junk and Kano to find potions. If you play like a psycho - the way I do - don’t block at all and sprint towards the good stuff.
The Art of the Arsenal
A final point to make regarding gameplay concerns the arsenal. In most decks, the arsenal is reserved for any impactful red/yellow for the next turn. In Unga Bunga Kano, the arsenal is a precious resource, and only a select group of cards can go in
Unga Bunga arsenal targets are either combo pieces (Aether Wildfire, Kindle, and sometimes Lesson in Lava), potions (perfect for a quad block hand), Sonic Boom, or Aether Spindle. Outside of these exact cards nothing in the deck should be going into the arsenal.
Our action point is going to be spent on a potion or Spindle 90% of the time, so putting a card other than these in the arsenal slows our draws down more often than not. Given the choice between the cards mentioned above, Kindle is the #1 arsenal choice, followed by Aether Wildfire. Unga Bunga can combo on a dime, so having a powerful combo piece in arsenal is ideal. Kindle has no resource requirements, and Wildfire allows us to fire if we happen to draw a powerful hand with gems/potions to dig.
Open the Flood Gates is a primary combo extender, but a TERRIBLE arsenal target. There are some times when red Flood Gates is acceptable, as it will always take a card from the opponent. However, as a rule it doesn’t push damage and has no real power on our own turn; while it may seem like a good choice, it is generally a trap.
Another less than ideal choice is Blazing Aether. Because we rarely push large quantities of damage during our turn, putting Blazing Aether in the arsenal is going to slow down deck velocity and force us to keep bad hands in order to try and clear the arsenal.
Equipment and Sideboard
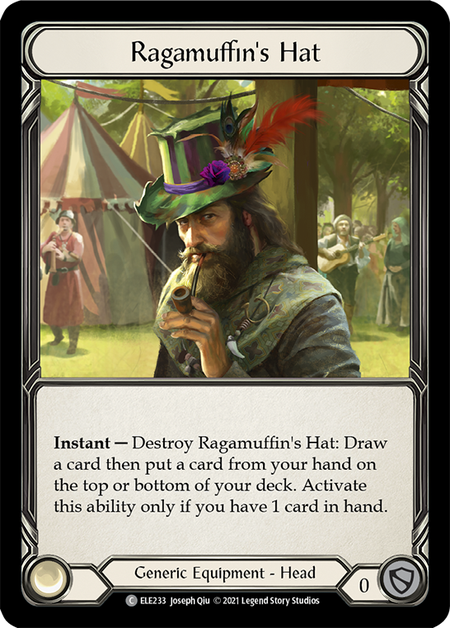
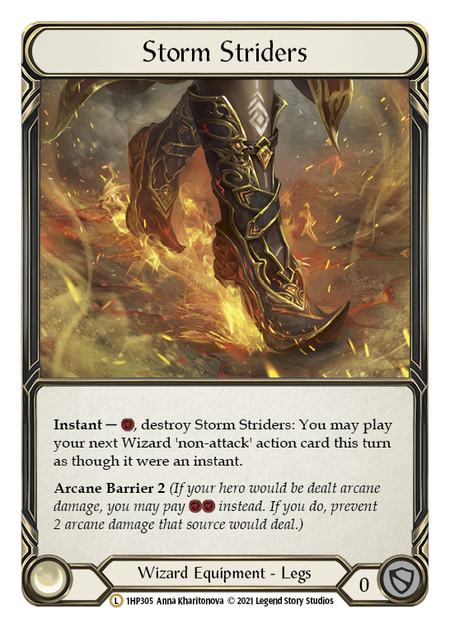
Looking from the main board to the sideboard and equipment suite, Unga Bunga Kano is a straightforward deck. Head, arms, and legs never change: Ragamuffin’s Hat, Storm Striders, and Metacarpus Node. We need all three pieces to combo successfully.
We have three options in the chest slot. Spellfire Cloak is the default chest piece, providing on-demand resources with no requirement during our combo. In any match you anticipate to end before turn three - or you are aiming to combo the moment you draw the hand - Spellfire Cloak is the way to go. In fact, if you are ever in doubt about which equipment suite to run, Spellfire is always a safe choice.
Fyendal’s Spring Tunic comes in against all decks that typically win turn 3 onwards. Besides the potential to use multiple resources from a game lasting 6+ turns, the extra one block is sneakily relevant. Once an Energy Potion is on field, Tunic resources are less important, and using a 3 block+tunic to stop a nasty on-hit is well worth it.
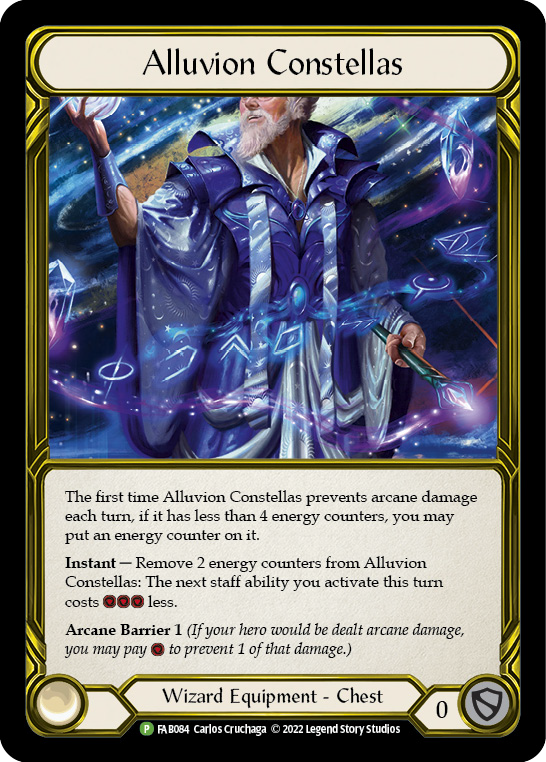
Finally we have Alluvion Constellas. This equipment piece is used solely in the Kano mirror match. (There is some argument to whether to play it vs Verdance, however most Verdance decks don’t play enough arcane for it to be relevant.) Into Runeblades and Oscilio, we neither wish to block nor have the time to utilize Alluvion counters better than Spring Tunic can.
One last piece of the Kano equipment puzzle is Waning Moon. The math on Waning Moon is very powerful, tempting many to run it on the mainboard. However, it loses us 5-7 damage on combo turns and therefore is relegated to a few specific matchups. Unsurprisingly, that includes the Kano mirror match, as you must play a very slow, grindy game into a full arcane opponent. This means Alluvion works overtime, providing free Moon activations.
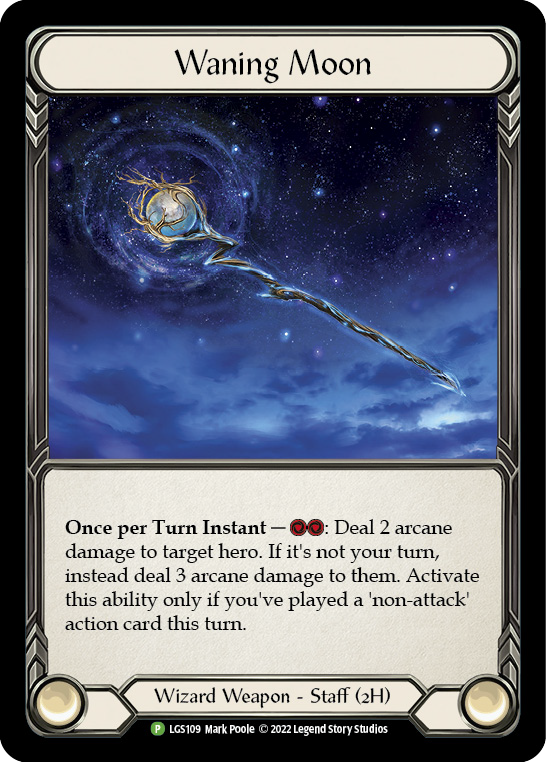
Outside the Kano mirror, Waning Moon is crucial against Enigma and Prism. Into Enigma, Waning Moon provides an additional source of arcane damage every turn to try and delete ward, while into Prism it allows for an onboard answer to Ward 4 Angels.
Unga Bunga is dialed-in, the mainboard executes our gameplan consistently, and it has no extra slots. When sideboarding, the deck inevitably becomes worse as we dilute what the deck seeks to accomplish with sideboard tech cards. On top of that, the mainboard can beat nearly every hero in the game without needing any sideboard changes.
However, there is one hero requiring tech to even the odds: Enigma.

Enigma typically plays arcane barrier 3 and presents ward and spectral shields on a turn-by-turn basis. If we run the standard Unga Bunga loadout, she is able to keep her board alive via arcane barrier and deploy so much ward we can never combo through. In order to combat the ward menace, we run a package of “big arcane” spells and Wounded Bull.
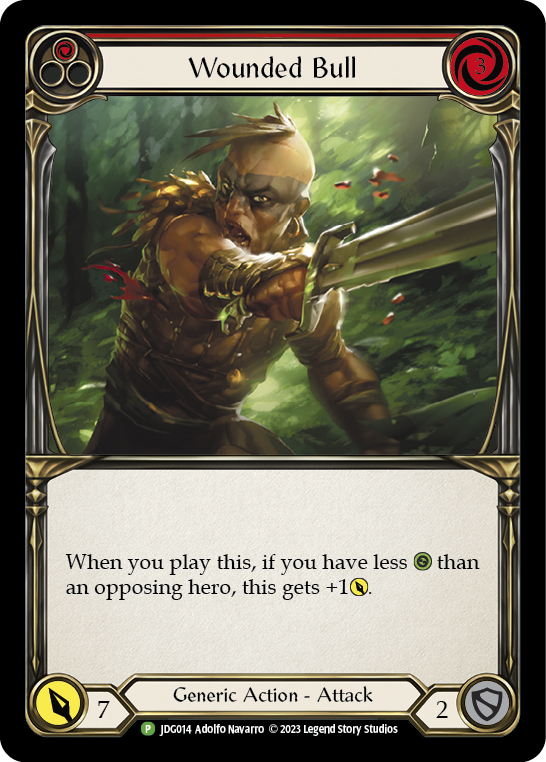
Wounded Bull is an attack, which immediately makes it gross and yucky in Kano. However, into Enigma it does everything we want. It always attacks for 8 and has a vicious breakpoint. If Enigma lays down three cards to block Wounded Bull, we are free to activate Kano on her turn and use Waning Moon to shred the rest of her board. If Enigma does not block at all, we clear her entire board and often deal 2-5 damage in the process. If she does block with some cards, we take away her hand, board presence, and life total all in one. Wounded Bull is without doubt the greatest asset in the deck against Enigma.
Rounding out the Enigma sideboard is a combination of high-damage arcane spells: 1-for-4 and 2-for-5 arcane spells like Aether Quickening and Swell Tidings are the most popular choices. Both cards are guaranteed to blow through arcane barrier 3 and destroy a ward permanent. Quickening costs 1 and therefore allows us to freely activate Waning Moon for a clean 6 arcane damage. Swell Tidings is less easily paired with Waning Moon but forces through more damage, potentially removing more than one ward.
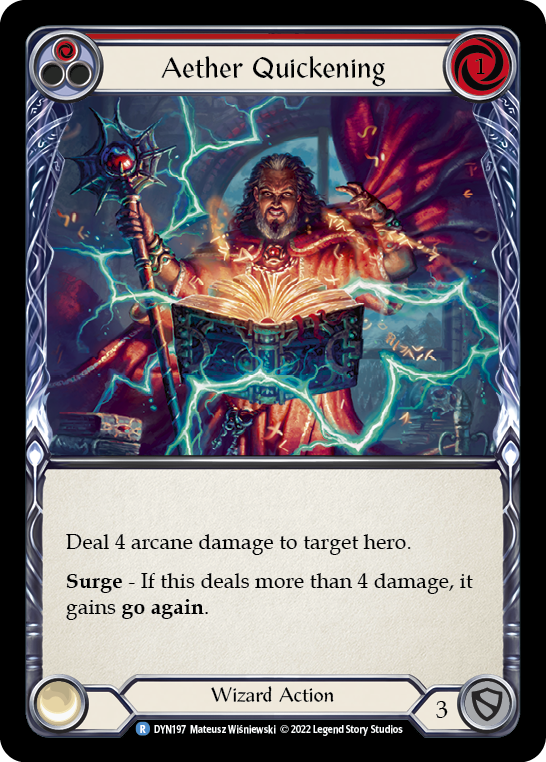
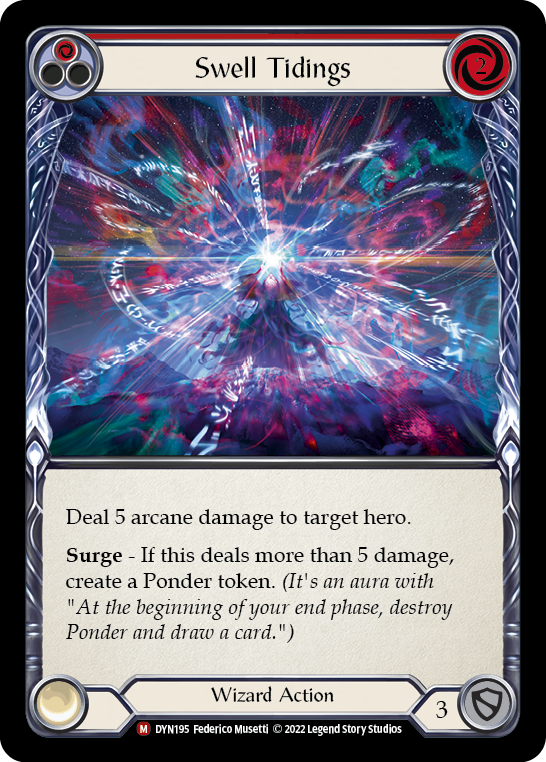
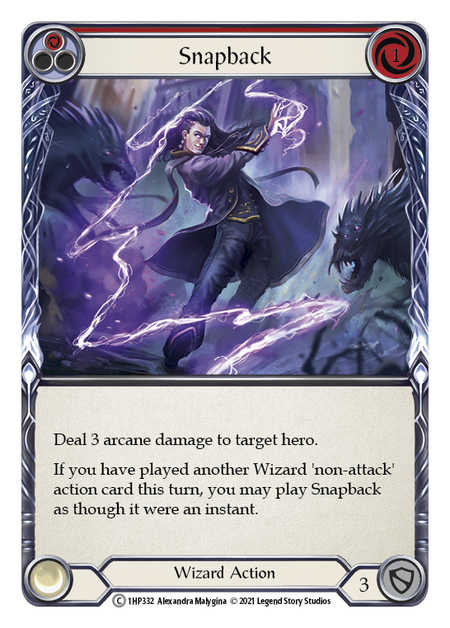
Along with Quickening and Swell, I favor red Snapback as a choice tool against Enigma. Though it does not force its way through AB3, it is very flexible, combining well with any other spell you choose to cast; and it's excellent at going offensive on Enigma’s turn to break her board. A common line with Snapback is to play any spell, then the Waning Moon. If Enigma fully arcane barriers those two cards, you sling Snapback as a surprise breakpoint. If Enigma uses AB3 on Snapback, she will be down two full cards, making a flip on her turn an easy way to demolish her board. If she does not AB and loses her board, you can save Snapback for her turn and prepare to launch 6 arcane damage when combined with Waning Moon.
Along with the tech cards mentioned above, the general gameplan into Enigma is one of patience. We will get to hand-by-hand decisions in a moment, but know now that it functions differently from the Enigma matchup. Enigma struggles to keep a large board against us, and games will normally last until turn 6 at least, often moving into turns 8-10. Because of this time, we are allowed to set up far more than we can against aggressive heroes like Zen. On top of this, we lose Crucible of Aetherweave, reducing our combo damage potential by at least five damage.
Because of these factors, we play a longer game, using big spells to keep her board clear and setting up potions. Potions are the name of the game, and deploying them is of the utmost importance. Energy Potion especially is your #1 priority. It is possible to win without, but no Energy Potions in the arena make victory that much more difficult.
Number Crunching
Before we leave this article, I must discuss the resource counts needed to fire a combo in Unga Bunga. When Kano shoots a combo, he is trying to pay for Wildfire, Metacarpus Node, and Crucible of Aetherweave. This means Wildfire is threatening six damage. If you are unable to pay for Node and Crucible, the combo is probably going to fail, and so it is best to calculate based on a fully buffed wildfire.
Extender cards generally cost 2 resources plus Kano activation. Blazing costs a Kano activation, and Wildfire costs 5 (1 for Storm Striders, 2 for Wildfire, 1 for Crucible, 1 for Metacarpus Nodes). This means we must have a minimum of 13 resources to execute a proper Floodgate or Sonic Boom combo. This number must always be in your mind when preparing for a combo. If you do not have three blues in hand and draw a blue from Ragamuffin’s Hat, the combo will be sub-optimal. Energy Potion and Potion of Deja Vu are clean ways to circumvent such steep requirements.
In Conclusion
Unga Bunga Kano is an extremely powerful deck, able to consistently find and shoot massive combos within 2-3 turns. Pushing 32+ damage off a combo is the norm, and unless the opponent has lots of tech cards Unga Bunga usually turns anything into a pile of ash. If it is so powerful, why don’t we see lots of Kano players at competitive events?
I believe the answer is this: Unga Bunga is what I’d call an 80% deck. About 80% of your games the deck will find you combo, you’ll launch the combo, and you usually win. However, that other 20% the deck does absolutely nothing. You draw all combo hands with no resources, you activate Kano and hit gems or Kindle. You draw all potions and they swing a 20-damage turn. When Unga Bunga Kano bricks, there is absolutely nothing you can do to fix the situation. As such, it is very difficult to justify taking this deck to a tournament, since you never know when the 20% will bite you.
On top of that, it is very easy to hate out Unga Bunga Kano decks. As the deck does almost nothing outside of the combo turn, sideboarding in lots of Spellvoid like Shock Charmers and the Widow suite allow for a cheap and effective way to shut off Wildfire’s buffing potential, slashing the combo damage from 30-40 down to a measly 15-20. If the deck doesn’t do anything outside of combo turns, and typically only combos once a game, Spellvoid-centric heroes are going to push him from being top tier.
Despite Unga Bunga’s vulnerability and reliance on not drawing badly, the deck is wildly powerful and tons of fun to play. In the current meta, there are few heroes able to dedicate much sideboard hate to Kano, and Unga Bunga capitalizes on this with style. In the red-focused meta that The Hunted is teasing, Unga Bunga Kano has the chance to rise higher and fight his way to victory.
Until next time, may your top decks be red, your Ragamuffin draws be blue, and your blazings be lethal.

