Fatigue Value
Combo strategies create the bulk of their value across a single turn, but still allow for a calculation of the average turn cycle value after the game. Fatigue plans must think of value entirely differently. The fatigue player’s health points matter, and the opponent's deck size/remaining threats matter, but the opponents health does not matter at all, for a pure fatigue strategy. As such, value calculations become more complicated.
Where 1 health point preserved and 1 damage threatened are equal sizes that allow for simple value calculations in the simpler cases described earlier, deciding between preserving one's own health or removing a couple of cards from the opponent's deck by attacking with heavy on-hits are harder to compare, and more based on context.
Take for instance this hand from a Fatigue Oldhim with a Sigil of Solace in arsenal playing against an aggressive Briar.
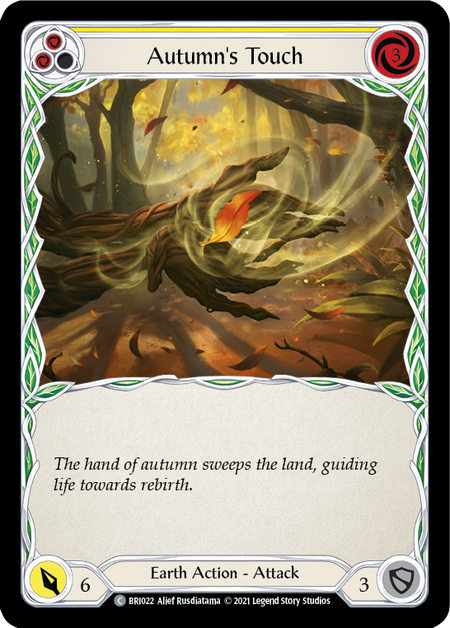


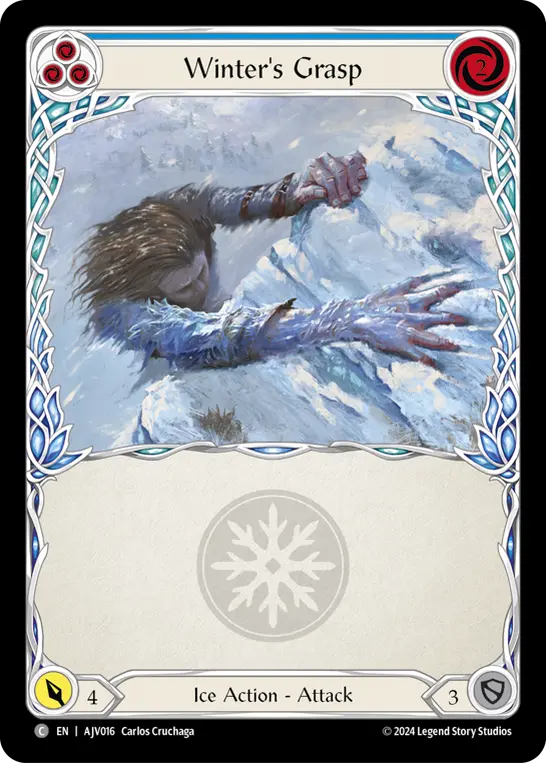
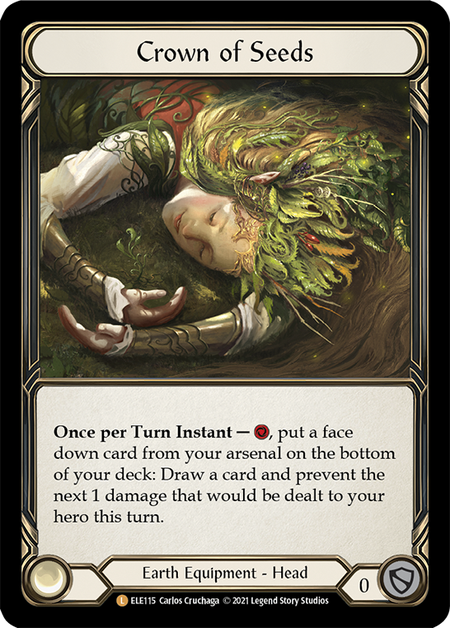
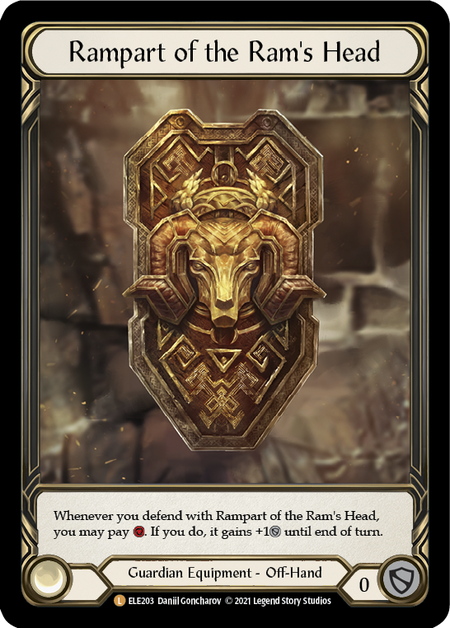
What's the best line here? Of course, one possibility is blocking 12 with the 4 cards. Another is blocking 9 with 3 cards plus 2 with Rampart of the Ram’s Head and Crown of Seeds, thus preserving 1 more card in deck and blocking breakpoints more efficiently in exchange for 1 more damage taken. Against Briar, Fatigue Oldhim probably brings Nullrune as well, so the last resource can be spent, blocking damage as well. That makes this line strictly better - unless the arsenal is important to keep.
A third line takes the same defensive posture, but Ice reacts in place of blocking with Winter’s Grasp. If an opportune moment for an effective Ice reaction arises, that is almost certainly the best line in a majority of cases. As Autumn’s Touch is yellow, you can also combine the Earth and Ice effects of Oldhim's reaction - that's 1 less damage prevented in exchange for 1 more card in deck, and an Earth/Ice pitchstack.
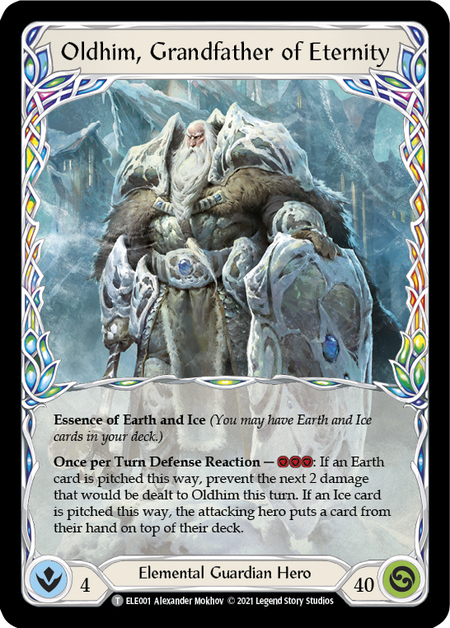
But what if Briar plays Channel Mount Heroic as her first card in the turn, followed by a 0-for-7 attack with go again? Should you minimize damage taken on this turn, or should you keep your option for a fused Oaken Old open? If Briar does not have the necessary equipment left to block out the Oaken Old, the discard effect might very well cripple her Channel Mount Heroic turn completely. And as Briar is a “mini-combo” deck - where a lot of damage is loaded into a single turn - disrupting that turn might be worth taking one inefficient turn. The average life preserved over the game is really what matters, and Briar can mostly only push through heavy defenses on Channel Mount Heroic turns.
It is worth mentioning that Oaken Old is, on its surface, an incredibly inefficient card to play. You must pitch a full card, play a card, and reveal 2 cards - often ones that don't make strong plays from the arsenal. This makes it a 4-card 9 damage play - an atrocious rate per card. But as the arsenal can be played out, and Crown of Seeds can easily cycle poor arsenal cards to the bottom of the deck, it's really only a 3-card 9. And if the Briar player is unable to prevent it from hitting, it costs them 2 cards - in a sense, becoming a 1-for-9 or at least a 3-for-15. These are great rates, especially if they disrupt the opponent on a mini-combo turn, where each random card out of their hand might be worth significantly more than 3.
Slow and Steady
The key thing to remember when valuing one or several turn cycles is that a fatigue plan is, in essence, a hyper-slow form of combo deck. You win if you survive until your “combo”, which is simply them running out of threats in deck. By that point, you execute the “combo” by swinging your weapon every turn until they die.
This means that, like in combo plans, your main goal is surviving until a set point in the game. As opposed to combo decks, that point is very late in the game, after all threats have been expended from the opponent’s deck. Luckily, as your only goal is survival, you can pack some really heavy defensive tools without risking cluttering up a different plan.
And much like combo, you too can speed up your win condition with the fatigue plan, by stripping cards from the opponent, thus running them out of threats faster. This is usually done through on-hits - which force blocks - or sometimes through huge attacks which pose such a threat to the opponent’s life total that they may feel the need to block.
What I have described above is a stylized version of fatigue. In reality, the plan is a bit more muddy. Pressuring aggressively is necessary, lest you let your opponent set up too effectively. If you do not swing back and at least threaten their life total on turns where they do very little, they can set up for larger turns or pitch stack for a huge one - such as we saw in our Boltyn example last time.
Your awesome blocking abilities mean that the most effective way to punch through the wall of fatigue will most often be exactly that - to set up large 5-card turns. Fatigue Oldhim routinely blocks 12-15 damage (though it also plays quite a few icy 2-blocks). Add to that the ability to Ice react and utilize effective defense reactions, and leaking damage becomes a hurdle for many decks. This means that they cannot simply throw the hand at you turn after turn - that plays into your fatigue plan. To leak damage, they must push above your blocking threshold. And to do that, they must set up larger turns or pitch stack for something resembling a combo in the late game.
Both of these strategies force inefficient turn cycles, where the aggressive deck presents below-average damage output. To stop them from winning through clever setup, Oldhim must turn up his aggressiveness when given the chance, even in a fatigue plan.
And that is exactly what has made Oldhim so strong in many previous metas. He, more than any other hero, has been able to switch between more linear aggression and fatigue, based on whether one plan or the other favored him between as well as within games.
Just remember, if you are trying to fatigue the opponent, the damage and on-hits threatened are a means to an end: to force them onto your playing field where you will empty their deck. And if they do not play along, you can always finish them off the old fashioned way: with big hits to the face.
Board Presence Value
The final archetype to discuss is that of Board Presence. Prism was such a deck, and today we have Dromai. For relevance, we'll be focusing on the latter for the rest of this article.
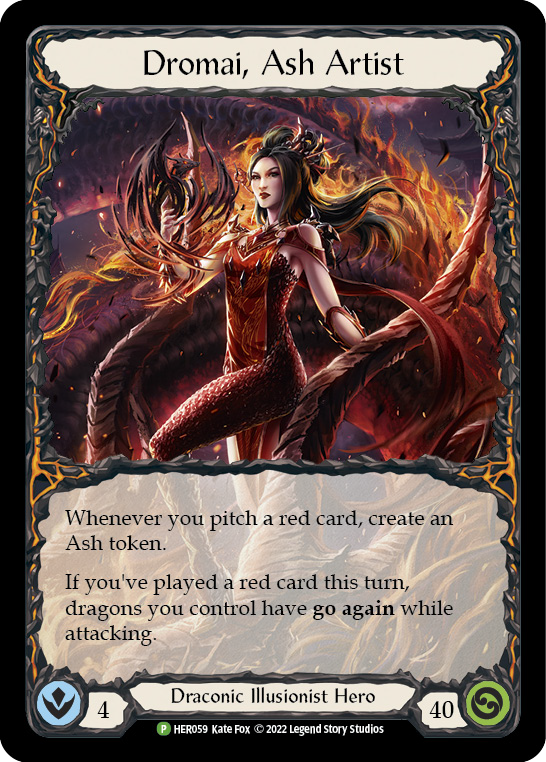
Like combo decks, these decks achieve their value with a delay; that is, on the turn you play a dragon, it does not gain its full value. Indeed, such turns will often be incredibly low value. But like combo, they, too, are setup turns for value later down the line.
Unlike combo, however, the value of Board Presence decks are not concentrated on a single turn. Nor is a specific setup of cards necessary to present high value off of permanents on the board. The value is simply realized over 2 or more turns, instead of all at once.
In many ways this makes value calculation relatively simple - at least when it comes to dragons. The value of a dragon is calculated the same as the value of a card played in a linear deck - damage per individual card - but with 4 differences:
- The value is delivered across multiple turns.
- A single card can both deal and prevent damage.
- Dragons have phantasm.
- A dragon costs ash on top of a potential resource cost.
Let’s walk through these rather sizable alterations of the value calculation one by one:
1. Value is Delivered Across Multiple Turns
This does not complicate the value calculation much. It simply means that when you play a dragon and attack with it, if it is not popped by phantasm you threaten some amount of damage. But as it remains on the board, you will either threaten more damage with it later, or your opponent will have to spend damage killing it that could otherwise have been spent attacking you.
Some value is delivered now. Some later.
2. A Single Card Can Both Deal and Prevent Damage
The value you get later might come in the form of either another attack with the dragon (in which case it will almost always have been incredibly good value to play it), or in the form of damage not threatened to you as the opponent spent it clearing a dragon instead. This can be done more or less efficiently by the opponent, and so you can net value above the health of the dragon.
However, many on-hits such as Snatch and Mask of Momentum apply when hitting dragons too, which means that it can also be incredibly efficient for the opponent to clear the dragons. Some of this - such as Mask of Momentum - can be predicted; some you have to guess at. Few heroes outside of Ninjas, for instance, have efficient and regular access to 1-power attacks, meaning that the value of an Ashwing is often more than the one damage and the one health. On the other hand, many decks play cards such as Soulbead Strike, Snatch, or Mauvrion Skies, which gain a lot of value on hit - especially if they clear a dragon for the exact amount of damage it has health.
Be aware that some cards, such as Command and Conquer, specify that they have to hit a hero, in which case they do not trigger upon hitting a dragon.
As you can see, this part of permanents complicates the up-front value calculation quite a bit. You know the attack value of the dragon and its effect, but it is much harder to accurately calculate what value the dragon will take or give to the opposing player. Learning your matchups is key for accurately predicting the value of your dragons - and thus for maximizing value across the game.
The different value calculations of the dragons in each matchup are much too complicated to go in-depth in this article, but as an example it is often not worth it to play out an Aether Ashwing against Fai, as it simply allows him a very consistent Mask of Momentum trigger at the cost of a single damage threatened.
3. Dragons Have Phantasm
Another complication of the value calculation is that dragons have phantasm. This means that a single 6+ power attack can immediately destroy them, and reduce their value to that one card out of the opponent’s hand. This is almost always terrible value, as you have spent at least 1 card and 1 ash to play the dragon, plus whatever ressource cost you paid; and you lose your action point as go again does not resolve.
It is easy to calculate the value of the dragon in case it is popped. It is, as discussed above, harder to calculate its value if it is not popped. And to further complicate the calculation, it is quite hard to calculate the risk of getting popped as well, given that you do not know the number of poppers in the opponent's deck.
Experience with the deck and against specific decks help a lot. Knowing, for instance, that Fai is likely to play 0-3 poppers and Guardian is likely to play 30+ poppers must inform your decision on the value of a dragon immensely. On certain key turns, you can count their graveyard and banished zone and make an educated guess as to the risk of a popper in their hand. But mostly, you can fall back on educated guessing based on experience in a matchup - and know that if you play it right, you still sometimes lose a bet that has an 80% chance of going home. That is the nature of a variance-based card game.

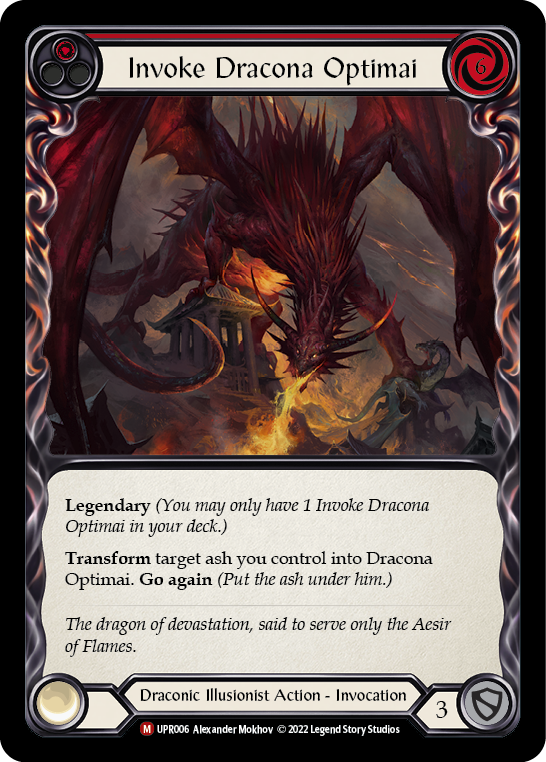
I would be remiss not to throw out an honorable mention to the 3 legendary dragons - as well as Azvolai - which have the common trait that they apply an effect before the opponent has a chance to defend with a popper. This is important to take into account when evaluating their value. Azvolai, for instance, trades 1 ash and 1 card for 1 arcane damage and 1 card out of the opponent's hand, even when it is popped. This makes it the least costly dragon to lose to a popper (besides an Ashwing).
4. A Dragon Costs Ash on Top of a Potential Resource Cost
The final complication of calculating the value of the dragons is that they all cost an ash to play. Ash is a complicated thing to measure the value of. In one sense, you could say that ash is worth 2 resources; it is generated by pitching a red, which is 2 resources less efficient than pitching a blue. But Flamescale Furnace offsets some of this inefficiency, and more importantly Dromai is clearly built to be able to effectively operate off of red pitch. Many hands would not be able to utilize the extra resources, and thus suffer no cost on those turns. However, that, in turn, is partly due to reverse causality, as the decks are built with low blue counts in mind.
All of this makes the value of ash and ash generation quite hard to accurately assess. Suffice to say that it is a cost, and that when you pitch a red to play a dragon you pay that cost in the process. As such, 1-cost dragons can be considered allies which cost 2 cards to play – a red, and the card itself. In some circumstances, that will not be enough, as you have 0 ash; and in some circumstances, you will have too much ash, and can play several dragons off a blue card. But mostly thinking of the 1-cost dragons as 2 cards worth of power is very reasonable.
Mathing Out the Dragons
Having discussed the above quirks of valuing dragons, let us try our hand at it with a couple of examples. Take Yendurai, for instance.
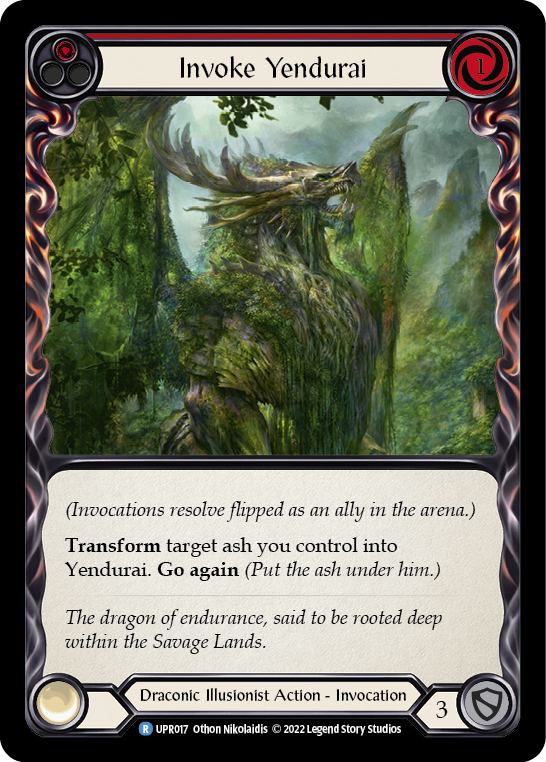
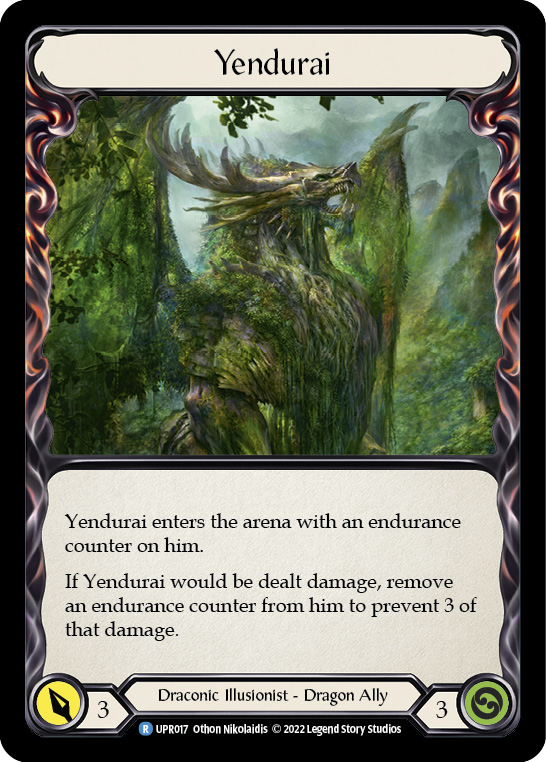
As discussed above, it costs 2 cards to play out Yendurai - but no ash, as that is immediately replaced. So let us evaluate how much value those 2 cards create.
Playing Invoke Yendurai gives all your dragons go again for the turn. So attacking with it afterwards does not take up your action point (unless he is popped). Attacking with it threatens 3 damage, and on defense your opponent will need to deal at least 4 damage to it (unless he can circumvent the prevention by utilizing, for instance, Tiger Stripe Shuko). This means that if Yendurai is not popped, it will generate at least 7 value off of 2 cards, without burning your action point. Often it will generate 9. This is quite a good rate per card!
If it is popped, it will have cost the opponent 1 card to clear your 2 cards, and he will have robbed you of your action point. This is a rate of 1.5 value per card (remembering that our baseline value for a card is 3), and an action point on top. Very bad!
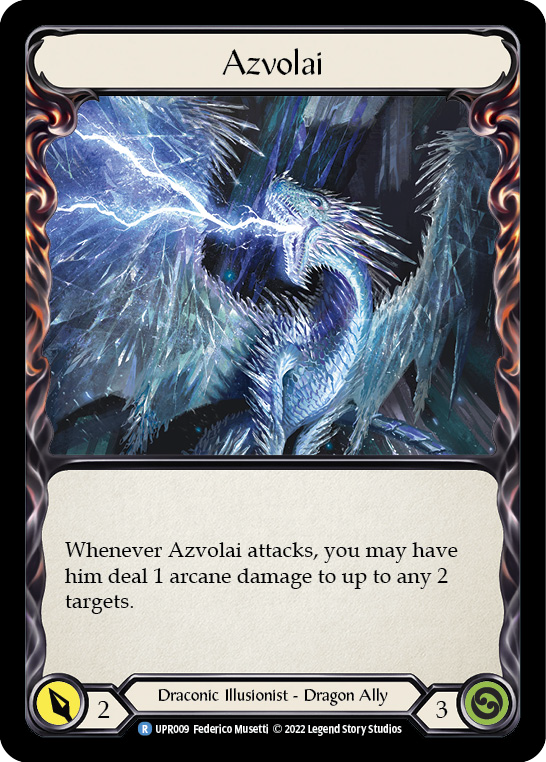
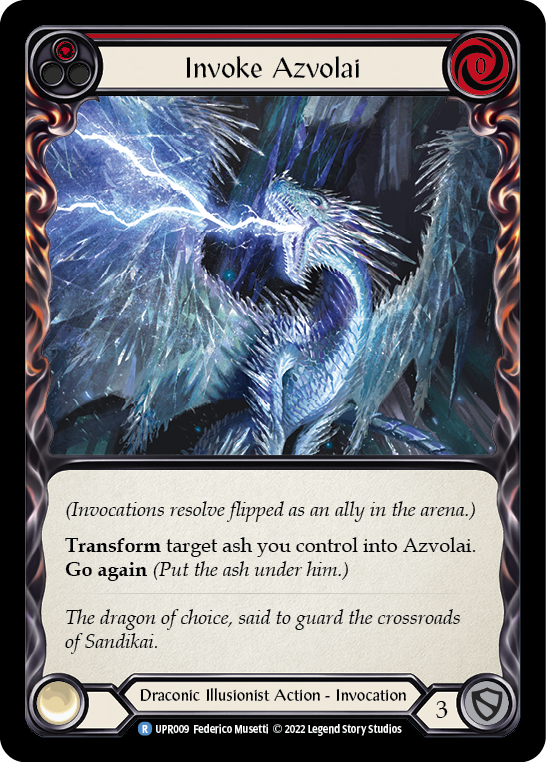
Azvolai, for the cost of 1 card and 1 ash, generates 6 value if not popped, and 7 if there is a useful target for the second arcane ping. This is incredible value off of a single card! If it is popped, it still pings for arcane, in which case it will generate 4 value off of a card and an ash - not bad, though not great either.
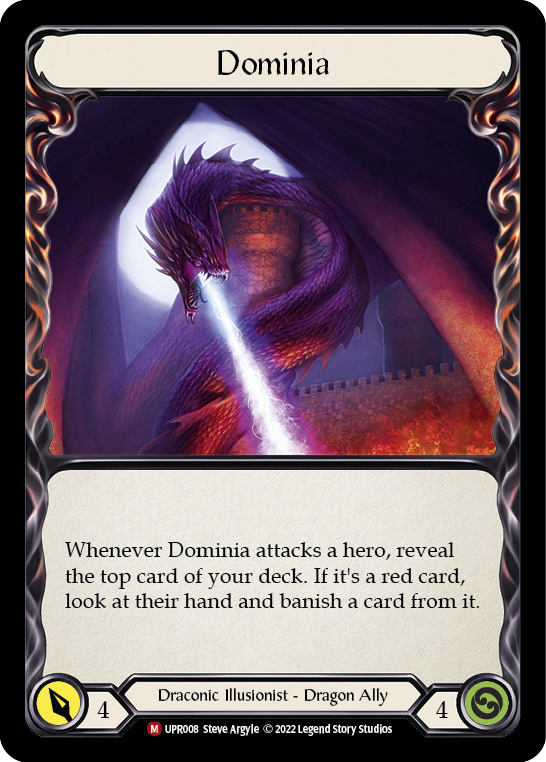
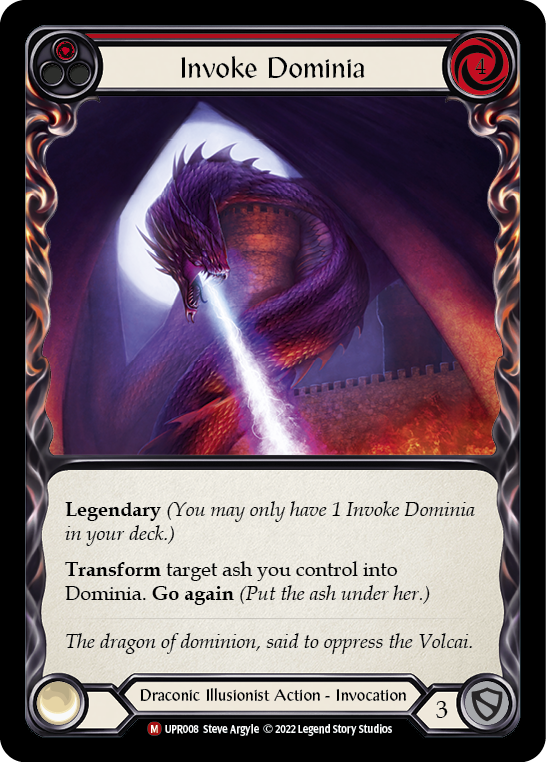
Dominia is arguably the strongest of the legendary dragons. To play it, you need 3 cards, one of which is a blue. It is a real cost that it demands a blue, both in deckbuilding and in hand - but let's ignore that for a moment and look at the value generated if it does not reveal a red off the top (a rare, but depressingly well known occurence). In that case, Dominia is a 3-card (but no ash cost) 8-value play - slightly below rate.
If it hits a red, however, which is a much more likely outcome, it becomes an 11-value play, if you assume the card removed is worth 3. It is often much more valuable than that, however, as you do not remove a random card, but rather see their entire hand and remove the highest value card. The value of this play is hard to evaluate outside a specific situation, but quite easy to calculate in the situation (keeping in mind you do not know their arsenal card). Sometimes you remove their only resource card, their only starter, or an above-rate power card.
It helps knowing your opponent’s deck well, but in general I would say Dominia is worth a lot more than 11 if you pick the right card. Bear in mind, however, that you are sometimes forced to pick a popper in order not to get popped (and lose the 4 attack value and the 4 defense value) - in that case the value of Dominia’s ability is still very high, but built into the attack and defense value already.
If Dominia hits a red off the top of your deck, and the opponent has two or more poppers in hand it becomes 3 cards for 2. Bad, but you can target their power card and hopefully make the trade somewhat even.
If Dominia hits a blue off the top of your deck, and is popped, the value loss is incredible. It becomes 3 cards for 3 value - a very poor rate indeed.
As the above examples show, dragons that are not popped are quite above-rate! If they are popped, they are in general somewhere ranging from bad to very bad - with Azvolai the shining example of the exception that confirms the rule by being on-rate even when popped.
All of the above examples assume the opponent clears the dragons the turn after they are played. If they get to stick around another turn cycle, you can add their attack power to their total value - which becomes insanely above rate! Sometimes it is possible to play multiple dragons in a turn, where opponents may have a hard time cleaning them all up. In general, this leads to high-value situations.
Common for all the dragons are that their value is easy to calculate after the fact. You can simply count up the damage they dealt and soaked up, and evaluate any effects they applied or on-hits the opponent got by clearing them, which he would not have gotten otherwise. Of course, ease of valuation after the fact does not directly help in a given gameplay situation. But it can help a lot to calculate the value, and over time identify which dragons overperform in which situations, and which dragons underperform. The ability to backtrack the value of a play when the turn cycle or the game is over, is an invaluable practice tool.
Draconic Hands
Let's look at an example Dromai hand, while playing against an aggressive version of everybody’s favorite Shadow Brute, Levia.
Levia attacks with a 7-power attack without go again. What is the highest value play? Well it depends a lot on whether your dragons are popped!
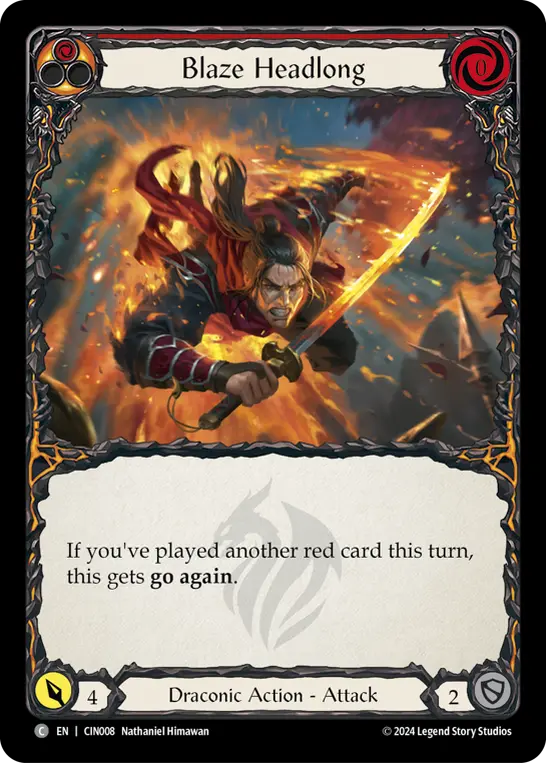
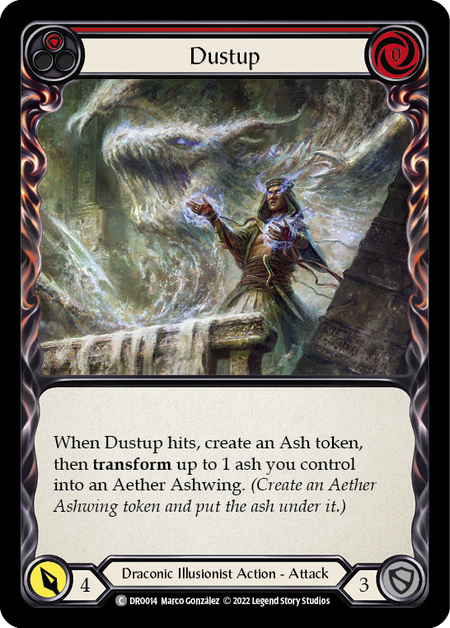
One possible play is blocking for 9 and swinging Blaze Headlong for a total of 13 value - exactly on rate. But if you could attack with both Blaze Headlong and Dustup, that would be quite a bit better, as Dustup deals 1 more damage on offense than it blocks and has a powerful on-hit. To play both, Blaze Headlong needs go again, which demands you have played a red card when you attack with it. So should you play a dragon, and in that case which one? Let us look at a few lines and calculate their value, including the minimum damage soaked by the dragons, when the opponent returns fire.
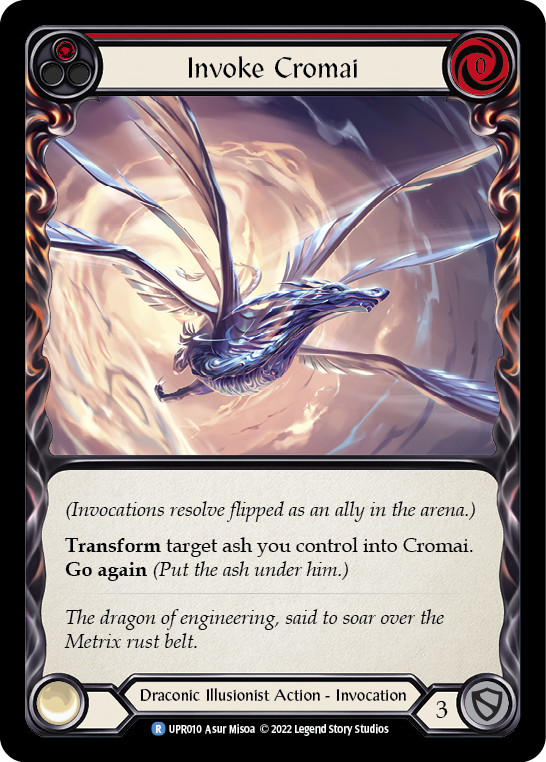
If you play Yendurai by pitching Cromai, you can attack with Blaze Headlong for 4 with go again, followed by an attack with Yendurai and either arsenal Dustup if Yendurai is popped, or attack with it if not. If Yendurai is not popped, this nets 4 + 3 + 4 = 11 value, an on-hit worth quite a bit, and at least 4 health - a 15-17 value turn cycle with an on-hit.
However, Levia has access to an enormous number of phantasm poppers, so that play is very risky, as popping Yendurai would leave us stranded with only 7 value across 3 cards - 4 damage threatened and 1 card taken from the opponent’s hand.
What about blocking with Yendurai, playing out Cromai, and attacking with it as well as attacking with both Blaze Headlong and Dustup? Barring a popper, this play equals 3 + 3 + 4 + 4 = 14 value with an on-hit from Dustup and 2 health on Cromai. And the extra action point means that, if Dustup hits, you can attack with an Aether Ashwing and up the value to 18-19 (depending on how efficiently the opponent can clear the Ashwing)! It costs an ash, but the line is still quite a bit more valuable than playing out Yendurai.
Where it really differentiates itself, however, is if Levia pops the dragon. In that case, because of the extra action point Cromai affords when attacking, our value becomes exactly the same as above - excepting the 2 health on Cromai and the one potential damage from the ashwing. This leaves us with 14 value and an on-hit, for the cost of an ash, even if Levia pops the Cromai. We found an effective line that works well under several circumstances.
As can be seen from the above discussion, the value calculation of different lines is quite simple after the fact, but depends a great deal on whether the opponent has a popper or a good answer for your permanents. The lack of this knowledge can make it incredibly difficult to pick the correct line of play. Again, experience against a variety of matchups must be your guide.
Epilogue
How should you play against a board presence strategy? Phantasm poppers deny an enormous amount of value. Cleaning up the dragons is important in denying a lot of value, too. And if you can clean them up while securing on-hits, you can out-value Dromai by using her very strength against her.
Lastly, I want to close out this article by discussing the types of board presence we have not yet touched. Potions are essentially stored value - if they are used to enhance a turn, you can calculate the delta in value between the most efficient turn with them and without them - that is the value of the potion. If they are never used, their value is simply 0 (ignoring the edge case of Energy Potion or Time Snap Potion hedging against Exposed to the Elements or Blizzard, for instance).

Amulets work the same way in affecting the value of either your or your opponent's turn.
Frost Hexes simply deal damage during a game; their value is that damage divided by the two cards it took to play them.
And finally there are Spectra Auras. The valuation of those is beyond the scope of this article, but in calculating it you must value their damage, their effects, and the action point it takes from your opponent to destroy them.
Thanks for reading along! In the final installment of this series, we will discuss what I call “soft value”. This is, for instance, the value of pitch stacking, conserving threats in deck, pressing lethal, and countering opponents' blowouts.
Music by Wavecont | Licensed under creative commons Attribution-ShareAlike 4.0 International | Music promoted by Chosic