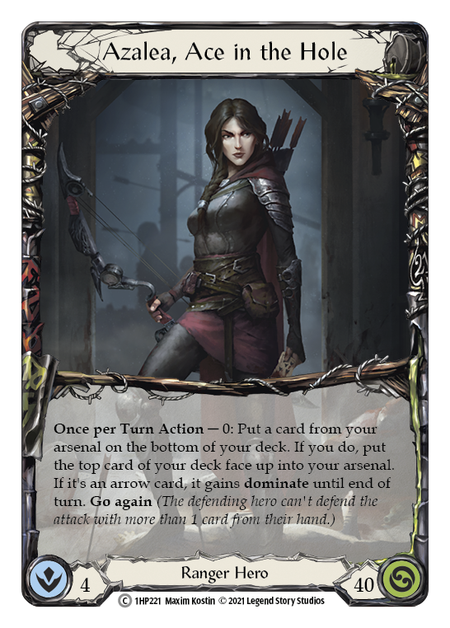
On Sunday Sept. 5th, over a year's worth of dedication to Azalea finally paid off. Wesley placed 2nd in the RC Crew Road to Nationals, making him the highest achieving Azalea player in the world...
But the day before I scored that second place, I competed in the Unplugged Games Road to Nationals, where I lost four out of six rounds of Swiss.
I was devastated that I had performed so poorly, and hastily put together a Dorinthea deck to replace Azalea for the RC Crew event the next day. As I was practicing with my new substitution, the betrayal ate at me. "It was just a bad day," I told myself. "If I stick with Azalea- the deck I know, and the deck they don't expect- I'll have better odds at winning."
Dedication, experience, and confidence pay off.
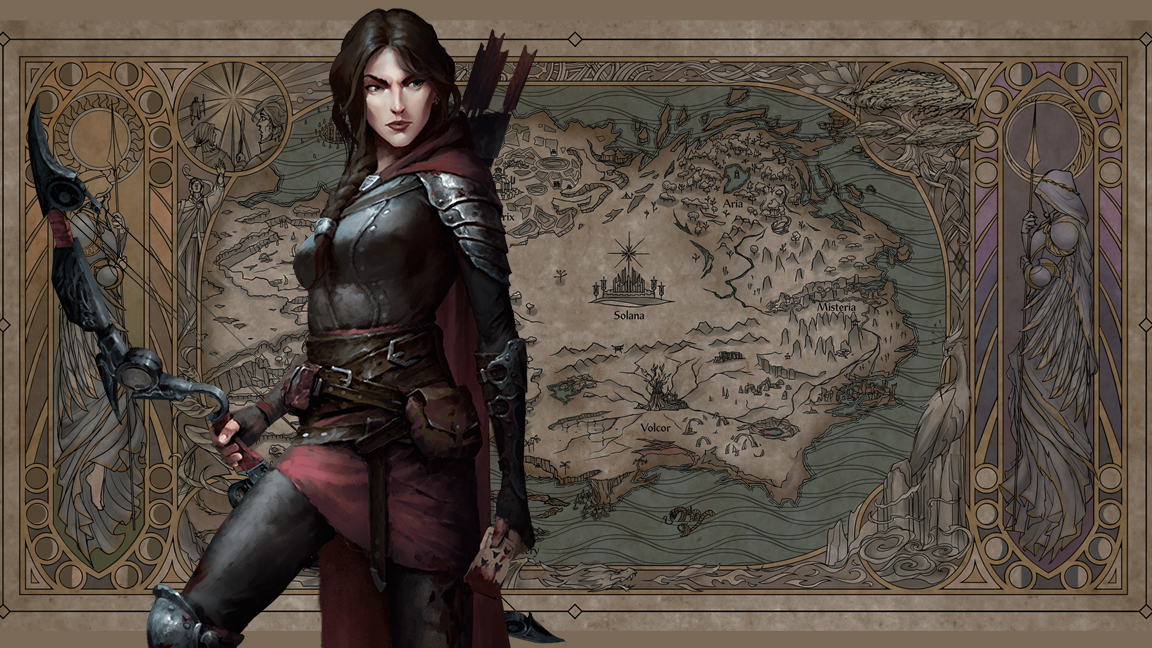
Why Azalea?
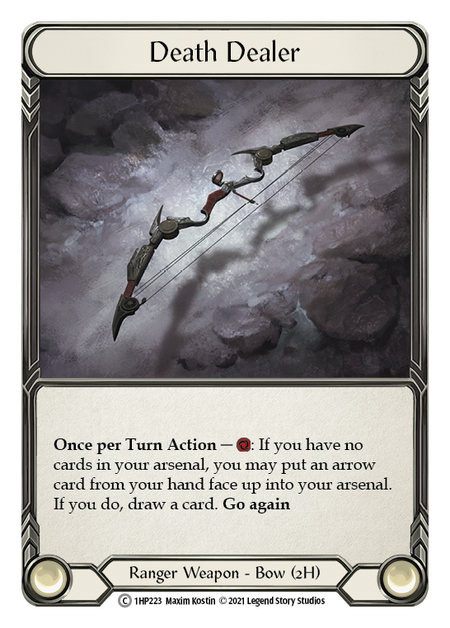
What I love about Azalea is her ability to modify her hand. In a typical four card turn, you can pitch one card to use Death Dealer, put an arrow into your arsenal, draw a new card, then swap the arrow for another new card using Azalea’s ability.
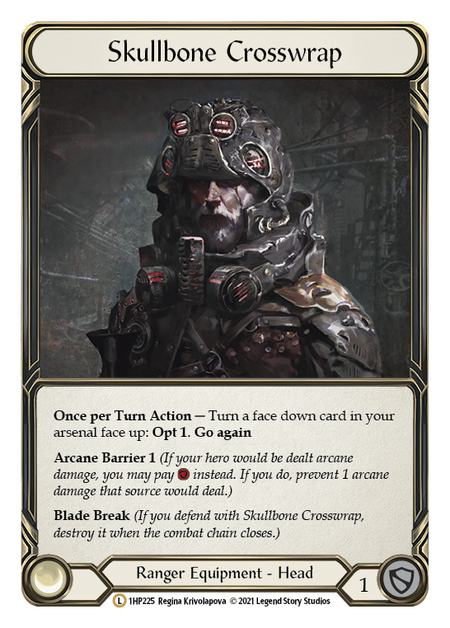
Likewise, you could start your turn with a card facedown in your arsenal, then use Skullbone Crosswrap to flip it up and opt the top card. You then either have a card you want on top, or you have removed a less useful card from the top. Following that, you could either play the card from arsenal, then repeat the process above, drawing the good card; or you could swap the arsenal card out for the good card on top of your deck with Azalea’s ability, play that card, then use the above process to draw a new card.
It sounds complicated, but once you get in some practice, it becomes second nature; the archer's draw becomes a muscle memory.
Are you new to Azalea? Stop by our FAB101 article to learn the basics of the Ranger playstyle!
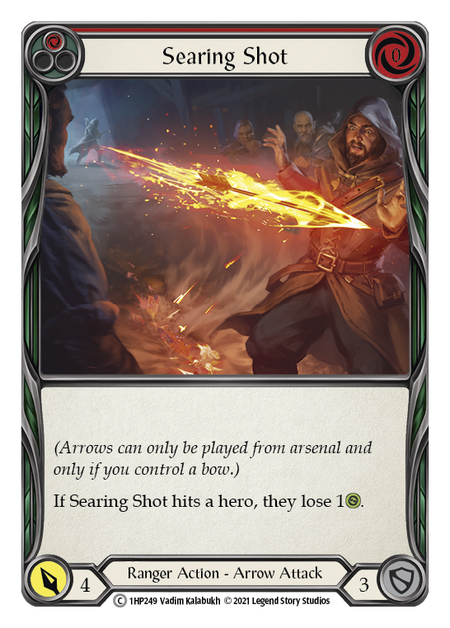
Ranger’s other main strength is its high damage-to-cost ratio. For example, a card like Searing Shot can do 5 damage for a cost of zero, which is unlike any other card in the game. Making use of other generic cards with similar damage-to-cost ratios, it's not hard to build an entirely red deck that only asks you to pitch when you need to use Death Dealer- which replaces the pitched card in your hand.
This is how I started with my Azalea build. It wasn’t too long after Arcane Rising’s release that I begun to play around with different Azalea builds to improve against my local competition. One week someone suggested we try to make decks using only common cards, and that’s when it clicked. I used every possible red, 0-cost card I could find for Azalea, and tested the deck against a tournament-ready Katsu deck, which was dominating the meta at the time. To everyone’s surprise, I almost won; and after modifying the deck without the commons-only restriction, I started going undefeated in local tournaments.
The Road to Nationals Build
The build that carried me to a 2nd place finish is a little different, but it all stems from the original concept of making use of that high damage-to-cost ratio. The playstyle I use is not “Tall”, “Wide”, or even midrange. It is a combination of all those strategies within one deck. During the recent Road to Nationals Event, I had turns where I attacked four times for 4+ damage with each attack, and I had turns where I made a single Dominated attack for 15+.
That's the wild thing about Azalea: you can go wide or go tall, and you can change that attack pattern from one turn to the next. This fits well into the meta, because people will see Azalea and either sideboard expecting you to attack like a Ninja or like Bravo. When you can do both, you can get around their counter-strategy by swapping to the other style of attacking.
The playstyle I use is not “Tall”, “Wide”, or even midrange. It is a combination of all those strategies within one deck.
To top it off, Azalea has some of the strongest control effects in the game. Once you have gotten around your opponent’s strategy by either going wide or tall, you can finish your turn off by hitting them with an effect that benefits you or impairs them. Cards like Snatch and Endless Arrow give you a card to arsenal, setting up your next turn; and cards like Remorseless and Red in the Ledger make it significantly harder for your opponent to respond on their turn.
The Decklist
Weapons
- Death Dealer (1)
Equipment
- Bull's Eye Bracers (1)
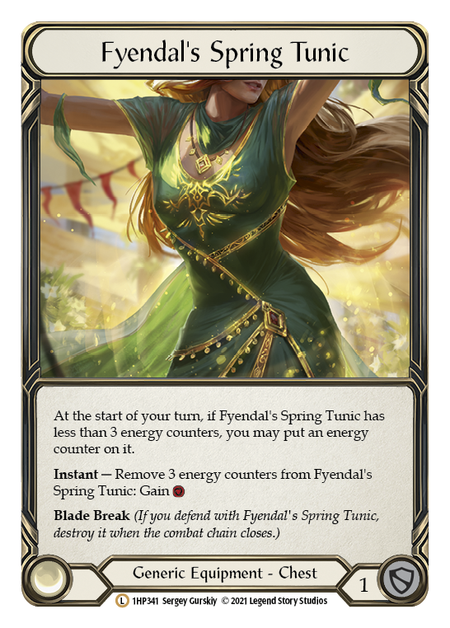
- Fyendal's Spring Tunic (1)
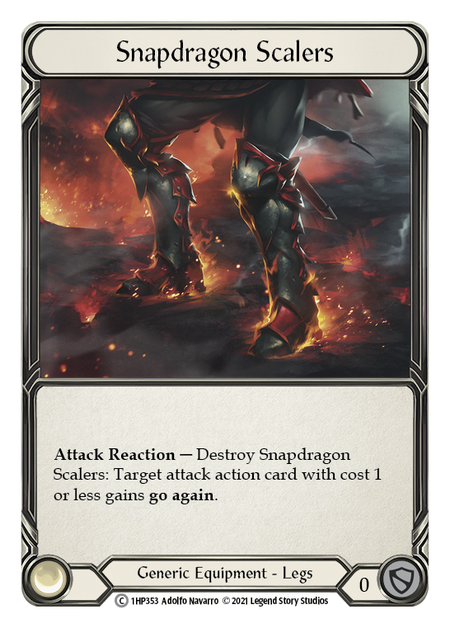
- Snapdragon Scalers (1)
- Skullbone Crosswrap (1)
Loadout
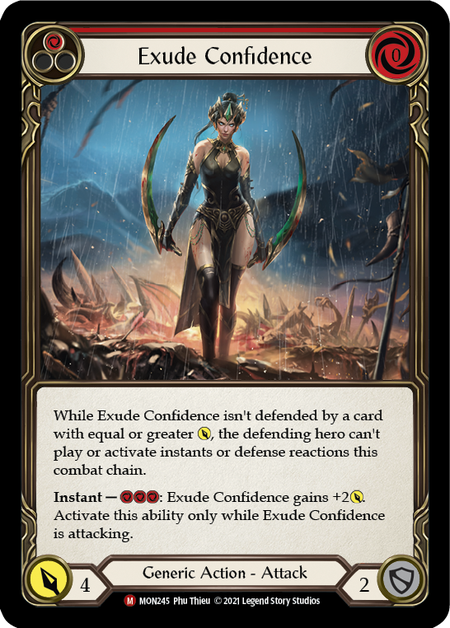
- Exude Confidence (Red) (1)
- Captain's Call (Blue) (3)
- Enlightened Strike (Red) (3)
- Endless Arrow (Red) (3)
- Push the Point (Red) (1)
- Increase the Tension (Red) (3)
- Razor Reflex (Red) (3)
- Head Shot (Red) (1)
- Searing Shot (Red) (3)
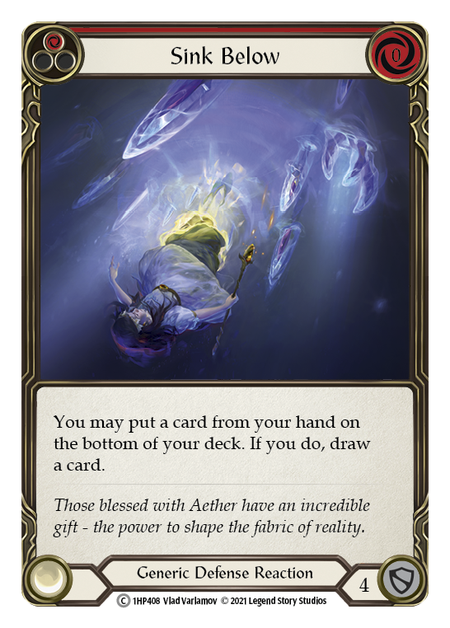
- Sink Below (Red) (3)
- Pitfall Trap (Yellow) (1)
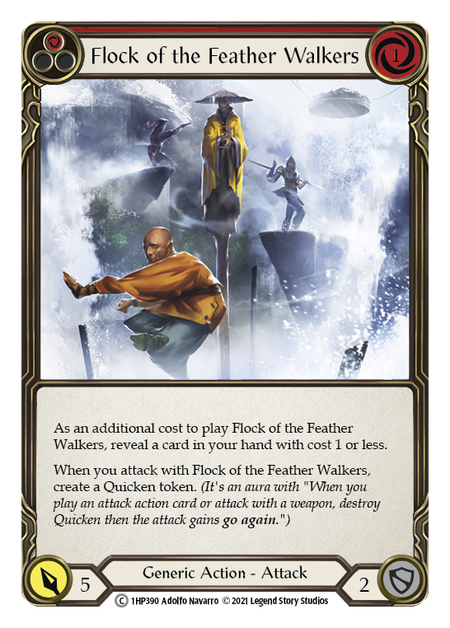
- Flock of the Feather Walkers (Red) (3)
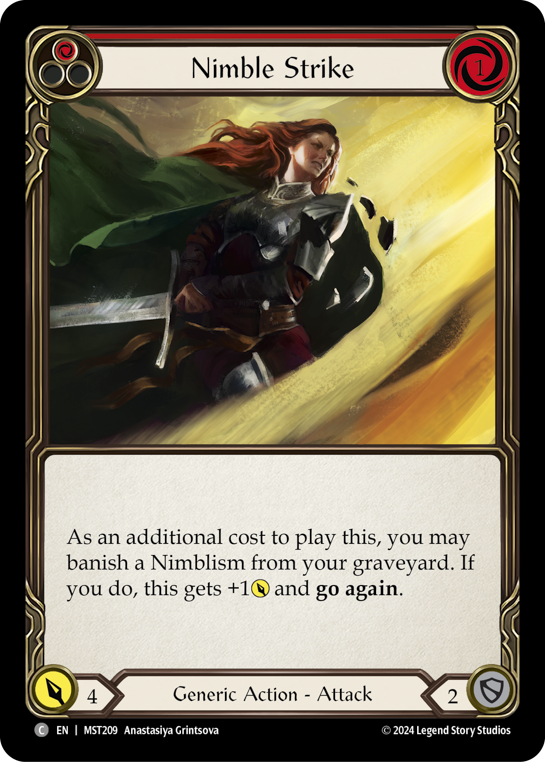
- Nimble Strike (Red) (2)
- Nimblism (Red) (3)
- Plunder Run (Blue) (2)
- Take Aim (Red) (3)
- Nock the Deathwhistle (Blue) (3)
- Plunder Run (Red) (3)
- Remorseless (Red) (3)
- Raging Onslaught (Red) (3)
- Razor Reflex (Yellow) (3)
- Red in the Ledger (Red) (3)
- Remembrance (Yellow) (2)
- Scar for a Scar (Red) (3)
- Snatch (Red) (3)
- Sleep Dart (Red) (3)
- Barraging Brawnhide (Red) (2)
- Take Cover (Red) (3)
- Ravenous Rabble (Red) (3)
It's important to know your deck inside and out, especially when playing Azalea. There are some games where your opponent blocks so many attacks that you only have a couple left in your deck at the end of the game. When you're nearing fatigue, you need to know with certainty where your arrows are, because you haven’t got a weapon to fall back on. You may only have one opportunity left to dominate an arrow with Azalea’s ability and shoot for the win, so you need to know exactly where it is. The following breakdowns explain the reasoning for each card in the deck, and what makes them important.
To me, Death Dealer is a no-brainer. If you pitch a blue to activate Death Dealer, you essentially set up an attack or an opportunity to use Azalea’s effect, draw a card to replace the card you pitched, and keep the extra 2 resources. Even if you don’t have a blue in hand, Death Dealer is good for pitching a non-attack card like Sink Below out of your hand in exchange for another chance at a card you need. It works exceedingly well with Skullbone Crosswrap, which lets you check what you'll draw into before committing to it.
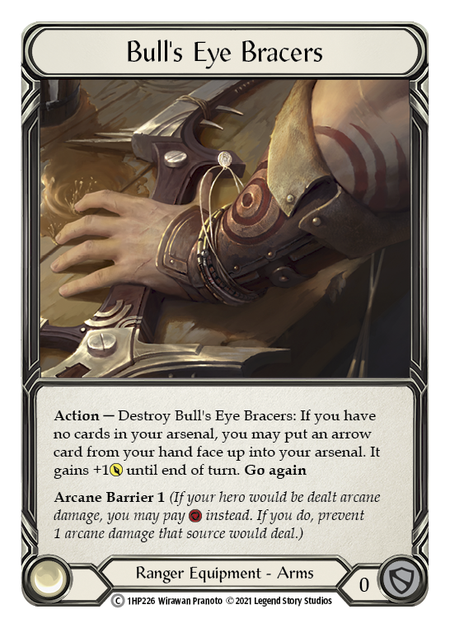
Bull’s Eye Bracers doesn’t see use every game, but every now and again I use it in the late game to add additional pressure to my opponent, forcing an extra card out of their hand to block. It's also good for when you attack with Endless Arrow multiple times in one turn.
The extra resource provided by Fyendal’s Spring Tunic can make a huge difference. As an example: you have one card in arsenal, a Nock the Deathwhistle in hand, and are forced to block with your other cards just to stay alive. From just that one resource, you can search out Head Shot with Nock, load it into arsenal with Azalea, and fire it for a dominated 6.
It may be the new hotness, but don’t be so hasty to swap to New Horizon. Skullbone Crosswrap is one of the main reasons I win games. Most turns I start with a card in arsenal that I have no intention of using until the late game. Using Crosswrap, I can see what my top card is to make sure I am not putting another useless card into arsenal before I activate Azalea’s ability. The card doesn’t even have to be an arrow; any attack with go again, or an action like Plunder Run, will do fine. It also allows you to make the most of Ravenous Rabble, letting you opt blue or yellow cards to the bottom.
I don’t run Perch Grapplers because I have a very low cost, low resource deck, and most of the time I need go again on a non-arrow card like Snatch- which makes Snapdragon Scalers the better option. I also prefer the ability to add an extra attack to a turn rather than block 2 damage once a game. Try to conserve Snapdragon Scalers for as long as you can; you want to use it to turn the game around, take the win, or threaten 20+ damage in a turn.
The Buffs
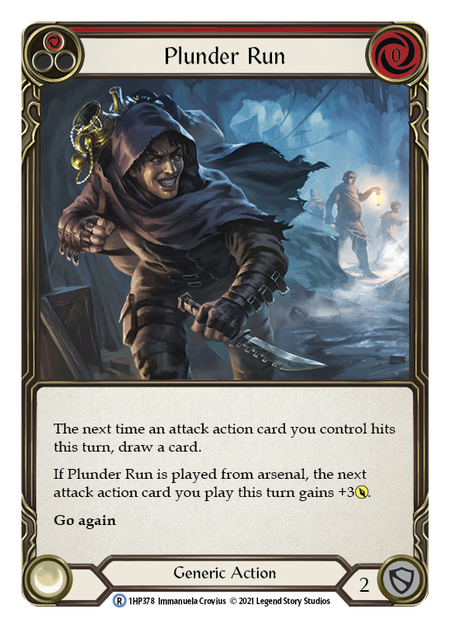
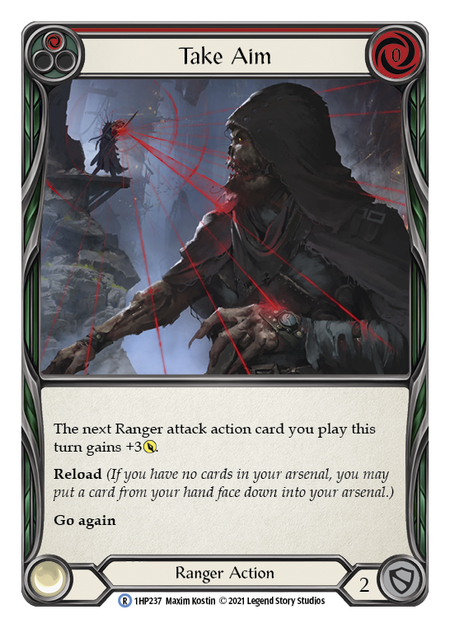
Nimblism, Take Aim, Plunder Run, and Captain’s Call always stay in the deck. These cards provide your on-hit effects with extra pressure, and help dominated arrows get through. Plunder Run, in particular, is one of the strongest cards in the game, and works incredibly well with reload and Azalea’s effect.
If ever you must decide between pitching Nimblism or Take Aim to play the other (and buffing an arrow), first make sure you have a Nimblism in your graveyard (so that Nimble Strike can be used effectively later). If there's already one in there, use the Take Aim, because Nimblism works on non-arrows attacks.
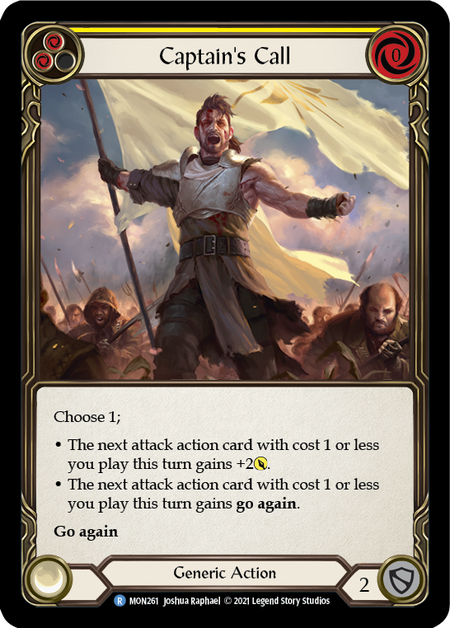

Captain’s Call is great for pitch, but when needed can bump up cards like Snatch, Endless Arrow, Searing Shot, or Enlightened Strike. If ever you have a hand without go again, Captain’s Call can provide that option.
Finally, Increase the Tension is great in matchups with extensive or key defense reactions.
Go Again Attacks
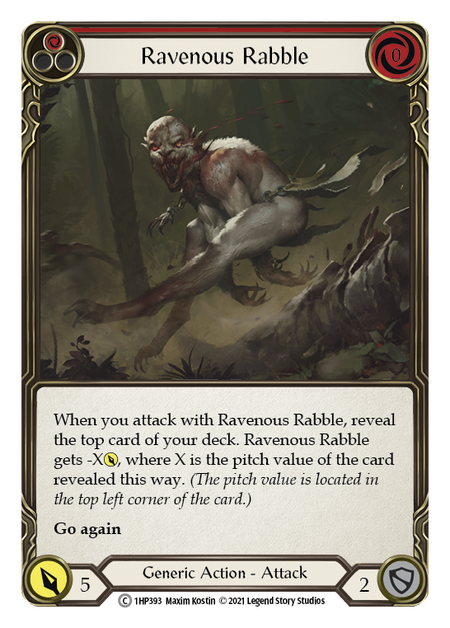

Ravenous Rabble and Scar for a Scar have very high damage-to-cost ratio with the addition of go again. Scar for a Scar won’t always be active- though when you draw it, you can purposefully let through enough damage to bring it online for your next turn.
Flock of the Feather Walkers and Nimble Strike help provide extra damage with go again for a very low cost, meaning if you only have red cards, they are still usable. Although Flock of the Feather Walkers doesn’t give itself go again, it provides equal- if not greater- benefit to the deck than a hypothetical equivalent with 5 damage, 1-cost, and go again.
Enlightened Strike is brilliant for its diversity. I either use it for Go Again when I haven’t drawn any, or extra damage at the end of a turn.
Finishers
Finishing off your opponent can be very difficult, and you should always consider endgame strategies when building a deck.
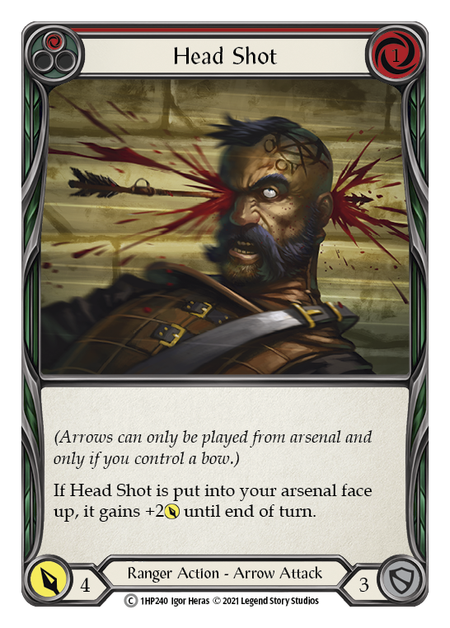
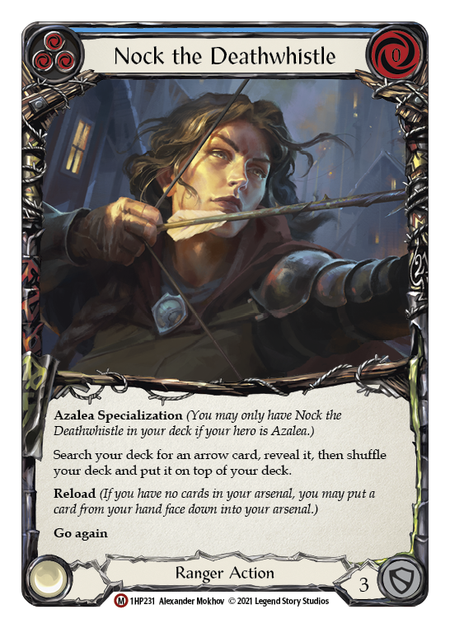
Nock the Deathwhistle not only provides opportunities to change the flow of the game by threatening punishing effects, but can also act as a closer. One copy of red Head Shot is included in the deck solely for the purpose of pushing high damage with dominate to seal the deal.
But sometimes Remorseless is a better choice when your opponent has an arsenal that is likely to contain a defense reaction! Exude Confidence is another sneaky tool for winning games against players who run lots of defense reactions or instants.
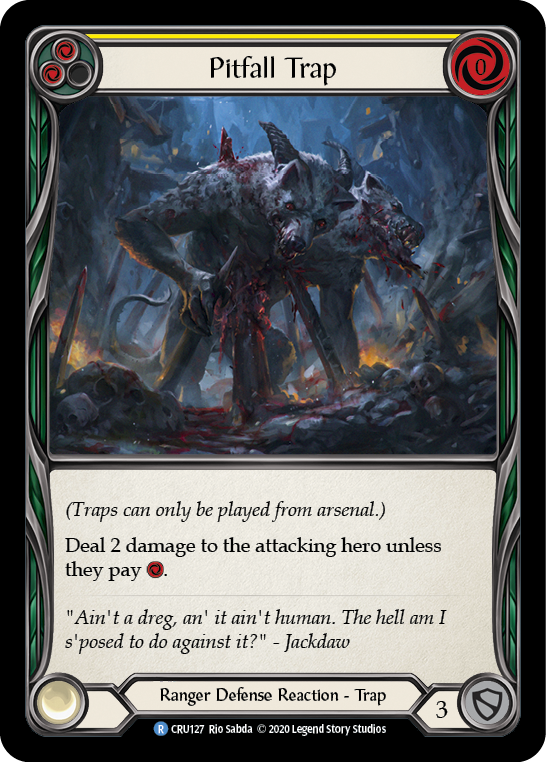
A single copy of Pitfall Trap is also included to catch your opponent off guard. Once your opponent has dropped to one or two life, you just need to get it into your arsenal and bait them into using all of their resources. After that, you can block and win the game. (Keep both Pitfall Trap and Head Shot hidden in your deck until you need them to win.)
Razor Reflex

Razor Reflex is so important to this deck. It gives you extra go again when you need it, sneaks through damage to trigger your on-hit effects, and lets you play mind games with your opponent, forcing them to predict whether you have it or not. It works especially well with Snatch and Endless Arrow, whose effects net you a card that Reflex's added go again now lets you utilize. Razor Reflex can be used in conjunction with most of your finishers to sneak through game ending damage.
Effect Arrows
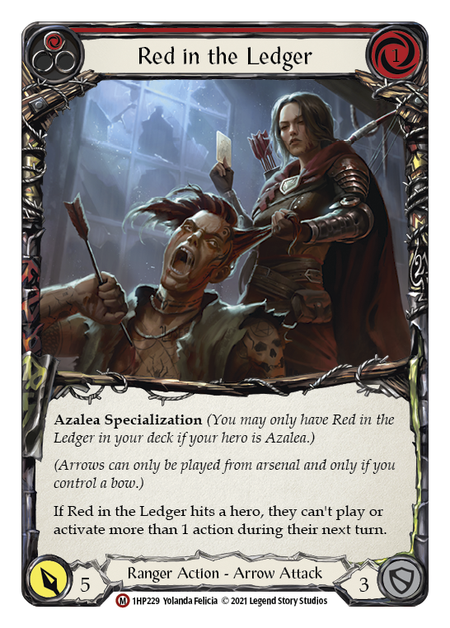
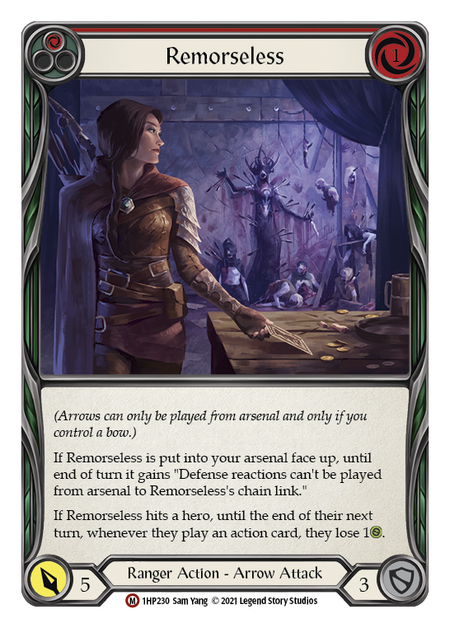
Remorseless and Red in the Ledger have amazing effects, but timing is everything. I tend to use these cards to either force my opponent to block when they are trying to set up a big turn, or when I have enough damage with dominate or a sneaky Razor Reflex to get the effect off.
Searing Shot has great damage and a strong effect for its cost; it works well with Nock the Deathwhistle when you are trying to finish off your opponent, but don’t have enough cards and resources to get a bigger arrow out.
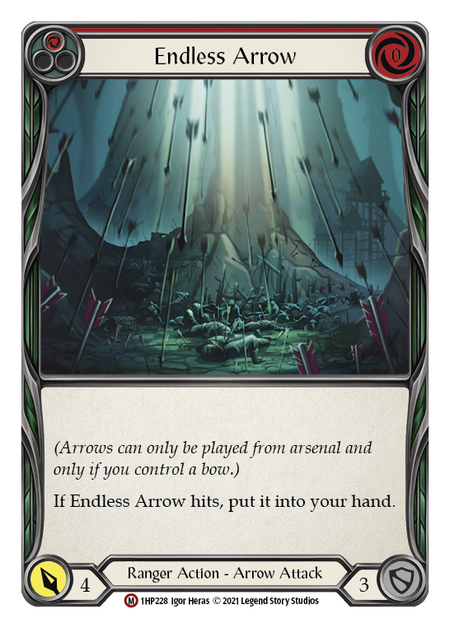
Endless Arrow is like nothing else. In a high percentage of my games, I use Endless Arrow three times in a turn utilizing one or more Razor Reflexes and sometimes Snapdragons to push through damage and keep the Endless Arrow for my arsenal at the end of the turn.
Sleep Dart works well with matchups that rely heavily on their hero ability, giving you extra attacks to force blocks with.
Defense Reactions
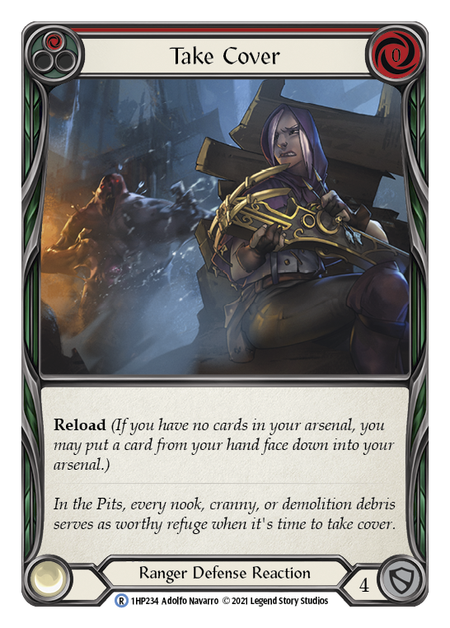
Take Cover and Sink Below are necessary in aggressive matchups, and against control decks. The reload effect on Take Cover is useful for getting an extra card on your first turn if you’re going second; it also positions you for opting with Crosswrap and using Azalea’s ability. Take Cover can even be used to arsenal Pitfall Trap to win the game.
Sink Below is better than Fate Foreseen in this deck because it helps you configure your hand to maximise your damage output, and because this deck is less focussed on finding arrows at the top of the deck.
Other Inclusions
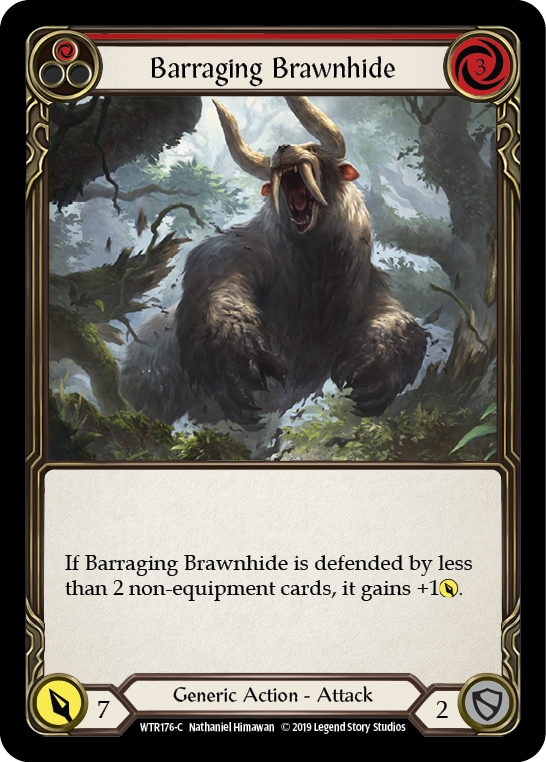
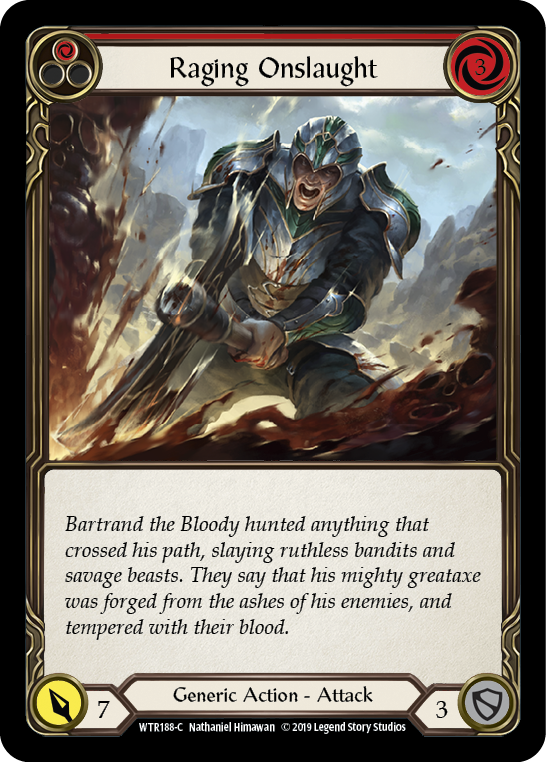
Barraging Brawnhide and Raging Onslaught are included in the sideboard purely for dealing with the Prism matchup; otherwise this deck can be too easily overwhelmed by phantasm attacks. Remembrance is needed in matchups against some stall decks.
Push the Point is just there to throw off my opponent slightly. It is a card people don’t expect, and so I get free extra damage in and leave them wondering if they need to expect more. If they begin to block my attacks to prevent Push the Point’s effect, then I can punish them with my effect arrows.
Upgrading with Tales of Aria
As this deck was built before the introduction of Tales of Aria, it is important to consider the new ranger cards and if it's worth fitting them into the deck list.
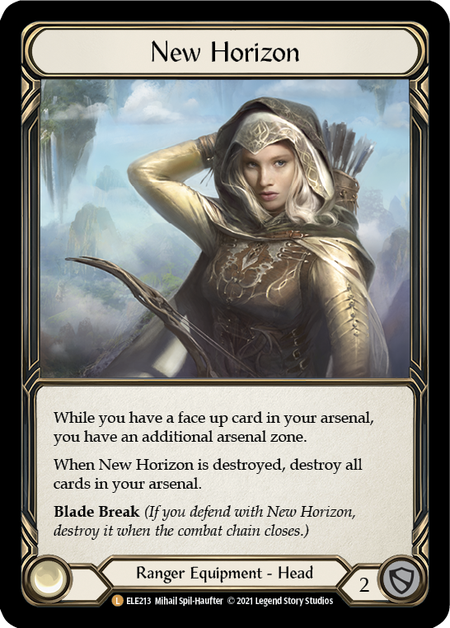
New Horizon is a very interesting card that works particularly well with the new instant-speed Elemental bows. However, I find that it is not the right fit for this kind of Azalea deck. Having to leave a card faceup in your arsenal just isn’t easy enough most turns, as you usually only use Azalea’s ability to get access to a more playable card; and when using Death Dealer, you are trying to set up for as many attacks as possible. Competing with Skullbone Crosswrap, the benefits of opting the top card of your deck each turn when you have an arsenal or a reload card in hand far outweighs that of setting up a double arsenal turn every now and again, with less control over which cards you are drawing into.
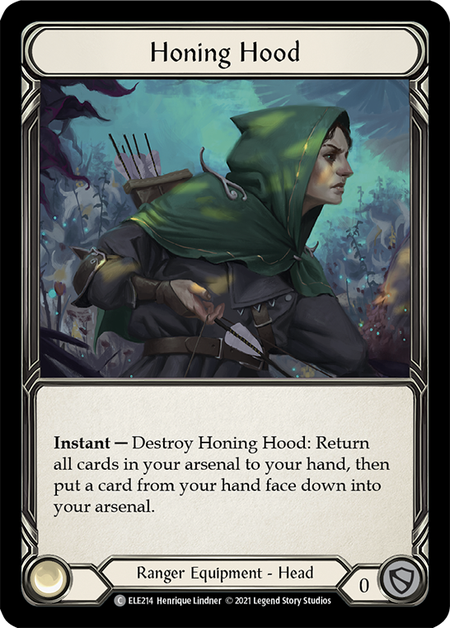
Honing Hood also pales in comparison to Skullbone Crosswrap for this decklist. It can be beneficial for setting up a big Endless Arrow turn, but this doesn’t occur often enough in matchups for it to be worth losing one of the best equipment cards in all of Flesh and Blood.
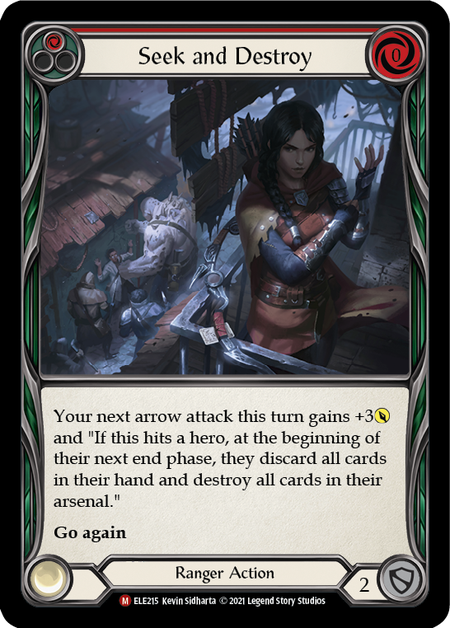
Seek and Destroy got me very excited during spoiler season. Another red, 0-cost, +3 damage pump for arrows with an exciting new control effect is exactly what Ranger wanted.
Unfortunately, as it can only be used on arrows, it can’t be used to strengthen my non-arrow attacks. The ratio of non-attack actions to attack actions in my decklist is very carefully chosen as to minimize the chance of drawing an unplayable hand, meaning I would need to remove a non-attack action card for each Seek and Destroy I add into my deck list. It is a hard decision to make, but I am unlikely to run Seek and Destroy in this deck, as I run too many generic attack actions to make it consistent enough.
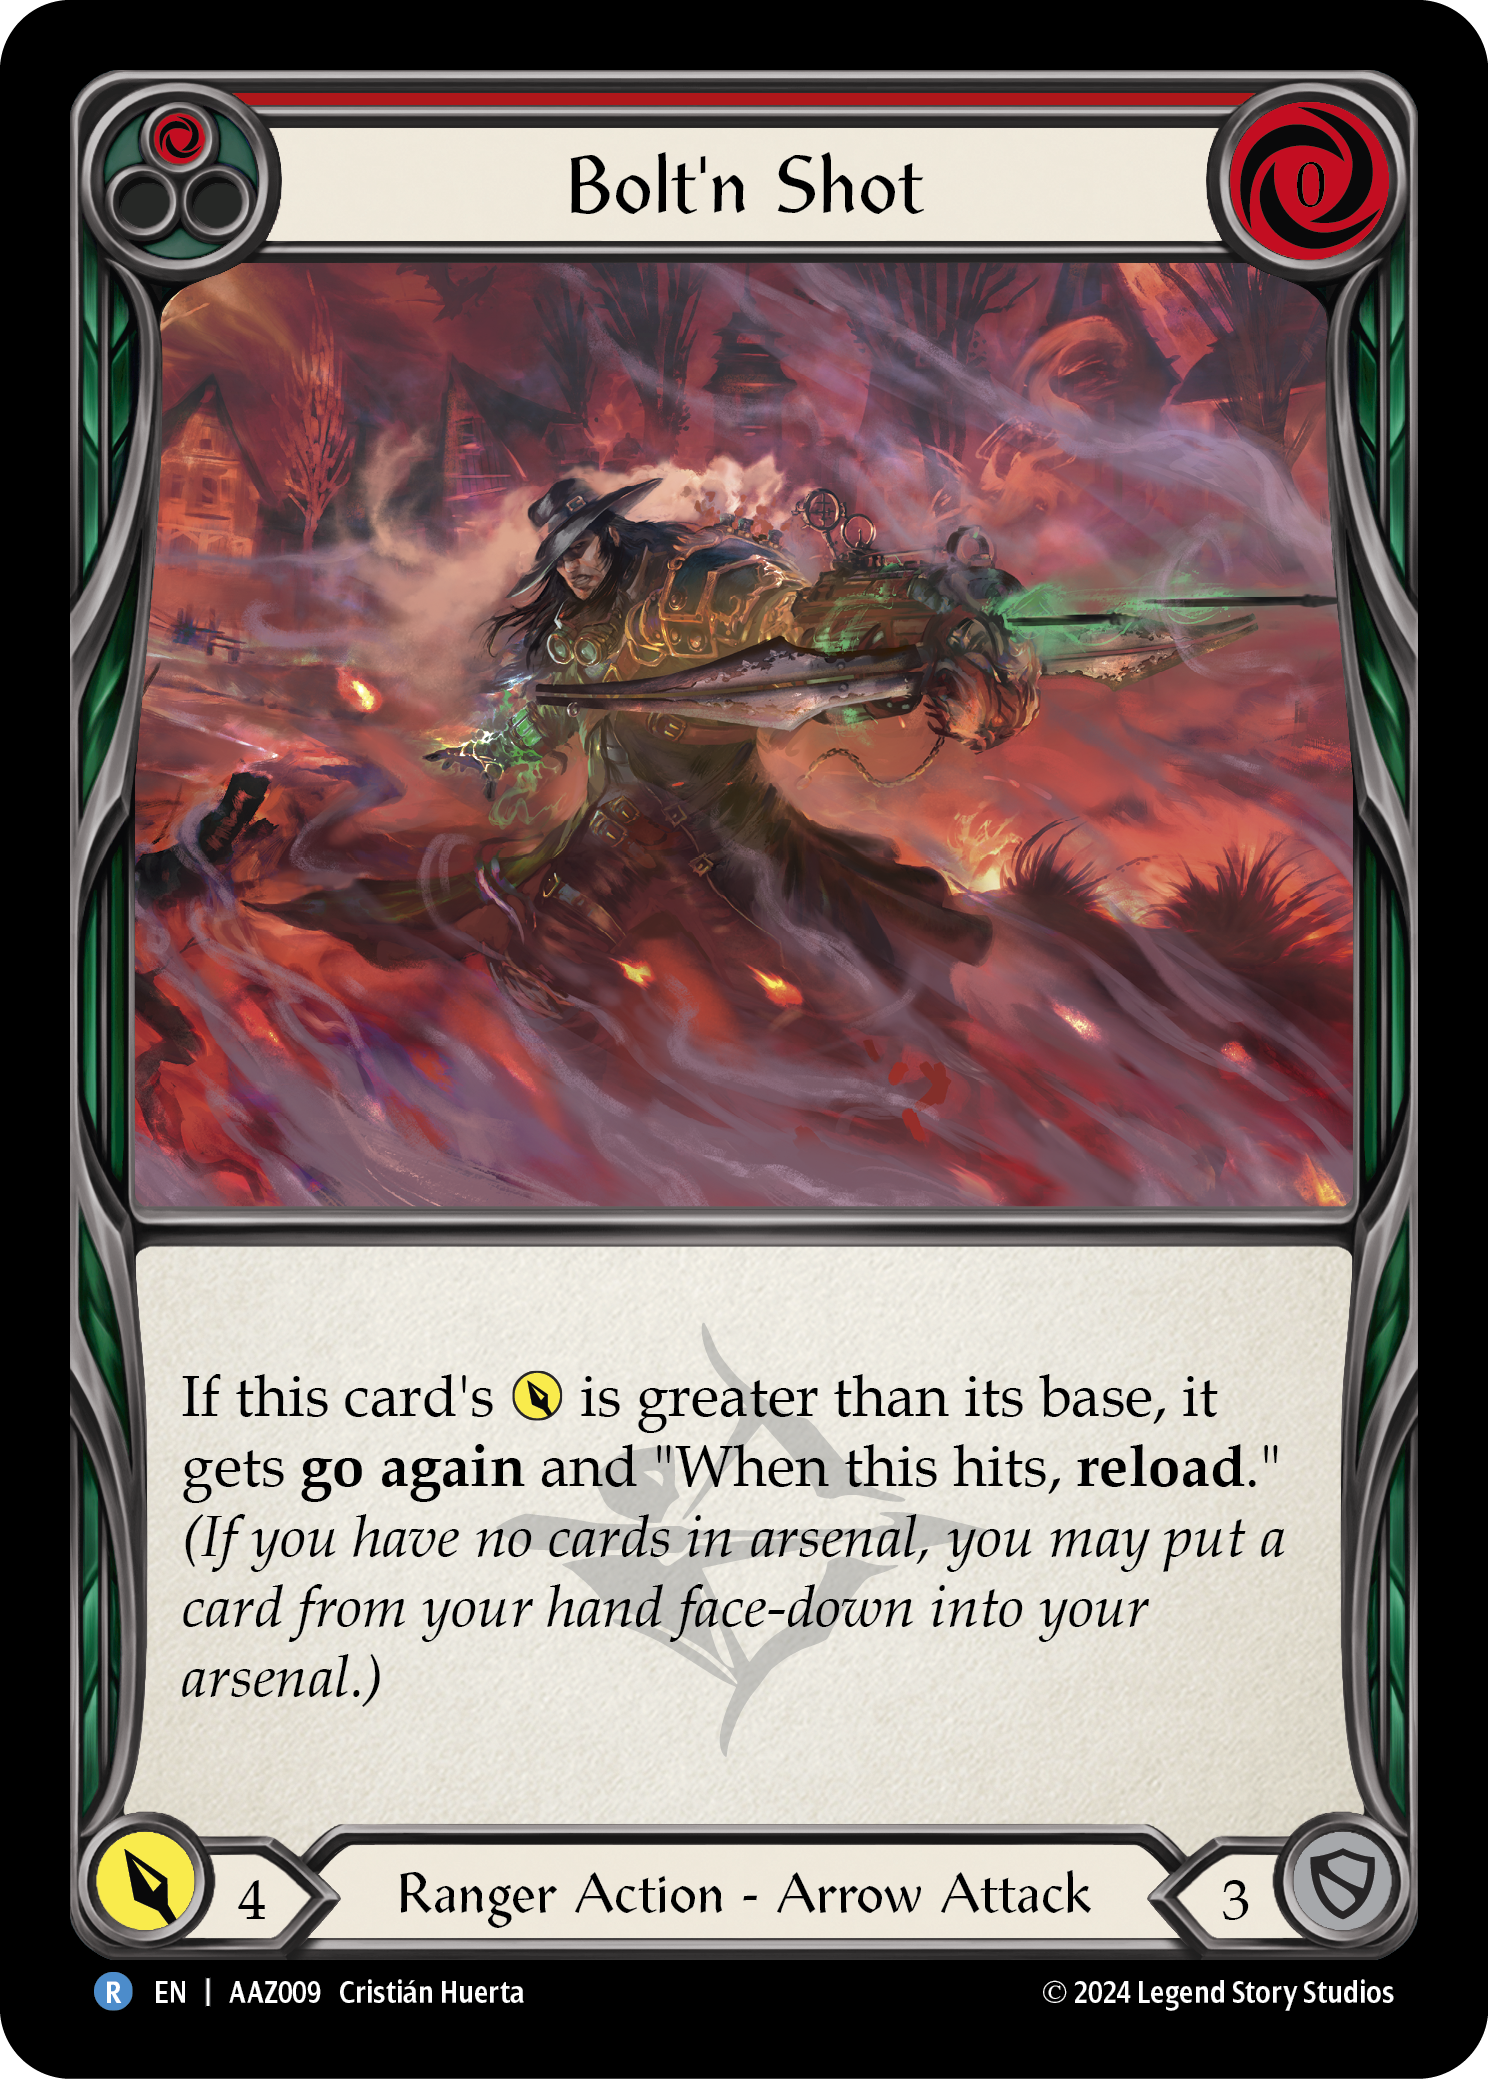
Bolt’n’ Shot will be joining my list of the strongest cards in Flesh and Blood. Red Bolt’n’ Shot costs zero, has four base power, defends for three, and has conditional go again and on-hit reload. You might agree that this is one of the strongest ratios of damage, defense, cost, and effects if it weren’t for it only being playable from Arsenal- but to me that's even better. Being an arrow in a Death Dealer deck means you get access to free card replacement, which can increase your odds of getting a buff into your hand. Bolt’n’ Shot is a must-include in my deck list; the only question is what to remove!
My two least-favorite cards in the deck currently are Flock of the Feather Walkers and Push the Point. These cards have always been filling the void of unreleased cards, and I would happily remove Push the Point and two Flocks for three red Bolt’n’ Shots. The more 0-cost, 4-damage, go again cards that get released, the stronger this deck becomes.
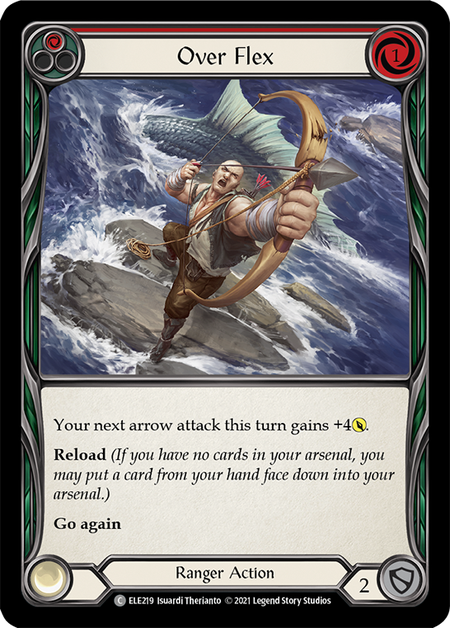
That just leaves Over Flex. This is a great card that has a lot of potential in different Ranger decks. If you are a dreamer like me, you may have already thought of the Bolt’n’ Shot/Three of a Kind/Over Flex/Take Aim combo that lets you deal around 40 damage in one turn by stacking the bottom of your deck with these cards. It is difficult to pull off, but just goes to show how strong the reload effect can be. But having a cost of 1 and having to compete against the other strong non-attack actions in the deck list means that Over Flex will struggle to find a spot in this form of Azalea build.
It's also important to assess the new heroes and the way they will shape the meta. Cards like Barraging Brawnhide are only included in the deck list because of the struggle Azalea faces in Prism matchups. Likewise, it may be necessary to adjust the decklist to increase the deck’s chances against Briar, Lexi, and Oldhim.
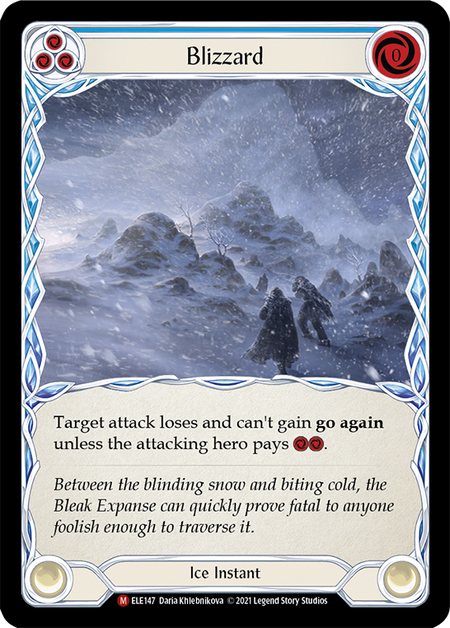
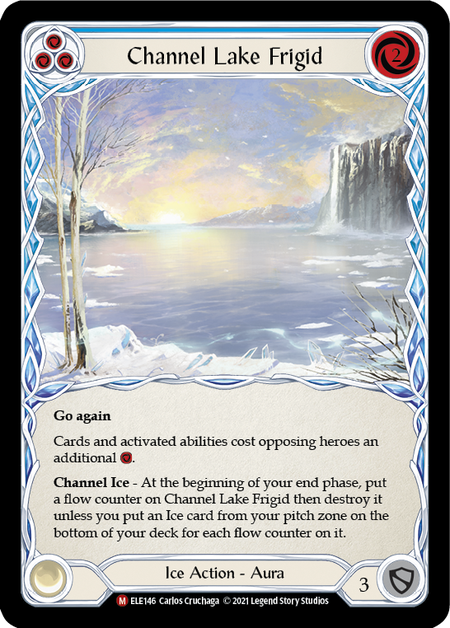
The scariest ToA cards for Azalea were the Ice-based control attacks. These include Frost Lock, Icy Encounter, Frost Fang, Chilling Icevein, Blizard Bolt, Snow Under, and Endless Winter. Having the option to take a hit so you can attack back harder is at the core of this deck; however, against these punishing effects defending is almost necessary. That's not even getting to cards like Blizzard and Channel Lake Frigid, which can completely shut down this build.
Aside from taxing effects, Azalea has mechanisms for dealing with everything else Tales of Aria throws at us. Unfortunately, these Ice-based builds are likely to have a presence in all levels of tournament play. To combat this, new sideboard cards will be needed. So far, the best option I can think of is to increase the number of blue cards across the sideboard and main deck, so that Azalea can just punch through the Ice-based control effects. It may also be important to increase the ratio of 3-defense cards in the deck by swapping out cards like Scar for a Scar for the better-defending arrows like Sic ‘Em Shot.
Through more extensive playtesting, the right ratio of cards will reveal themselves and Azalea will hopefully find her place in the new meta. Good luck to everyone playing Azalea in their upcoming events; and for anyone who hasn’t thought about sideboarding against Azalea, you had better start now!
Sideboarding and Matchup Guide
This article continues with sideboarding and matchup-specific advice here.
In this continuation of Taking Aim: How to Win with Azalea, Wesley offers sideboarding and matchup-specific advice for Ranger.
by: Wesley Lingard