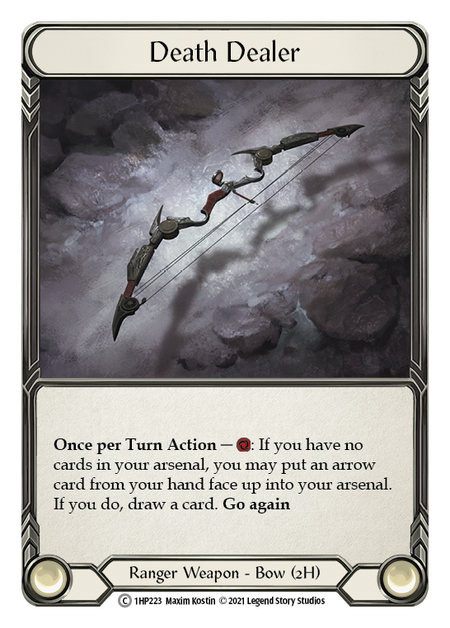
Over the last two years, a shift has taken place within the lexicon of the Azalea community. While folks used to talk about cards from an assumed common starting point, they now tend to contextualize their conversations with DD and SSGB. These acronyms - short for Death Dealer and Sandscour Greatbow - allude to a growing acceptance of the viability of two distinct paths for Azalea players. Death Dealer empowers an aggressive strategy that looks to out-value opponents through card draw; its relentless style largely foregoes pitching, and is optimized around damage output supplemented by disruption effects. In contrast, Sandscour focuses on those disruptive effects, taking advantage of Azalea's capacity for finding the right cards in the right moments to lock opponents out of their primary gameplans. And what stumbles in one deck may shine in the other.
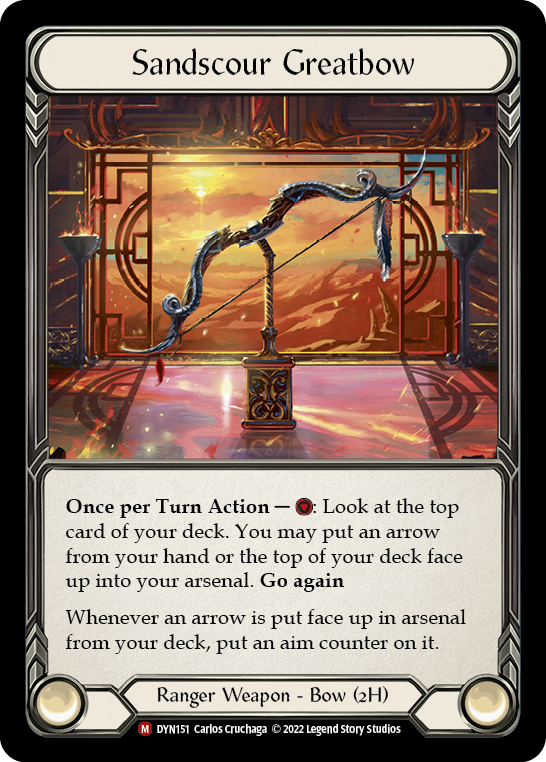
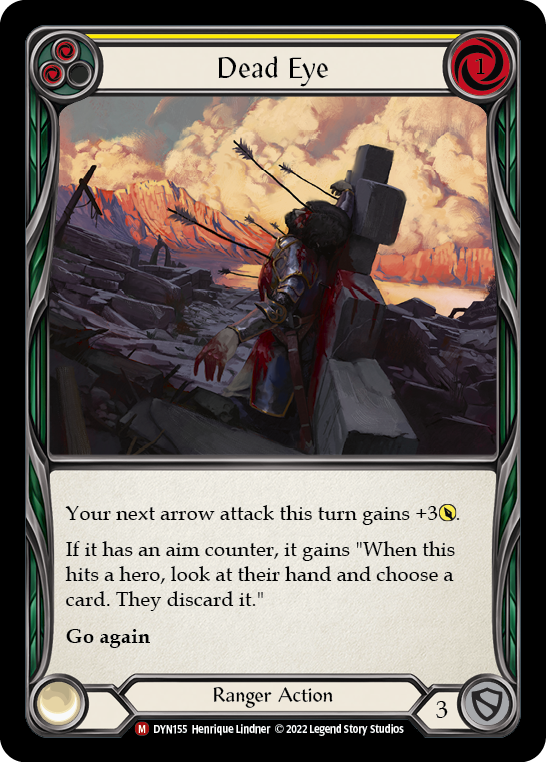
It's been a long road for Sandscour devotees. Introduced back in Dynasty, the Greatbow offered to empower a new suite of arrows with aim counters - a mechanic requiring contextualization to mean anything at all. Aim counters were relevant to exactly 4 arrows when they first debuted, along with one non-attack action that gave them relevance on any other arrow that may pick one up. Of those cards, only Dead Eye and occasionally Immobilizing Shot see play specifically with the intent of aiming them.
Outsiders expanded on aim, and with that came the first inklings of a truly viable deck built around Sandscour Greatbow. Most of the arrows in the set gained +1 with an aim counter, pushing their rates up to competitive levels without sacrificing the powerful on-hits associated with the class. Murkmire Grapnel, Infecting Shot, and Barbed Undertow became staples of the emerging archetype, and immediately postured the deck as one capable of answering tough questions posed by the meta.

Judge, Jury, Executioner, an expansion card from Heavy Hitters, basically amounted to a Sandscour specialization. Its powerful on-hit effect not only requires an aim counter, but benefits from the blocking restrictions imposed by dominate. For Death Dealer, that's just too many hoops to jump through; but loading an arrow off the top of the deck and giving it an aim counter is Sandscour's entire play pattern. Not long after, an aim-focused Armory Deck offered up a full equipment ensemble dedicated to aim, along with Stone Rain - a 0-cost arrow that can pick up dominate from an aim counter alone.


These enhancements - and the dedicated devotion of a few alternative Azalea fans - have elevated Sandscour Azalea to legitimate viability, including a Top 8 at Calling: Portland by Jacob Kissel (one of the original Sandscour acolytes) and most recently a Top 4 placement at Battle Hardened: Portland by Justin Salmon. Depending on if and how High Seas supports Azalea, it's entirely possible that Sandscour Greatbow will be the build that carries her across the threshold of Living Legend.
Why Sandscour?
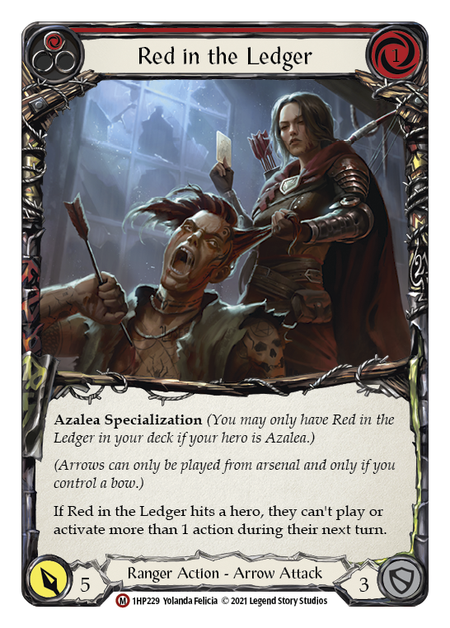
Death Dealer has been responsible for the majority of Azalea's Living Legend points. Since the release of Outsiders and the subsequent departure of Lexi, DD Azalea rose to a prominent position as a full-throttle aggro deck, thanks in no small part to its ability to restrict options. At the center of all this was Codex of Frailty, a pivot card so instrumental to the deck that many have singled it out as 'the best card in FAB'. From a one-card hand and a Tunic counter, Codex could find and fire Red in the Ledger, locking an opponent out of additional action points and resetting the tempo.

But Death Dealer Azalea didn't get its time to shine until after Lexi had left the show; and since then, a new batch of aggro decks have worn away her edge. These days, you'd be hard pressed to find an aggro player who would throw their lot in with Azalea over Aurora or Cindra; and for aggressive disruption, Assassins like Nuu and Arakni, Marionette present more compelling cases - they even get the same Codex of Frailty! Put another way, Death Dealer Azalea is an opportunist, and for the moment her window of opportunity looks pretty narrow. Players will continue to find success with her, but much less frequently as other heroes do aggro faster and control more effectively. And this cycle of viability and obsolescence will continue because Death Dealer Azalea doesn't utilize all the tools available to the hero and the class.
In contrast, Sandscour Azalea does something entirely unique; and whether the deck has a place in the current meta or not, it occupies its own space that no other hero competes within. Truly, the gameplay of a Sandscour deck cannot be replicated with another class, another hero, or another weapon. Moreover, as the deck is largely reactive and tailored to specifically ruin decks by name, its potential becomes greater the more refined a meta becomes - if you can predict who you'll see, you can bring the right arrows to overcome them. This puts Sandscour Azalea in a much more predictable cycle: as a meta stabilizes and top decks emerge, Sandscour Azalea becomes a stronger and stronger choice.
As a meta stabilizes and top decks emerge, Sandscour Azalea becomes a stronger and stronger choice.
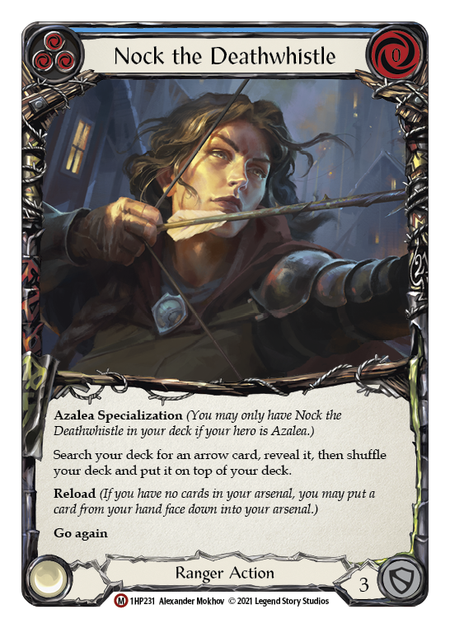
To put it concisely, Sandscour Azalea is like 'Sideboarding: the Strategy'. You choose an arrow whose on-hit specifically wrecks the opponent, and then you spend the entire game hitting them with it over and over again. This is possible because Sandscour gives you access to the top card of your deck; likewise, Azalea can replace a card in arsenal with the top of your deck. We also load the deck with tutors, such as Nock the Deathwhistle and Memorial Ground, to ensure we can find and recur the chosen arrow.

Sandscour Azalea is a deck that appeals to players who know the meta they're playing into, and believe that the best defense is preemptive disruption. It takes away decision-making opportunities from the opponent, leaving as little to chance as it possibly can (while still accepting and embracing that the Ranger identity is built around knowing your odds and playing them). Plus, Sandscour Azalea gets to use the fiercest arrows and the coolest Ranger bling (this is a deck that can lay down both New Horizon and a marvel weapon to start the game).
Finally, there's the matter of Azalea's approaching Living Legend status. When the hero rotates, Death Dealer goes with her; but Sandscour Greatbow will remain, ready for whoever comes next.
A Sandscour list is seldom 'locked in', but remains aware of shifts in the meta, reconfiguring its 80 to answer the questions posed by today's top heroes. For that reason, I felt a guide was more appropriate than a deck tech; and while I'll be sharing lists with you here, the focus of this article will be on the core elements and the skills and strategies required to make it succeed.
The Core
There are several different builds that fall under the Sandscour umbrella - reinforcing the truth that this is a deck more concerned with the opponents you expect to face than its own functional requirements. But among these, there is a consistent core of cards that, essentially, form its engine and make the whole concept run smoothly.
Sandscour Core: Equipment
- Sandscour Greatbow
- New Horizon
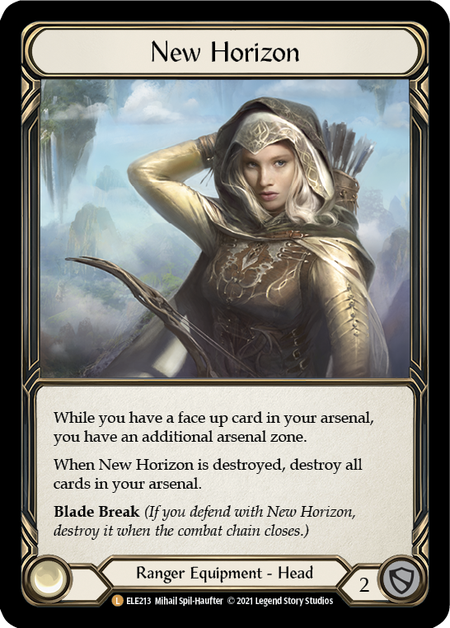
While there's room for discussion on other equipment, these two pieces are absolutely unquestionable; it's the unique opportunities available to you because of how they interact that makes this whole deck come together. New Horizon grants a 2nd arsenal slot while the first one holds a face-up card. And unlike Death Dealer, Sandscour Greatbow asks only that you have an available arsenal slot to load your arrow into, not that you have no cards in arsenal. This gives Azalea the freedom to hold a card in arsenal beyond your next attack phase, and raises the floor on blind flips with her hero power - the easiest way for us to turn a face-down card face up and give access to that 2nd arsenal slot. With greater use of the top-of-deck comes the ability to embrace aim-focused arrows, which pick up aim counters passively from the Greatbow when they move directly from the deck to the arsenal.
This is where a lot of your early work should be focused: on learning the playlines available between Sandscour, New Horizon, and Azalea herself. By learning the sequencing options, you can recognize your options and your outs when trying to make the most of a turn. Here are some examples that will come up:
- You start your turn with 1 face-down card in arsenal. By activating Azalea, you can replace that card with the top of your deck; it will now be face-up, opening your 2nd arsenal slot, and if it's an arrow it'll have an aim counter and dominate - but you'd probably rather find a buff, as you can still load an arrow with your bow. Proceed by activating Sandscour to load an arrow from hand or the top of your deck.
- You start your turn with 1 face-up arrow in arsenal. By activating Sandscour, you can look at the top of your deck, then load an arrow from either hand or deck. You can then activate Azalea to replace either face-up arrow with the top card of your deck. If you left an arrow up there from your Sandscour peek, it'll pick up an aim counter and dominate; but you'd rather it's a buff, as you can use it to raise the damage of the other arrow you've still got in arsenal.
- You start your turn with 1 face-up buff in arsenal. By activating Sandscour, you can look at the top of your deck, then load an arrow from either hand or deck. The ideal scenario would spy a great, disruptive arrow up there, but load from hand instead, allowing you to follow up with an Azalea activation to load that topdeck arrow with aim and dominate.
Your early work should be focused on learning the playlines available between Sandscour, New Horizon, and Azalea herself.
Sandscour Core: Tech
- Codex of Frailty
- Memorial Ground (Y)
- Nock the Deathwhistle
The trio of tech cards earns its staple label for enabling Sandscour's unique identity as a deck that finds and repeats the most disruptive attacks turn after turn. Between Azalea and Sandscour, you're already able to see more cards in a turn cycle than most decks; but when you add in these tutors, your odds of locating that perfect hate effect are notably increased.
Let's say your matched up with Cindra - a hero who's vulnerable to Red in the Ledger's 'only 1 action' text. You run 3 copies of the card, giving you a 19% chance of seeing a copy in your first hand and starting this game with all the tempo. But you also have Sandscour, so finding RitL on the top of our deck is a hit as well; that brings the odds to 23%. But you've also got 3 copies of Nock; with 6 targets, 3 of which are 'hits' if they merely make the top of your deck, your odds are now at about 39%. And this still doesn't account for digging 1 deeper with a blind Azalea flip after loading a different arrow from the top of the deck (I think that might be 44%, but the math is getting a bit fuzzy now).
But where it really gets interesting is after you've fired your first 'key arrow'. Let's say you found Red in the Ledger in the first 2 turns, and now it's sitting in your graveyard alongside, oh, 5 other cards - 54 cards remain in our deck. You'd like to string that RitL on-hit into another, so that your opponent goes into a 2nd turn under the 'single action' restriction it places. Because we have 1 in the graveyard and 2 in the deck, all 3 of our tutors are online - making the number of 'successes' we could draw 11.
- Odds that we draw Red in the Ledger: 14%
- Odds that we draw Red in the Ledger or it's on top of deck: 18%
- Odds that we draw Red in the Ledger or a card that can find it, or it's on top of deck: 65%
This is why it can feel like Sandscour Azalea is just getting stupid lucky all game long: the odds that you can fire Red in the Ledger two turns in a row outweigh the odds that you can't. And while Nock the Deathwhistle doesn't actually increase the population of any given arrow (it only increases the odds that we find it in our deck), Codex of Frailty and Memorial Ground functionally do add copies 4-9 of the best arrow in our deck for any given game.
Surprisingly, I've often found that Codex of Frailty is the least valuable of the tutors, because it puts the arrow into my arsenal face-down and directly from the graveyard. This bypasses the synergy with Sandscour Greatbow and New Horizon, preventing the use of a second arsenal slot (if I don't have something there already) and missing aim and dominate. In fact, there are numerous games where I've brought back an arrow with Codex only to Azalea it immediately in favor of an arrow I spied on top with Sandscour. Don't be afraid to use Codex as your pitch card, or even to block with it.
Sandscour Core: Buffs
- Dead Eye
- Lace with Bloodrot
- Lace with Inertia
- Premeditate
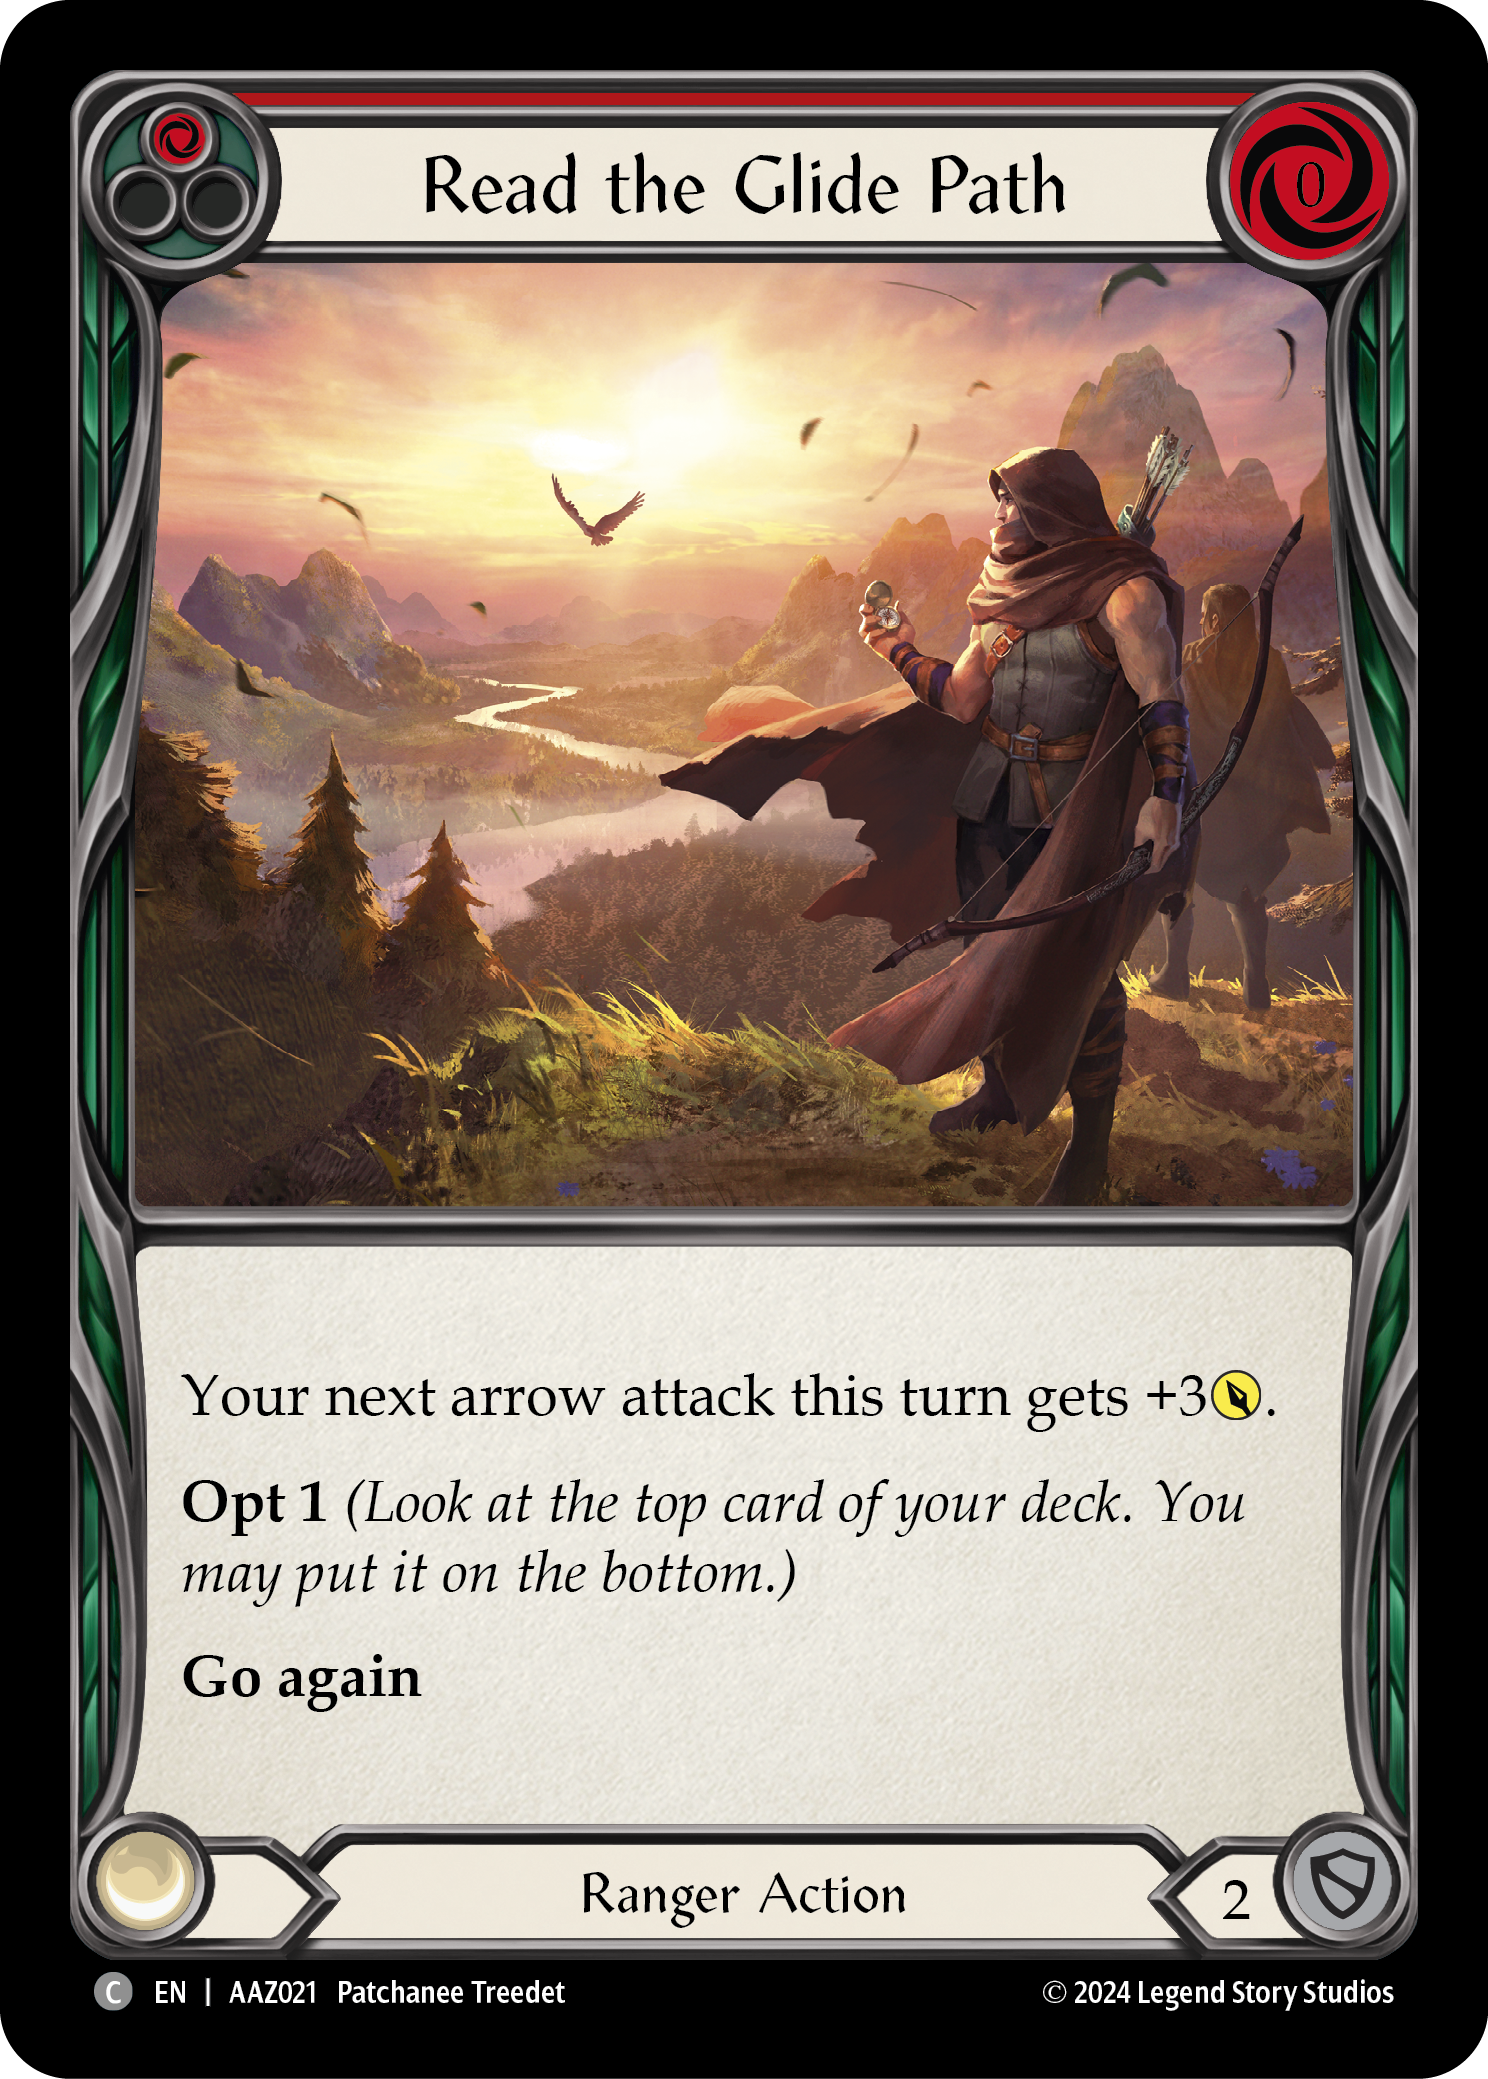
- Read the Glide Path (R)
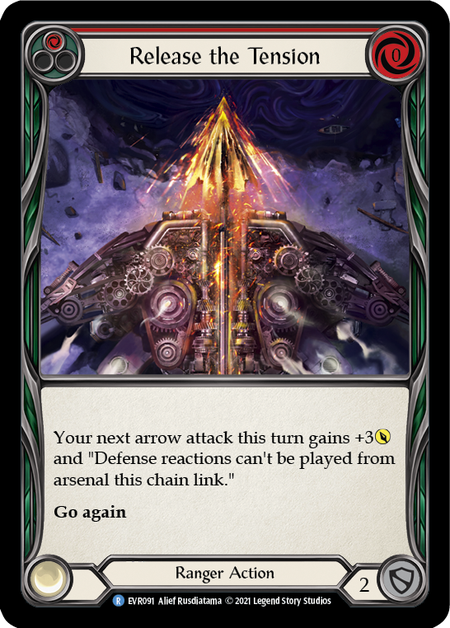
- Release the Tension (R)
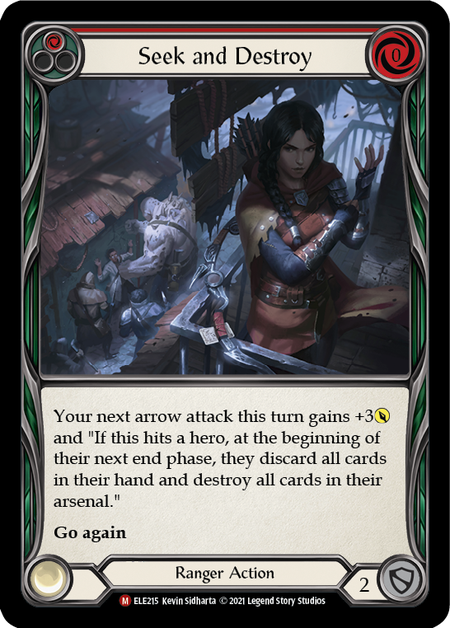
- Seek and Destroy
Our non-attack action buffs are the most precious resource that we have - which means it's relatively okay that, on the whole, they block poorly. We'd much rather see these cards played on the offensive, and when a game runs long, these are what we're likely to run low on. But the inflexibility of these cards means we need to stick to our plan; there's no pivoting to a fatigue strategy.
Buffs are about much more than damage to a Sandscour list: they're about ensuring a hit. As such, you want to figure out what it takes to guarantee you'll deal damage, and as often as you're able to, stop there. Saving a buff in arsenal at the end of your turn sets yourself up for success in your next turn, and ensures you can string together long runs of overbearing disruption rather than scattershot nuisances.
In matchups without heavy equipment and plentiful defense reactions, a single buff to bring a 1-cost arrow to 8 is usually enough. This accounts for a single-card block of 3 and a defense reaction from arsenal for 4. (This is where Azalea's dominate comes in: whenever possible, load an arrow from the top of your deck so they're limited to a single defense from hand, and ensure that your on-hit lands!) As armor has become more generous in the past few years, you may want to spend 2 buffs until they've blocked with anything they can afford to give away; 11 with dominate is more than most decks can handle, though it may leave you low on damage in the late game.
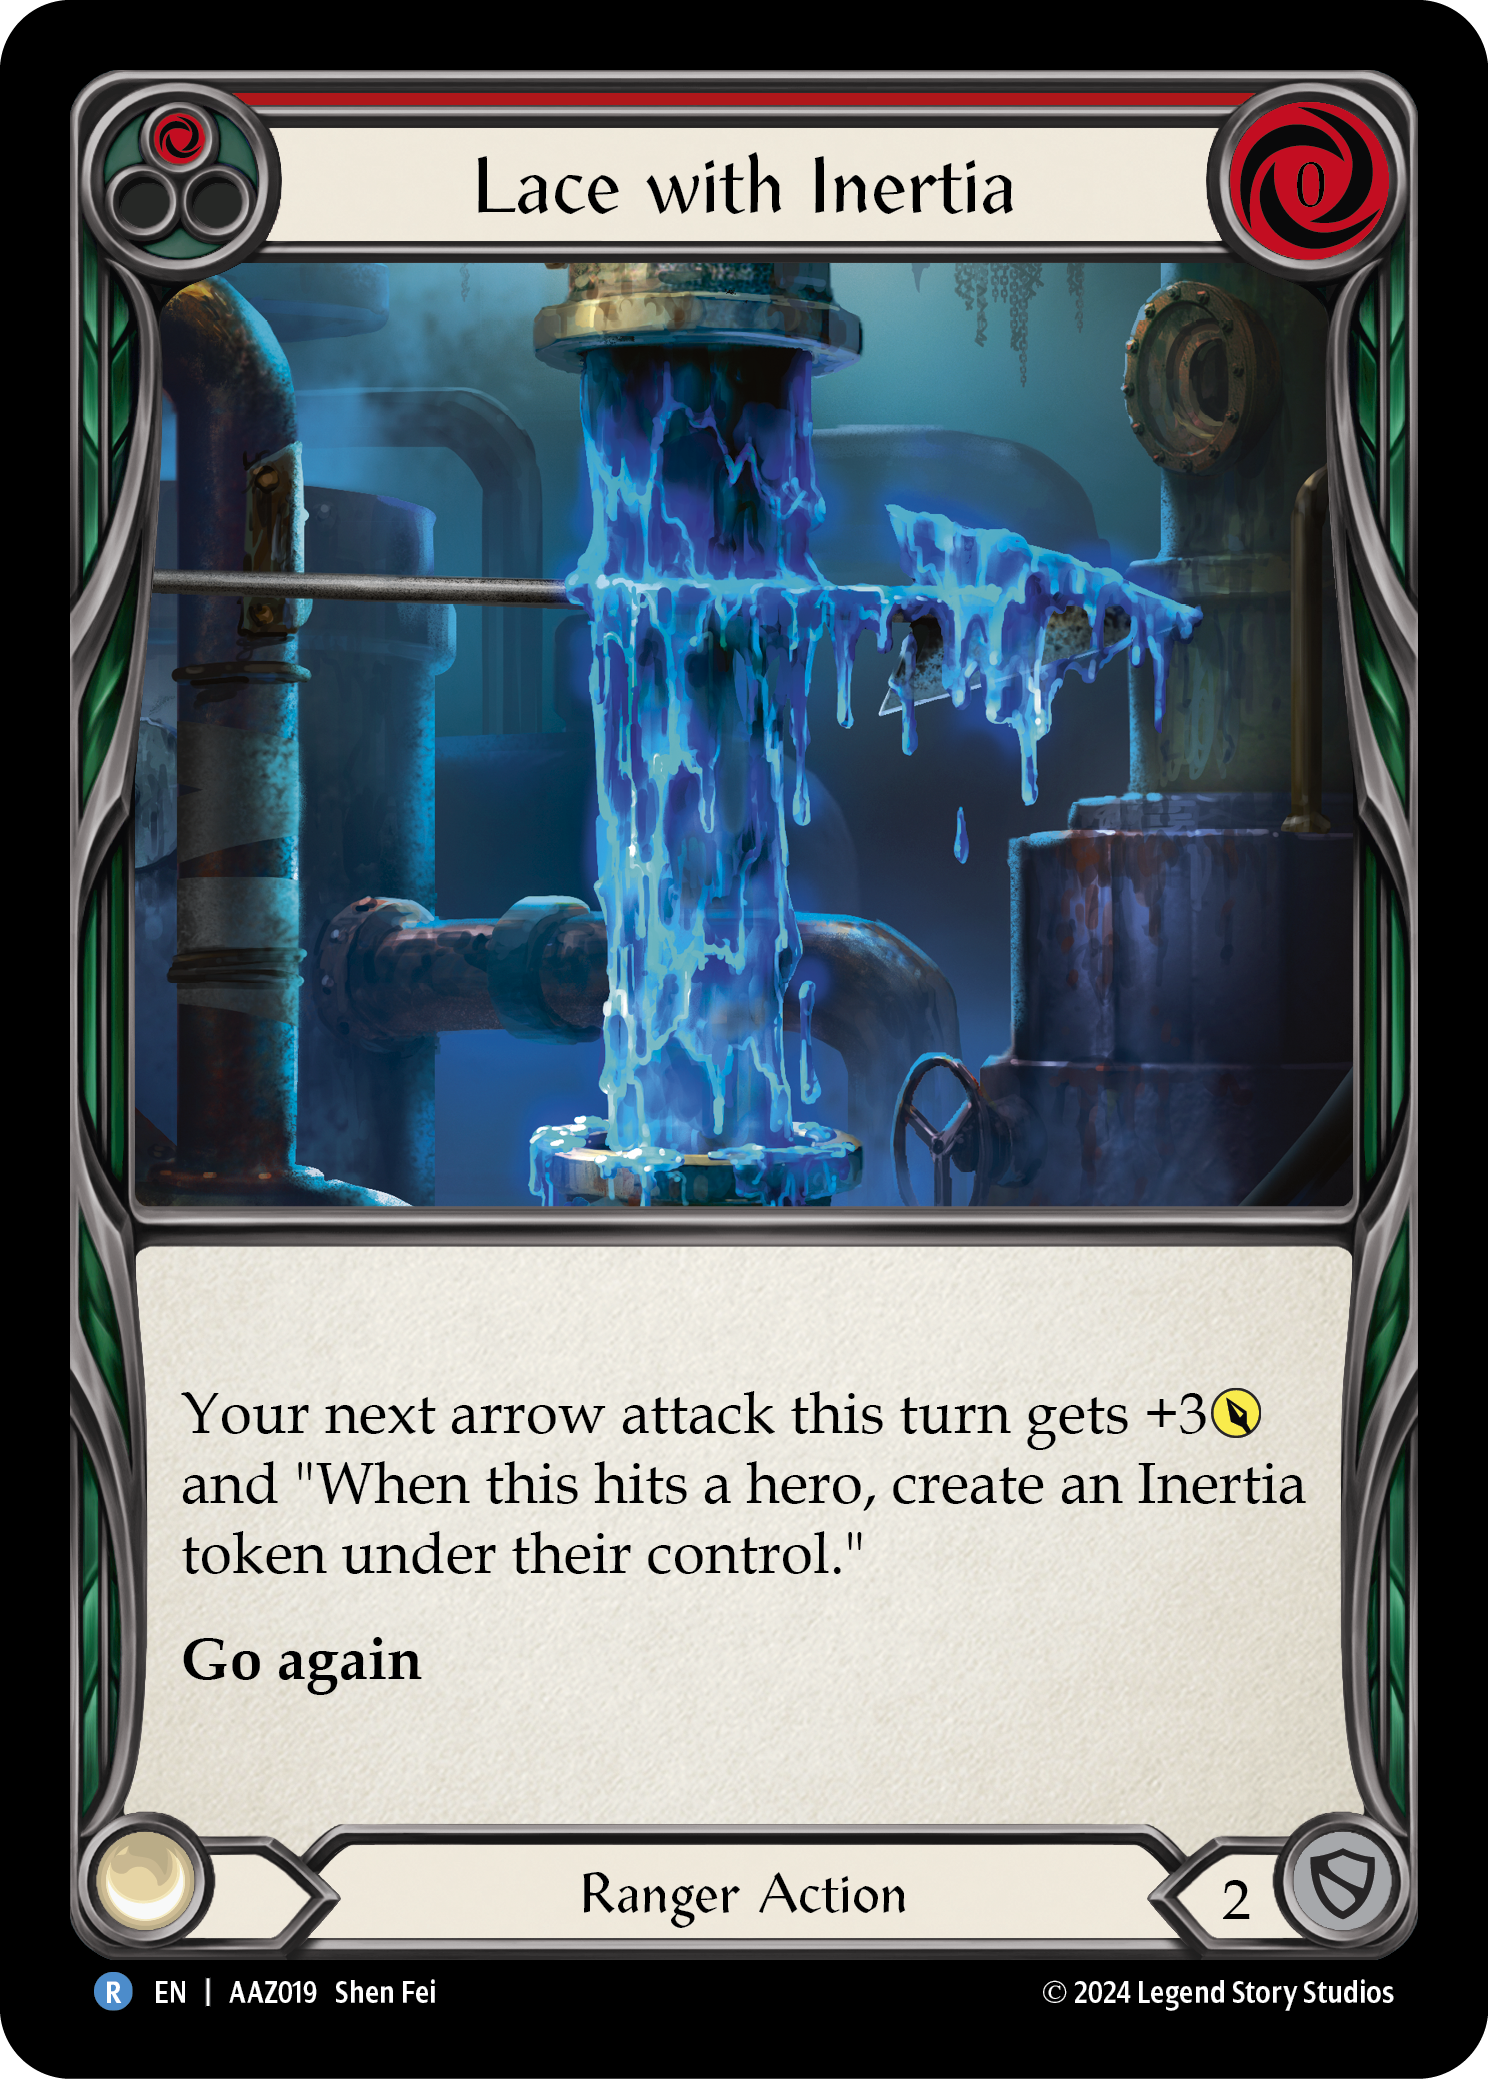
Inertia has a special place in this deck as a second layer of penalty when we've locked our opponent out of their desired turn. Inertia cuts them off from holding any cards - meaning not only did we prevent them from doing what they wanted, we've also interfered with their ability to just store it for the following turn.
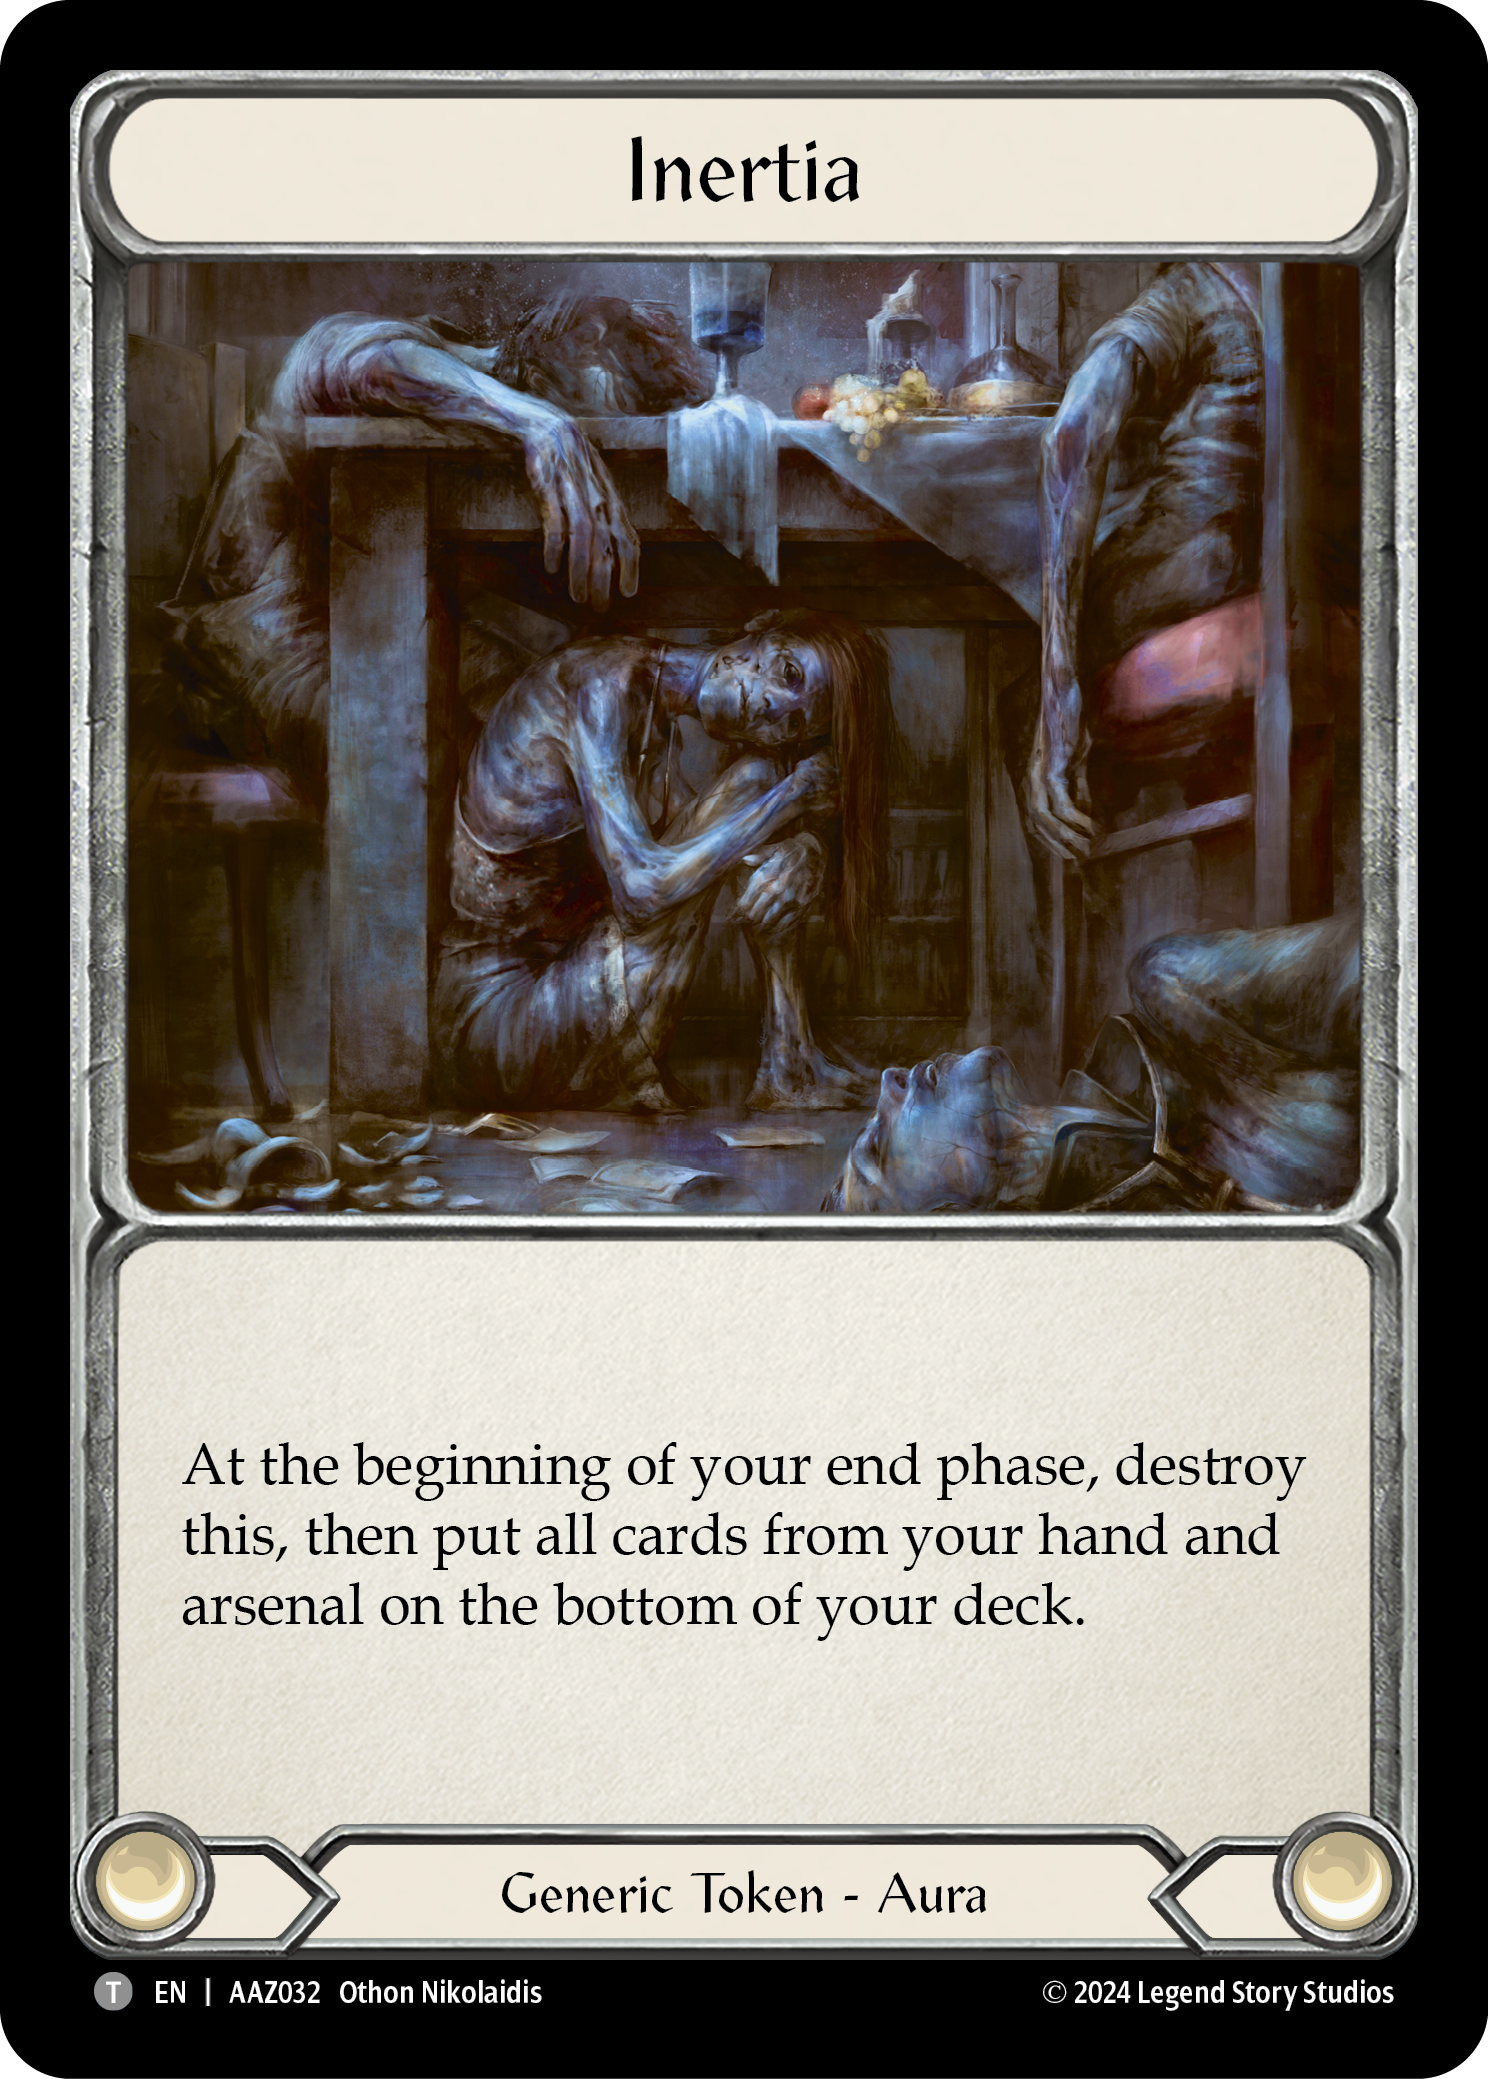
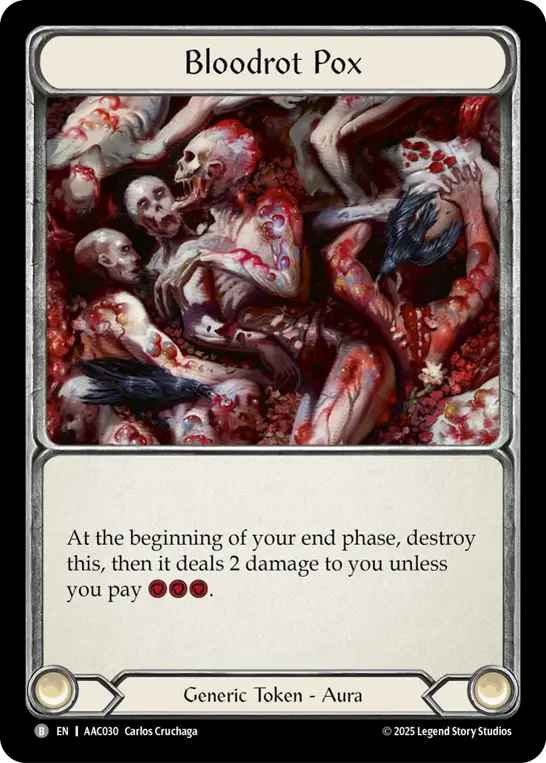
Be careful with how you pile on your tokens, however; when you give your opponent more than one token, such as Inertia and Bloodrot Pox, they can decide the order to resolve them in - giving them no incentive not to pitch anything they have to stop the Bloodrot damage!
When playing an effect that nets you a Ponder token - such as Premeditate, or the Codex of Frailty we mentioned above - be sure that it actually nets you an extra card for your arsenal. Disregard my prior advice about holding back a buff for next turn; these are the turns where you push everything you've got and go for damage! The ideal Ponder turn, of course, would end with nothing in hand and a card face up in arsenal; this sets up our next turn for that fabled 6-card hand.
Sandscour Core: Arrows
- Barbed Undertow
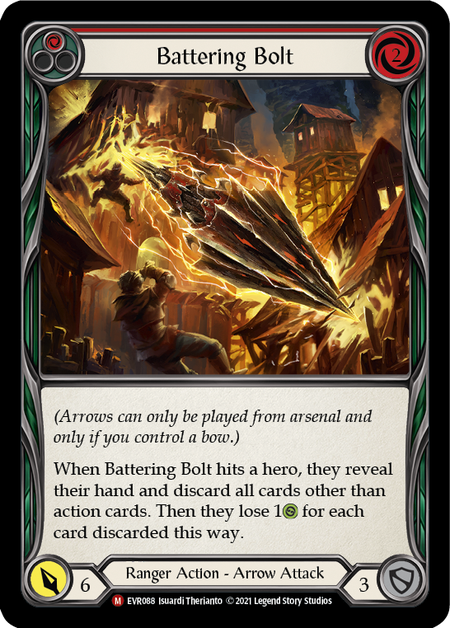
- Battering Bolt
- Heat Seeker
- Judge, Jury, Executioner
- Red in the Ledger
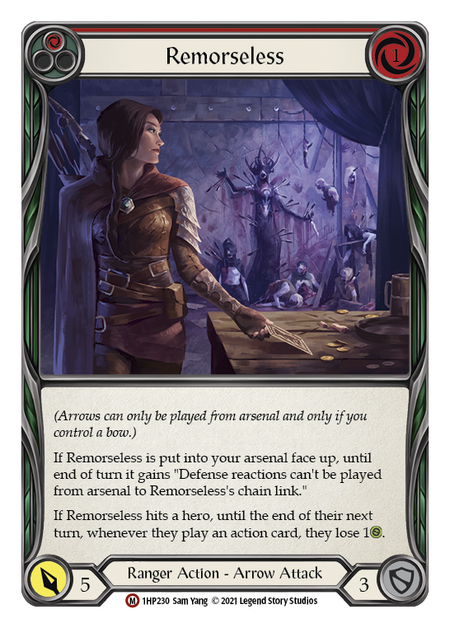
- Remorseless
- Stone Rain
The rest of the core is made up of arrows. This is the primary place for self-expression and reaction to the meta; but even with that being the case, Azalea has a number of arrows so universally potent and generally applicable that it's hard to imagine a Sandscour list without them.
This obviously needs to begin with Red in the Ledger. Azalea's trademark specialization has always been the primary reason to run her over any other Ranger; and while we can bemoan the impact of Warmonger's Diplomacy on Azalea, in the end it's hard to cry foul when we taste our own medicine. It's almost impossible to identify a hero who isn't impacted by a hard limit of 1 action on their turn.
If you ever find yourself asking, "why isn't X arrow also in this deck?", consider that every arrow is competing first and foremost with Red in the Ledger, which we can access 9 times in a single game. In fact, Sandscour Azalea is so focused on firing the best arrow that, if an arrow isn't in the top 4 for any given matchup, it probably shouldn't be there. As we continue discussing arrows, I want you to look through this lens: "When would I fire this instead of Red in the Ledger?"
Judge, Jury, Executioner can be devastating to a particular kind of opponent - and even when it's technically doing nothing more than Red in the Ledger already would, it feels so powerful that you may get an opponent to assess the danger it poses all wrong! JJE is at its best against tall decks like Bravo, or reaction-heavy decks like Dorinthea. This is also, by far, the best deck to utilize it, as we can consistently put an aim counter on it. Feel free to block with this arrow, as having it available in the discard pile for Memorial Ground is about the best way to play it out anyway.
Remorseless has long felt like an Azalea specialization without the hero restriction, but don't get too hung up on its 'bleed' effect: the reason you'll reach for this arrow is to cut off defense reactions from arsenal. Of course, the bleed isn't irrelevant either - and can get a ton of mileage against wide aggro decks. Think carefully before choosing to fire Remorseless if Red in the Ledger is also an option; Remorseless may deal a lot of damage during a long chain of actions, but the latter will simply prevent those actions from ever happening, saving you a lot of pain along the way!
The role of Barbed Undertow is to starve out decks that use a predictable pitch curve - or simply to force your opponent to make inefficient plays. Obviously, calling blue vs. a Guardian or a Mystic hero will essentially shut down their next turn; yellows are required for Prism and Boltyn to even function; and red is likely to reduce options for Draconic heroes and redline builds. But even against more balanced opponents, cutting off blue pitch can ruin this turn while forcing them to hold less efficient cards as they move into their next one. Earth heroes, for example, want to play their reds by paying with their blues; Brutes are much the same. Pair this with Dead Eye, and you can make sure you've chosen the right pitch color to ruin their next turn.
Battering Bolt spent a long time cycling in and out of relevance; but we now live in a Rathe where it's hard to imagine Assassins ever falling out of the meta completely. Between the increase in decks running significant numbers of reactions and the Chi cards of the Mystic talent, there are now several matchups you're likely to encounter that justify this 2-cost arrow. Battering Bolt also breaks from the usual Ranger math and reaches 6, which makes it an important tool against Prism.
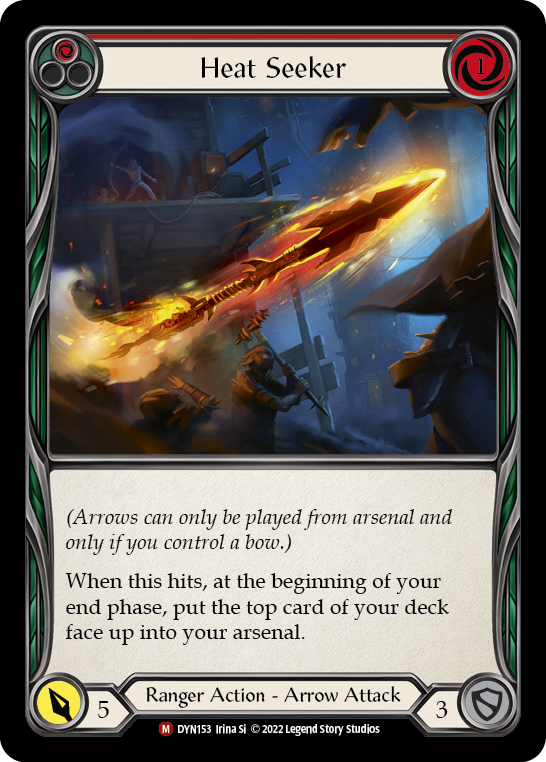
Remember when I mentioned those fabled 6-card hands? Heat Seeker reliably creates those for you by loading the top card of your deck face-up into your arsenal. This synergizes with Sandscour Greatbow, so any arrow it may hit will be aimed and ready to use next turn. Heat Seeker is seldom the arrow you seek out, because Sandscour Azalea needs to keep applying pressure each turn; but as it gives such value to your next turn, it's one you're always happy to fire.
Stone Rain is the sole 0-cost arrow in the core, an important component for those turns where you've got little to work with. It's also the only source of dominate that doesn't require a top-deck flip from Azalea. When you combine Stone Rain with Seek and Destroy, that banished card is already as good as gone.
Variations
To identify the core of the Sandscour Azalea list, I compared similarities between decklists from Jacob Kissel, Justin Salmon, and me. So now let's talk about the differences - what they say about the pilots, the metas they succeed within, and which one might suit you best.
Alex Truell's aim equipment
- Hidden Agenda
- Flight Path
- Sharp Shooters
With the debut of the Azalea Armory Deck, I converted wholeheartedly to the new battleworn equipment, eager to blunt some damage while getting many of the same effects I was already running. Flight Path is a Snapdragon Scalers that we can block with - the prerequisite of an aim counter is relatively effortless for this deck, and with two arsenal slots we often find ourselves with a second attack we could make. Sharp Shooters, similarly, are Bull's Eye Bracers with aim instead of +1 and block instead of AB.
Like everyone else, I keep Bull's Eye Bracers in the sideboard as Ranger Nullrunes. This card could be considered core - as could Longdraw Half-Glove - except that there could definitely be compelling reasons to cut them based on your local meta, and they contribute little to the decks' core function, acting instead as safeguards.
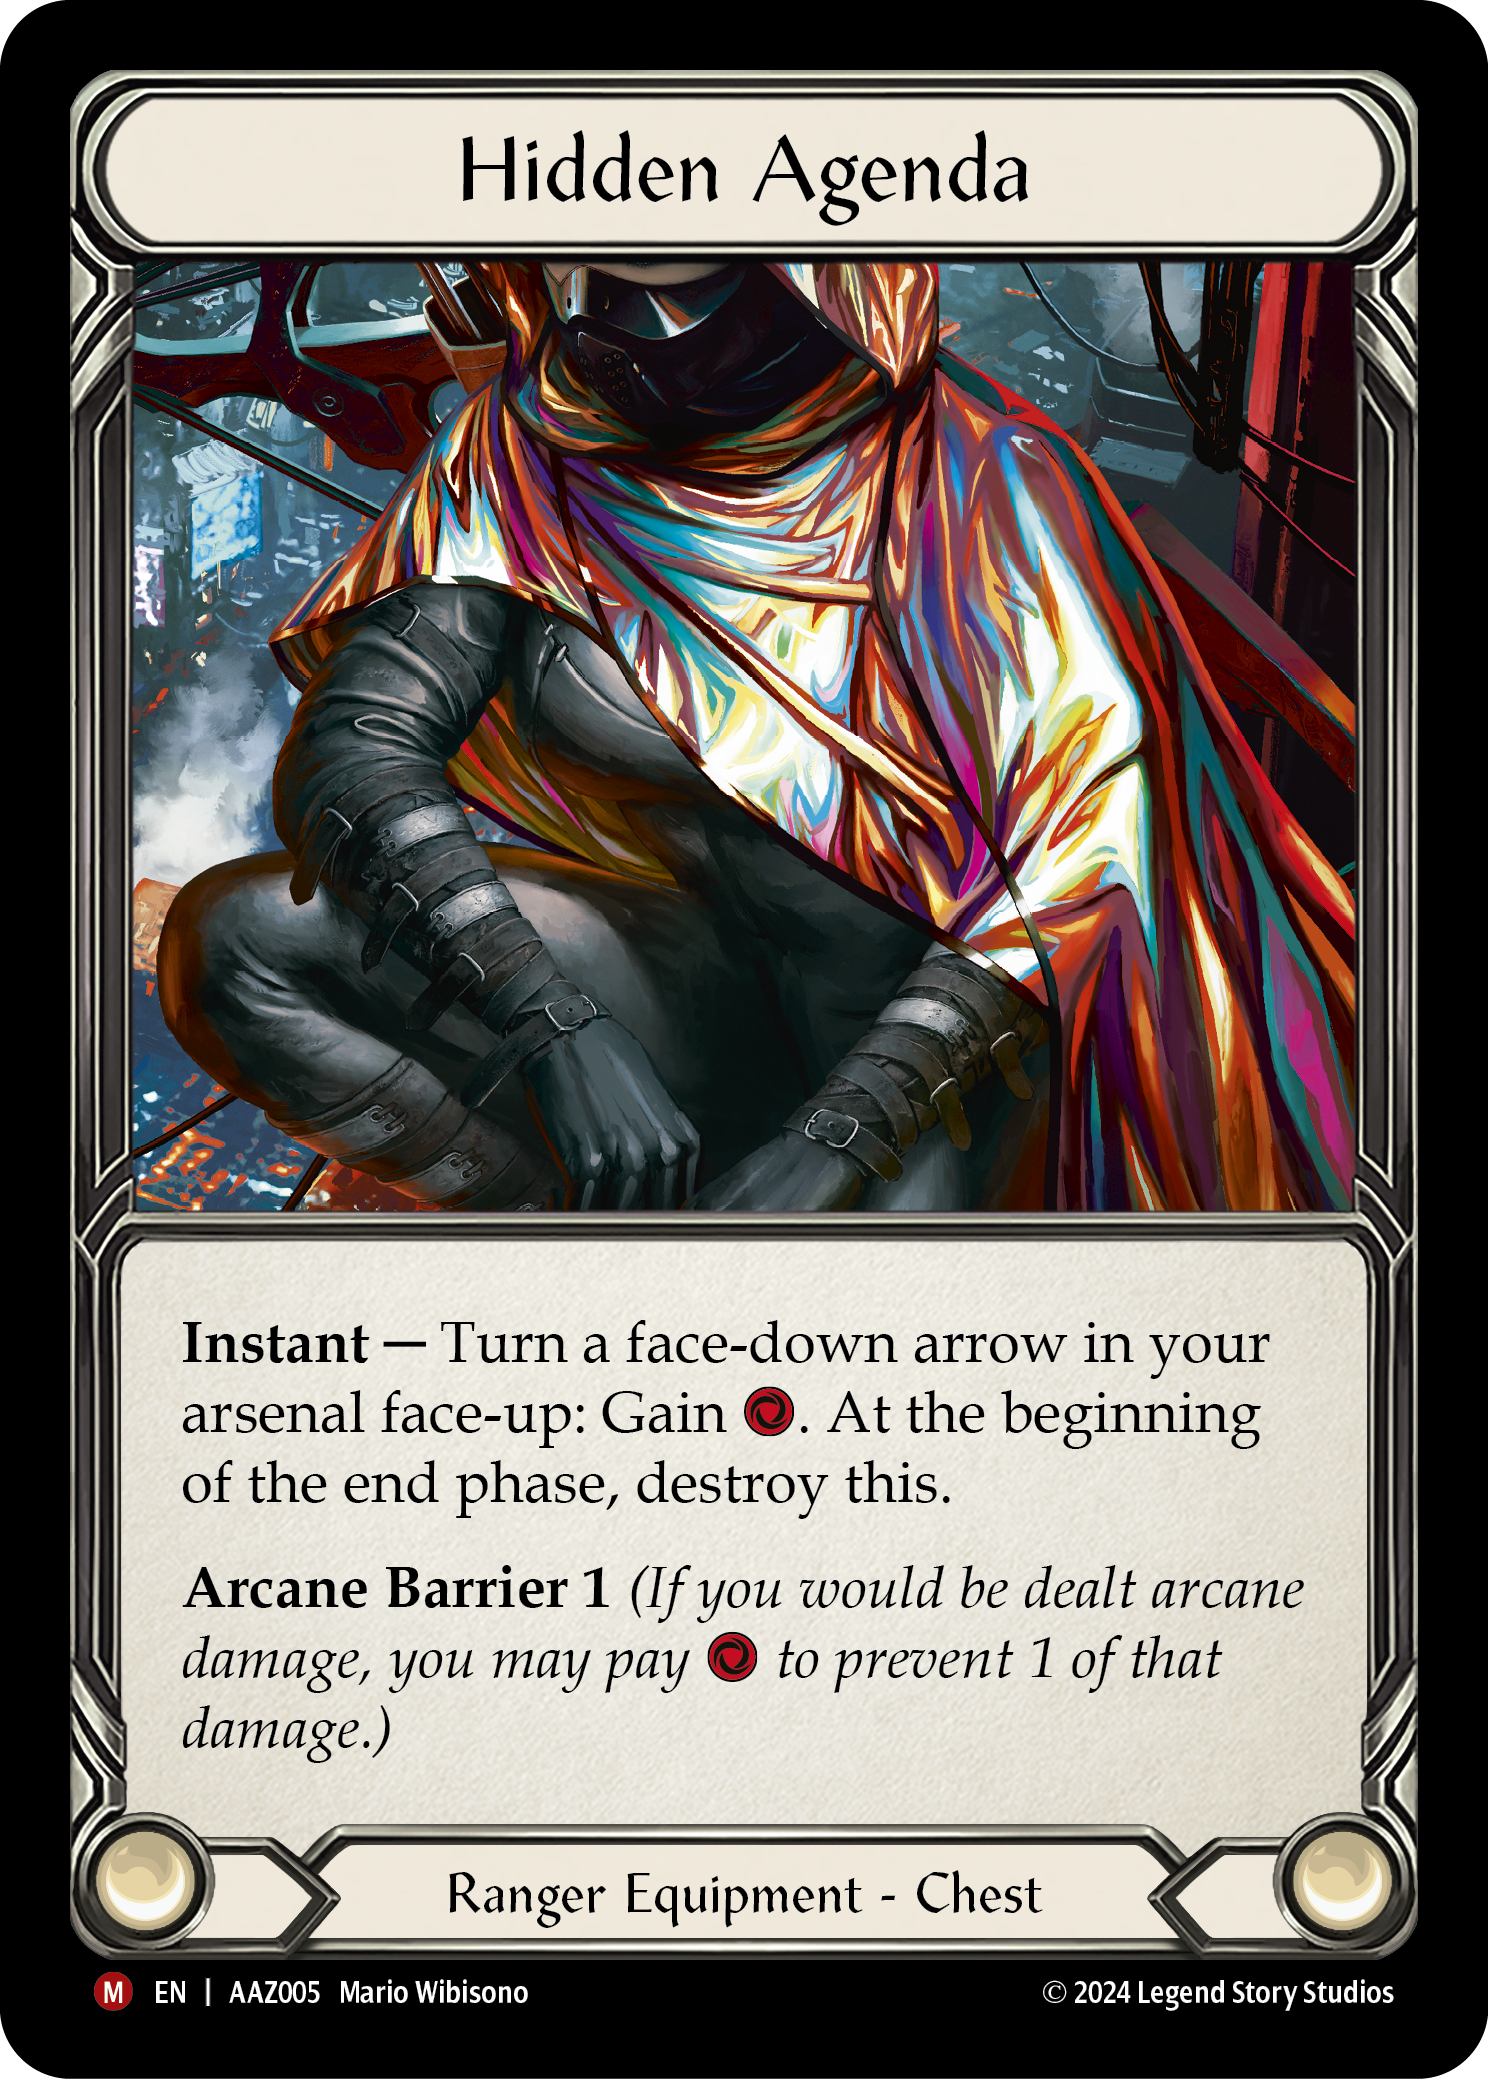
Hidden Agenda is my personal spice, replacing the Fyendal's Spring Tunic found in both Jacob's and Justin's lists. If you've followed my Sandscour writings, you've probably heard my arguments before, and they remain the basis for this decision:
- Both represent insurance policies against our hand coming up short of our needs for the turn.
- We have a fairly generous pitch curve already, and seldom need excess resources to make it work.
- Tunic counters can sit for multiple turns waiting for a hand where I actually need that extra resource - and often when I do use it, the benefit is incremental and I had other options available to me.
- Meanwhile, Hidden Agenda solves an entirely different problem: the facedown arrow, stuck that way either because I put it in arsenal at the end of my last turn or loaded it from Codex of Frailty. We lack ways to turn that card face-up, so the go-to play has been to Azalea that facedown card into a fresh topdeck.
- Hidden Agenda also frees up one more sideboard slot by serving double duty as an Arcane Barrier equipment.
Portland's conventional equipment
- Fyendal's Spring Tunic
- Perch Grapplers
- Nullrune Boots
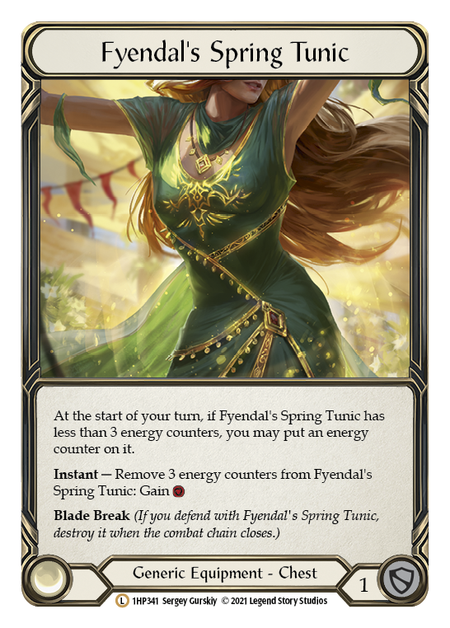
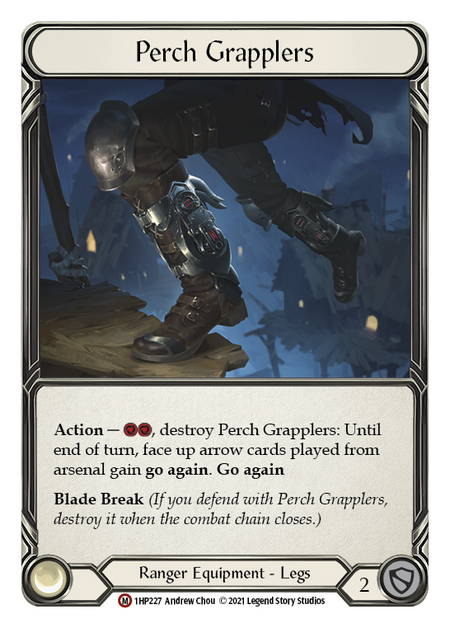
In contrast with my aim-focused combo pieces, both of the Portland-placing Sandscour lists stick with Fyendal's Spring Tunic, and use the boots slot for damage reduction either via Perch Grapplers or Nullrune Boots. (Jacob did run Snapdragon Scalers as a 3rd set of shoes, making this the most flexed equipment slot in the list.) The extra resource from the Tunic has proven useful across a wide range of decks for years now - I don't think a case needs to be made in support of it. While Perch Grapplers are primarily just for the 2 block, there are rare occasions where you might consider breaking them to push a wider turn.
Jacob Kissel's razor package
- Razor Reflex (R)
- Rain Razors

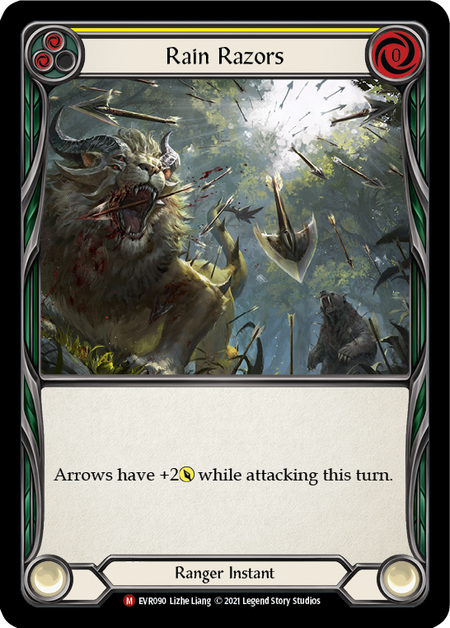
Jacob's personal flair is the inclusion of two reaction-speed buffs, Rain Razors and Razor Reflex. While only including a single copy of each, these add an element of unpredictability to his list that is sorely lacking from the faceup gameplay that Azalea usually follows. Rain Razors can be a fun card to pitch, as the opponent is likely to spend the rest of the game anticipating a +2 climb on any given arrow.
Razor Reflex can represent a massive tempo swing; not only does it add 3 damage to the current attack (which is probably hitting now), but it lets the turn continue with a second arrow. When you consider that Jacob was also using Snapdragon Scalers, a pattern of 'unexpected follow-ups' starts to emerge.
Portland's second book package
- Codex of Inertia OR
- Codex of Bloodrot
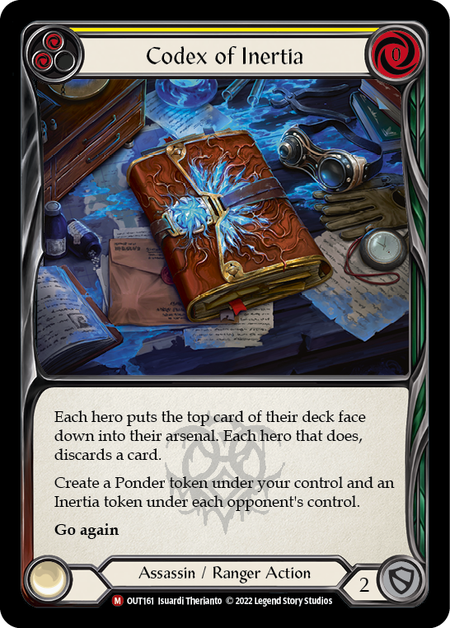

Jacob and Justin don't agree on which Codex should be your second one, but both seem to think it's worth bringing your total Codex count up to 5. Codex of Inertia matches nicely with our topdeck knowledge, and has the potential to randomly ruin the opponent's arsenal with a card meant for pitching. Codex of Bloodrot is another way to put a card from our hand into arsenal; it doesn't force us to discard anything; and it deals out a Bloodrot Pox token, which is just free damage.
The inclusion of Codex of Inertia makes a lot of sense in the era of Mystic heroes. The odds are pretty good you put a resource card into their arsena, especially if you can hold off on playing it until their deck is good and flooded with Inner Chi. Codex of Bloodrot, meanwhile, seems to speak to a more aggressive meta, where the goal is less to make their arsenal inefficient and more to deal damage that's too expensive to avoid.
Justin Salmon's redline wrecker package
- Hamstring Shot (R)
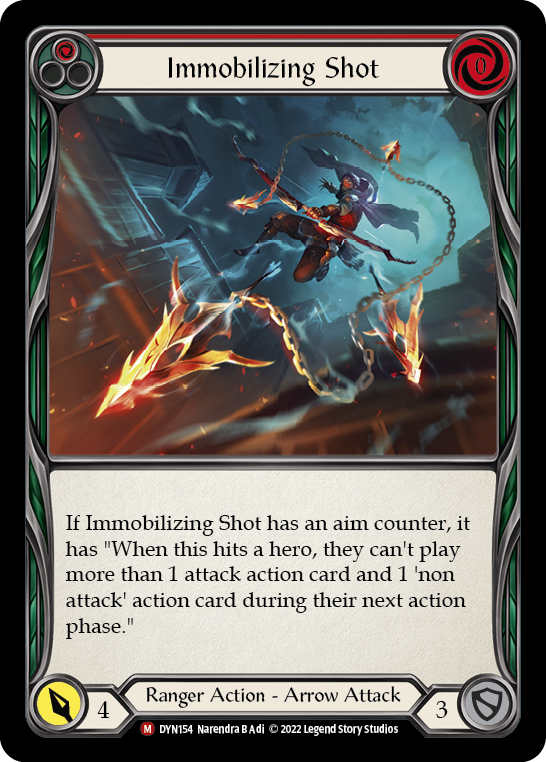
- Immobilizing Shot
- Melting Point


In response to The Hunted's aggro meta, Justin's list made sure to include a number of answers for the dagger-tossing and pitch-dodging of decks like Cindra, Arakni, Fang, Aurora, and Vynnset. Hamstring Shot lets Rangers dip their toes into Icy waters, adding a "+1 resource" to whatever cost the enemy was (or wasn't) going to pay to attack. Immobilizing Shot doubles down on Red in the Ledger, and does so at a different price point - this is another arrow that, if you can get an aim counter onto it, can be played out from a limited hand.
Melting Point may seem less relevant now with so many ways for dagger-wielding heroes to retrieve their weapons, but this one is all about timing. If that dagger isn't there when their sequencing requires it, the whole turn can falter. Even without the weapon-melting on-hit, this is still a rare +4 for the deck. As a bonus, Melting Point is one of the rare buffs that blocks for 3, giving you another use for the card when needed.
Feel free to incorporate part of all of this package as you see fit; while these 3 elements all come together in Justin's list, parts of it are present in Jacob's and mine as well.
Jacob Kissel's bonus blues package
- Eye of Ophidia
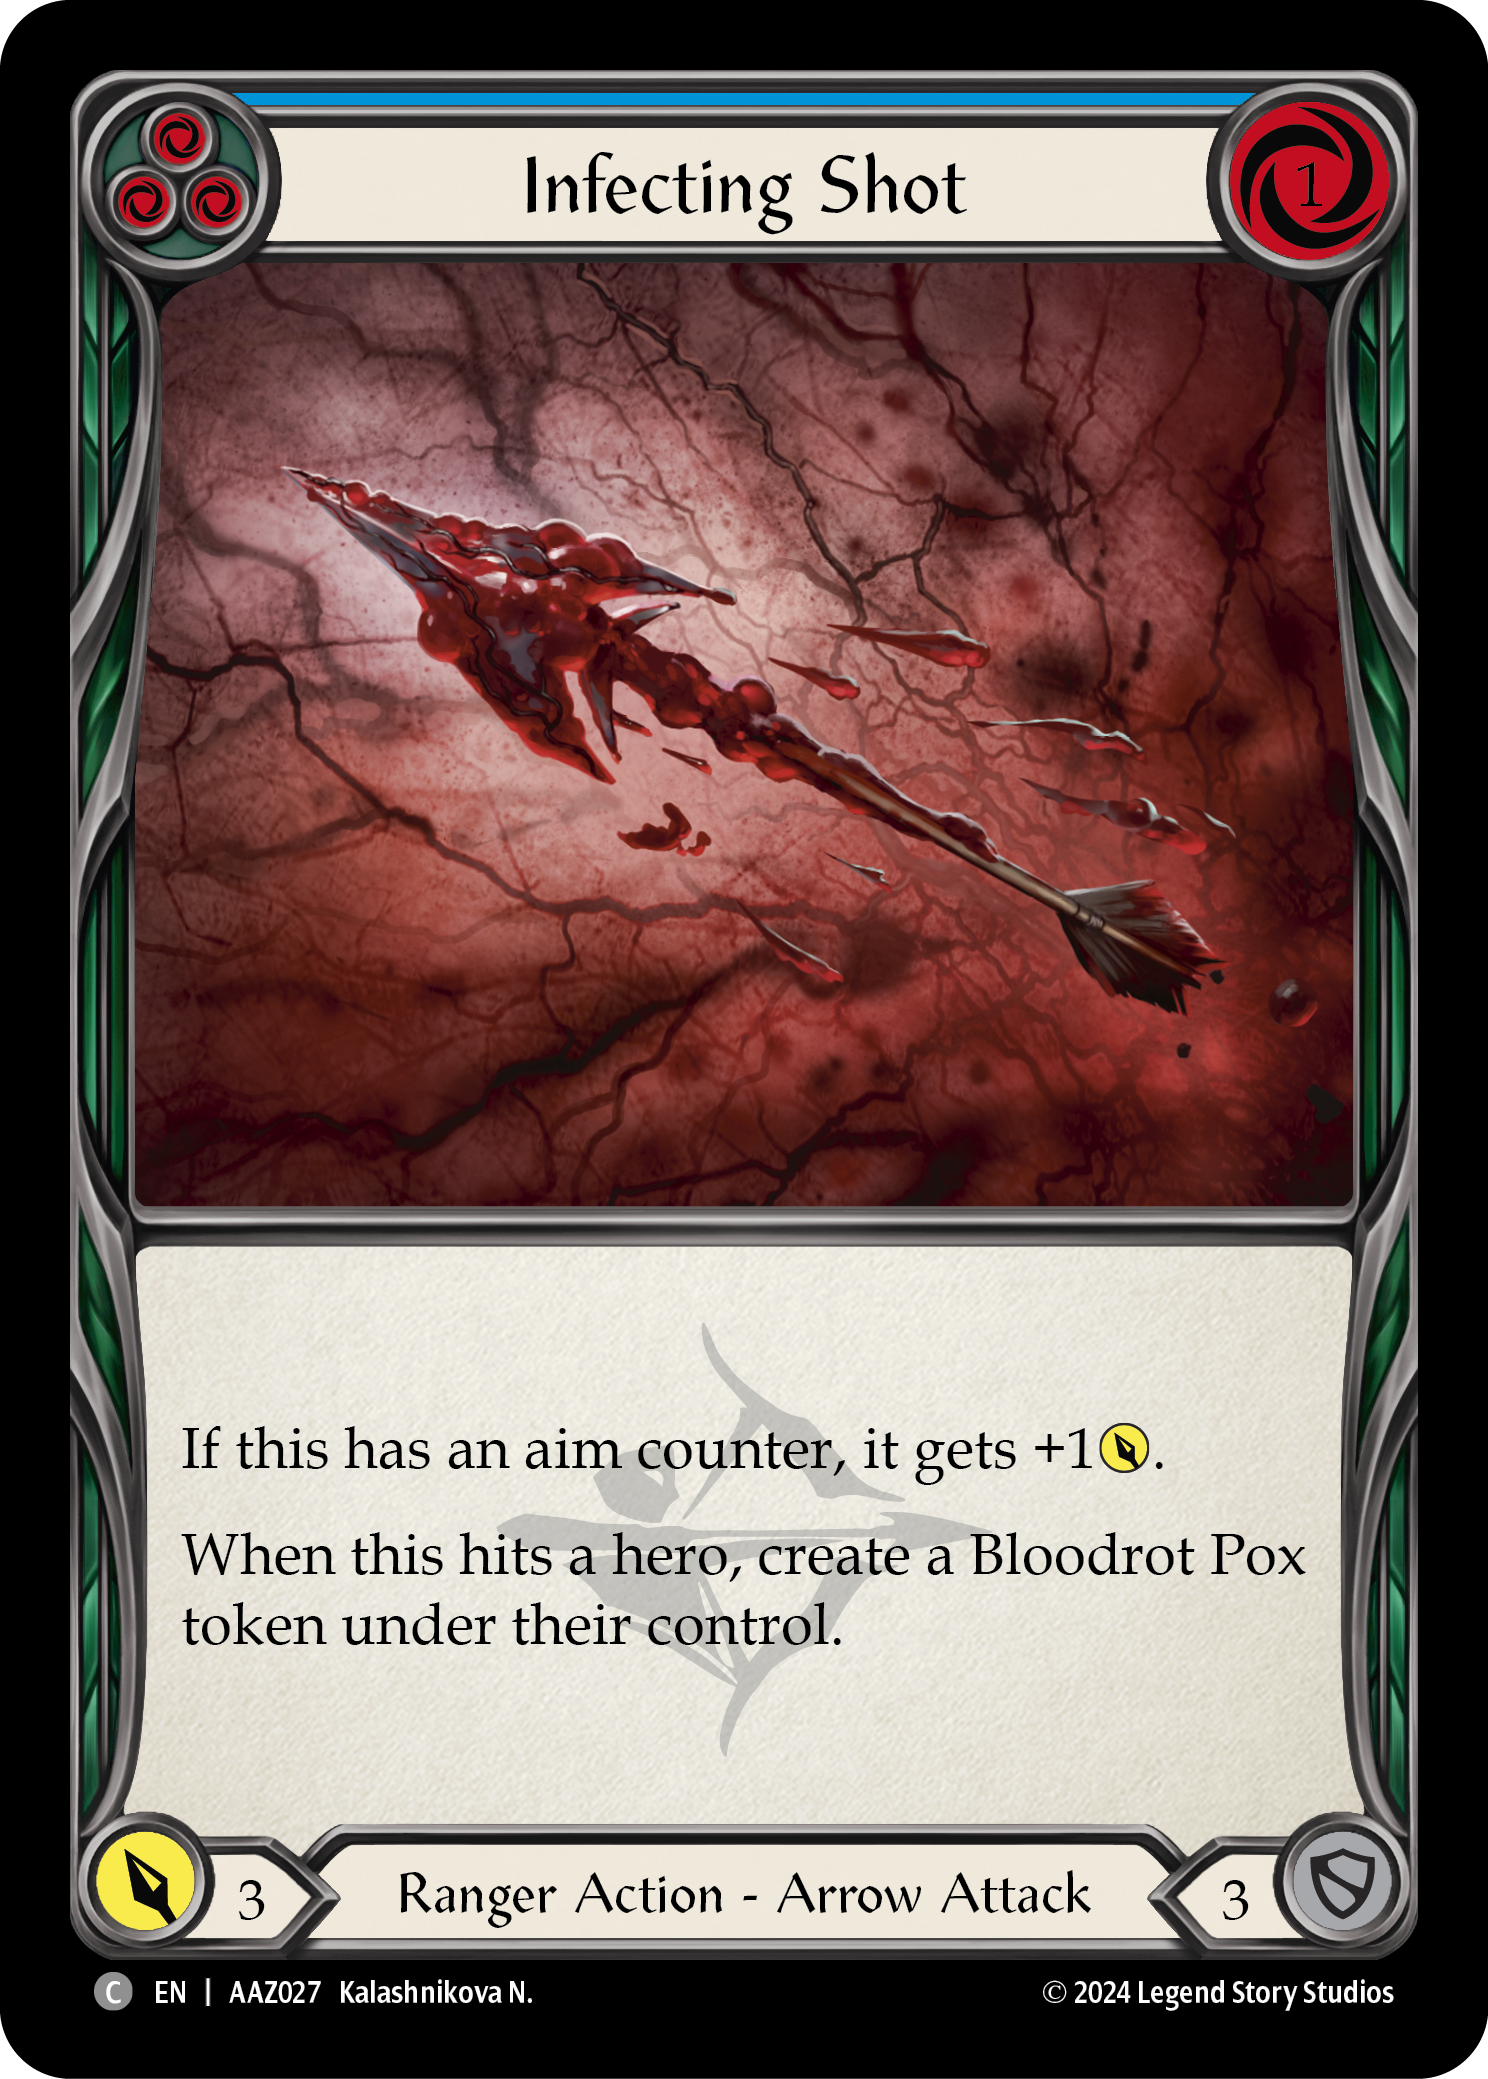
- Infecting Shot (B)
- Murkmire Grapnel (B)
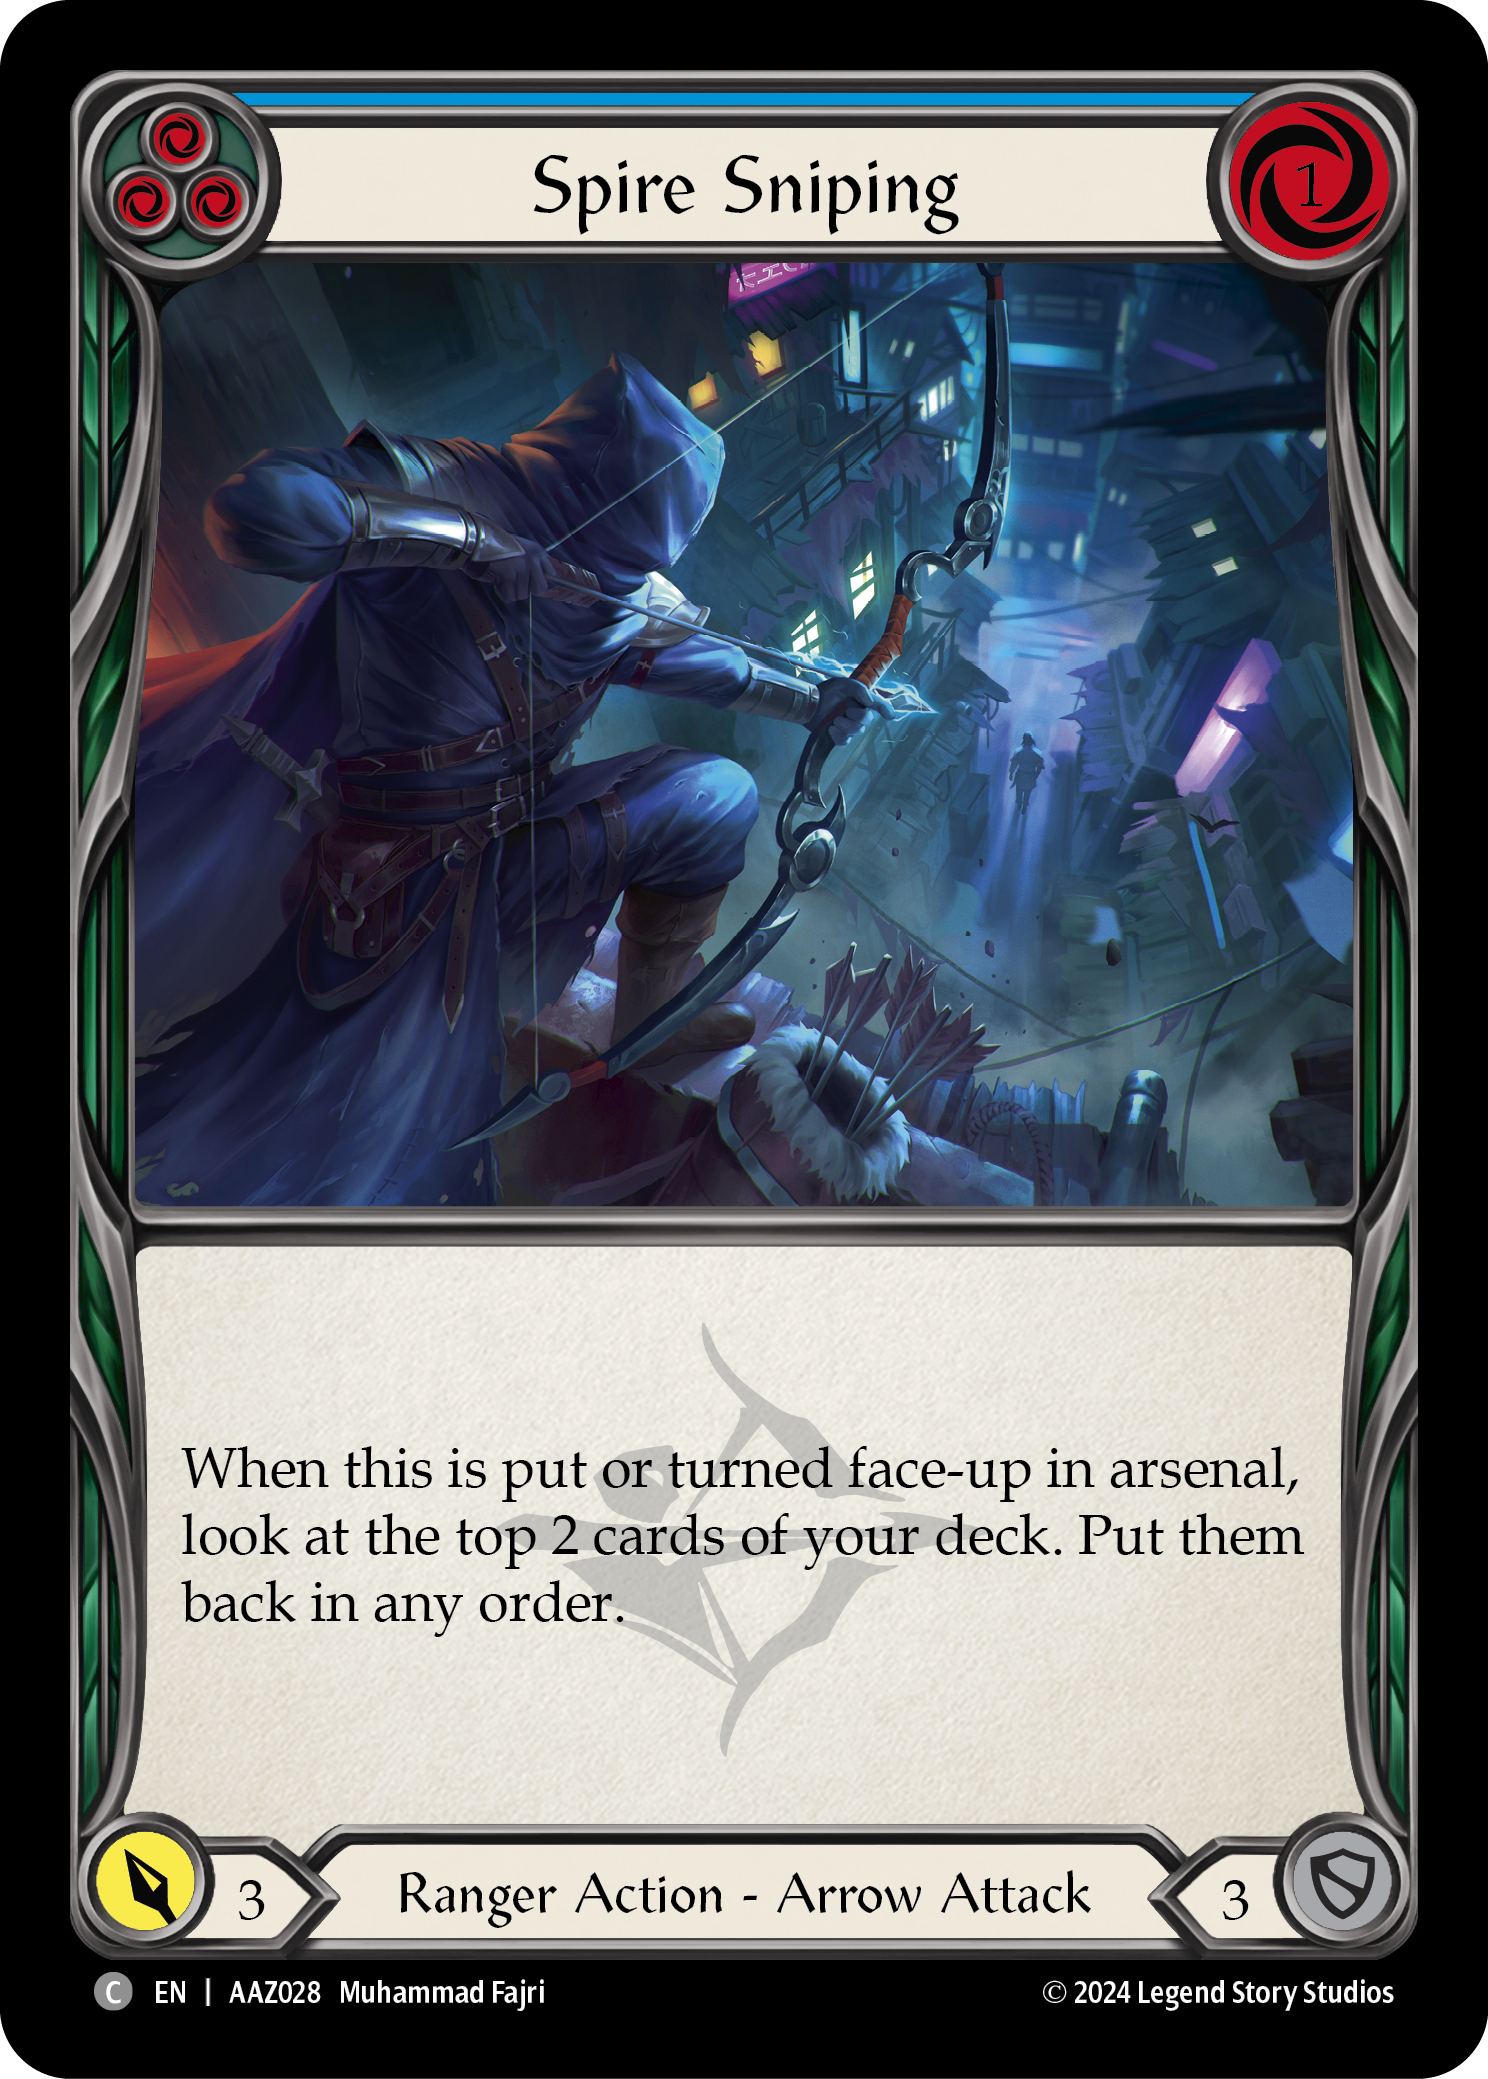
- Spire Sniping (B)
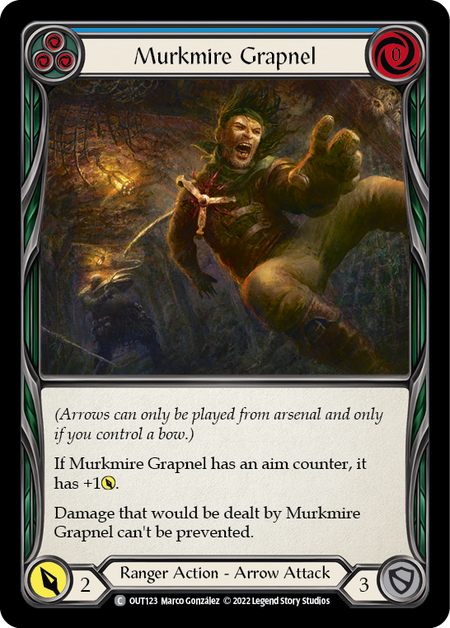
The blue count for a Sandscour list tends to sit at about 9, beginning with 3 Nocks and adding in 6 blue arrows. (Eye of Ophidia can make the list too, if you happen to own one.) But Jacob decided to invest a little more heavily in the top end of his pitch curve, landing on 12. (It's likely he's not running all 12 of these in any given game, as 3 are Murkmire Grapnels - a card he's already running 3 of in red - presumably to target Enigma.)
Spire Sniping is a popular choice for a blue arrow, as its primary role throughout the game is to be loaded in to scout the top of the deck, then replaced by Azalea's hero ability. The main case against it is that it's a fairly bad arrow to ever have to shoot, and while it can look at the top 2 of the deck, it can't do anything other than swap their places relative to each other; and Sandscour Greatbow probably showed you one of those 2 already. How often will digging 1 card deeper solve your problems? That's something you'll want to consider.
Infecting Shot (B) is another card that didn't get included in the Core segment simply because it could become another blue arrow in response to a meta shift - but as it's a blue 1-for-4 with an aim counter and deals another 2 via Bloodrot Pox, it's hard to imagine not using it.
Alex Truell's Prismatic Leyline package
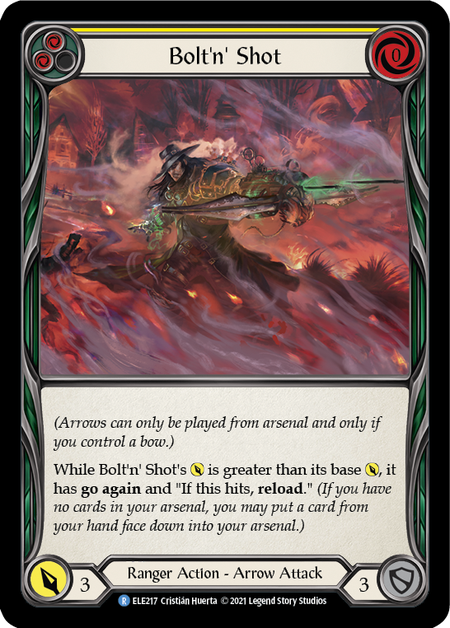
- Bolt'n' Shot (Y)
- Prismatic Leyline
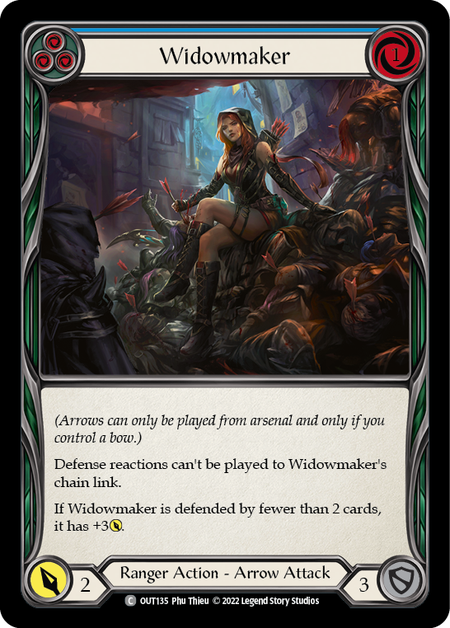
- Widowmaker (B)

Having found myself struggling with the late game, I took to including a Prismatic Leyline package with the intent of pitching these cards in the first cycle, then bringing them out in the late game when they're more impactful. Prismatic Leyline is, itself, a fantastic card because it serves 3 roles at different stages of the game:
- The first time you draw Prismatic Leyline, it's a pitch card, giving you enough resources to run your turn and cycling to the bottom with the rest of your blues and yellows.
- In the mid-game, Leyline can block for 3 - you probably won't get back to it to make it worth pitching.
- Late game, Leyline is likely to come up with blue and yellow arrows you've pitched away earlier in the game, and now it's lending those cards a full +3, having gotten above-rate pitch values earlier in the game while compromising nothing later.
To make the most of Leyline, I include 3 Bolt'n' Shot (Y) and 3 Widowmaker (B), along with the 3 Infecting Shot (B) that all of us run. Widowmaker deserves a special shout-out here. An inclusion suggested to me by Discord user sudonotpseudo, Widowmaker has many of the same goals as Prismatic Leyline: serve as a solid pitch card early in the game, and compromise nothing late-game, when it's likely to get away with its full damage potential. A Widowmaker with a Leyline buff is a 1-for-8 that can't be blocked with a defense reaction; and while the final line of text can bring it back down to earth, odds are your opponent has spent their equipment blocks already trying to get out from under your dominated on-hits all game.
We all sort of agree on this meta-of-the-moment package
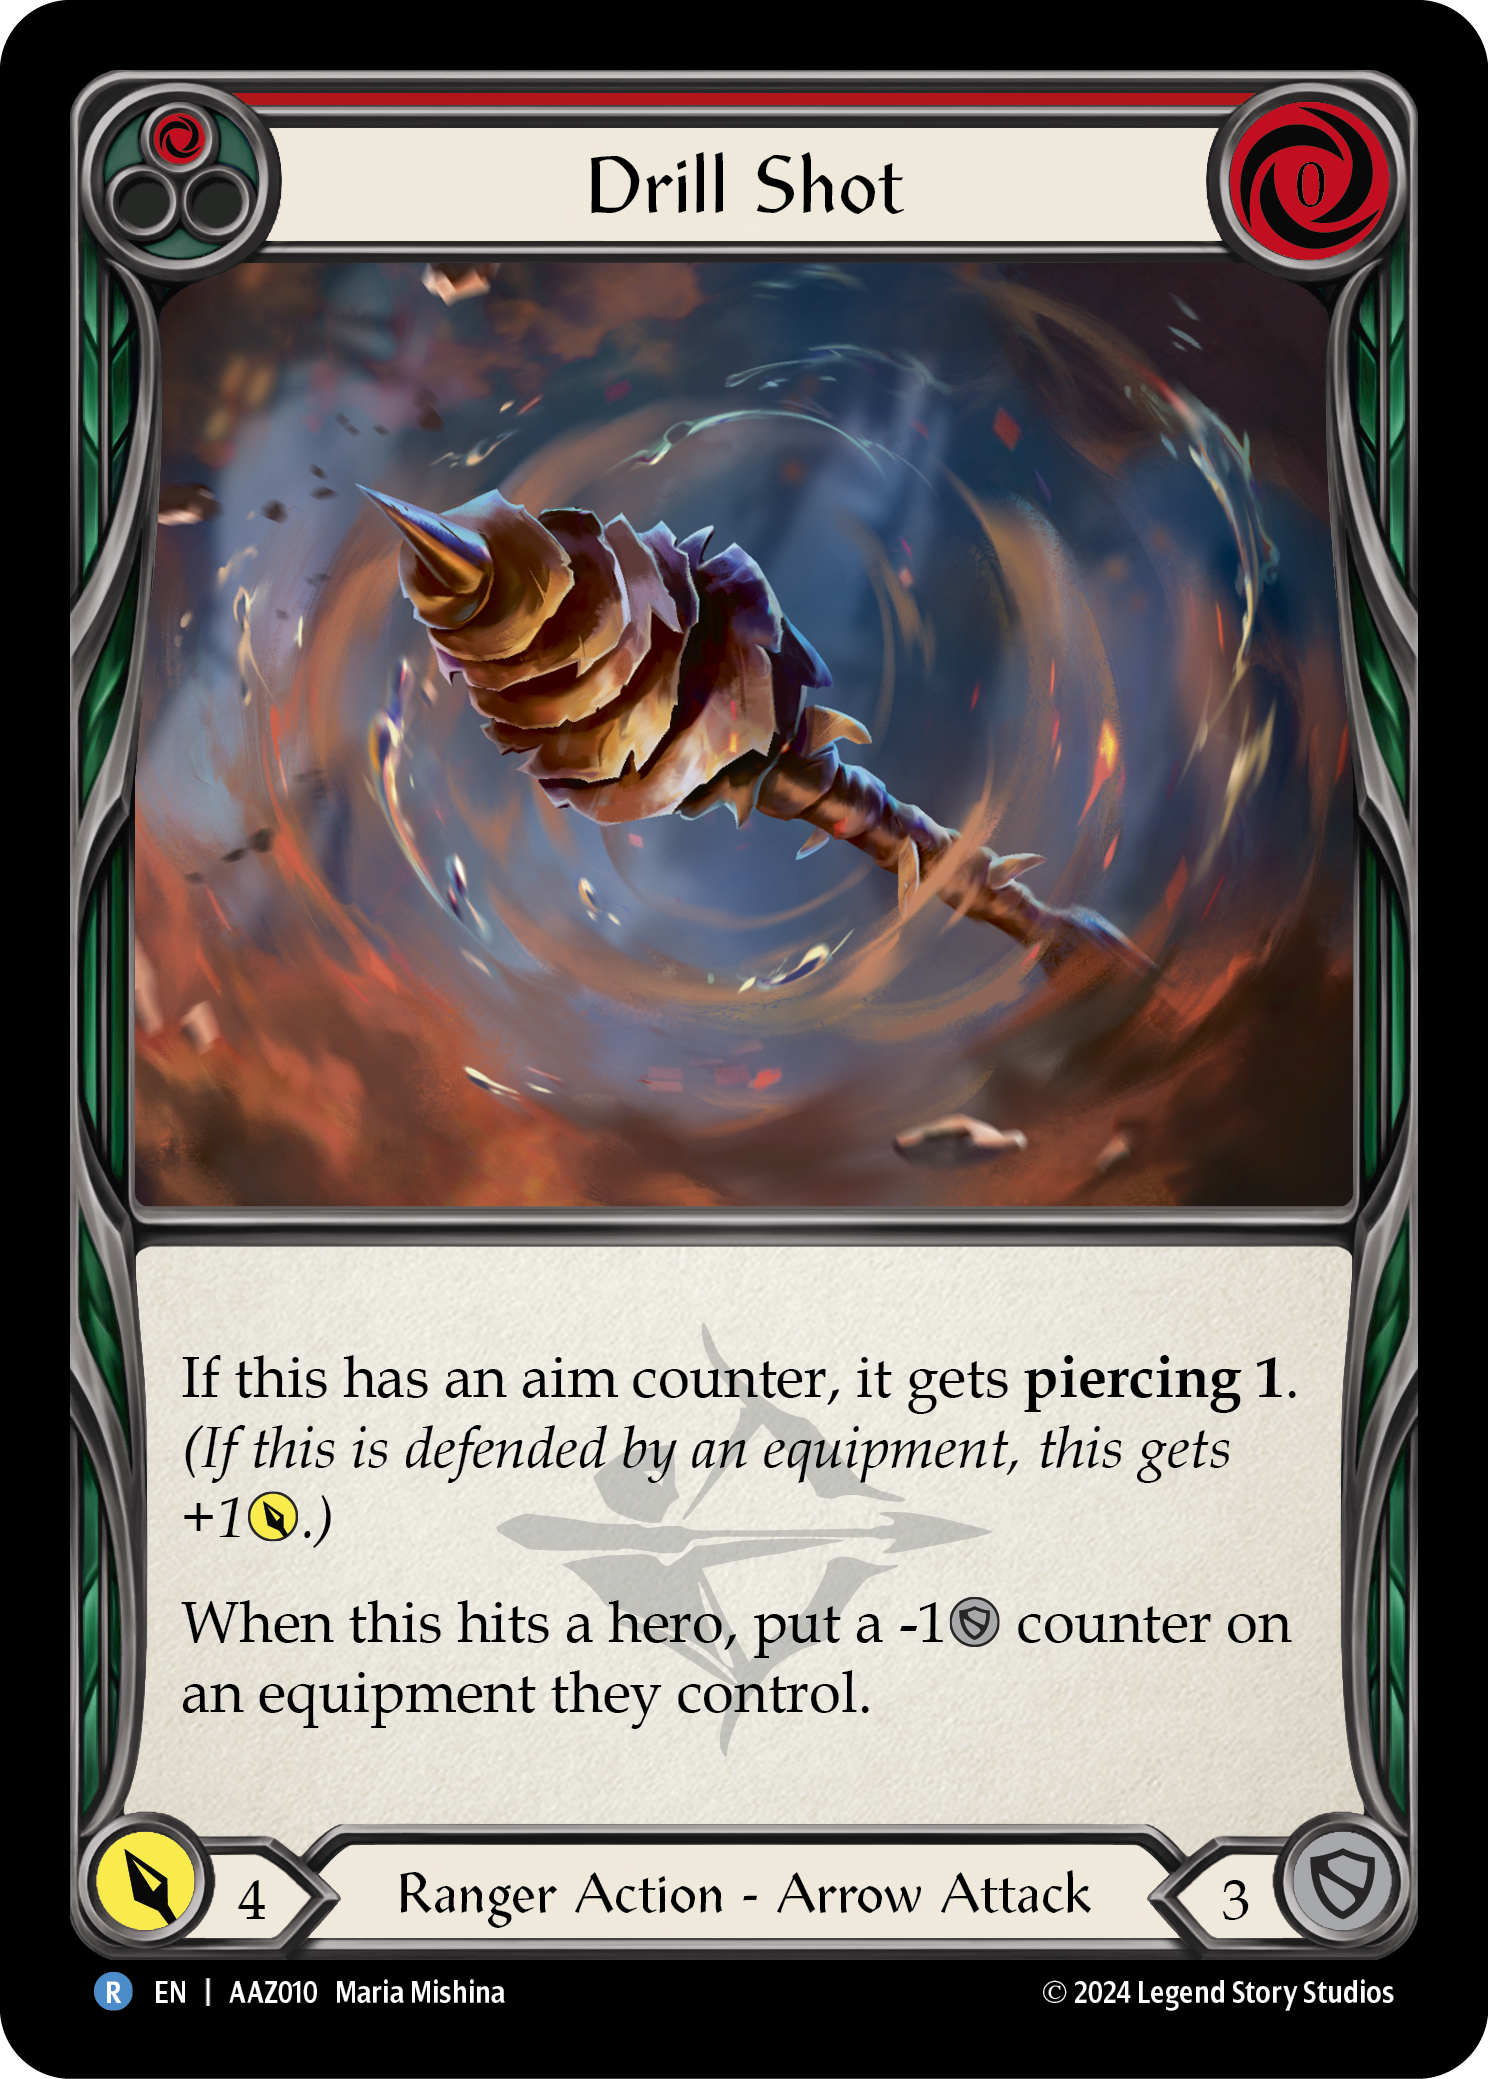
- Drill Shot (R)
- Fate Foreseen (R)
- Infecting Shot (R)
- Murkmire Grapnel (R)
- Shelter from the Storm
While the specifics and the quantities aren't the same across our decks, these cards all play a role - or have in recent versions of our builds - that answer the modern meta. Again, this is a space for you to express yourself and adjust to your local scene.
Drill Shot (R) answers the rising problem of increased armor on equipment. It's also a 0-cost arrow, which are important for us to have a certain number of available for those moments where we can find an arrow, but maybe can't pay for it. Drill Shot's need for an aim counter is truly secondary to its main use, making it a flexible arrow that asks nothing of us.
Infecting Shot (R) is just straight-up damage to the max. Clocking in at an impressive 6 with an aim counter on it, its Bloodrot Pox adds another 2 should it hit. That's a 1-for-8 before we've even buffed it. This is the kind of arrow you might reach for when you're playing a late-game Memorial Ground; as they say, sometimes the best on-hit is damage.
Murkmire Grapnel (R) achieves an impressive 0-for-5 is you can get an aim counter on it, and the passive effect canceling damage prevention can one-shot an entire board of ward. Until Illusionists have moved on past prevention effects, this one's staying in the lists.
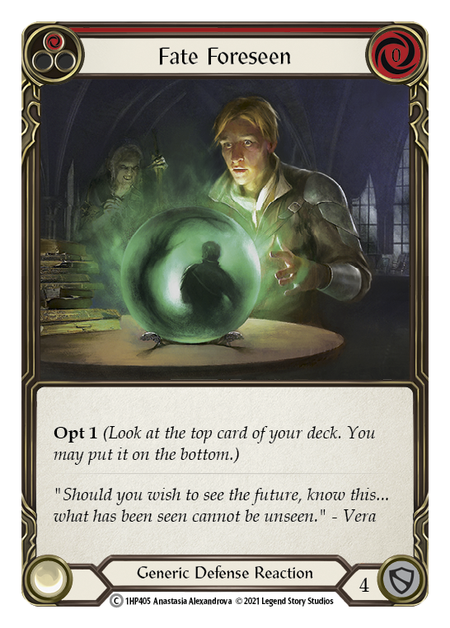
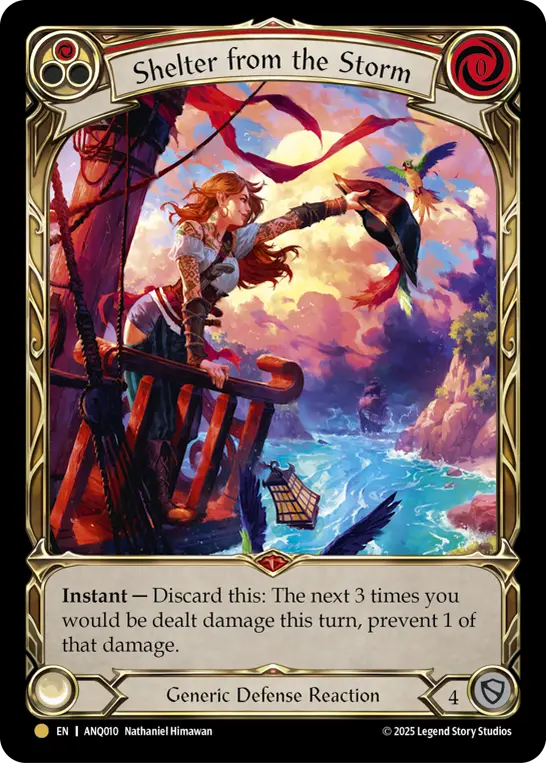
If you choose to include any defense reactions - until recently, I never did - you'll be looking at one of these two. Fate Foreseen (R) has obvious applications as it modifies the top of your deck. Shelter from the Storm may be an 'of the moment' choice, in the end, as its primary advantage over Fate is providing an answer to daggers, direct damage, and runechants. Of course, if we're being realistic, the primary reason for choosing Fate over Shelter may be financial.
To summarize, here are the decklists I've just compared - they were linked earlier in the article, but as we've just wrapped up on them, here they are once more.
Matchups
Before we get into the specifics, there are a few general considerations while modifying your deck and sideboarding.
First, I will be presenting mostly general advice on sideboarding that applies to all SSGB builds. However, when I feel there's something more specific to note - such as when a match is likely to include elements of fatigue, and thus is ideally suited to my Leyline package - I'm going to call that out. At the end of the day, I can't speak for anyone's list but my own, so I won't be going into where, say, Justin might lean into his redline busters, and what he'd adjust to make that happen. (Thankfully these players are fairly public with their thoughts, and you should be able to find those recommendations in other places.)
The ratios of the deck are pretty important to maintain. We begin with 9 tech cards - Nock, Memorial, and Codex - which leaves us with 51 cards in the matchups where we present 60. (This is a deck where you may want to present more than 60 for some opponents.) The shorthand of 25 buffs/25 arrows is a fine place to start. You should critically examine any sideboarding that drops you below 22 buffs; but when going above 60, it's okay to see your arrow count creep up, as those extra cards are usually for blocking in longer games.
My personal preference for a reactive deck like Azalea (by which I mean a deck that responds to what the opponent is doing, rather than setting the terms of engagement on its own) is to play an additive sideboard. That means I have a base deck and add cards for every matchup based on who I'm facing. Currently, my base is 45 cards, meaning I add 15+ at the start of every game. The base tends to be made up of 3-ofs, while my sideboard contains a lot of 2-ofs, especially when it comes to arrows. (Because we're so good at finding and recurring arrows, 2 copies of these 'matchup-specific' arrows tends to be plenty.)
If you want an incredibly detailed sideboarding guide, I've done one up in Google Sheets for my Prismatic Leyline build. While I've put a lot of time into it, I encourage you to trust your instinct - if it feels right to include something or exclude something else, by all means defy the sideboard guide! I do it all the time.
Finally, a psychological consideration for sideboarding: while you're going through your cards at the start of the match, keep hidden anything that might tell your opponent you're on Sandscour and not Death Dealer! That means don't leave any cards faceup as you adjust your list; keep any tokens, including aim counters, in the box; and for God's sake, don't sleeve your deck with custom art showing Azalea holding the Greatbow! (Guilty...)
Assassins
- There are two distinct types of Assassin we need to prepare for: Fatigue Assassins (Nuu, Huntsman) and Aggro Assassins (Marionette, 5lp3d, Uzuri).
- Vs. Fatigue, we need to fatdeck. They will take cards from us, and it will become problematic. I run 64 into Huntsman, and into Nuu I run 68. Don't be afraid to drop a handful of cards onto a key attack from Nuu; if she gets to banish all copies of Red in the Ledger, for example, your day is just ruined.
- Vs. Aggro, disruption is your top priority, especially disruption of the hand and/or pitch costs. If you can get a Melting Point to connect and steal one of their daggers, it can make a big difference.
- Even so, I consider Assassins to be on the unfavorable list - they require careful play, and you really can't miss your chained disruption.
- Key Arrows: Barbed Undertow (Nuu), Battering Bolt, Judge, Jury, Executioner, Red in the Ledger (Aggro + Nuu)
Brutes
- Kayo, Levia, and Rhinar all have similar strengths and weaknesses, and our sideboarding into the three of them is identical.
- Disruption on repeat is absolutely brutal to these three. Don't tank hits when you don't need to, but always consider that, if an attack is 'just numbers', you're likely to put out better numbers on the crackback than you'll protect by defending.
- Even during Kayo's heyday, this matchup has always felt pretty good for us.
- Key Arrows: Barbed Undertow (choose blue), Judge, Jury, Executioner, Red in the Ledger, Stone Rain, Sleep Dart (vs Kayo and Levia, if you tech it into your list)
Guardians
- Nothing ruins my day like a dedicated fatigue deck, so I prep for Bravo like he's gonna present Ram's Head and try to deck me out. If you think the Jarl you're facing is also going for fatigue, you probably need to bulk up your card count. Betsy and Victor are a little more 'typical', if you will - by which I mean, more attacks, less defense reactions, and as a result easier for us.
- Vs. Fatigue, put everything you've got into your shots, or don't fire them at all. You probably need to hit 11 with dominate minimum if you want your arrow to connect. It's ugly, but it's the best chance we have. Value highly your cards that can't be blocked by defense reactions; also, firing a 2nd arrow in a turn can drastically increase your odds of sticking an on-hit. Heat Seeker is a nice arrow in this matchup as it can give you more buffs to work with in a turn - but getting it to hit can be hard.
- Vs. a more typical Guardian, dominate makes a huge difference in your gameplay, and you should focus on it even at the expense of a more relevant on-hit, simply because Guardians are happy to block.
- A note on Jarl - The loss of New Horizon can be absolutely devastating, especially if it comes at an inopportune moment. There are two ways to handle this. The first is to do all you can to prevent him from wrecking it, but there's honestly not a whole lot you can do about that. The second is to steer into the slide and break your New Horizon on a block sooner rather than later. This allows you to choose when you lose your arsenal card(s), not him.
- Overall, Guardians are unfavorable - though the difference between Fatigue Bravo and Betsy is night and day. Sandscour would rather play into a meta that's bad for the big blues.
- Key Arrows: Barbed Undertow, Heat Seeker (Fatigue), Judge, Jury, Executioner, Remorseless, Widowmaker (B)
Illusionists
- Enigma and Prism are two very different heroes, but the tools we use to counter them are largely the same.
- Vs Enigma, it's beneficial to slip a Murkmire Grapnel into your graveyard as soon as possible. The visual reminder of your easily-accessed counterplay will inform every choice they make going forward. If they try to Pass Over your Murkmire, Memorial Ground can be played in response to call it back to the top of your deck. This is a matchup where you might want to bulk up your card count a little bit.
- Vs Prism, Red in the Ledger is as potent as ever, and takes a lot of wind out of the Heralds' wings. You do have a popper in the list in the form of Battering Bolt, but don't stress too hard about phantasm - one well-timed phantasm pop can be a game-changing pivot.
- Both of these matchups feel favorable, and depending on the build and skill of the opponent could even be highly favorable.
- Key Arrows: Barbed Undertow, Battering Bolt, Murkmire Grapnel (R), Red in the Ledger
Mechanologists
- Dash I/O is the most likely Mechanologist to show up at your next event, but Teklovossen aside, the plan is pretty much the same into any of them: slow them down.
- Vs Aggro Dash, Dash I/O, and Maxx, you'll once again be trying to put Red in the Ledger on loop, crippling their primary mechanic of boost. Of greatest concern is Signal Jammer, which cuts off our ability to stack multiple buffs on an arrow - but as it's an item powered by steam and lacking crank, it asks a lot of the Mechanologist to play it out and keep it in play.
- Vs Teklovossen, the game is a race you should be able to win. Start strong and keep the pressure on via disruption; and while he may pick up armor later in the game, he's likely to have suffered enough setbacks getting there that it's too little too late.
- All of the Mechanologists feel like favorable matchups, though a cunning Dash I/O with a timely Signal Jammer could trip us up.
- Key Arrows: Judge, Jury, Executioner, Red in the Ledger, Stone Rain, Remorseless
Ninjas
- The field of Ninjas has grown quite diverse without anyone stepping off into Living Legend. That said, the approach doesn't vary a whole lot, with the biggest difference being Zen.
- Vs Cindra and Fai, we expect the combat chain to go wide, and their damage output is massive if we can't hold them back. These matches come down to looping Red in the Ledger quickly and endlessly; there's really no other way we can win these ones. Expect that they'll happily spend what armor they do have on blocking RitL the very first time you send it, and stack all the buffs with dominate on that arrow.
- Ira and Katsu are typically more measured - but their vulnerability to Red in the Ledger is the same.
- Zen has remarkably dense armor for a Ninja, along with all the trickery that Mystic provides. That said, he's still a go-wide Ninja; and moreover, we have decent game into the blue-heavy MST heroes (Nuu being a notable exception).
- Overall, I consider our Ninja matchups to be favored when we're doing what the deck is built to do. But Cindra will plow through any openings we leave; your gameplay needs to be airtight.
- Key Arrows: Barbed Undertow (choose blue expect when you know Cindra is redline), Battering Bolt (Zen), Hamstring Shot (R) (if you tech it into your list), Red in the Ledger, Remorseless (Fai, Ira), Stone Rain
Rangers
- Sandscour Azalea has the advantage over Death Dealer Azalea, but Riptide is one of our hardest matchups (again, fatigue is the matchup I haven't solved).
- Vs Azalea, the Prismatic package gives us an endgame that they don't have. Additionally, our recurring access to the best arrows in the deck and our dedicated use of dominate means our disruption just outclasses theirs.
- Vs Riptide, you have to assume they can afford to block out and come back strong in the endgame. Their trap damage will add up, and their ability to load the arsenal on the defensive means they can easily play out multiple defense reactions even as you dominate. As with fatigue Guardians, go as tall as you can, or don't give up your precious buffs. Heat Seeker can help you get taller turns.
- So yeah, Death Dealer Azalea is a favorable matchup, the mirror is of course a tossup, and Riptide is... real tough. If you solve that one, let me know.
- Key Arrows: Battering Bolt (Riptide), Heat Seeker (Riptide), Red in the Ledger, Remorseless (Riptide), Widowmaker (B)
Runeblades
- The trio of Runeblades - Lightning, Earth, and Shadow - each lean more into their talent than their class, making them feel radically different from one another.
- Vs Aurora, we're once again trying to hold back a racing aggro deck. Use our tried-and-true Red in the Ledger to stall her out. As many of her Instants are intended for her own turn, you can get mileage out of hand disruption.
- Vs Florian, the goal is to pile on damage before he gets to double his tokens. Prepare for this one to go late with a Leyline package, but our goal is not to need it.
- Vs Vynnset, the goal is once again damage, because there's a clock in Shadow games. Melting Point is a killer card here, because you can strip Vynnset of her Flail of Agony.
- All Runeblades need actions, and we're uniquely equipped to stop them from taking more than one. I consider all of these matchups favorable; but like Cindra, Aurora can exploit any gaps in your gameplan. Keep your focus and don't drop a turn of disruption.
- Key Arrows: Barbed Undertow (choose blue), Battering Bolt, Judge, Jury, Executioner, Red in the Ledger, Stone Rain
Warriors
- For a time, Warriors were an absolute menace to this deck - but that time has passed, and Dorinthea and Kassai are no longer playing the Heavy Hitters value game that proved so difficult to overcome.
- Vs Boltyn, we benefit fully from our disruption focus, limiting his already-stunted gameplay in the early game and taking the opportunity to get far ahead. The Lumina Ascension turns are still terrifying, but we have the tools to delay it, sometimes indefinitely.
- Vs Dorinthea and Kassai, we need to be wary of their ability to compound value over time. If Dori is on Dawnblade, I recommend making her have it as often as you can afford to. When you've got a hand that you can afford to part with, block well over the top and pull all the counters back off the sword. As for Kassai, the armor is a real issue, but her lack of payoff due to the loss of Cash In has stalled her combo potential and given us room to breathe. Because of all the armor and the way Kassai tends to play, I fatstack this matchup at 68 cards.
- Vs Fang, don't get caught up in blocking the potential of a dagger. Remember, it starts at 1 and needs a Draconic play to gain go again. Melting Point is basically checkmate, especially if you land it early.
- Vs Olympia, congratulate the opponent on playing such a cool, offbeat hero and buy them a coffee after you win the match.
- Overall, Warrior is a roughly even to favorable matchup, depending on the hero, the build, and the pilot. Don't get daring; just play good, fundamental Sandscour and watch how they respond.
- Key Arrows: Battering Bolt (Dorinthea, Fang), Heat Seeker (Dorinthea and Kassai), Judge, Jury, Executioner, Red in the Ledger, Remorseless (Dorinthea, Kassai)
Wizards
- Kano, Oscilio, and Verdance are incredible different; like the Runeblades, they lean heavily into their talents and thus require different approaches to overcome.
- Vs Kano, pressure their life but never go 'shields down'. We have an advantage here over Death Dealer Azalea because A. we use more blues and yellows to pitch for arcane barrier, and B. we already want to hold a card back to arsenal at the end of our turn. When you have what you consider to be a lethal shot, make them have the combo - don't give them another turn. We all take losses to Kano from time to time, but more often you'll come out on top.
- Vs Oscilio, make them pay for the non-blocking Instants that flood their hands. Like Kano, pressure their life hard, but don't let them take life off you just because you'd like to do a little more on your next turn. Arcane Barrier keeps you in the fight, and keeps your deck healthy too.
- Vs Verdance, we have a choice to make between Arcane Barrier in the arms or Warmonger's insurance. If you know your local meta, you may be able to make an informed call here. With all of Verdance's life gain, we need to plan on a long game, so the Leyline package is essential. Verdance gets huge value out of her defense reactions (most specifically, Rootbound Carapace), so whenever we can prevent her from playing those we're going to.
- The Kano matchup is, in my opinion, as favorable as a game into Kano ever is. I also like my odds into both Oscilio and Verdance - though if Verdance is on a dedicated life gain plan, it can be hard to deal enough to end her.
- Key Arrows: Barbed Undertow (as usual, choose blue), Battering Bolt (Oscilio), Judge, Jury, Executioner (Oscilio), Infecting Shot (Kano), Red in the Ledger (Kano, Oscilio), Remorseless (Verdance), Widowmaker (B) (Verdance)
Is Seascour the Next Horizon?
Azalea's momentum toward Living Legend may have slowed, but odds are good that High Seas will inject the Ranger class with new potential. The question is, will Sandscour Azalea stand to benefit? Or will a new archetype arise?
It's my opinion that the gameplay offered by Sandscour Azalea will remain unique, and that this deck will remain an exciting and vibrant alternative to the mainstream Death Dealer.
But there's also a chance that Azalea does ascend to Living Legend, leaving the Greatbow behind for someone else to pick up. With a few changes, this list could definitely be reborn in the hands of another hero. If that happens, I'm sure to be on the bow, scouring the horizon.
If this guide leaves you with any questions, or if High Seas kindles in you a new interest in the Sandscour Greatbow, feel free to reach out to me on Discord, @saturnflight - Rathe Times. Let me know that you've read my guide, so I don't bore you with the basics!