For the second time, Michael Hamilton claimed a Calling title, concluding with a tense game against Pheano Black's Prism. (Watch the replay video here!) Piloting Bravo, Star of the Show into a field hostile to him, Michael needed to be prepared to counter his strongest opponents. Today, he shares his sideboarding and strategic advice for Starvo's toughest match-ups.
The decklist that I used to take first place in The Calling: Indianapolis became public knowledge before the finals had even concluded. But a decklist will only tell you so much. Even with a clearly annotated sideboard, even if every matchup's swaps are precisely annotated- the moment the enemy decklists begin to change, you're sunk if you don't understand the thought process behind each sideboarding decision.
Here, I aim to detail not only which cards should go in and out of your deck for each opponent, but also why.
There will be a banned and restricted announcement from LSS on April 5th. I'm willing to wager this announcement will change Starvo. That's why I’m writing this article with a full explanation of the thinking behind every change in every matchup. That way, even if changes happen, you’ll still understand the thought process behind each sideboard decision.
Fundamentals
This deck’s gameplan is extremely varied based on matchups. You have the tools to play a fairly defensive game, and also a fairly aggressive game. In addition to changing based on the matchup, how aggressive you want to be will also change from hand to hand. If you have a Starvo trigger and a good attack, you usually don’t want to spend too many resources blocking, if it can be avoided. Similarly, when you have a weaker hand, you want to spend as many resources as you can efficiently blocking.
For some matchups, you will also want to focus on setting up your second cycle. It isn’t relevant in every match, but there are some matchups it frequently comes up in. I will make small efficiency sacrifices in service of a better second cycle, but be careful about giving up too much now for a stronger late game. You might not even reach it if you sacrifice too much now.
One additional note: because we have 0 copies of any shuffle effect, you can be confident you won’t shuffle before reaching your second cycle. All the work you do to set up those cards will pay off if the game goes long..
The Man in the Mirror
In the Starvo mirror, it is really important to have ways to cover up their large attacks. Oaken Old is the most threatening, but Crippling Crush, Spinal Crush, Pulverize, and the red Earth attacks are also threatening. As such, we bring in all of our defense reactions. This is the matchup that Turn Timber shines the most in.
Winter's Wail can also cause problems and lead to awkward turns. If you have your Tunic counter up, use it to activate Crown of Seeds when they swing their hammer. Then you only need to block with a single card to avoid the Frostbite token. Do not use it on their first attack if it has go again.
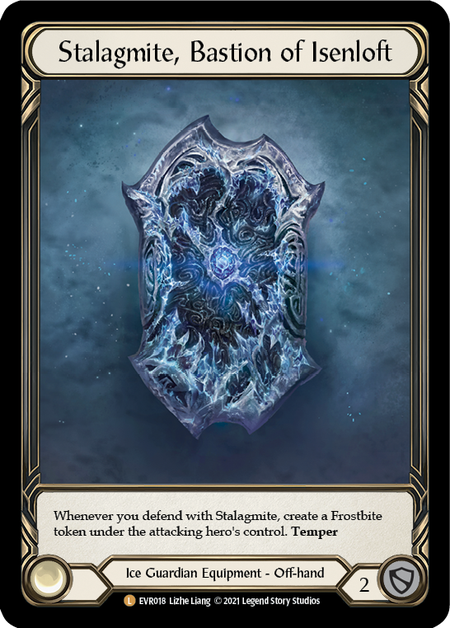
If your opponent activates Starvo, and has 2 cards left in their hand and no resources floating, that is the perfect time to use Stalagmite. Frequently when they end with 2 in hand, they want to swing the hammer with 1 card and arsenal the other. This either takes away their hammer swing or forces them to pitch both cards if they want to attack.
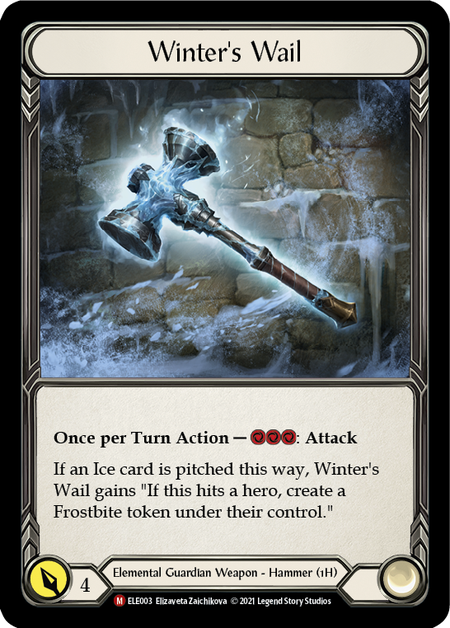
Sink Below cleanly answers the hammer. It is frequently correct to save a Sink Below for the Winter’s Wail hit.
The effect of Spinal Crush isn’t that impactful in the matchup. The most relevant part of it’s text is that it costs 5 resources. This means with 2 blues you can play it through a Frostbite token, and lets you have powerful turns with smaller hands.
Our whole game plan here is to trade efficiently. Try to avoid pitching a whole card to activate Crown of Seeds. There are times when it is correct to do so, but frequently there is a better use for the card.
Through the Looking Glass
Against Prism, we want to play a long game. Our goal is to set up a strong second cycle where we can activate our hero power to send powerful dominated attacks at her. Unmovable is an awkward card for her to pitch, so frequently she will use them on the first cycle. This means our second cycle is likely to connect. Our main goal is surviving the first cycle by clearing her auras, keeping her Spectral Shield count down, and avoiding as much damage from heralds and Luminaris attacks as possible.
Prism's main lines of attack are flooding the board with auras and attacking with heralds. We play 3 copies of Blink, 3 copies of Lead the Charge, and a lone copy of Time Skippers to help with handling the auras. We do not cut any blue cards because taking advantage of these aura-killing options requires a ton of resources.
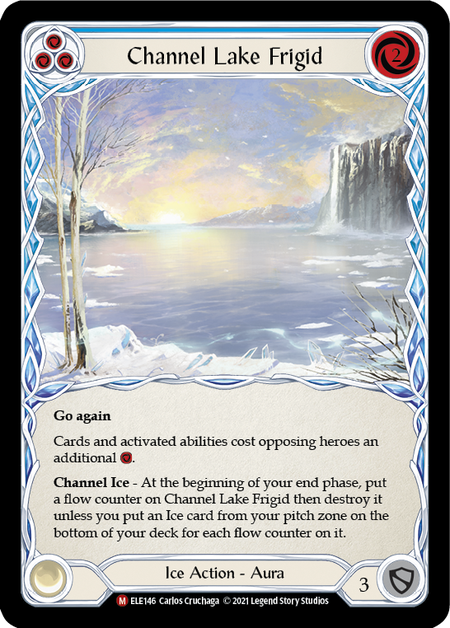
You can rely on Stalagmite and Channel Lake Frigid to buy you some time when the auras have gotten a little out of control. Neither is exceptional, but they both can buy quite a bit of life.
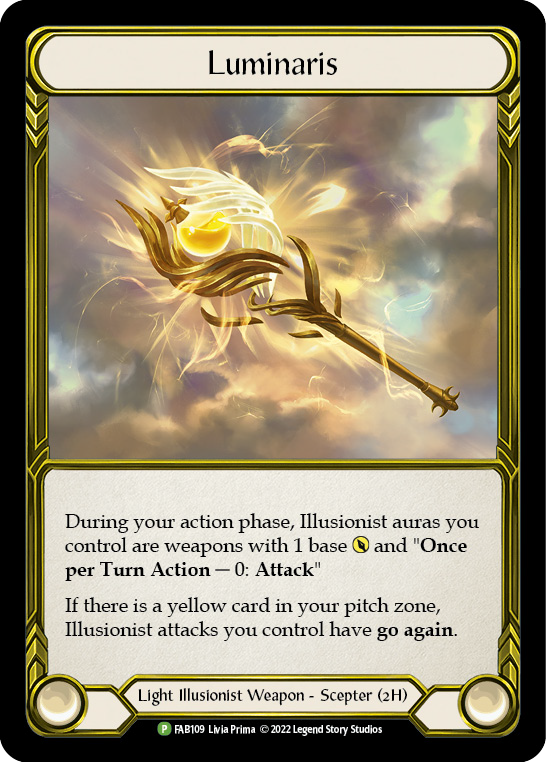
For the heralds, we have 6 blue cards that can pop them in addition to our big red attacks.
This matchup is extremely difficult, and I’m not confident we are even favored in the matchup. It is also extremely skill testing. It's very rewarding when you get it right.
Twisted Visage
While skewing my deck toward a more controlling strategy improved my results in the mirror and versus Prism, it doesn't do us any favors against Viserai. Our lower elemental count leads to a lower average damage output. This gives Viserai a little bit more time to set up for his big OTK turn.
We are forced to play as aggressively as possible while Visceral sets up and builds up runechants. We play every strong attack we can and as many elemental cards as we have available to us. This is the matchup where I most frequently will spend a whole card to activate Crown of Seeds, because we are just trying to present as much damage and as many threatening on-hit effects as we can turn after turn. The match will frequently end before the second cycle, so maximize every hand for immediate output.
There is an interesting situation that can happen in this matchup where you play a large dominated attack and Viscerai’s hand is full of attack actions. Because your first attack had dominate, he can only block with one card. If you can correctly identify when this is happening, sometimes it is correct to not swing the hammer and make it difficult for him to filter as many cards as he’d like. I’m not sure how we can maximize our advantage from this, but it is worth noting that he can get stuck on heavy attack hands- and in these situations, it is advantageous to not attack with the hammer.
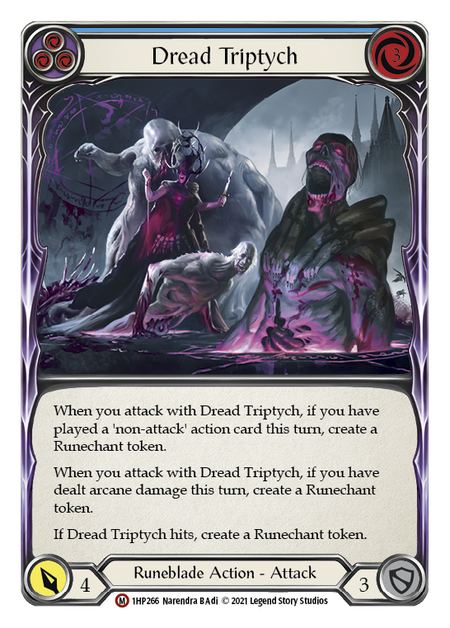

When they combo, try to block the damage as efficiently as possible. Blue cards that block for 0 or 2 should be used to activate Nullrune Boots to fend off the initial burst of runechants. Try to line up your blocks with their on-hit triggers (Mauvrion Skies, Meat and Greet, Dread Triptych). If you survive the big turn, it can be hard for them to finish you off, due to the efficiency of pitching your blues that don’t block well to activate Crown of Seeds and Nullrune Boots.
Fallen Foe
This matchup is significantly easier for us than it is for the more aggressive versions of Starvo. The existence of the more aggressive versions- along with the threat of us having an aggressive turn- means they will frequently leave in some respect for our big dominated attacks. If they do, our plan of fatiguing them becomes easier.
Many Chane players are capable of beating a full fatigue plan if you give them infinite time and resources to do it. For that reason, it is important to threaten them. I find the best way to do that is to defend as efficiently as possible and swing back with Winter’s Wail. This plays around Carrion Husk and Unmovable pretty well, while also putting some pressure on their life total.
The big defense reactions are not outstanding in this matchup. However, many of our blue cards only defend for 2. Converting them for resources that you use for the big defense reactions allows them to block reasonably efficiently.
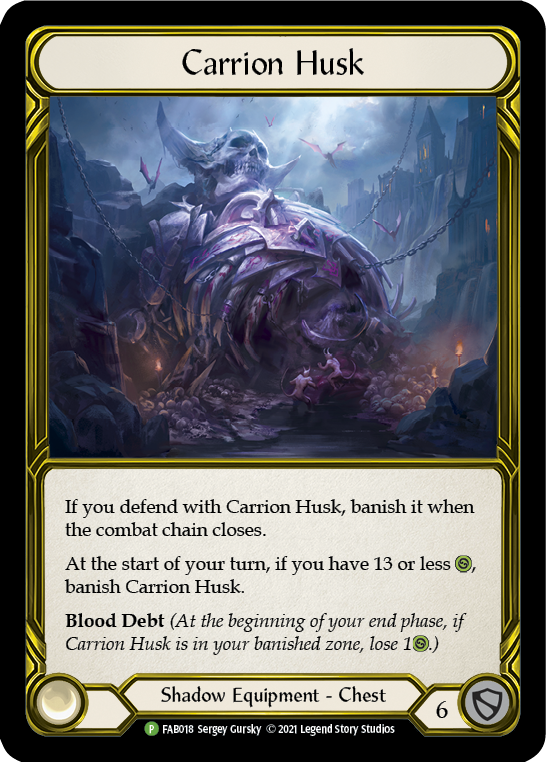
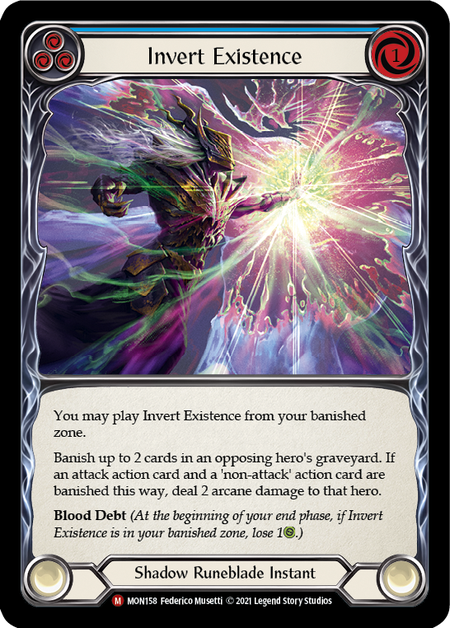
One final note is to pay attention to your discard pile, due to Invert Existence. If you can keep non-attack actions out of your graveyard, that will save you 2 life at the end of the game when they cast these Inverts. Sometimes it is still correct to block with them, but most of the time you should be able to make some use of them by pitching them instead.
This matchup is much more demanding from the Chane player’s side than it is from ours, but that doesn’t mean it is easy. Try to understand their options and pay attention to their pitch stacking. The better you understand what they are trying to do, the easier it will be to come out ahead.

