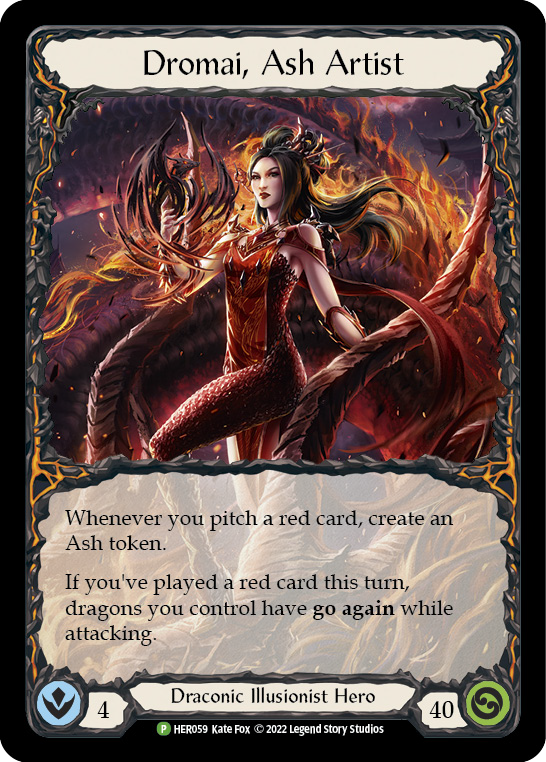
The days of spectral shields and instant-speed auras have passed, and what’s left in its stead are dragons. Plenty of dragons. And though our newest Illusionist, Dromai, can take advantage of Prism’s old tools, she focuses primarily on a myriad of new tricks to sway her opponent into submission. In this deck tech, we’re going break down one of my absolute favorite versions of Dromai in Classic Constructed. Today, we take a small sidestep away from the 'Oops, All Dragons' style of Dromai to see just how well Dromai can race her opponents to victory.
The Decklist
Weapons
- Storm of Sandikai (1)
Equipment
- Crown of Reflection (1)
- Flamescale Furnace (1)
- Crown of Providence (1)
- Wave of Reality (1)
- Nullrune Gloves (1)
- Mage Master Boots (1)
- Phantasmal Footsteps (1)
Loadout
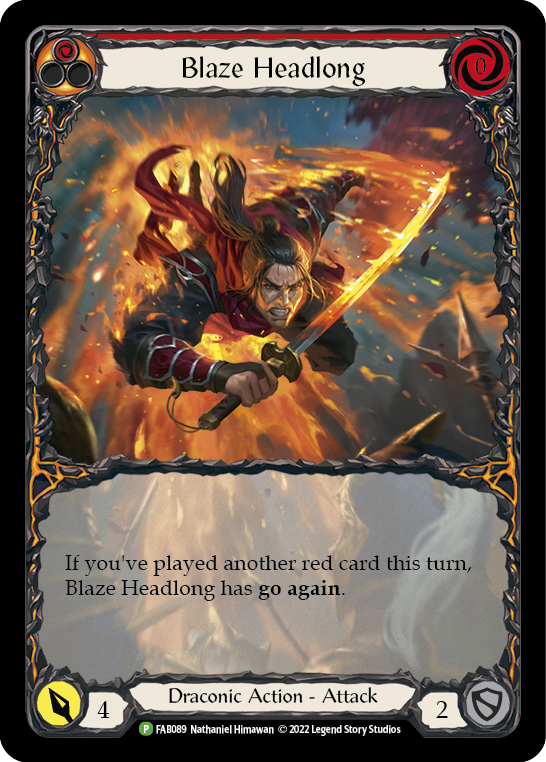
- Blaze Headlong (Red) (3)
- Enlightened Strike (Red) (3)
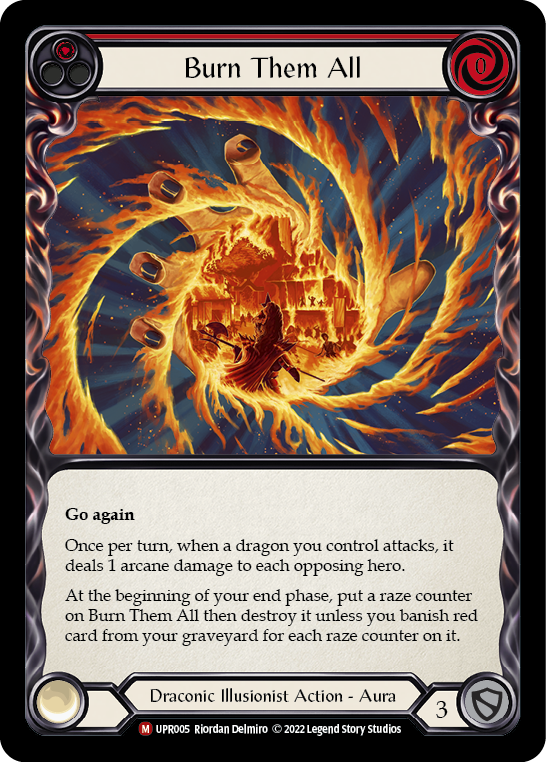
- Burn Them All (Red) (3)
- Billowing Mirage (Red) (3)
- Invoke Dominia (Red) (1)
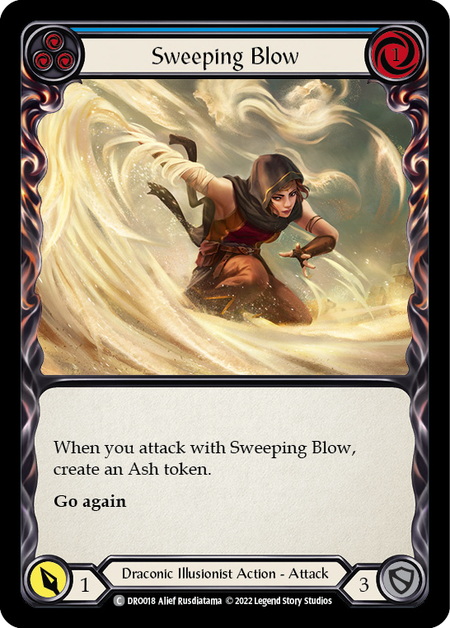
- Sweeping Blow (Blue) (3)
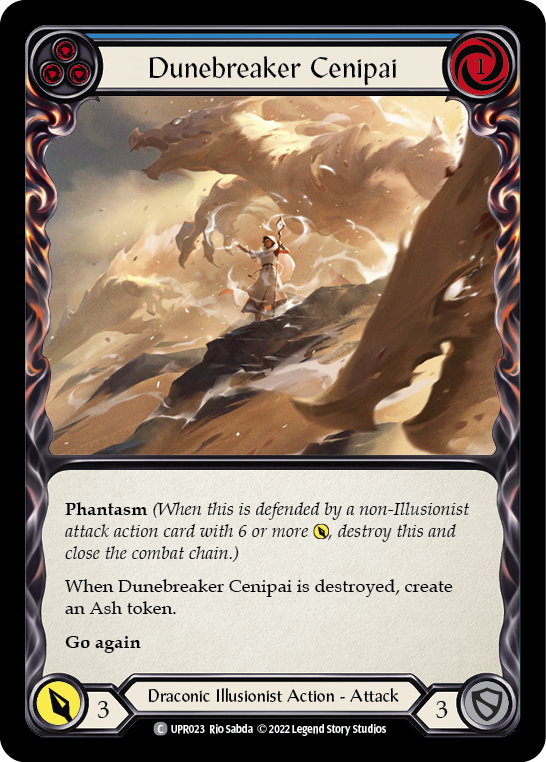
- Dunebreaker Cenipai (Blue) (3)
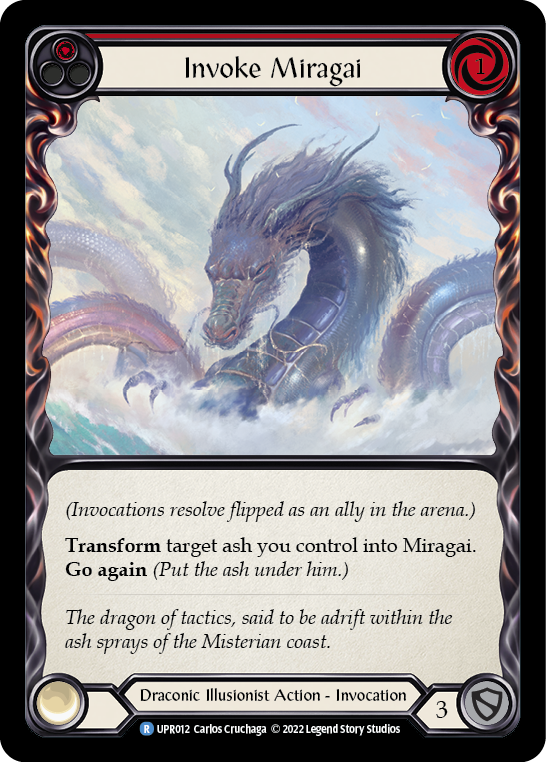
- Invoke Miragai (Red) (3)
- Invoke Kyloria (Red) (3)
- Remembrance (Yellow) (2)
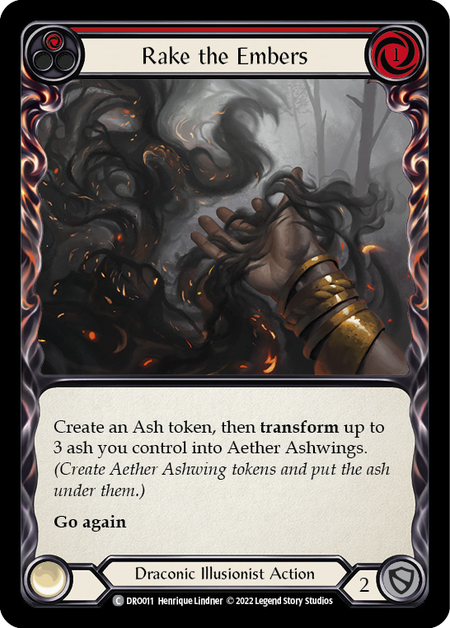
- Rake the Embers (Red) (3)
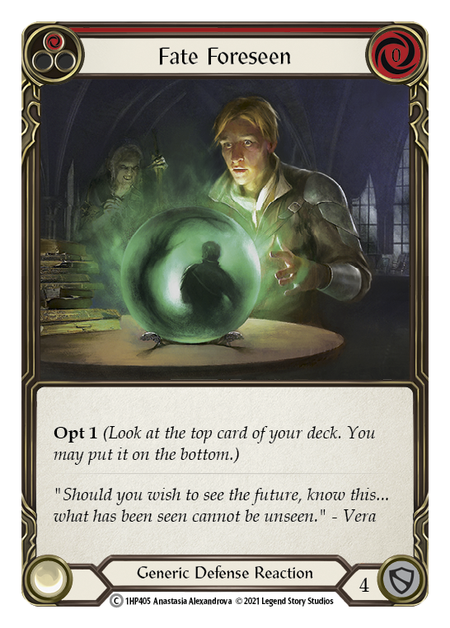
- Fate Foreseen (Red) (3)
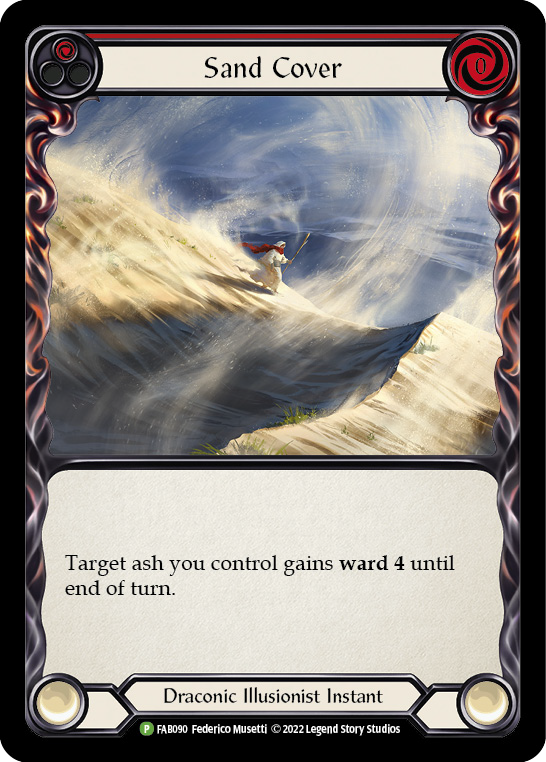
- Sand Cover (Red) (1)
- Passing Mirage (Blue) (3)
- Dunebreaker Cenipai (Red) (3)
- Command and Conquer (Red) (3)
- Invoke Dracona Optimai (Red) (1)
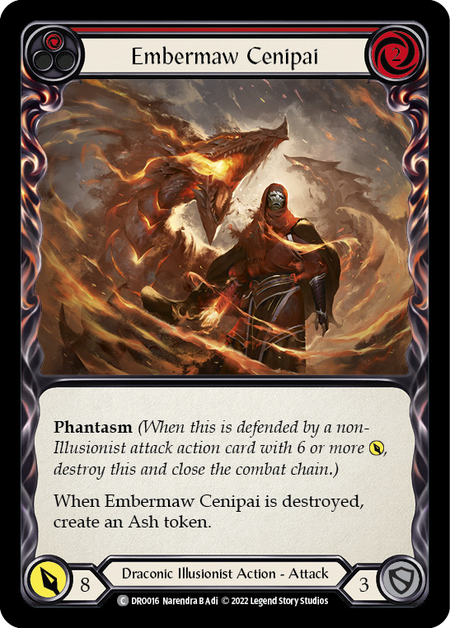
- Embermaw Cenipai (Red) (3)
- Sink Below (Red) (3)
- Invoke Tomeltai (Red) (1)
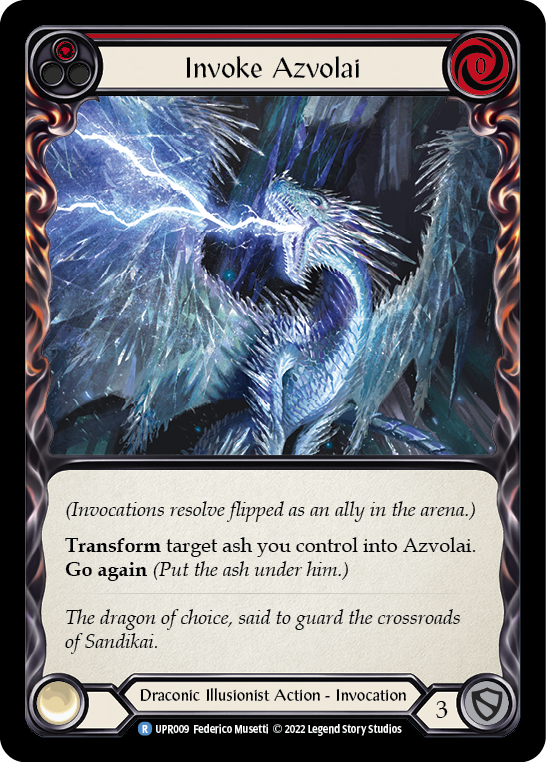
- Invoke Azvolai (Red) (3)
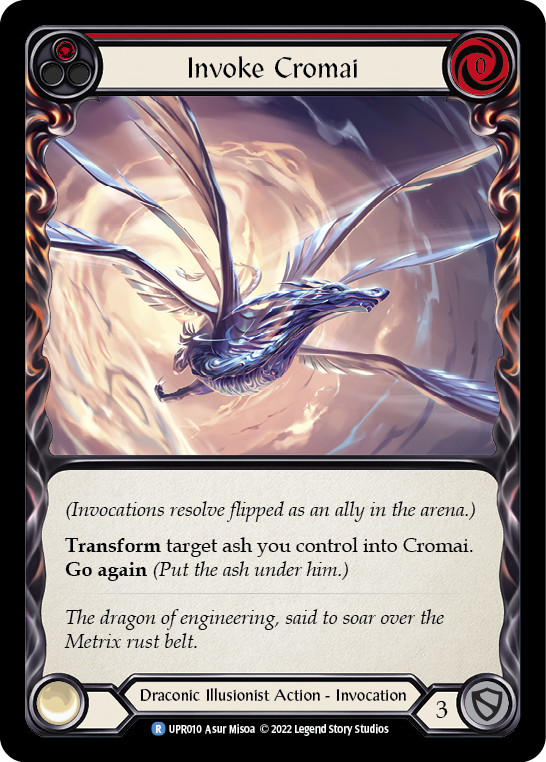
- Invoke Cromai (Red) (3)
- Sigil of Solace (Red) (3)
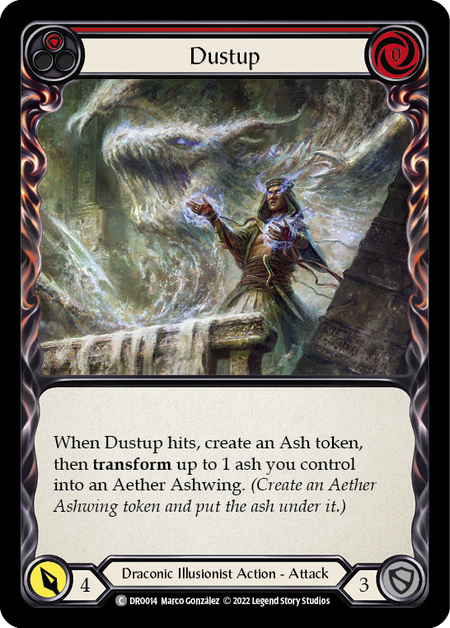
- Dustup (Red) (3)
- Sweeping Blow (Red) (3)
- Spears of Surreality (Red) (3)
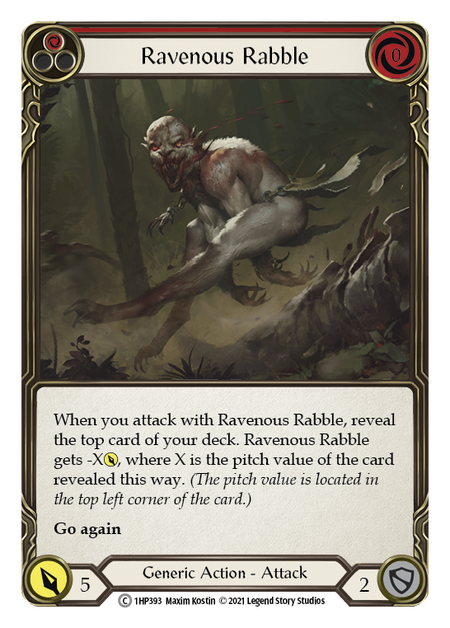
- Ravenous Rabble (Red) (3)
While there are many viable heroes in today’s metagame, this decklist simply prepares two sideboarding gameplans- aggro and defensive- that plug into a receptive mainboard. But first, let’s dissect the suite of equipment our dragon-wielding queen should bring into battle.
Equipment
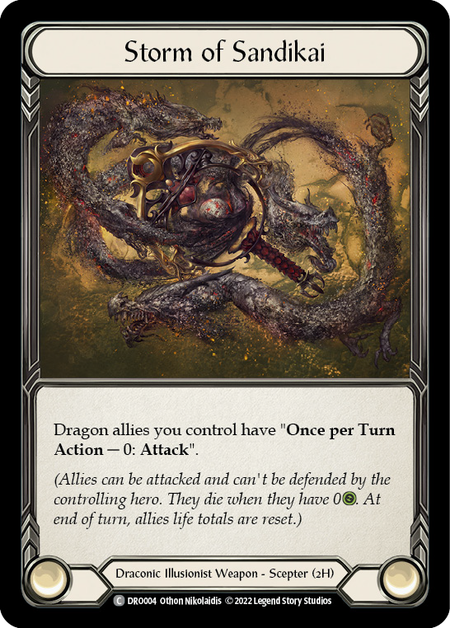
While Dromai has access to Iris of Reality- a token weapon printed alongside Prism in Monarch- it's not a realistic option as it leaves our dragons standing still. For now, Dromai must stick with Storm of Sandikai, the only weapon in the game that allows its owner to attack with dragons.
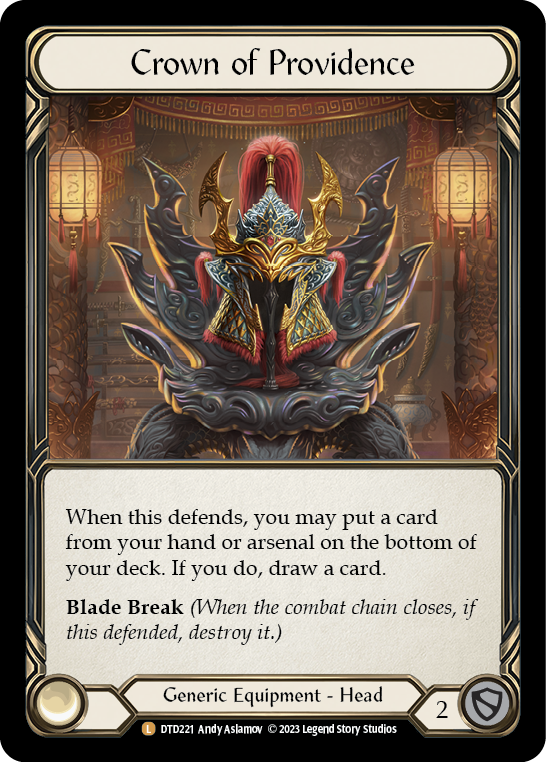
Dromai decks tend to be stuck with builds that leave plenty of opportunities for a dead hand. No ash tokens and a handful of dragons can lead to a completely unplayable scenario. Thankfully, when blocking with Crown of Providence, we can correct this, as it allows its owner to put a card from their hand to the bottom of their deck and draw a replacement. Or you can swap out that hidden Invoke Tomeltai in your arsenal when facing down an opposing Command and Conquer.
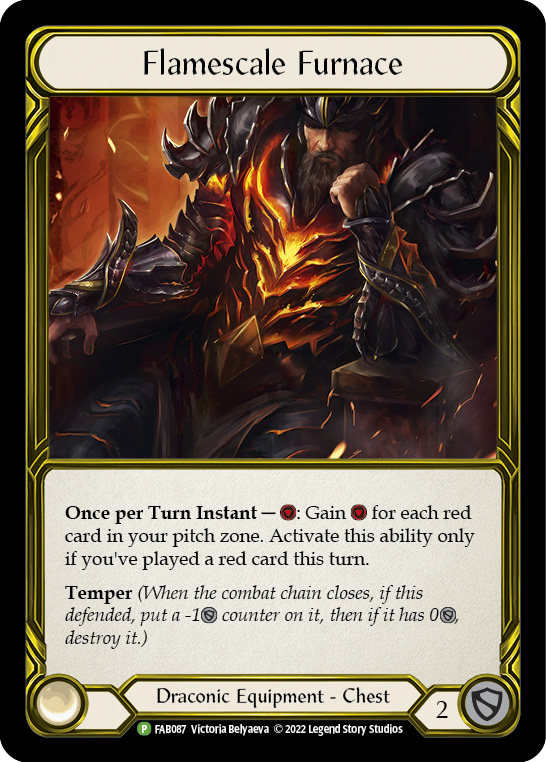
Dromai is rewarded in various ways when pitching, playing or revealing a red-pitch card. Due to this style of deck building, we are often faced with scenarios where we’re starved for resources. Thanks to Flamescale Furnace, we can compensate somewhat for our inefficiencies. Play a red card, pitch to Furnace, and gain a resource for every red-pitch card in your pitch zone. It also blocks for 3 over the course of the game due to Temper. Of all the equipment pieces covered today, Flamescale Furnace is likely to be the most critical due to its high functionality.
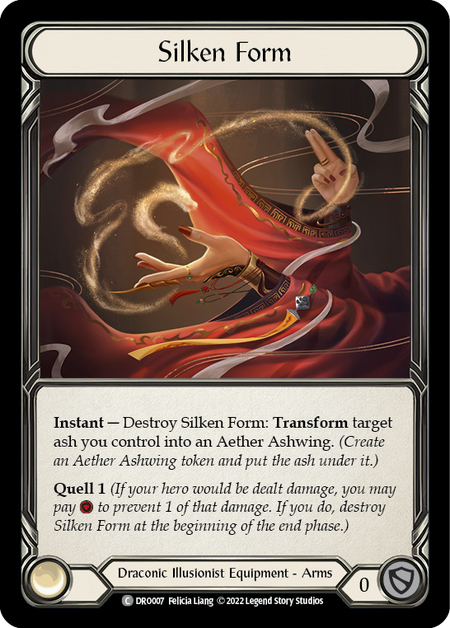
While Silken Form might seem to be an underwhelming common, in true Illusionist fashion, there’re more here than meets the eye. Late game, this card sees play on both defensive and offensive turns, and can ultimately win you the game- or save your life. Late game, when your opponent has spent their turn blocking all of your attacks, you can destroy Silken Form at instant speed to turn an Ash token into an Aether Ashwing, dealing the final point of damage for the victory. In a dire situation, you can activate Quell, which will allow you to prevent 1 point of damage when paying 1 resource.
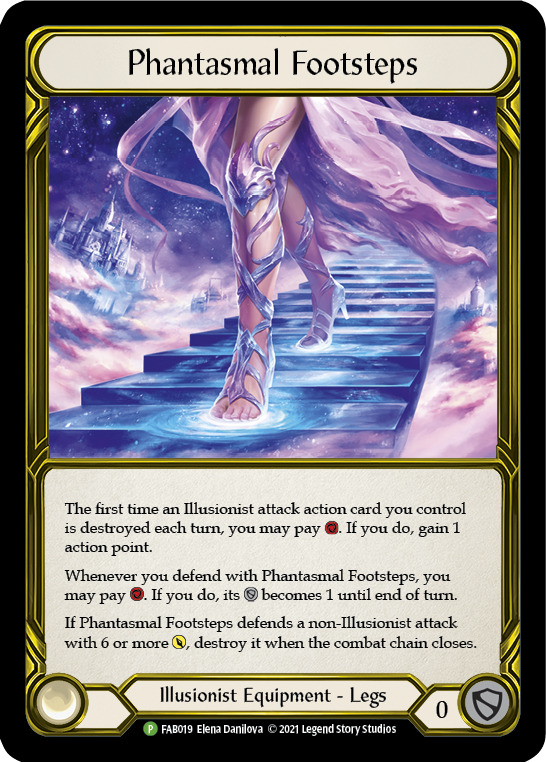
While Prism was the first to don this beautiful legendary footwear, Dromai benefits equally- or possibly more- from their functionality. When an attack action with Phantasm is popped, you may pay 1 and get your action point back. Cards like Dunebreaker Cenepai are going to take full advantage of this during your Guardian or Brute matchups. And if you pay that 1 resource with a red-pitch card, Dromai’s hero ability will generate an Ash token. Likewise, on the defensive side, you may pay 1 resource and Footsteps will gain +1 defensive value. This helps mitigate damage on those pesky breakpoint cards and generates an Ash token on your opponent’s turn. The synergy with Phantasmal Footsteps in incredible.
The Main Board - Attack Actions
While many of the existing iterations of Dromai showcase minimal attack actions, instead relying on dragons to do the attacking, remember that in this version we’re taking an emphasis on racing our opponent. In order to accomplish this, we pack plenty of attack actions in the list. This tends to throw your opponent off and gives you the upper hand in tempo.
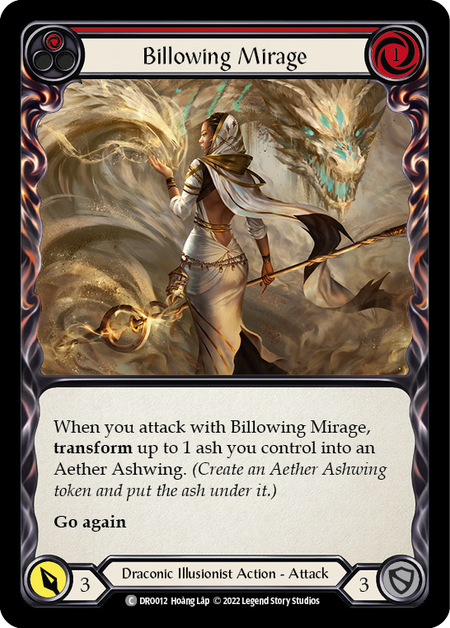
- (3) Billowing Mirage (R)
- (3) Blaze Headlong
- (3) Dustup (R)
- (3) Enlightened Strike
- (3) Ravenous Rabble (R)
- (3) Sweeping Blow (R)
- (3) Sweeping Blow (B)
- (3) Dunebreaker Cenipai (B)

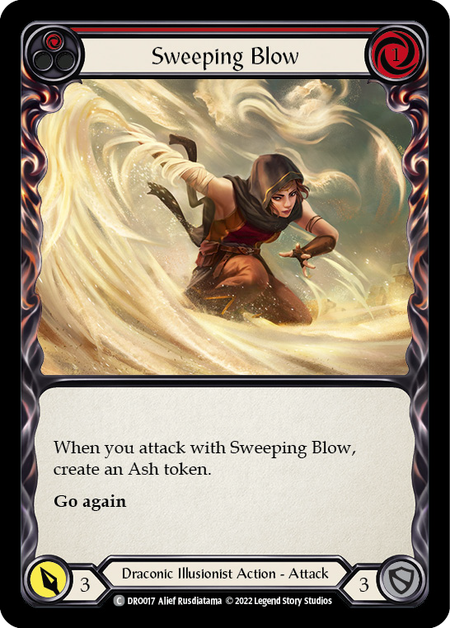
The main goal is to begin you turn with one of the above-mentioned attack actions. Play out a Sweeping Blow, pitch a red card, generate two Ash, and then come in with as many dragons as possible.
Blaze Headlong is the unsung hero of this deck. Ravenous Rabble into Blaze Headlong into a flurry of dragon attacks. Ultimately this style of play multiplies your damage output in contrast to an all-dragon build.
Of course, we need to include a few resource cards, but here we do so with attacks as a fallback plan. Mostly here for pitch, these blues can provide you the resources needed to lay out multiple dragons in one turn- or at the very least, allow you for some form of damage output while maintaining Dromai’s ultimate desire to go again. You should be cautious when considering one of these as an attack, as playing these will ultimately remove valuable resources from your deck.
The Main Board - Non-Attack Actions
- (3) Burn Them All
- (3) Rake The Embers (R)
- (3) Sigil of Solace (R)

While Sigil of Solace is an “Instant”, I’ll categorize it here in the non-attack actions to keep things clean and tidy. Sigil of Solace is one of the very few cards that will functionally allow you to maintain an aggressive turn with a one-card hand. Tucking this into your arsenal at the end of your turn is viewed as an insurance policy. If your opponent strips all your cards away, you can flash this out during your turn and give any remaining dragons go again.
Burn Them All is a card that should be considered a win condition. Pitch these early in the game; then mid- to late-game - once you've built a dragon board state - get out multiple copies of Burn Them All and effectively present split damage every turn. This card essentially gives Dromai some Runeblade flare, and it feels good watching your opponent struggle to deal with this scenario late game.
Rake the Embers is your Ashwing generation and should never be used to block. If need be, block with Phantasmal Footsteps and pitch Rake the Embers, effectively keeping this card safely in your deck for later.
Main Board - The Dragons
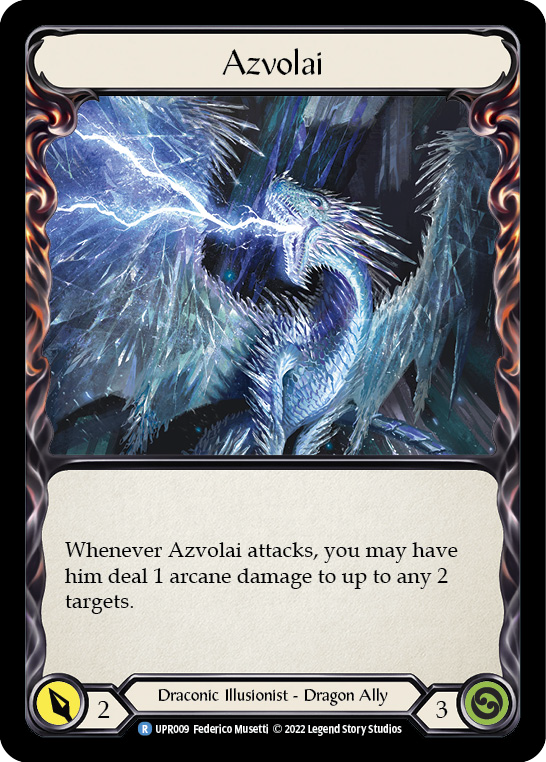
- (3) Azvolai
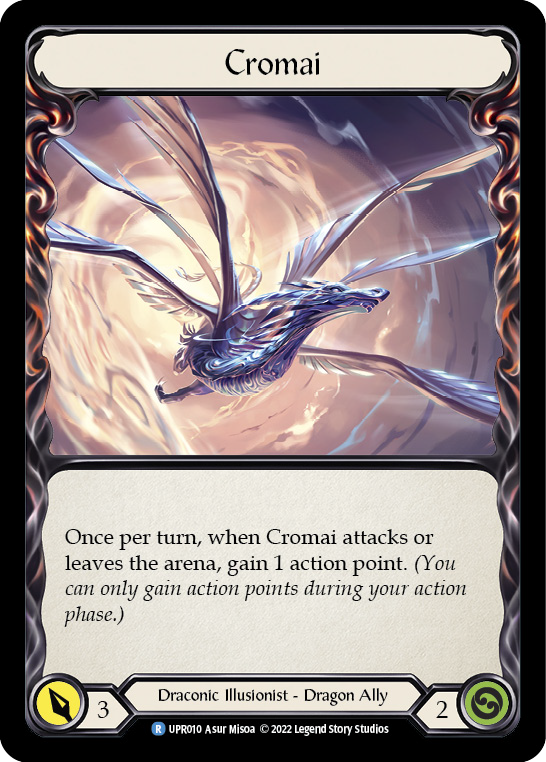
- (3) Cromai
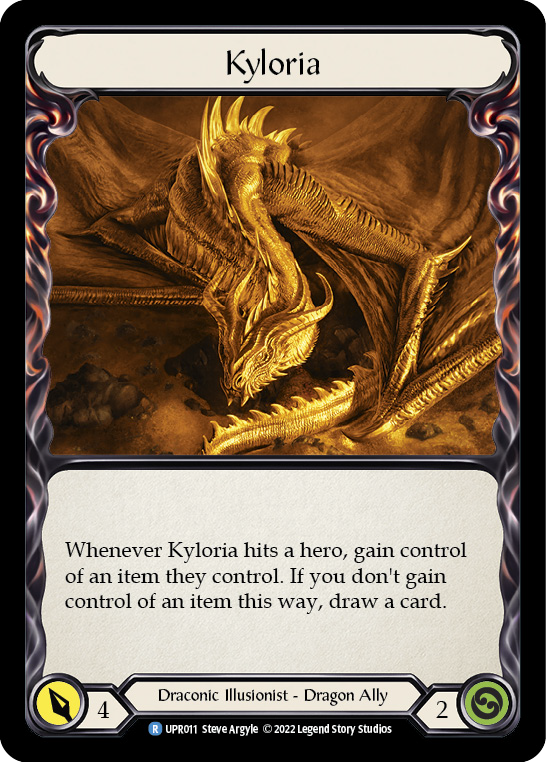
- (3) Kyloria
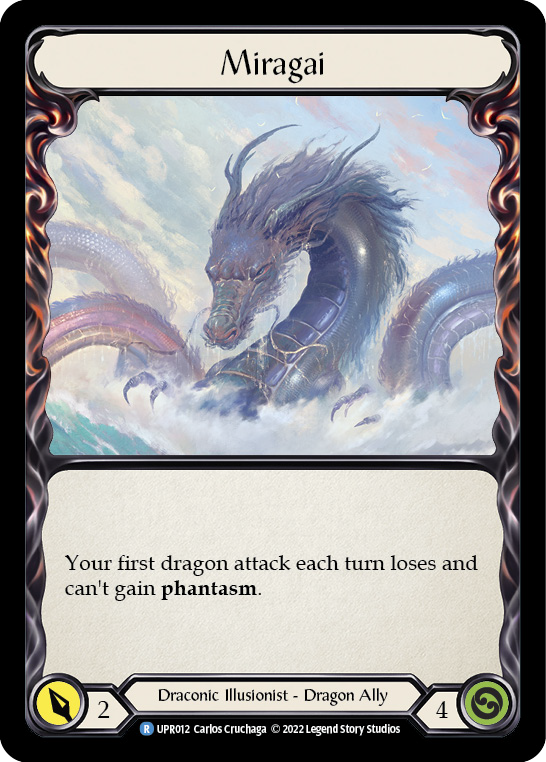
- (3) Miragai
- (1) Dominia
- (1) Tomeltai
- (1) Optimai

At first glance, many might consider this to be a weak representation of dragons for a Dromai deck. But in all of my testing and experience, I’ve come to the conclusion that these are ultimately the strongest and most effective dragons at Dromai’s disposal.
With this tempo-hungry strategy, your main objective is to pitch away all the 0-cost and Legendary dragons early game. If you can manage to get out multiple in one turn during the mid-game, then go for it! Don’t underestimate the power of getting out two Cromai and one Miragai in one turn. A scenario like this will force your opponent to waste their entire turn dealing with dragons, effectively allowing you to return volley with a full grip of harsh attack actions.
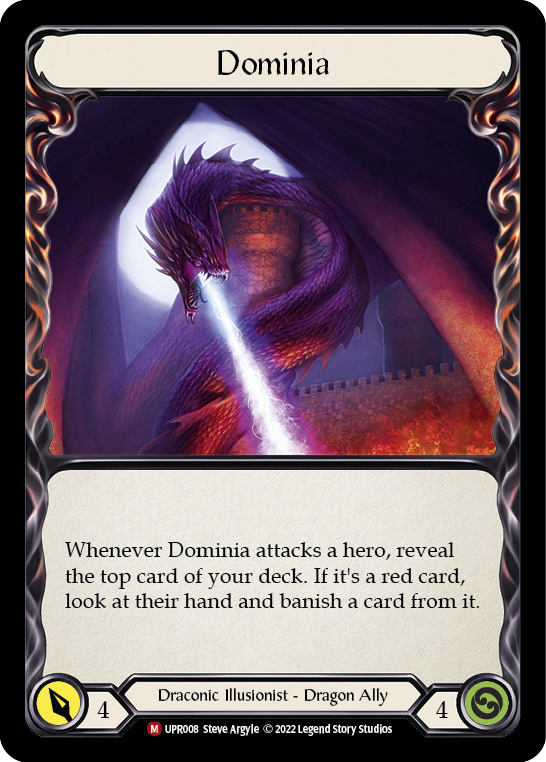
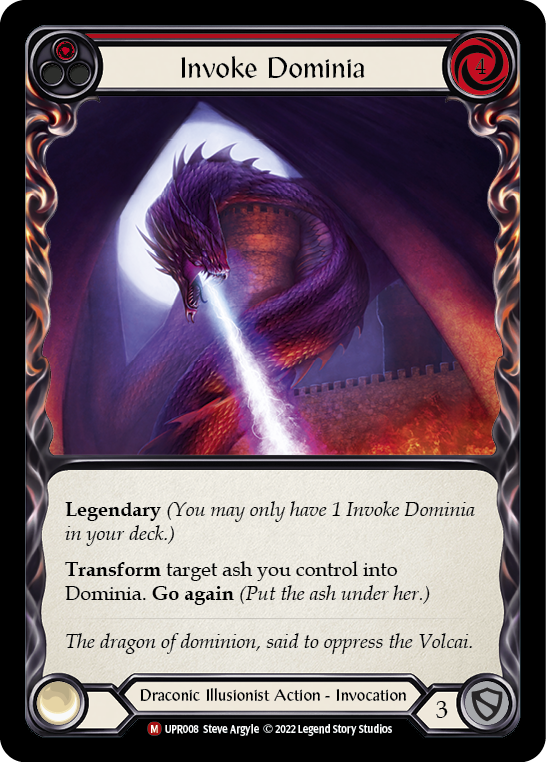
Dominia is likely to be the most powerful dragon in the game. Stripping a card from your opponent’s hand if a red-pitch card is revealed will put them in a tough spot. Should they block the attack and have less resources to deal damage on their turn, or take the damage and try to make the most of what's left? If you do get the opportunity to banish a card from your opponent’s hand, your best choice would be to banish their resource card.
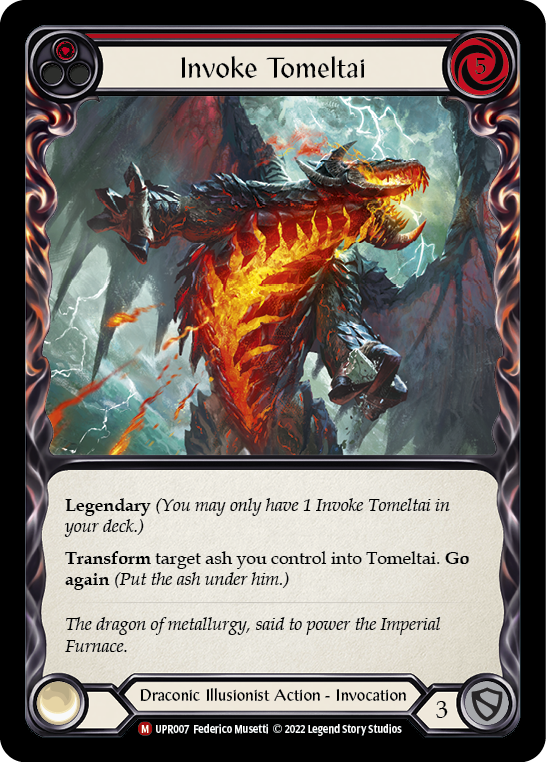
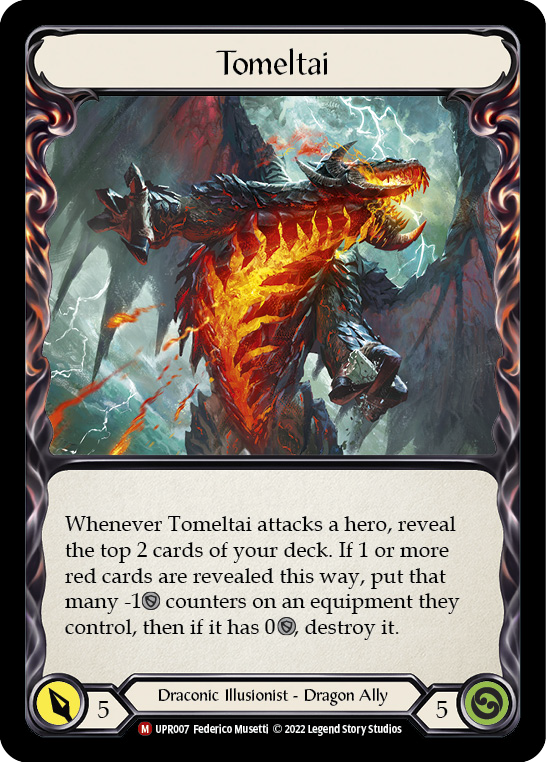
Tomeltai is the dragon that will dictate how the remainder of the game will go. Many- if not all- heroes rely heavily on the equipment they bring into battle: for Oldhim it’s Crown of Seeds, and for Ninjas, Mask of Momentum. When attacking with Tomeltai, you’ll reveal the top two cards of your deck, and if two red cards are revealed, you’ll be given the choice to put -2 defensive counters on one of your opponent’s pieces of equipment. Choose wisely, as each hero values each piece of equipment differently.

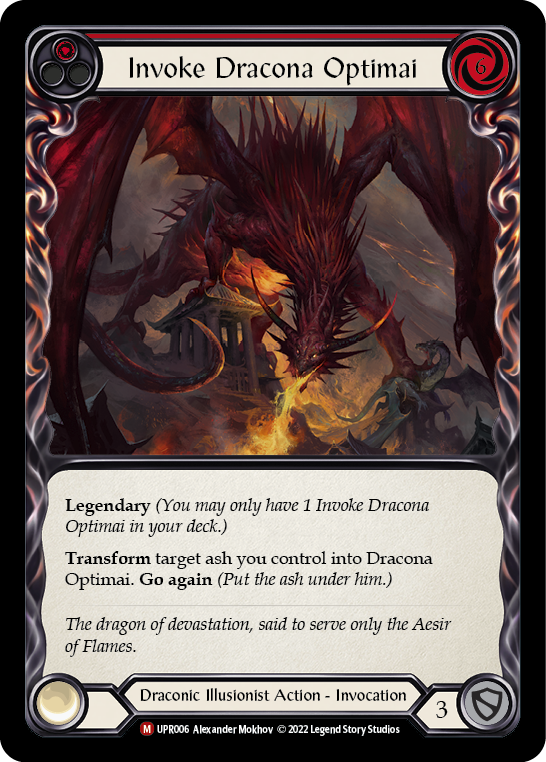
Optimai is the game-ender. Tucking Optimai into arsenal mid- to late-game and seeing two blues in hand is the ultimate “gotcha” feeling. Due to the red-heavy deck build, you’ll likely be presenting 6 physical and 6 arcane damage when attacking with Optimai. This high-level split damage during the later half of the game can guarantee some form of damage output and/or a tempo swing in your favor. On top of all of this damage, the opponent needs to spend their next turn trying to kill this massive 6-life dragon.
Sideboard Packages
As previously mentioned, this deck takes a simplistic and functional approach to its sideboard slots. When playing Dromai, there are multiple decision points throughout the course of the game and this approach to sideboarding allows you to make quick and easy decisions when facing one of the top meta decks.
The Aggro Package
- (3) Command and Conquer
- (3) Embermaw Cenipai (R)
- (3) Dunebreaker Cenipai (R)
- (3) Spears of Surreality (R)

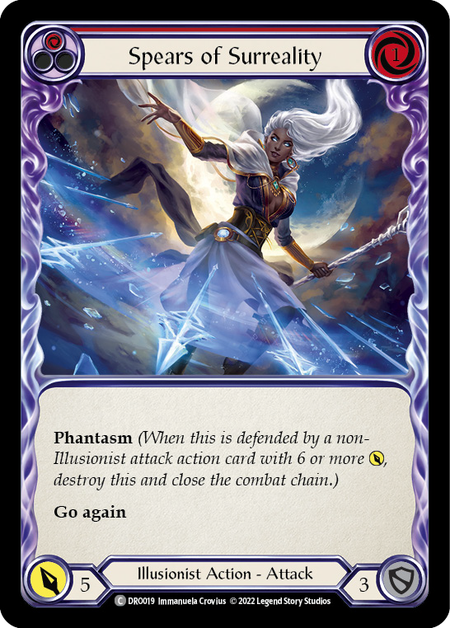
The main thing to focus on here is how these cards play into the already-existing synergy within the main board attack actions. The inclusion of 1-cost go again attacks such as Spears of Surreality and Dunbreaker Cenepai are dual functioning: pitch a red to generate Ash and pay for the 5-power attack and gain go again, allowing you to swarm your enemy with dragons afterwards.
Embermaw Cenepai will help to close the life gap between you and your opponent. Coming in with 8 attack power, this breakpoint attack demands respect late-game and is likely to push some damage or strip your opponent of multiple cards and equipment.
While Command and Conquer is a card that requires little explanation, it’s important to note that many players will block this attack with Crown of Providence, protect their arsenal and gain a 5th card for their hand while only taking 4 damage. Get this out early, destroy their Crown of Providence, and make the second and third C&C count.
The Defensive Package
- (3) Sink Below (R)
- (3) Fate Foreseen (R)
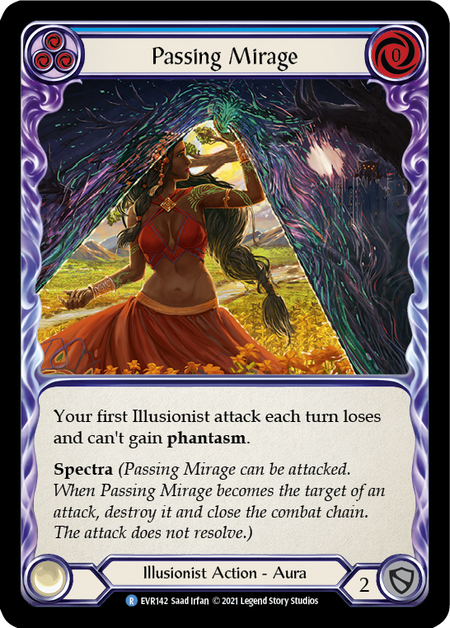
- (3) Passing Mirage
- (2) Remembrance
- (1) Sand Cover (R)
The first half of this package is clearly taking a “defensive” stance, but the Passing Mirage and Remembrance might raise some question as to why they're in this grouping.
Passing Mirage, while offensively protecting dragons and phantasm-fueled attacks from being destroyed by a 6+ power attack, often acts as a defensive card. Thanks to the scars that Prism left on the scene, players know that it’s in their best interest to target Passing Mirage as soon as possible, ending their turn short and wasting attacks that would have otherwise targeted you. Essentially, Passing Mirage is a poor man’s Arc Light Sentinel.
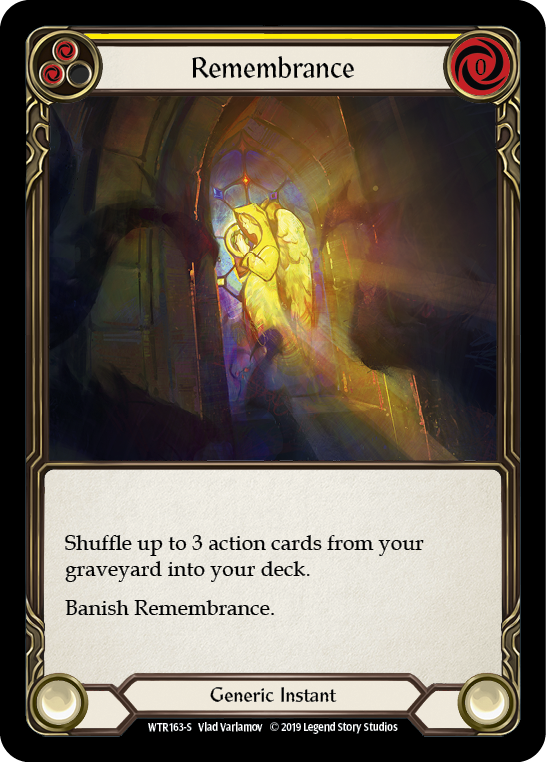
Remembrance is one of those love/hate cards for Dromai. While this package is your toolbox to block effectively, there are times where you’re forced to block with critical components of your deck such as Cromai, Miragai or any of the legendary dragons. Remembrance will allow you to bring 6 of those key cards back into your deck over the course of the game.
Sideboard Equipment
- Crown of Reflection
- Nullrune Gloves
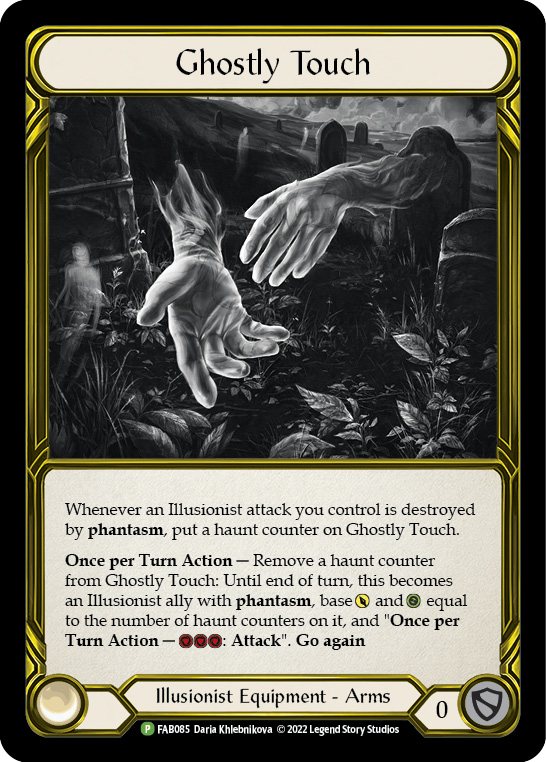
- Ghostly Touch
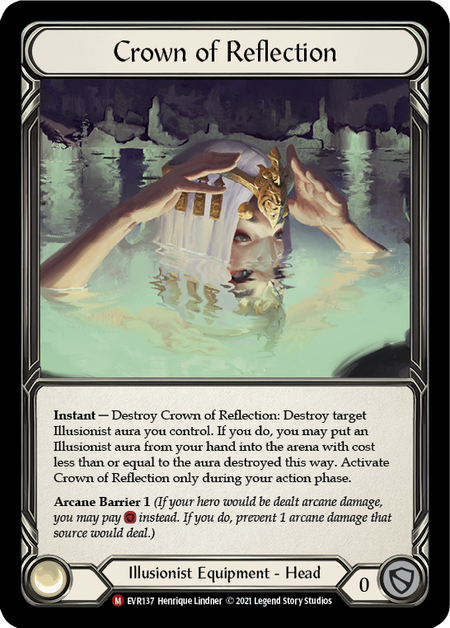
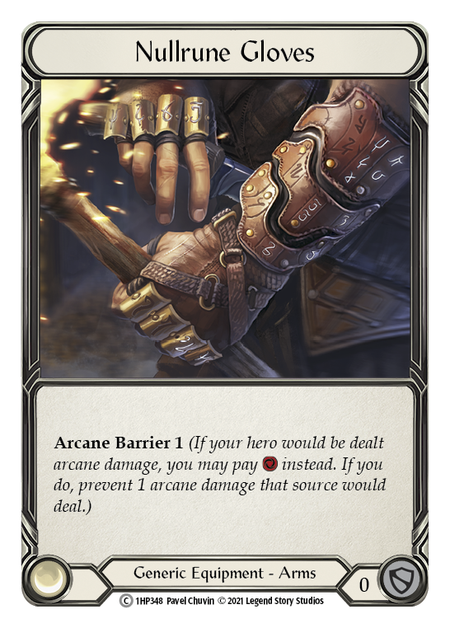
The arcane barrier suite is effectively coming into matchups where your pressed against a Runeblade or Wizard. For Runeblades, the Nullrune Gloves are effective, and against Wizards your best practice is to bring both Crown of Reflection and Nullrune Gloves. Anticipate that your arcane barrier will increase quickly as you add Ashwings to the board, but be cautious as these can be attacked and decrease your arcane defenses.
Ghostly Touch is going to pull its weight in the Guardian and Brute matchups, where your opponent is packing an entire deck of phantasm poppers. Stack counters on Ghostly Touch and late game swing with double Cromai, get multiple action points, play Passing Mirage, and then attack with Ghostly Touch- which will demand respect from your opponent.
Conclusion
Dromai has a little ways to go before she’s able to wear the A-Tier badge of honor. Upon release, many people were left scrambling to crack the code that makes Dromai come together in one cohesive manner.
After many months of testing, I’ve come to discover that Dromai can operate in a very open capacity. She allows players to “pick their flavor” and rewards those that commit time and patience into their own iterations.
If you’ve kept up with the Goliath Gauntlet Flesh and Blood Invitational hosted by 983 Media, you may have seen DMArmada play a deck very similar to the one presented to you today. I shared this deck with him, he made one or two minor tweaks and took down the opposing Dash.
I share that information with you as a form of encouragement. Take inspiration from this deck, make it your own and take down the competition. Show the world that, in the absence of the light, ash rises up and Illusionists remain a force to be reckoned with!
Afternoon Nap; Midnight Stroll; Morning Routine; Still Awake by Ghostrifter Official | Music promoted by Chosic | Creative Commons CC BY-SA 3.0