Class is in session at the Demonastery Dojo.
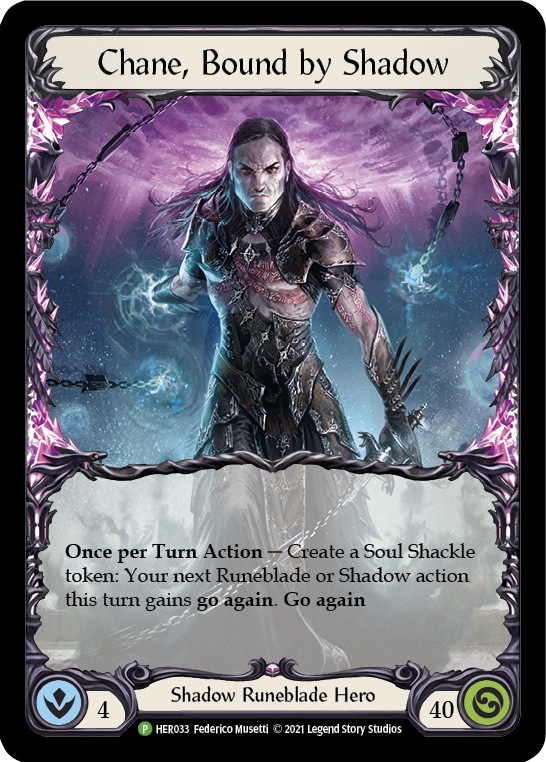
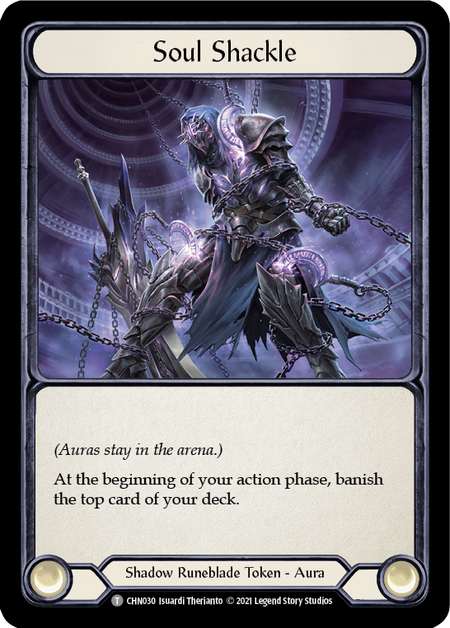
At its core, Chane, Bound by Shadow, is an aggressive deck. Chane's hero ability gives him access to an extra action point every turn, and the resulting Soul Shackles provide a pile of extra cards over the course of a normal game.
While Chane is an incredibly powerful hero, most of the individual cards the deck can look pretty unassuming or even downright weak in a vacuum. Chane relies on quantity over quality, leaning on synergy to turn its motley crew of blood debt cards into a snowballing onslaught of damage.
Blood debt is how Chane is able turn his Soul Shackles into even more upside. Cards with blood debt can be played from banish (there are some exceptions, but we don't play those cards) following the same guidelines for how cards can be played from arsenal: you can't innately pitch or defend with cards from banish. Each of the cards below is considered below rate by normal Flesh and Blood standards. For instance, compare Ghostly Visit to Critical Strike.
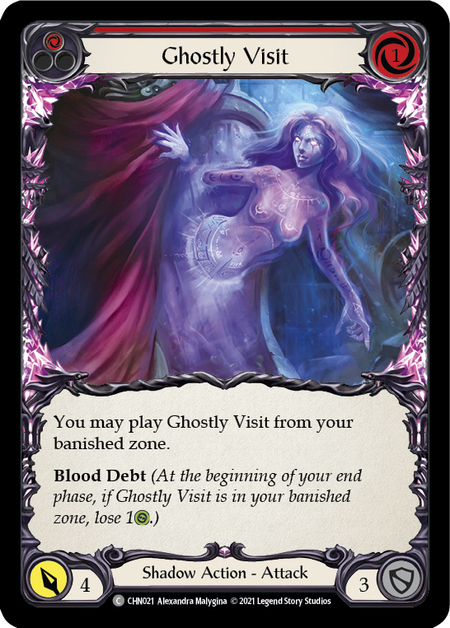
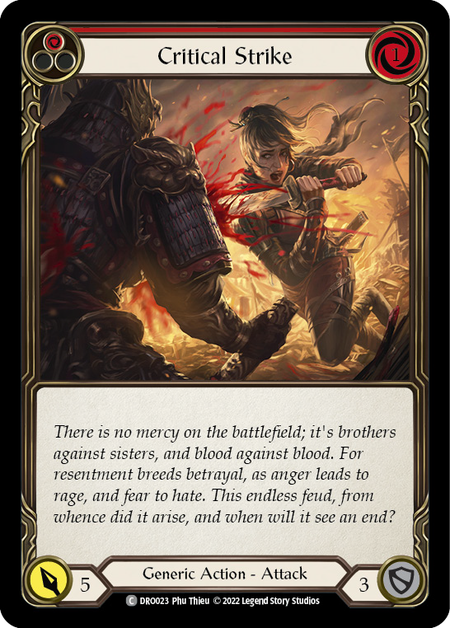
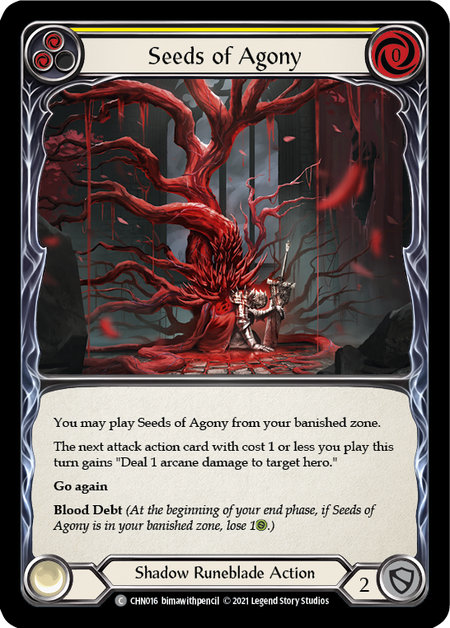
Same pitch, cost, and defense, for one less power. Critical Strike isn't a card that sees play in Classic Constructed, and yet Ghostly Visit has been at least a 3-of in Chane since the day he was printed. Seeds of Agony's effect is well below rate as well, but extra cards are extra cards. It doesn't matter if your individual cards are weaker when you're playing an 8-card hand.
Author's Note: Because Chane's ability gives go again to the next Runeblade or Shadow action, how you sequence your turns is very important. If you activate Chane and then Grasp of the Arknight (or any action that already has go again), you lose out on the benefit of the Chane go again, since go again does not stack.
Equipment
Shadow Runeblade has long boasted one of the strongest equipment suites in the game, and that holds true in Living Legend.
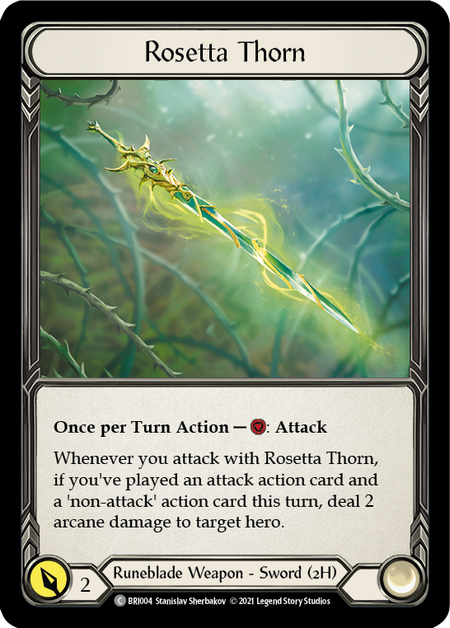
Rosetta Thorn was a big part of the dominance of Runeblades during the Tales of Aria meta. Four damage for one resource is a fantastic rate for a weapon, but that damage being split "2 and 2" makes it even better. Even if opponents have Arcane Barrier 2, a blue 3-block can't efficiently stop 3 damage from Thorn without another defensive resource sink (Crown of Seeds, Phantasmal Footsteps). Given that Rosetta Thorn is the only consistent source of 2 arcane damage that Chane has, most opposing heroes opt to run Arcane Barrier 1 (or 0) to avoid giving up any additional armor (#RunebladeTax). This means that Rosetta Thorn's arcane can frequently be relied upon to guarantee that our Spellbound Creepers will stick around for at least one additional turn cycle after their first use, which is very important in some matchups.
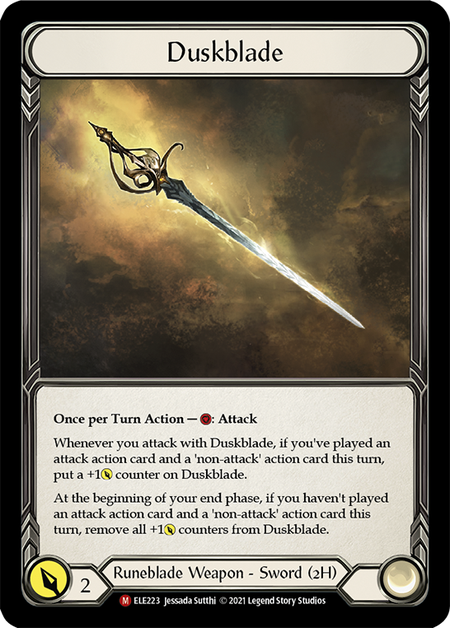
An aside on Duskblade, the weapon that was so broken, it was banned from Classic Constructed before seeing the light of day. While there is a strong chance it will retain the title of "Flesh and Blood's Most Broken Weapon" for the foreseeable future, I am of the opinion that it isn't the right weapon for Chane in LL. 2022 CC Chane didn't have to deal with Iyslander, Lexi, Stubbies Fai, or Warmonger's Diplomacy. The level of disruption and speed of opposing aggro decks in the Living Legend format dwarfs what Chane had to face during his era of CC. Duskblade needs to get up to four counters before it outvalues just running Rosetta Thorn, but it doesn't provide split damage benefits and makes us more vulnerable to disruption and drawing a dud hand.
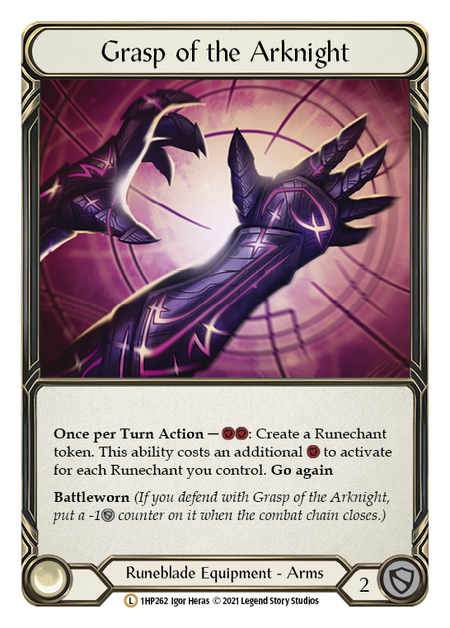
Grasp of the Arknight is as solid as they come. Battleworn 2 is great for stopping key breakpoints. Turning a couple spare resources into a Runechant makes for a nice pitch outlet, and on turn 0 it allows you to cycle unwanted cards out of your hand without attacking your opponent (denying them the opportunity to block and potentially improve their hand).
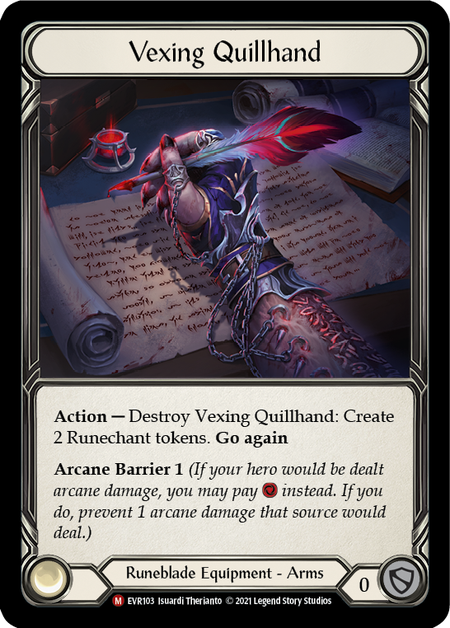
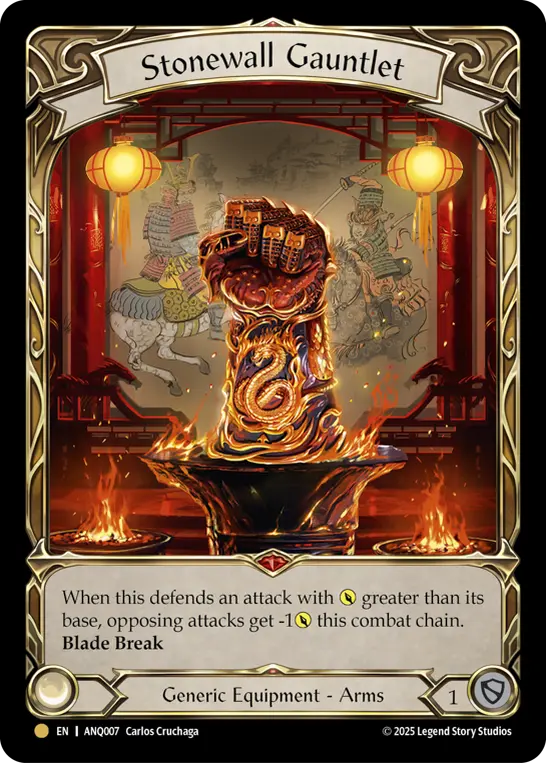
Vexing Quillhand is our Arcane Barrier 1 of choice, but I only expect to be pitching to AB against Wizards. Stonewall Gauntlet is a tech option against Zen. It can get about 5 value on a double Bonds turn, but I've found it can be trivially played around in some situations, so I'm not sure it's worth the slot when we already have Grasp.


Balance of Justice has become the default head equipment given the high number of effects that draw 2 or more cards in LL. Art of War, Three of a Kind, Herald of Erudition, Tome of Harvests, Bloodrush Bellow, Tome of Imperial Flame - you know, the cards that just got banned from CC and a few that dodged that bullet.
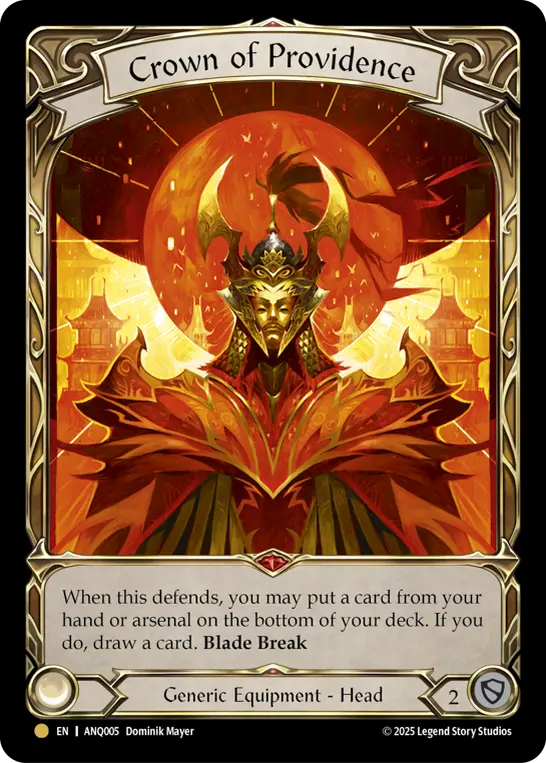
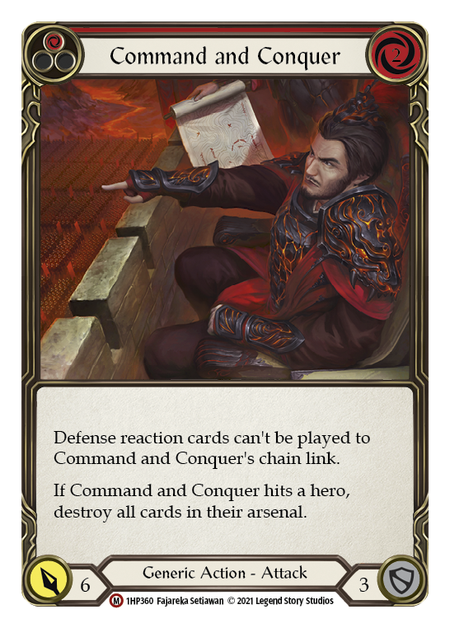
Crown of Providence is a fine option, but Chane's other equipment can protect against an ill-timed Command and Conquer very well, so Balance of Justice just tends to be better value overall. Ebon Fold comes in against Wizards for the Spellvoid 2, or if you are certain that an opponent is planning to try and hard fatigue you, so you can stash your Eclipse in banish without going down a card.
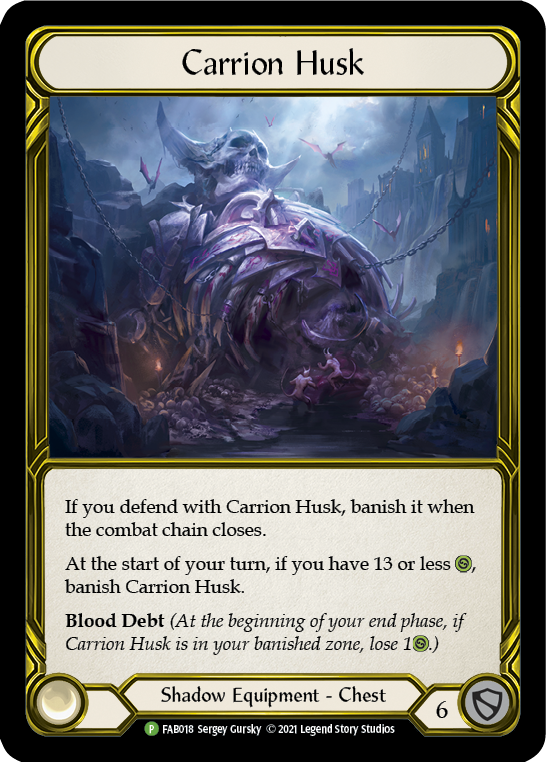
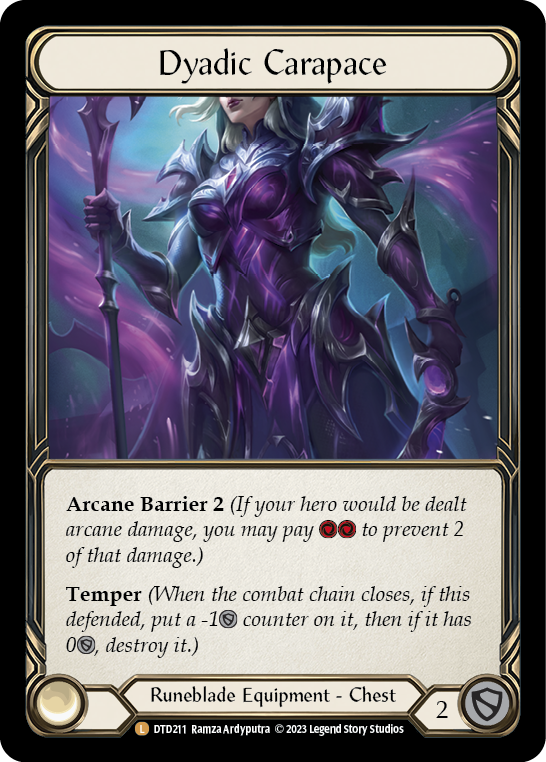
Carrion Husk remains one of the strongest tools for Chane. In CC, it was used to stop Herald of Judgment or Herald of Erudition from connecting, or stop a key crush attack from Starvo. It plays the same role in LL, but now you can add "blocks a Tiger Swipe for 6 on a Stubbies turn" to the list. CnC, Erase Face, it just doesn't matter; Husk will erase one problem attack per game. While you'll run Husk into nearly everything, Dyadic Carapace does come in against Wizards, giving you a nice Arcane Barrier 3 Spellvoid 2 loadout.
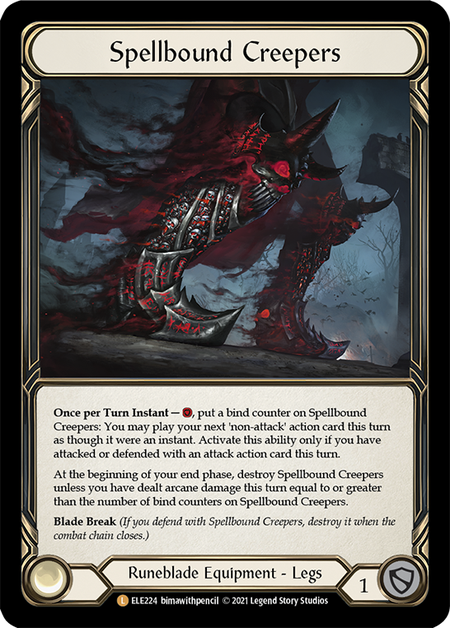
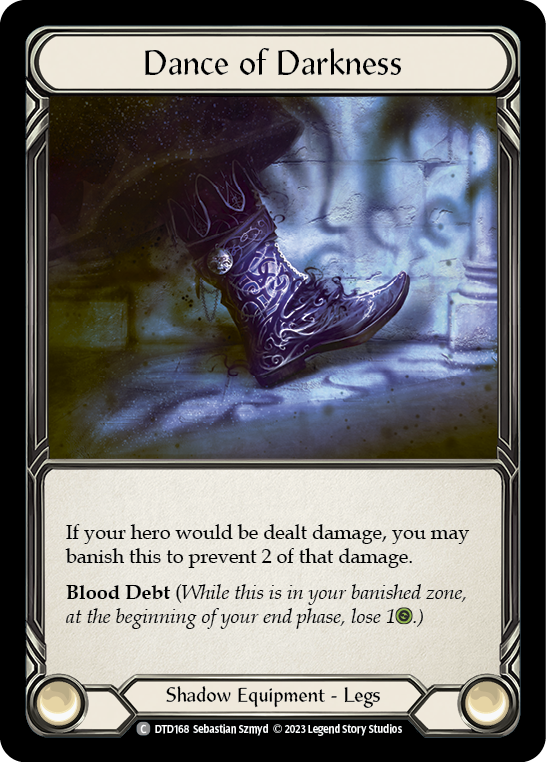
Spellbound Creepers are the go-to and get run into every matchup. They help you get extra action points to kill opponents as quickly as possible, and don't sleep on the impact of Bladebreak 1. I run them into every matchup right now, no questions asked. Dance of Darkness gets an honorable mention in case Wildfire Kano ever becomes a more prominent threat in the format.
The Core
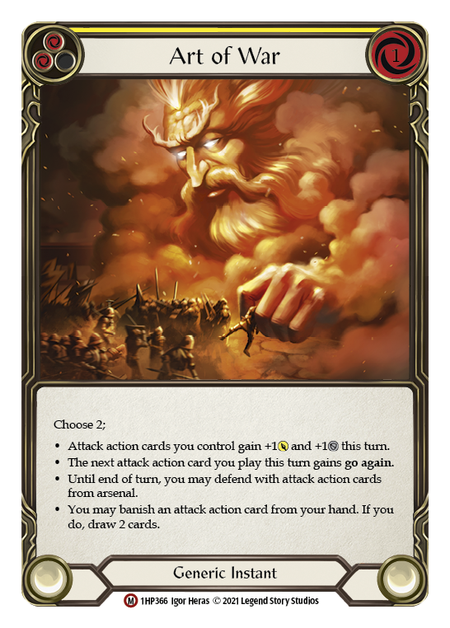
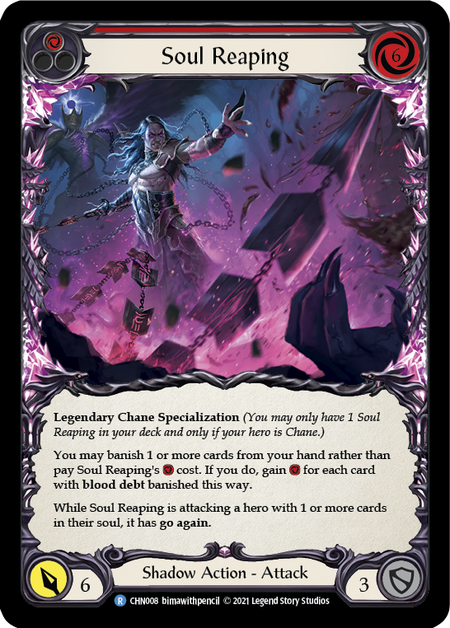
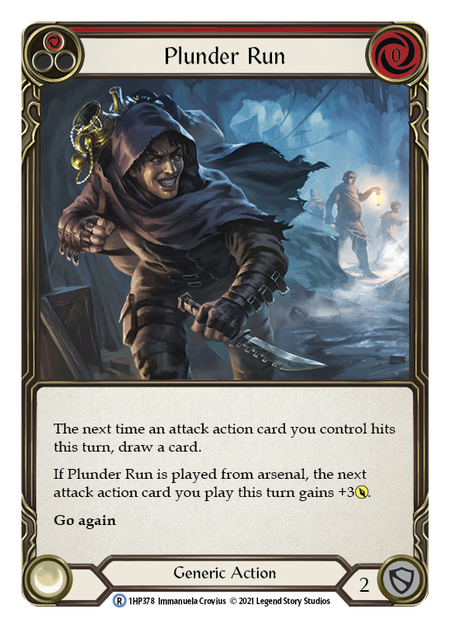
Earlier I mentioned that Chane is a deck worth far more than the sum of its parts, and that his individual card quality isn't particularly high in a vacuum. These are the exception. Soul Reaping can be a one-card 6 that actually gives you resources. With blood debt cards, Art of War is a Pot of Greed (Draw 2) plus whatever second mode best suits the moment. Plunder Run is an on-rate buff when played from arsenal with even more card advantage stapled on in a deck that already boasts that as a strength. Many of Chane's strongest turns involve these cards.
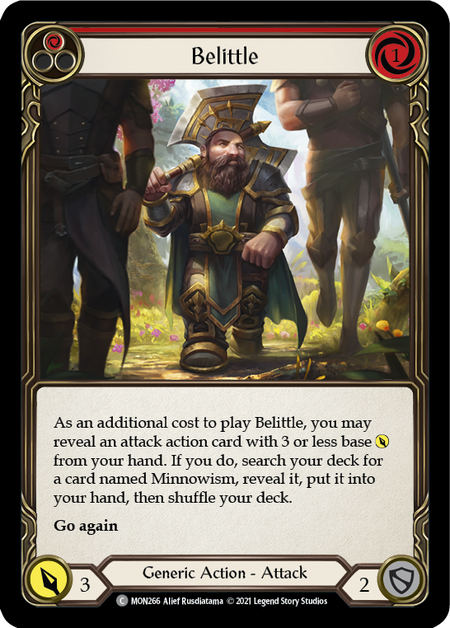

When Monarch 3.0 arrives, we might finally reach a critical mass of generically powerful Shadow Runeblade cards that leads to a great divide in how Chane decks are constructed: with Belittle and without. But today is not that day, and Belittle remains an indispensable feature of Chane decks, more so than ever with the resurgence of Ice heroes in LL attempting to combat Zen. Red Belittle is either a 1 for 6 with go again that turns on Rosetta Thorn, or a 1 for 3 with go again that gives you +3 resources for the turn. Powerful and flexible is a great combination.
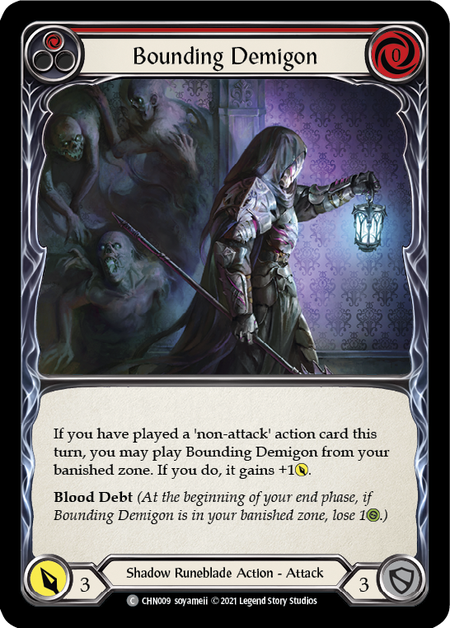
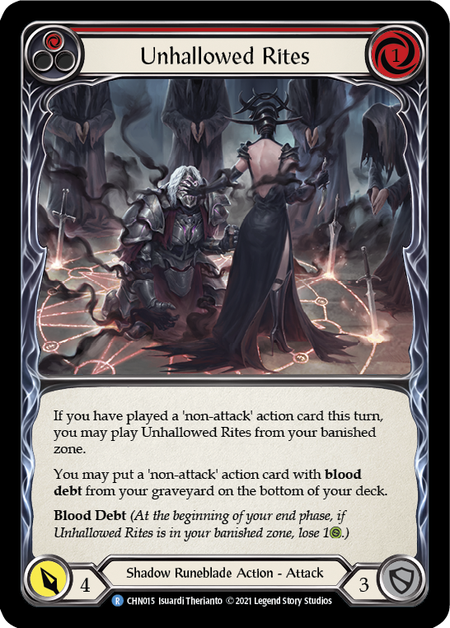
These are our core blood debt cards. As mentioned earlier, while individually unassuming, the power here comes from getting these cards for free via our Soul Shackles. Bounding Demigon is often played as a 9-of due to costing zero and the fact that every color serves to enable Belittle. Ghostly Visit and Unhallowed Rites are generally played only in red; and while Unhallowed Rites has some extra utility in recycling blood debt non-attacks, they mostly serve as bread and butter attacks for the deck. It's not a firm rule as turns are often contextual, but because it requires the most of you, Rites is the attack I prioritize playing out first.
Author's Note: Both Bounding Demigon and Unhallowed Rites require you to have played a non-attack action before you can play them from banish, so it's important to try and have access to at least one per turn.
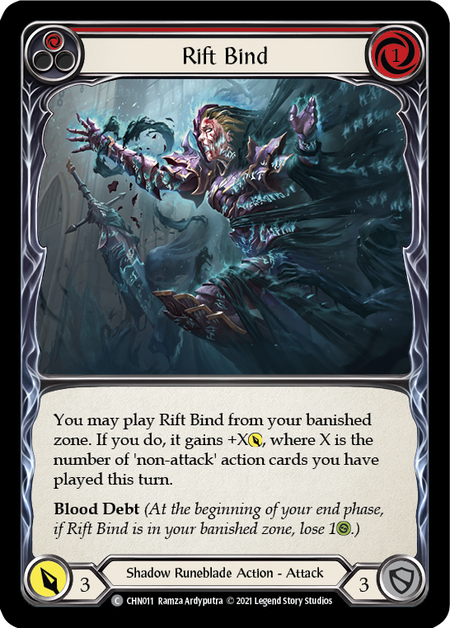
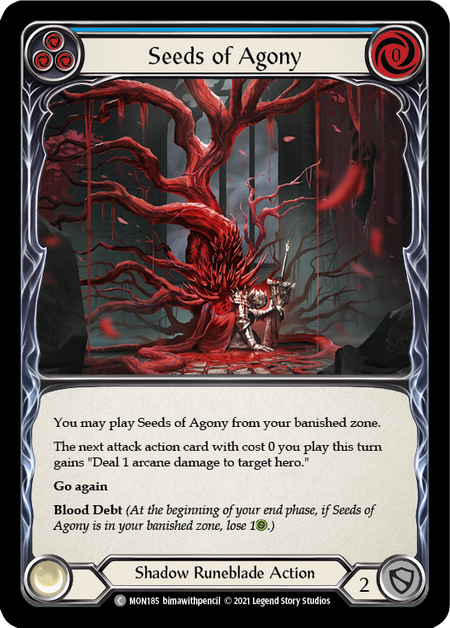
In the majority of games, Rift Bind plays a role similar to Ghostly Visit or Unhallowed Rites, but its ceiling is quite a bit higher than either of them. Rift Bind and Seeds of Agony go together like peanut butter and jelly. Rift Bind's buff scales with the number of non-attack actions you play in a turn, so two of those in conjunction with a pile of Seeds can do an enormous amount of damage from seemingly nowhere. Consider this sequence of cards played from banish:
Seeds > Seeds > Shackle > Red Bounding Demigon > Creepers > Yellow Seeds > Red Rift Bind > Red Rift Bind
That is 17 damage off a single blue pitch.
Author's Note: Both Rift Bind and Bounding Demigon must be played from banish in order to get their attack boosts.
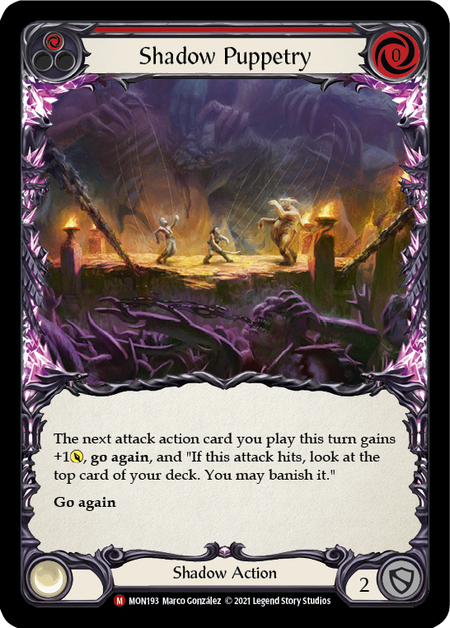

And finally we come to our extenders. Shadow Puppetry gives us go again on any attack action with a chance to effectively draw a card via banishing if it hits. Blue Mauvrion Skies is a great resource card any only works on Runeblade attack actions, but there are plenty of scenarios where that is advantageous.
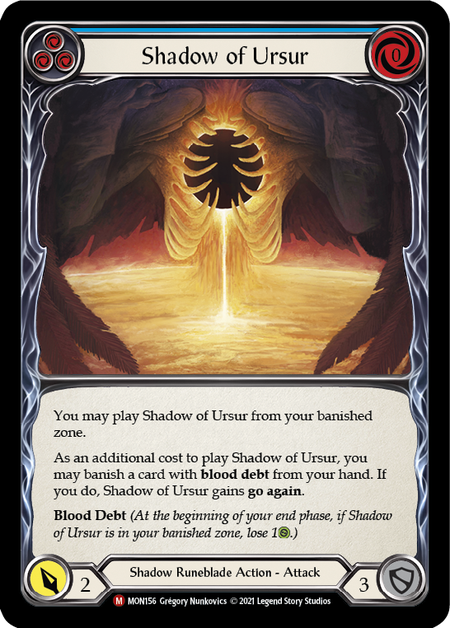
Against decks running Rampart of the Ram's Head or Phantasmal Footsteps, we want to break the chain as few times per turn as possible, so our go again enablers being more limited lets us pass them down the combat chain. You can do Mauvrion Skies, Shackle, Belittle, Ghostly Visit, Bounding Demigon, and end on Rosetta Thorn, all without breaking the combat chain. Shadow of Ursur also lets us extend combat chains at the "cost" of banishing a blood debt card from hand, which can even be upside when it lets us get Rift Binds and Bounding Demigons into banish.
Sideboard Blues


Invert Existence is a role player blue card. It gives you a bit of reach, particularly in the Chane mirror where you can banish 2 blood debt cards at the end of their turn and effectively force them to take 4 damage. It also doesn't take an action point to utilize, which means it helps us play out Eclipse just a bit easier. Timesnap Potion is another important card I don’t leave home without as it's very important against Prism due to it largely blanking Arc Light Sentinel once you have one in play.
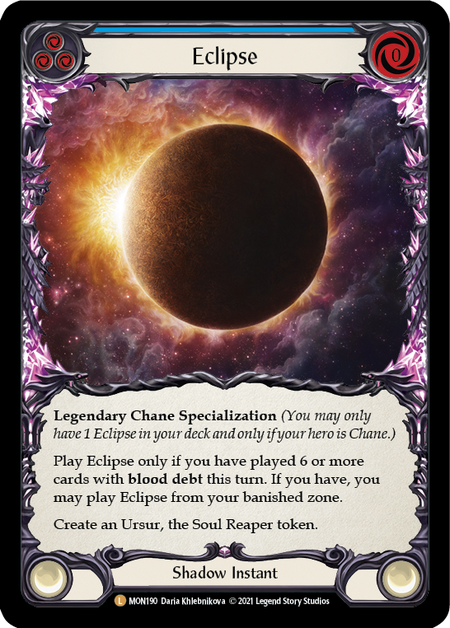
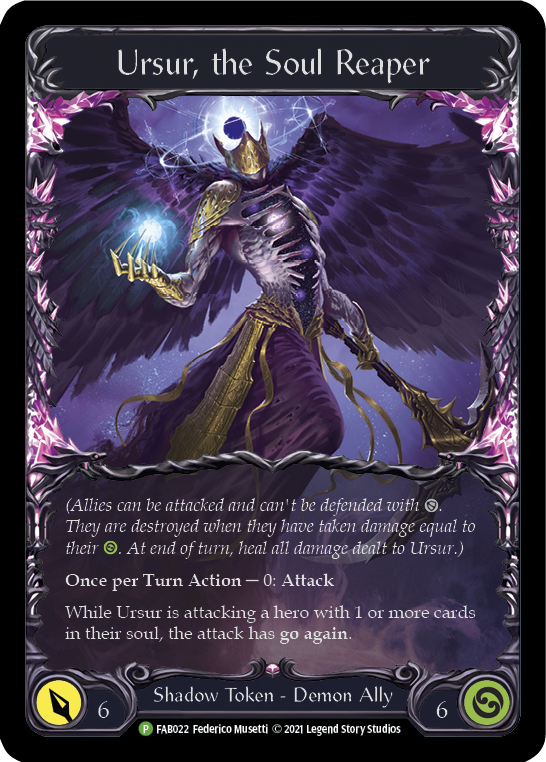
Eclipse plays a part in some of Chane's most explosive turns, but it also gives Chane an interesting out to fatigue by damage in late game scenarios. With Ursur in play, Chane can use his ability every turn to start out with a 6-power attack with go again, for no resource cost. Because of the amount of recurring value that Ursur represents each turn, any opponent aiming to fatigue Chane will try and leave themselves an out to the demon, so it's important to play it on a combo turn threatens enough damage that it forces the opponent to let their shields down and ensures that Ursur can live. (Prism can arsenal a Wartune Herald and leave their Tunic on one until you Ursur, but there's not much we can do about that)
Because Chane ends up banishing his entire deck within the span of about nine turns, there is a perception that if you can just outlast those turns that Chane will simply die, either to blood deck or lack of playable cards. This happens sometimes, but against decks that lean too hard on fatigue as their win condition, Chane tends to have enough room to cultivate the perfect banish zone and combo off for 40+ damage with relative ease. With a single blue, Chane can activate Grasp of the Arknight, Shackle, attack with Ursur for 6, and follow up with Rosetta Thorn for 2. If you had a successful combo turn that couldn't quite get there, leaving them at one life, that Ursur sequence can strip every card from your opponent's hand until you eventually fatigue them by damage. Who's the fatigue deck now?
Flex Options
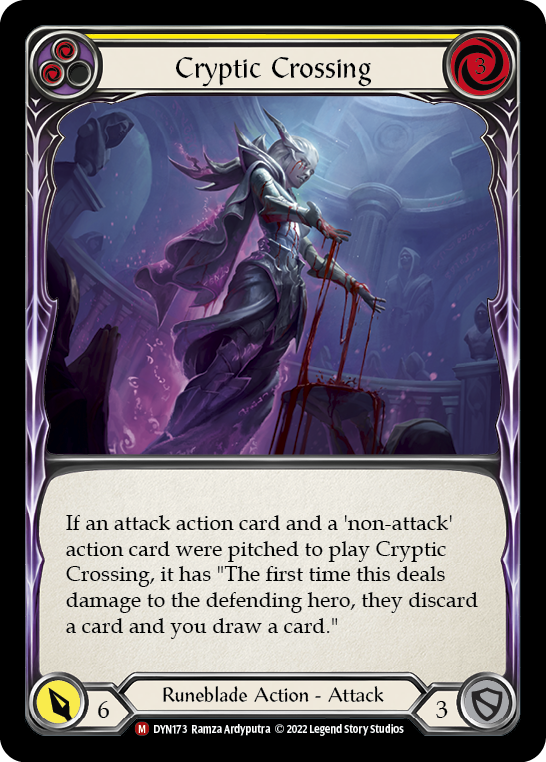
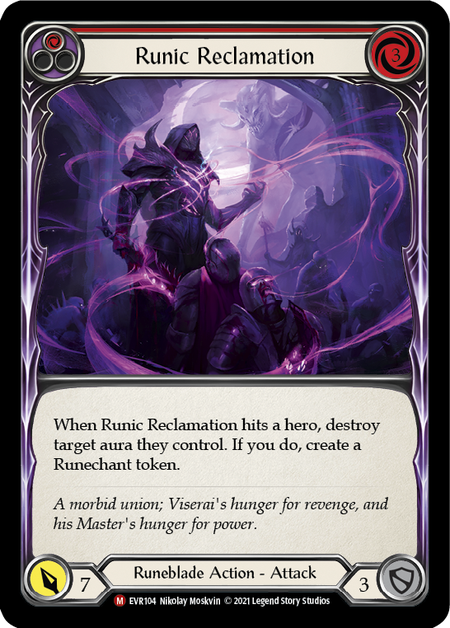
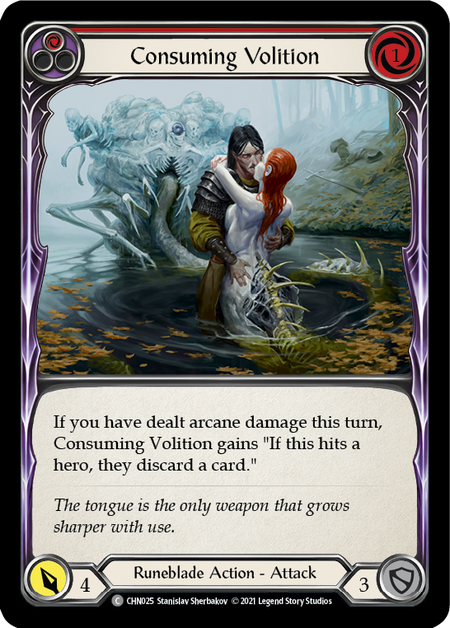
Runic Reclamation is an important card in the Chane mirror, it's a great popper and threatens aura board states against Prism, and it can destroy other key auras in the format as well, such as Channel Lake Frigid and Channel Mount Heroic. Cryptic Crossing is a great early attack, as every buff in the deck can augment it without requiring pitch, and you can give it go again via Soul Shackles. Pitching a Rift Bind and a blue Seeds is a great pitch setup for late game and also lets you buy time to build up your Shackles by threatening a really potent on hit. Consuming Volition is a more conservative piece of disruption, but it's also much more cost friendly.
Generic disruption all-stars. With Rosetta Thorn and Chane's ability, each of these can be part of a 2-card 8 value turn while threatening their respective on-hit effects. Choose as needed depending on the meta.


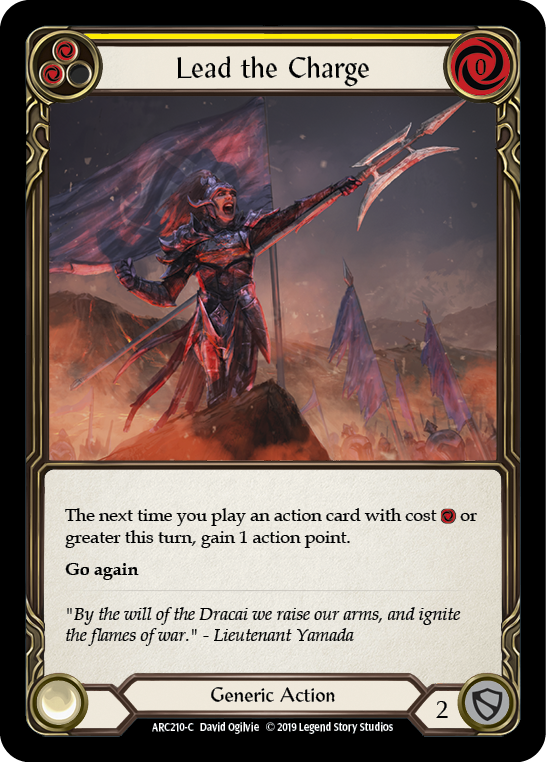
Addition extenders. Prismatic Leyline has the potential to be 6 value for zero resources if you have the right attacks for it, which is an excellent rate for a 3-block non-attack action. Blue Captain's Call is most often a resource card, but the deck also plays at least twelve 0-cost attacks, so it can be a great card to play off Creepers. Lead the Charge is a way to combat Arc Light Sentinel, and it also lets you trivially pass action points across the combat chain without breaking it in matchups where that matters.

Some people swear by Tome of Fyendal in the aggro matchups, but I've never been a big fan personally. The ceiling is absolutely there: block with an attack, Creepers Tome during the opponents turn to blank 7 damage and still go into your turn with a full grip. The value is there, but Tome asks a lot of you as a yellow 2-block that needs to be played from arsenal (especially when we also have Plunder Run).
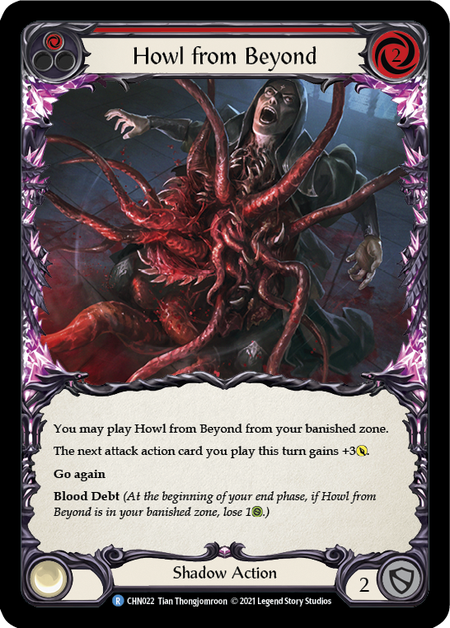
Howl from Beyond is the next-best blood debt non-attack action for Chane after Seeds of Agony, but I wouldn't start adding any Howls to your deck until you've maxed out on Seeds, which I have not.
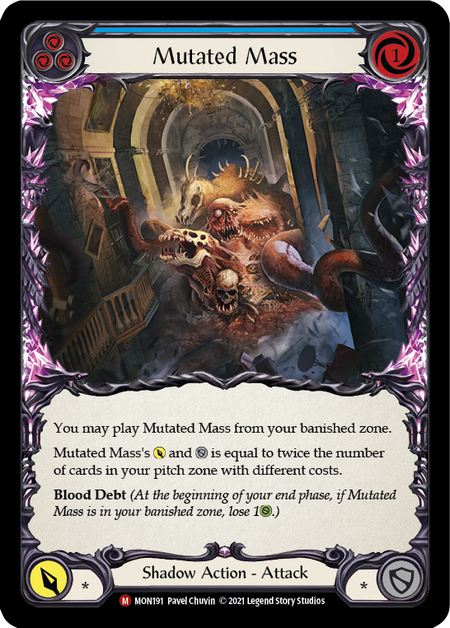
Mutated Mass is a card I don't play as more than a singleton due to it generally not having a defensive value, but it checks a lot of boxes: another blue, a blood debt card that can reveal to Belittle, and an attack that often has the power of a Ghostly Visit (if you have two different cost cards pitched).
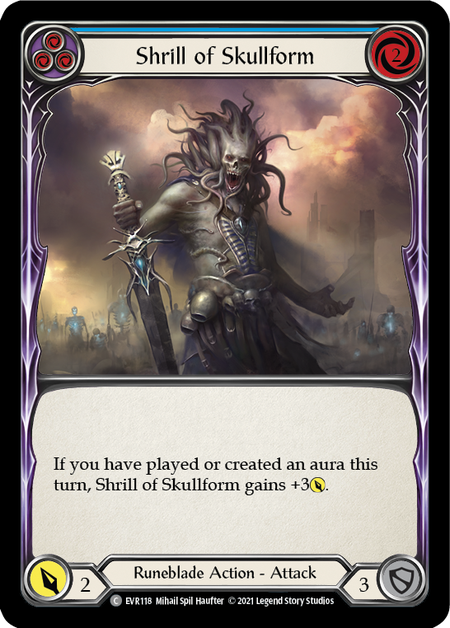

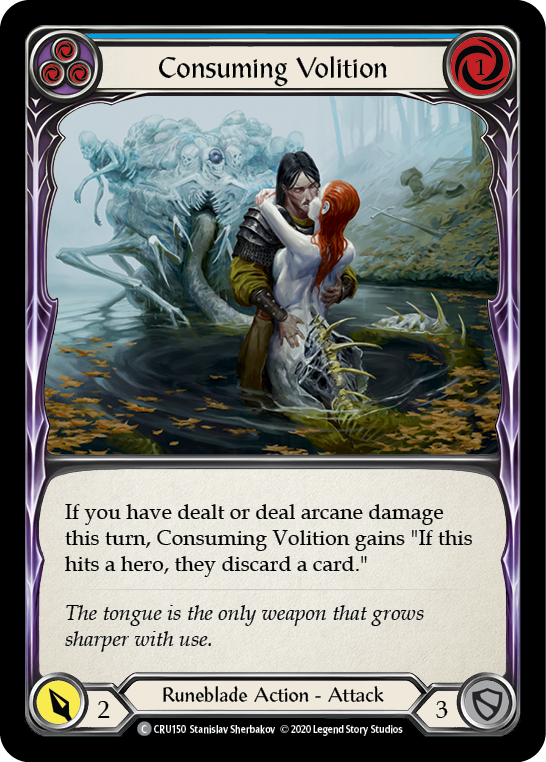
Finally we come to round out our remaining blues. These are cards you're using to pitch or block with most of the time, but you'll occasionally be flooded on blues or have an extra card to burn so, so we try and pack as much power and utility in our blues as possible. Vexing Malice gives some extra evasive damage, which can matter if you're trying to keep Creepers around longer. Shrill of Skullform attacks for 5 which is a good power for a blue. Consuming Volition adds some cheeky extra disruption.
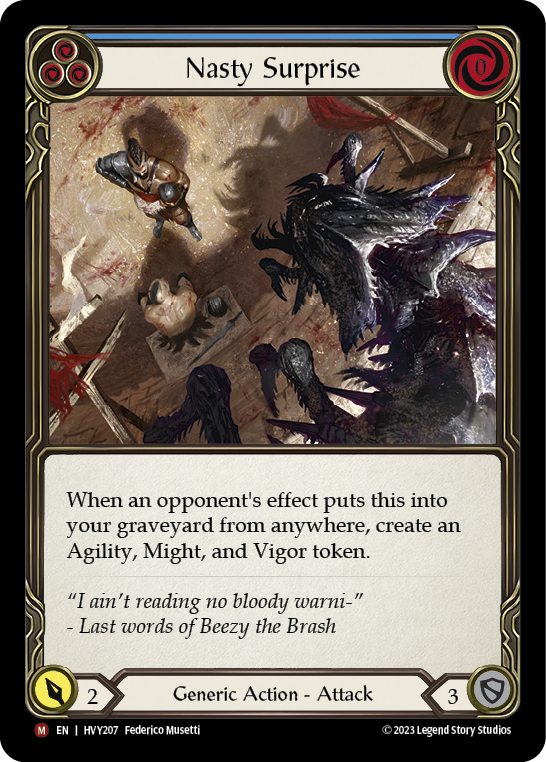
My current favorite flex blue for the deck is Nasty Surprise, due to its resilience to discard effects. Crippling Crush, Concuss, Codex of Frailty, Winter's Bite, Insidious Chill, Aether Icevein, Pummel - there is no shortage of discard based disruption, so getting some value out of your discard can be game-winning.
Pitch Stacking in Chane
When going through the first cycle of your deck, Chane's banishes are random, so you won't know what you're going to hit each turn. Sometimes you hit five of your first six banishes, and other games you'll whiff on shackles until your fifth turn. But what if you knew what you were going to banish on a turn, and what if you knew it was all gas?
Consider this except from my FaB101 Chane article:
As we accrue more and more shackles over the course of a game, at the beginning of each turn we will banish progressively more cards. This not only powers up our turns, but also exponentially increases the speed with which we go through our deck. If you use your entire hand and make a shackle each turn, your number of cards used will look like this:
4
4+1|9
4+2|15
4+3|22
4+4|30
4+5|39
4+6|49
4+7|60
Assuming you start with 60 cards in your deck, that is a grand total of 8 turns before the only cards remaining are the ones that you have pitched during the game. If you don't shuffle or draw any extra cards, the first 4 cards you pitch will be your final hand, and anything under that will likely be the last cards you banish. Knowing this pattern and how to work with it can be incredibly powerful but is also quite skill testing, particularly once you start to factor in things like drawing extra cards, shuffling, skipping shackles, or not using all the cards in your hand. As good as Chane is at being aggressive, there is no doubt that his ability to setup an overwhelming late game turn can be just as impressive.
The inclusion of Belittle further complicates setting up the overwhelming Chane pitch stack, and it is sometimes correct to just play it out without searching if you know you're near your final stack. Your stack doesn't have to be perfect in order to set up an adequate late game, but the more you know about you last hand and banishes, the better you can play to that end game. Chane's damage potential for a perfectly stacked end game turn would even make Zen blush.
Matchups
Zen is the deck to beat in LL right now, which is unfortunate as it's probably Chane's worst matchup. Stubby Hammerers gives the 7+ value per game that Tiger Swipe Shuko gives in CC all in a single turn, so Zen will be looking for a massive early turn to just bury you before the Soul Shackle train gets going. You'll want to go first in this matchup for all the normal Chane reasons, but you also prevent Zen from getting a free setup turn himself.
The Chane mirror is a pretty draw-dependent aggro mirror. Who hits better on their banishes? Who plays the most Art of Wars? Who gets forced to use Husk first? Bring in your Runic Reclamations to threaten the opposing Chane's shackles, be disciplined in your armor usage, and make sure you maximize your value per turn. I don't bother with Arcane Barrier in this matchup, as you're better off with more armor.
Bring in Runic Reclamation and some extra blues and go first if possible. Belittle is huge for letting you battle through the Frostbites, Blizzards, and Channel Lake Frigids. Be mindful of your sequencing to minimize their ability to shut down your turn with Hypothermia, and expect to lose a turn to Warmonger's Diplomacy. The onus is on Iyslander to not miss on disruption, so even if you lose a few turn cycles to disruption, use your AB3 to keep a healthy life differential and wait for an opening.
Armor and smart blocking versus disruption. Chane will eventually out-value Lexi due to banishes, so she has to disrupt early and steal turn cycles until she can hit a Rain Razors plus Three of a Kind turn. Belittles help you fight through random Frostbites and Arctic Incarceration, and Nasty Surprise can insulate you against discard effects such as Winter's Bite and Codex of Frailty.

The days of full power Starvo in LL are behind us. The attacks are a little less tall, and the disruption is tamed. Husk plus one card can buy you one ignored Starvo fused attack, and Balance plus Grasp and one card can prevent the crush from a Spinal Crush. Do your best to keep Starvo on the backfoot, because as soon as you get them blocking, it'll take them hitting Warmongers, Hypothermia, or Awakening to take back any tempo.
The last of the Ice brigade. Good Chanes who know how to pitch stack their late game combo generally beat good Oldhims trying to hard fatigue, which leads to Oldhims switching to try and play aggressively and Pummel their way to victory. You need to hedge your plan so you can set up an Eclipse turn if they try to fatigue you, but also be ready to race.
Chane's original nemesis. Prism can try and play it two ways: either try and fatigue via solid defense backed by ALS and Warmonger's, or go full bore Herald aggro. I think Chane is favored into both game plans, but the addition of Empyrean Rapture gives Prism an extra two points of value the first time a Herald hits each turn, which makes the race closer than ever. It's important to try and land a Timesnap Potion when you see one, so that you can blank their Arc Light Sentinels in the later stages of the game.

Similar to the OG Prism strategy, except that Awakener of Sol is more locked into the Herald aggro plan since they can turn each Herald hit into 4 extra life. 7 power poppers are important since they'll be on 9 Herald of Triumph, but otherwise your strategy stays the same.
Run Vexing Quillhand, Runic Reclamation, and go fast. Whether they are trying to OTK you or racing you in the classic fashion, you are just trying to pump out damage as quickly as possible.
Add a few poppers, use your normal equipment loadout, and use Rosetta Thorn to keep the board under control while still pushing damage. Chane will out damage Dromai as long as the board stays under control, so don't be afraid to spend attacks clearing key dragons.
Rosetta
Rosetta, releasing on September 20th 2024, offers a few new tools for Chane.

Face Purgatory is the latest addition to the Runeblade armory, and it is a doozy. Cryptic Crossing is my favorite card in Flesh and Blood, and this is a Cryptic Crossing effect on a piece of equipment! The 2-block floor is solid, but early game Chane wants nothing more than to slow the game down a bit so he can build up Shackles. This can act a bit like a Scowling Flesh Bag when opponents are trying to pop off before you, so Balance of Justice is going to have real competition soon.
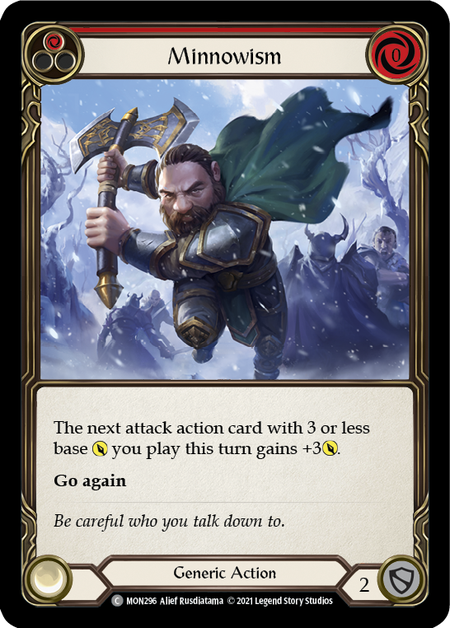
Among the lower rarities, Hit the High Notes is the easiest upgrade to the deck. Soul Shackles are auras, so Shackle, red Hit the High Notes, Rosetta Thorn is a 2-card 8 with a resource to spare off a blue pitch, making it either robust to a Frostbite or leaving you with options for Creepers plays. This cycle of attacks also works even better with Belittle than Shrill of Skullform did. Red Belittle, revealing yellow High Notes, fetching and playing red Minnowism, Shackle, High Notes, Rosetta, is a 3 card 15, which any FaB veteran will tell you is fantastic. (Thank goodness they took the extra point of power off the buff and not the base power. I see your thoughtful design decision LSS.)

I think Condemn to Slaughter is the most interesting Runeblade rare. A Runeblade-flavored Come to Fight that works on Runeblade weapon attacks is already a solid baseline, and the more I read through the text beyond the buff, the more potent this card becomes. The easy situation to imagine is playing against Prism and they drop an Arc Light Sentinel. If they have no other auras in play, you can play Condemn, destroying one of your Soul Shackles and forcing them to choose to destroy the ALS, and then complete your turn without missing a beat. Channel Lake Frigid got you down? This card can do the same thing against Ice heroes. Still not excited enough? Your Iyslander opponent drops Hypothermia on you while they have that CLF in play. Fun fact about Hypothermia: it is an aura you control. So you can destroy the Hypothermia to pay your side of the extra cost, and Iyslander still has to destroy their CLF. As a Jund player at heart, I love a good three-for-one. Iyslander and Prism players will learn to hate this card.

Splintering Deadwood has some interesting role player potential. The base rate is a Raging Onslaught with upside, and that upside can do some interesting things. Like Condemn to Slaughter, it can destroy a Hypothermia or Frost Hex on your side of the board. If you give it go again via Chane and your Iyslander opponent decides to Blizzard the attack, you can turn the extra Frostbite into a Runechant if they don't block the attack out entirely. Some Chane games drag on in a way where sometimes you don't want to finishing banishing the remainder of your deck on turn 9, or you just get your Chane stack off by a few cards due to some untimely disruption. Historically, Chane might have had to skip Shackling for a turn to fix the count for his final turn, but now he can even go minus one Shackle overall while still taking advantage of Chane's ability for the turn. Both the value floor and the skill ceiling on Splintering Deadwood are very high, so don't sleep on it.

I alluded to an entirely different version of Chane featuring Rune Gates earlier in this primer, and the duo of Deadwood Dirge and Arcane Cussing seem tailor made to enable the strategy to work for real. One of the primary things that concerned me about that archetype were that you only had so many ways to generate Runechants, so you window to win before you start being locked into unplayable Rune Gates sitting in banish was earlier than I was comfortable with. But with these two new Runechant generators, along with some additional ways to throttle your accrual of Soul Shackles in Splintering and Condemn, could take Rune Gate Chane from "Meme deck that was good in Blitz" to a real contender in the format.
The future is bright for Runeblades. Given the current state of the Living Legend meta and the recently announced changes to Zen, I think Chane is absolutely a contender for best deck in LL as we head towards the Calling Chicago in December. Whether you're trying to win a Calling, or just compete in your local LL events, I hope you find this primer helpful in journey into the Shadows.