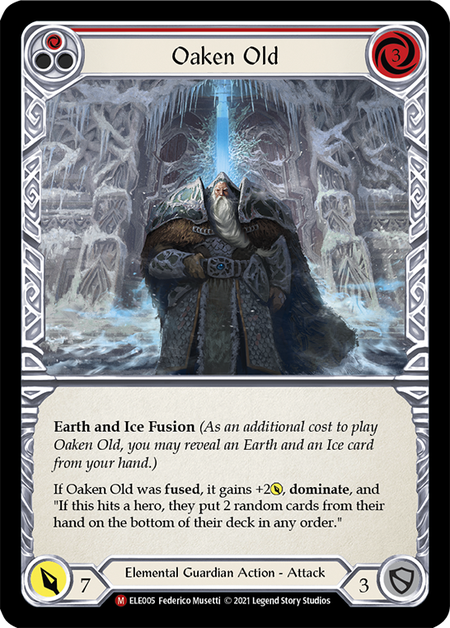
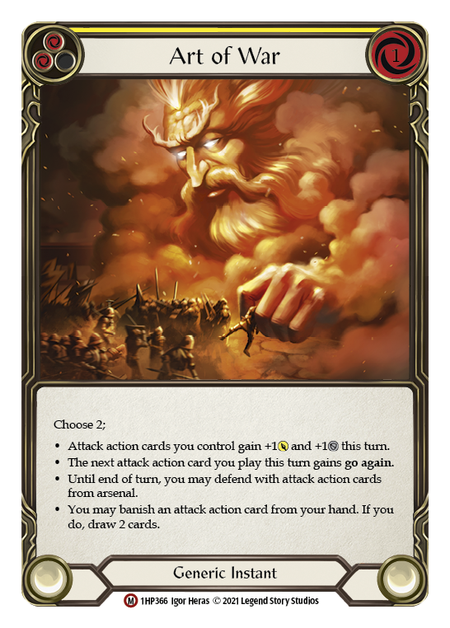
Living Legend is a powerful format, akin to Magic’s vintage and Pokémon’s extended, filled with absolutely broken tools and effects that warp the game around them. We have Starvo fusing Oaken Olds, Zen resolving Art of Wars into something like a million kitties, and Kano drawing 10+ cards a turn.
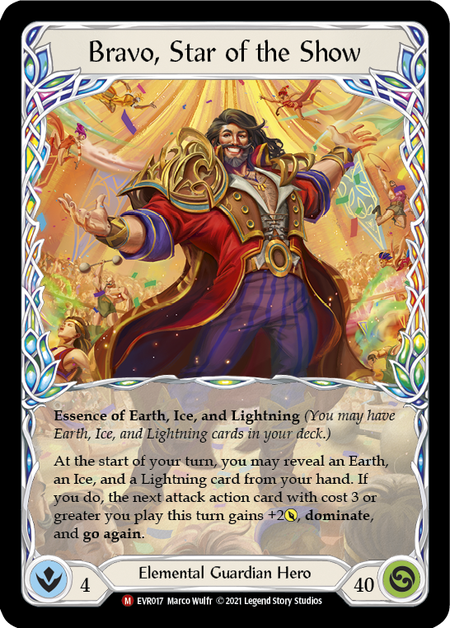

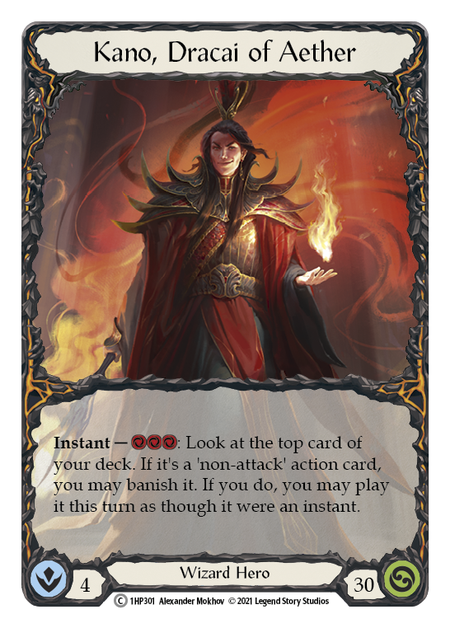
With all of these busted options, finding your hero can be daunting at best. But may I suggest to you a Classic Constructed all-star: Aurora, the Shooting Star!
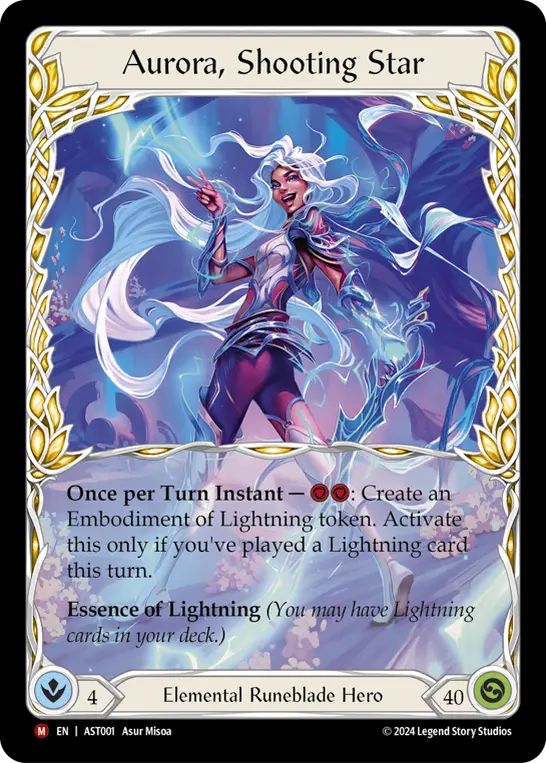
At first, this might seem like an insane idea for the format. What is a fair (if incredibly efficient) aggro deck doing in the format of the most broken aggro decks to ever exist in the game? Well, mostly breaking one of the most powerful cards in Living Legend - Ball Lightning.
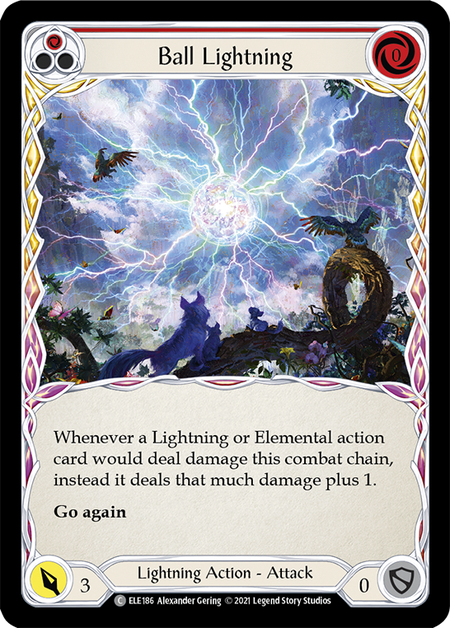
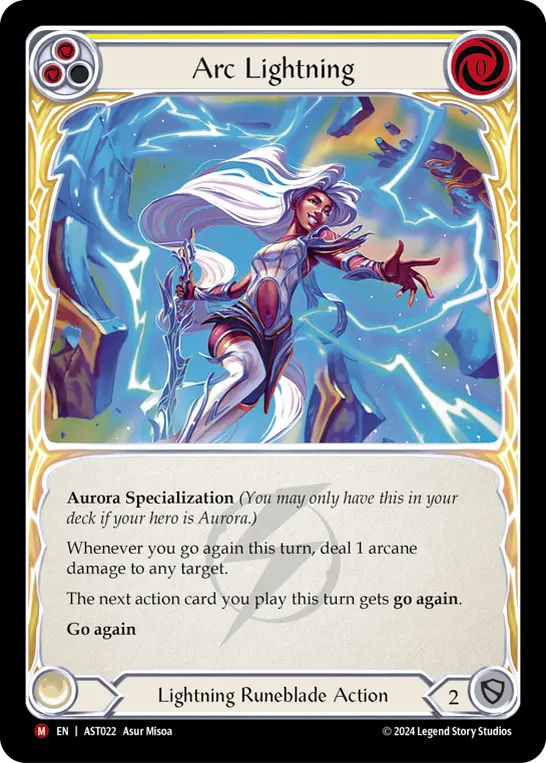
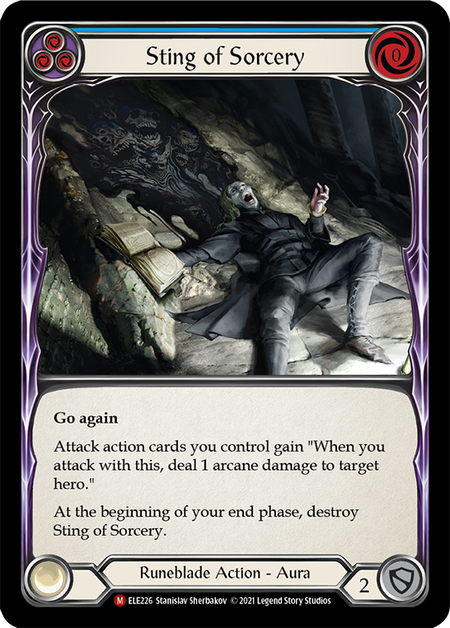
Imagine if Flicker Wisp and Fry had a baby that had only the best parts of both cards, and also gave all of your attacks “on hit, deal 1 damage”. To top it all off, it has direct synergy with Aurora's power card Arc Lightning, making it shoot for two damage instead of one. It even raises the potential of Sting of Sorcery, now essentially a second Arc Lightning.
Every one of our deck decisions revolves around this core idea, and is broken into these categories: Combo, Power Cards, Glue, and Sideboard.

Weapons
- Star Fall (1)
Equipment
- Dyadic Carapace (1)
- Grasp of the Arknight (1)
- Shock Charmers (1)
- Lightning Greaves (1)
- Face Purgatory (1)
- Fyendal's Spring Tunic (1)
- Spell Fray Tiara (1)
- Snapdragon Scalers (1)
Loadout
- Arcanic Shockwave (Red) (3)
- Arc Lightning (Yellow) (3)
- Ball Lightning (Red) (3)
- Blast to Oblivion (Red) (3)
- Current Funnel (Blue) (3)
- Gone in a Flash (Red) (3)
- Burn Up // Shock (Red) (3)
- Chains of Eminence (Red) (2)
- Channel Lightning Valley (Yellow) (3)
- Electromagnetic Somersault (Red) (3)
- Static Shock (Red) (3)
- Flittering Charge (Red) (3)
- Ball Lightning (Yellow) (3)
- Ball Lightning (Blue) (3)
- Fry (Red) (3)
- Entwine Lightning (Red) (3)
- Gravekeeping (Red) (3)
- Second Strike (Red) (3)
- Sink Below (Red) (3)
- Lightning Surge (Red) (3)
- Sting of Sorcery (Blue) (3)
- Snatch (Red) (3)
- Lightning Press (Red) (3)
- Vaporize // Shock (Yellow) (3)
Combo
The combo section is fairly simple: we are maxing out on Ball Lightnings, Arc Lightnings, and Sting of Sorceries. At 15 cards, that’s the first fourth of our deck!
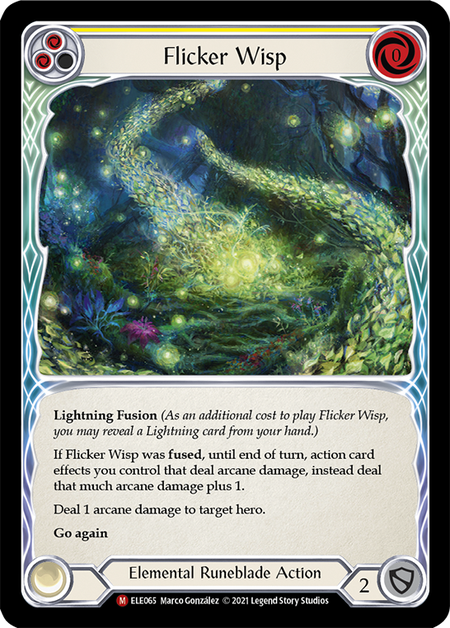
Notably missing is Flicker Wisp, but this exclusion begins to make sense when you consider that Ball Lightning is an unbrickable Flicker Wisp that doesn’t require drawing another combo card to be good! We will discuss Flicker Wisp more in the sideboard section.
Power Cards
This is the section of the few 0-for-5+ Lightning cards we've been graced with. Several of them also have positive interactions with Ball Lightning to make them even stronger!
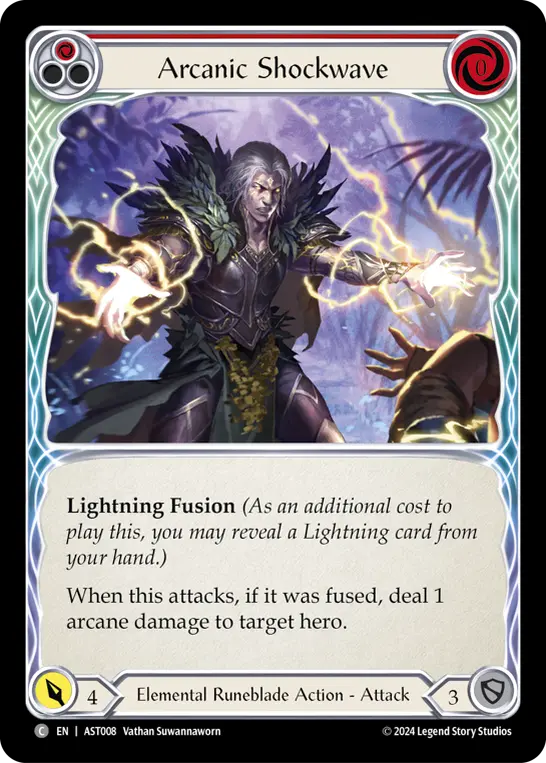
Arcanic Shockwave and Static Shock cards are incredibly similar in that they become 0-for-7s off of Ball Lightning and generally require an extra action point to convert optimally. All of our highest damage turns involve these cards. Even an incredibly simple turn of Sting of Sorcery > Ball Lightning > Arcanic Shockwave is 13 damage off 3 cards!
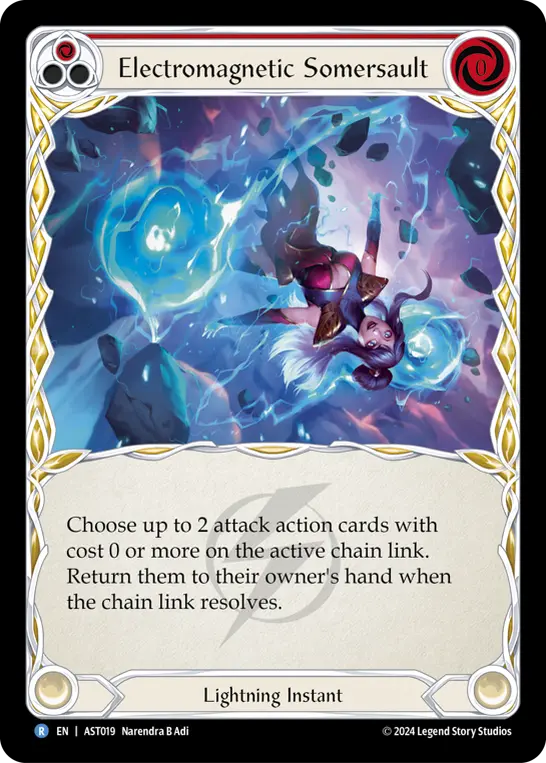
Electromagnetic Somersault is way too insanely versatile to not get its own section. It can function as a 0-for-6 defense reaction, and can re-buy one of the above cards, or one of our 0-for-4 go again Lightning cards. Basically always happy to see this card in a hand that contains an attack action, let alone multiple.
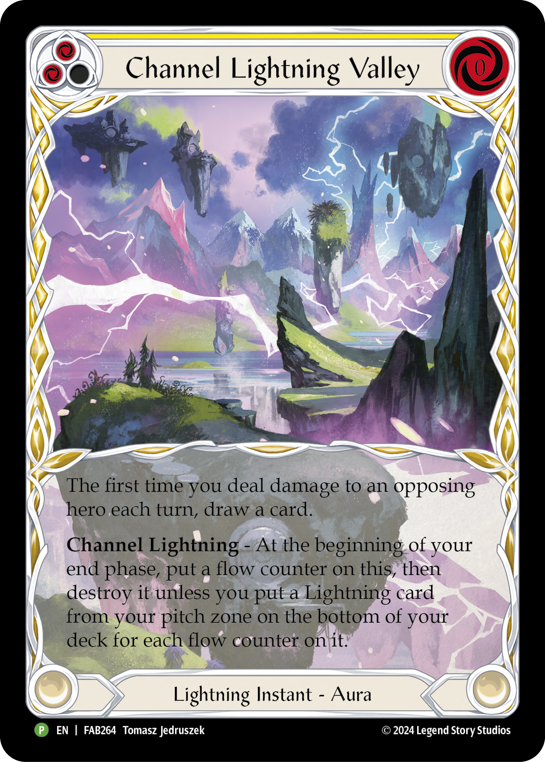
This card plays a lot of different roles. Firstly, it helps us dig for combo cards to make our combo more reliable. Secondly, it lets us set up 6-card combo turns against slower decks to blow them up. Thirdly, it gives us greater high roll potential when going second to essentially get a “free arsenal” and a 5-card hand on our first offensive turn of the game. Several of our matchups revolve around this card and using it properly, and evaluating when to let it die and let it live is one of the most engaging parts of the deck!
Glue
The rest of the deck I roughly define as “glue” - cards that help the deck function and are good into the meta or on combo turns.
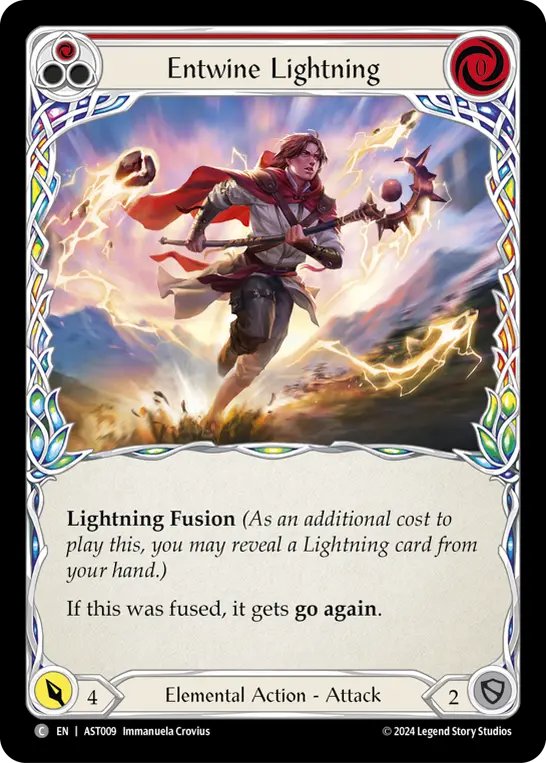
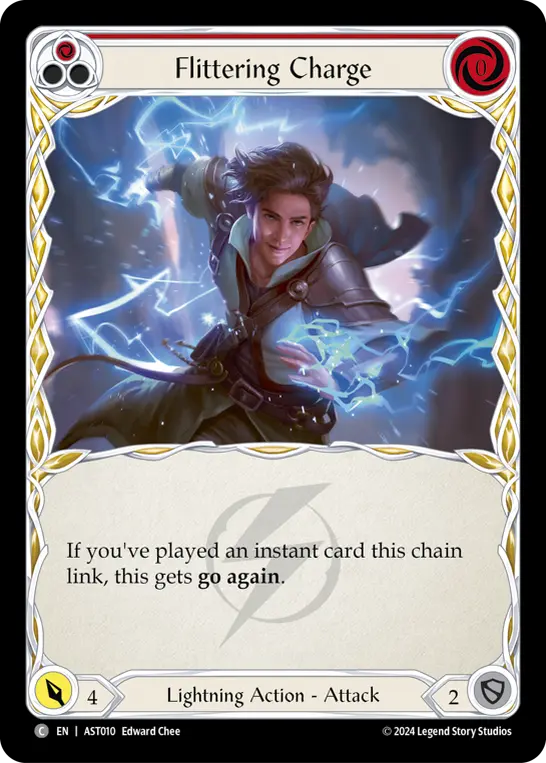
The closest the deck has to unqualified 0-for-4 go agains, Entwine Lightning and Flittering Charge are both insanely powerful and synergize with everything the deck is trying to do.
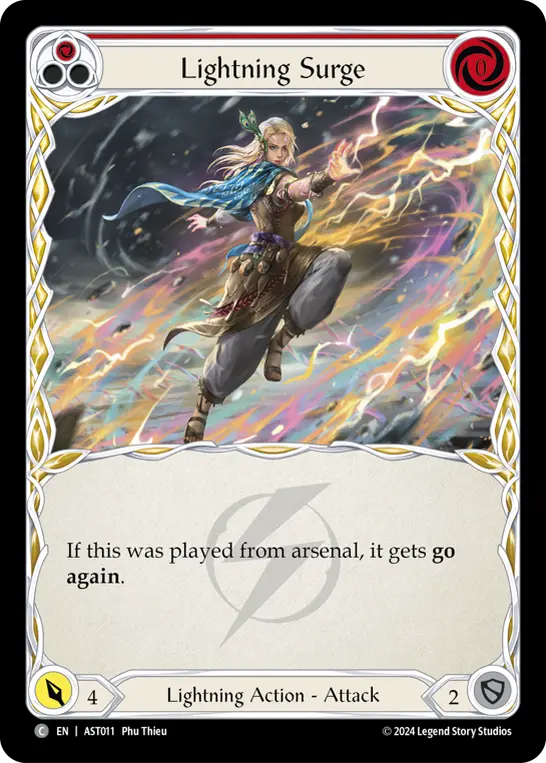
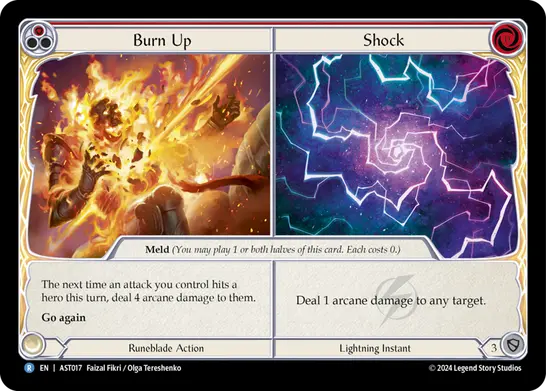
Lightning Surge, Second Strike, and Burn Up // Shock are our situational go agains for 4. Second strike has high synergy with shooting a lot of arcane damage for 2 (and most people don't bring AB 2 into us); Lightning Surge asks you to trade time for go again; and Burn Up asks you to find a way to hit.
Of note, Burn Up has anti-synergy with Ball Lightning, as it requires you to break the chain to use it, and requires a physical on-hit to do the bulk of its damage (while Ball already incentivizes blocking). Consider cutting it in defensive matchups.

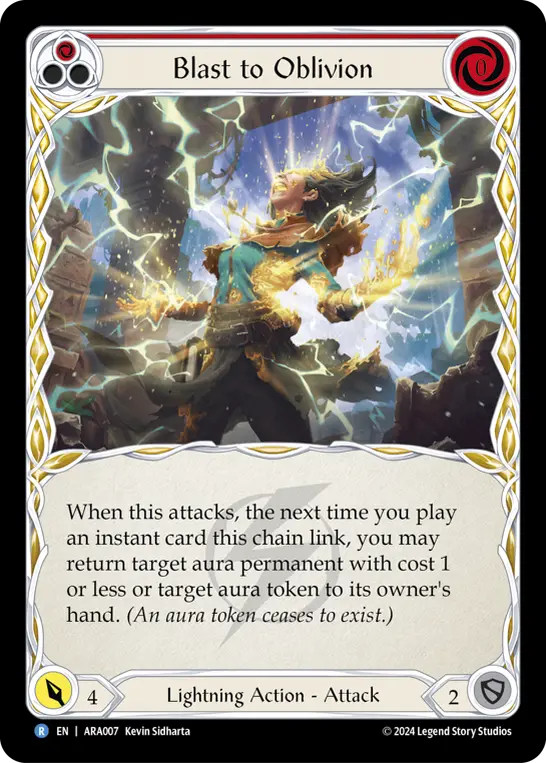
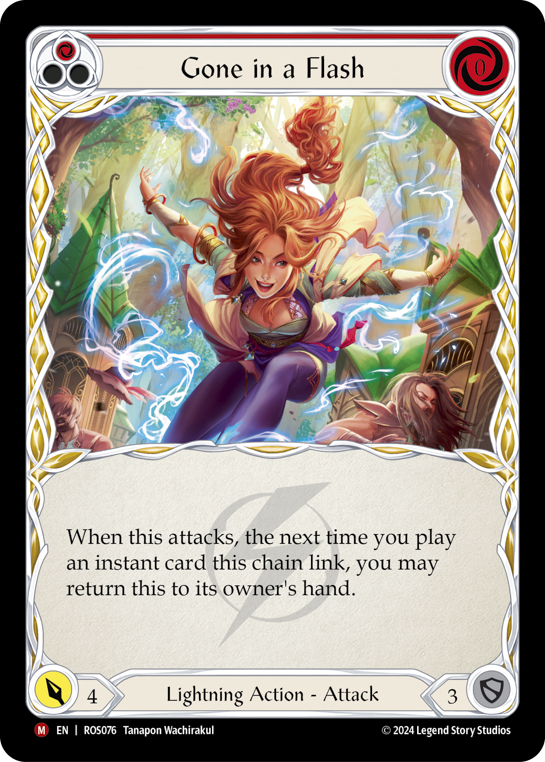
It may seem weird to put these in the same category, but they’re all 0-for-4s that can draw a card in the right circumstances. Snatch requires a hit, Gone in a Flash requires an instant, and Blast to Oblivion requires Channel Lightning Valley or Sting of Sorcery + an instant. While this is more situational, the upside is way higher, and allows us to combo more consistently than we otherwise would be able to.
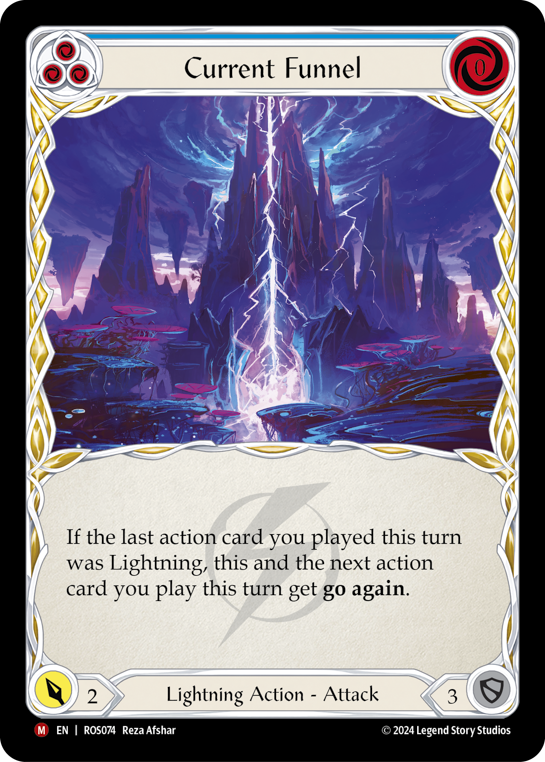
Current Funnel is a 3-block Lightning attack with go again that also gives go again - where do I sign?? This helps a lot in making our “bad” cycles more reliable, and is still 4-5 points on combo turns.
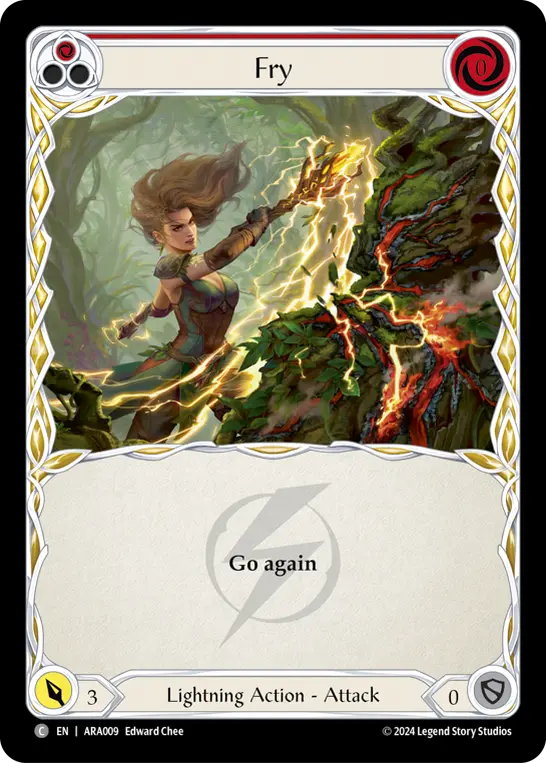
Fry is an unconditional Lightning go again, at the cost of a 0-block. Meh! - but a roleplayer in the deck, again making our combo turns more consistent.
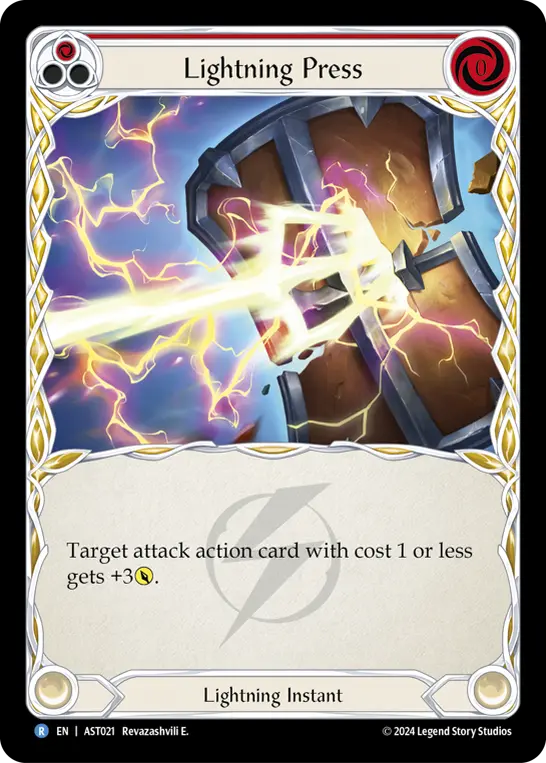
Our deck is full of on-hits and cards that synergize with instants. Lightning Press fits right in. Try to line it up when it is either lethal or pushing an on-hit, as otherwise it's below rate.
Sideboard
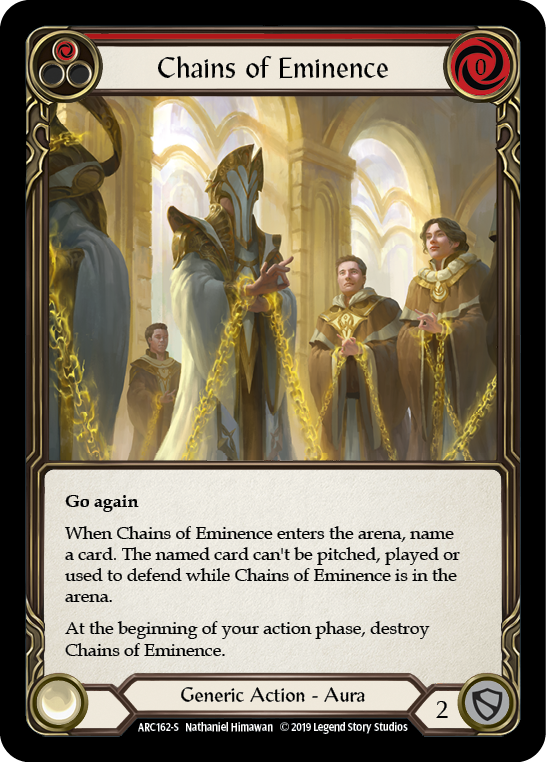
If Chicago showed one thing, it showed that LL Chane is a real deck. Vaporize // Shock card is excellent into Chane, Vynnset, Viserai, and sometimes the mirror/Briar. Chains of Eminence can also serve us in the mirror, but it's primary role is as a Zen tech card. Both heroes can’t really craft a win through it, so use it to buy tempo.
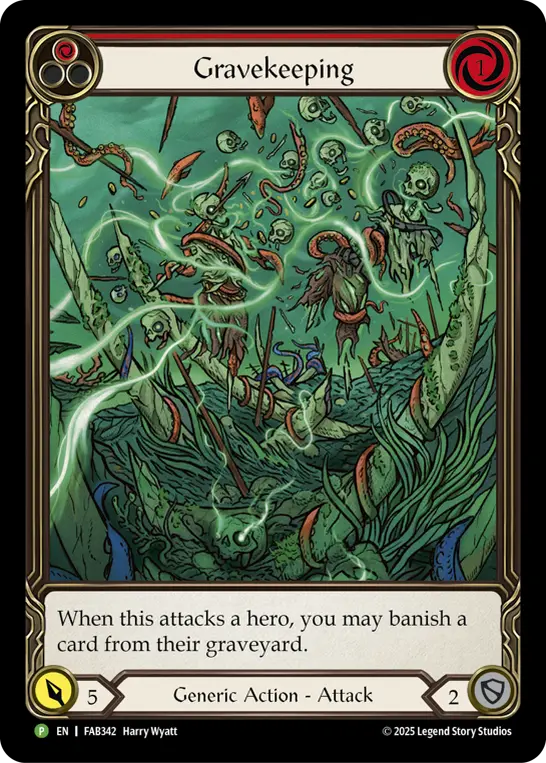
Gravekeeping is my chosen Count Your Blessings tech. Gravekeeping is worth 1 more for each CYB they resolve, and is re-buyable with Somersault. Poison the Well has the highest upside (can be a 22 point swing!) and Flicker Wisp converts with our average hands the most consistently; but ultimately, Flicker Wisp and Gravekeeping are worth around the same amount, and Gravekeeping doesn’t require 5-card hands the same way Flicker Wisp does - which is why we're not using it.
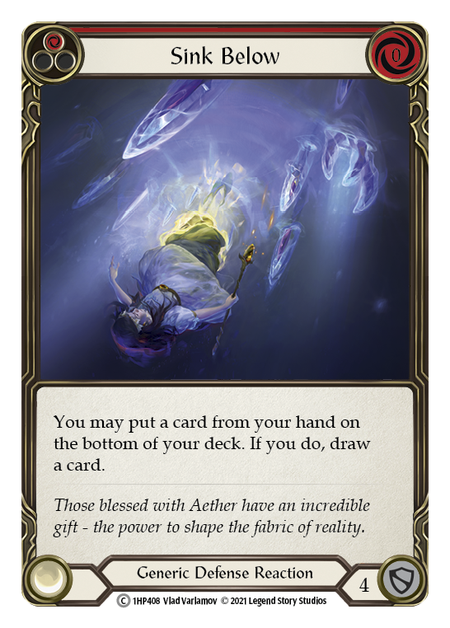
Sink Below is mandatory for Starvo, as it covers a hammer and aids in overcoming dominate. It might be worth running more than just Sink, although Sigil of Solace is a major downgrade and Fate Foreseen is infinitely more brickable.
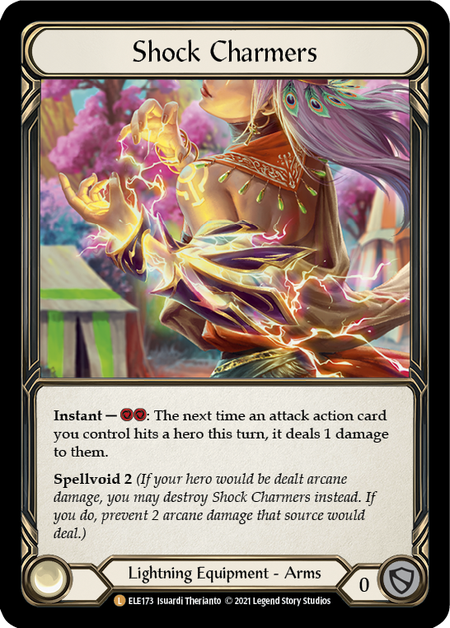
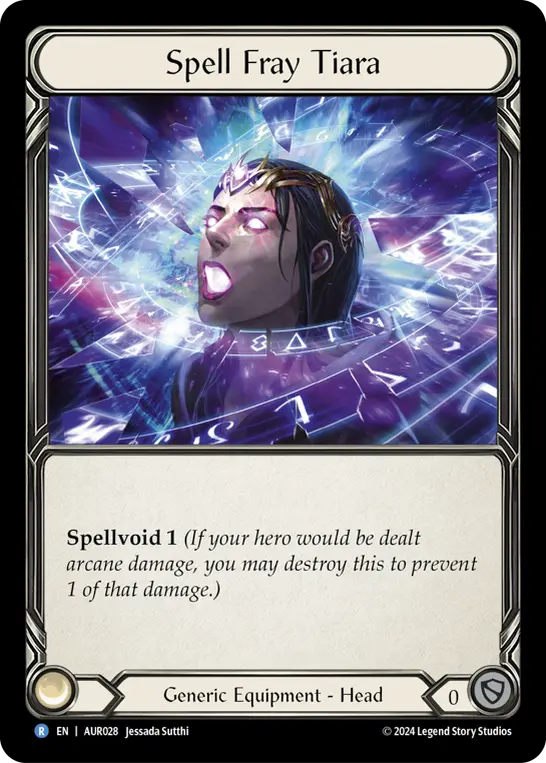
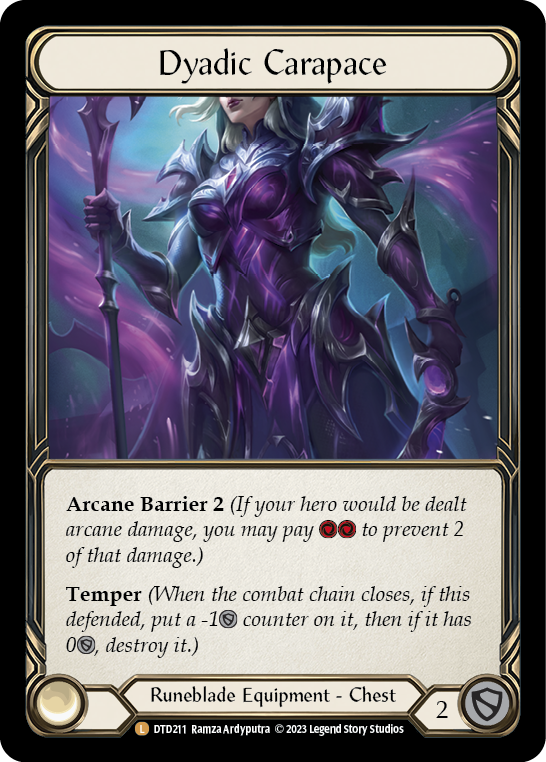
Shock Charmers and Spell Fray Tiara are mostly Kano tech. Probably not worth the slots, but Shock Charmers is also excellent into CYB, so it's easy to justify. Dyadic Carapace is also relevant into Kano, but more than that it's temper 2 is excellent in the format with decks like Starvo and Prism full of busted on-hits.
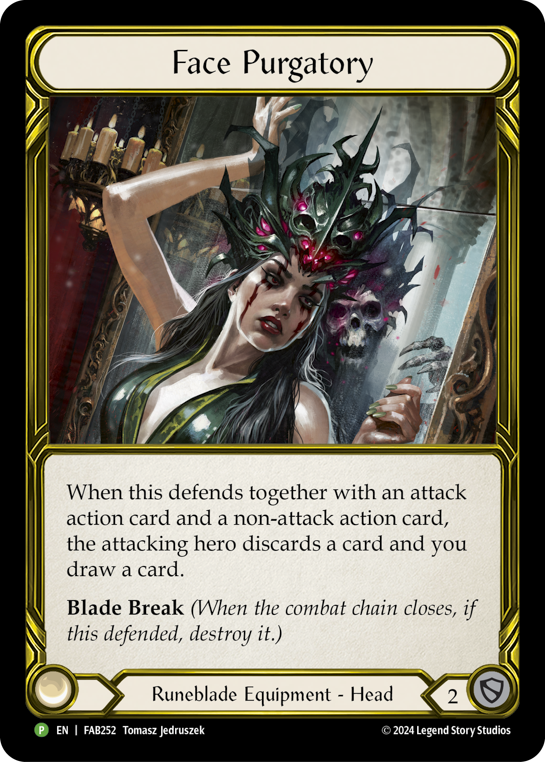
Face Purgatory requires so little effort to make worth massively more than any other headpiece in the format. Blade break 2 is already fine, but making the opponent discard a card on the absurd power turns that exist in LL is worth much more than drawing a card or filtering. Try to be careful with how you use this card, as every part of its power is needed to win into the disruptive or bad matchups like Starvo and Zen.
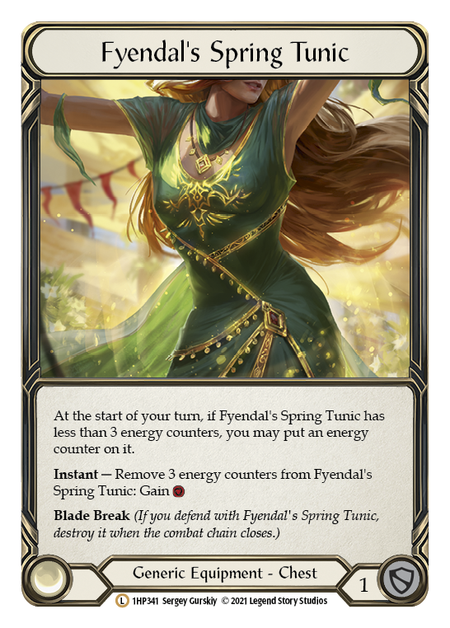
Fyendal's Spring Tunic serves as Ice and Count Your Blessings tech. Worse than Dyadic in most matchups, but with the prevalence of these two archetypes, it's worth a slot.
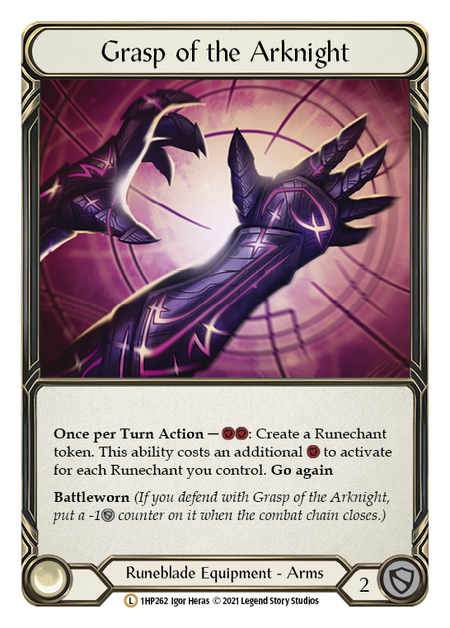
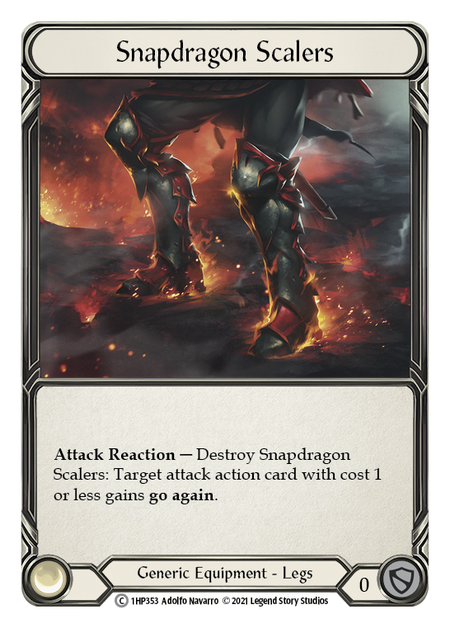
Battleworn 2 plus a relevant activated ability makes Grasp of the Arknight the best-in-slot arm piece that allows us to convert floating resources to damage instead of just an action point. Snapdragon Scalers are the most consistent leg slot; save these generally for Snatch or a Lightning card on a combo turn, but sometimes you will have to use it to maintain tempo on an otherwise below-rate turn. Lightning Greaves have AB 1 + Battleworn 1 with combo potential; mostly Starvo, Prism, and Kano tech, as the Battleworn 1 can matter more than snaps when you are trying to preserve cards.
Matchups
Aurora may seem incredibly linear, but most of the matchups are pretty intricate and require a lot of practice. These matchups were chosen to overview because they were the 9 most represented decks in Day 1 of the Chicago Calling.

My favorite kind of matchup. On its face, it seems unfavored, but it’s actually a pretty good matchup given they don’t chain Starvo fuses over and over. Face Purgatory taxes their arsenal, and we really punish them for trying to keep 3-5 card hands through our combo turns. Defense reactions give more outs to their high rolls and give you more time to set up combos.
Our most important cards are all equipment: Dyadic, Grasp, Face, and Lightning Greaves. Blocking with these appropriately is crucial to surviving the onslaught. Of note: Lightning Greaves + a 3-block stops a hammer, Dyadic + Grasp + Greaves + a card covers a crush for 11, and Face helps survive a non-dominated crush.
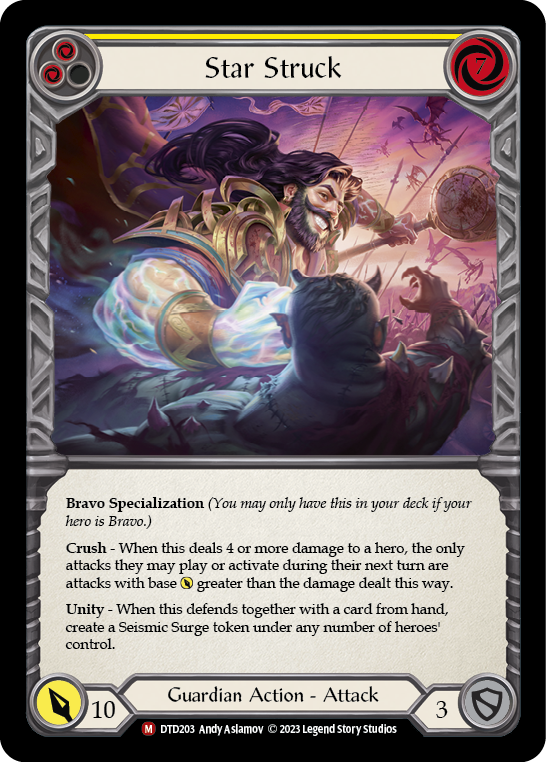
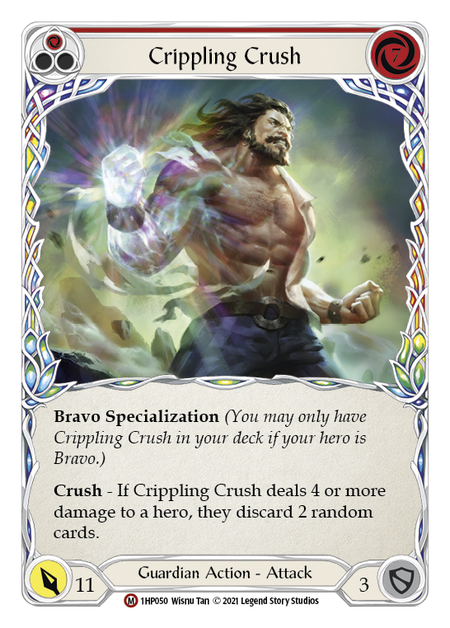
Their most important cards: Spinal Crush, Star Struck, Oaken Old, Crippling Crush. Chaining big, dominated on-hits is incredibly hard for us to stop over and over, so these + Somersaults are an important part of how they keep control of the matchup.

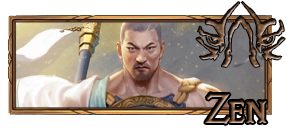
Unfortunately a very tough matchup. We normally require 2-3 combos to kill; they only require 1. Chains of Eminence helps to stifle their big combo turn, but this matchup is one of our worst for how highly it’s represented.
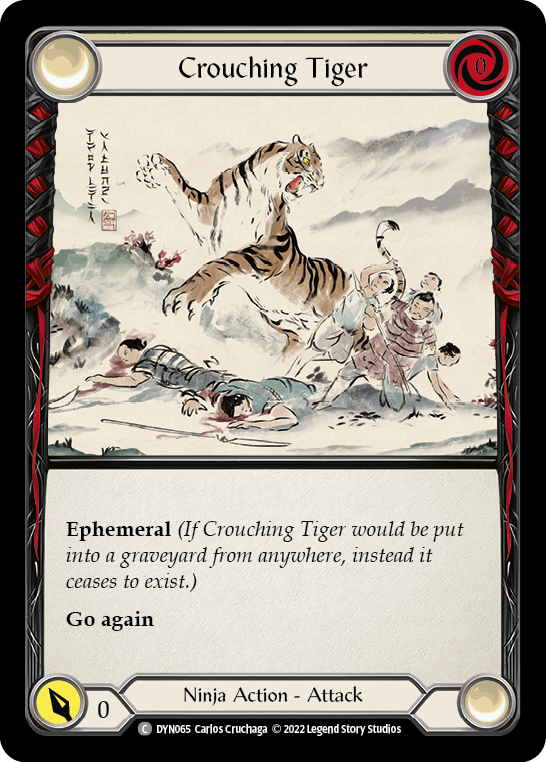
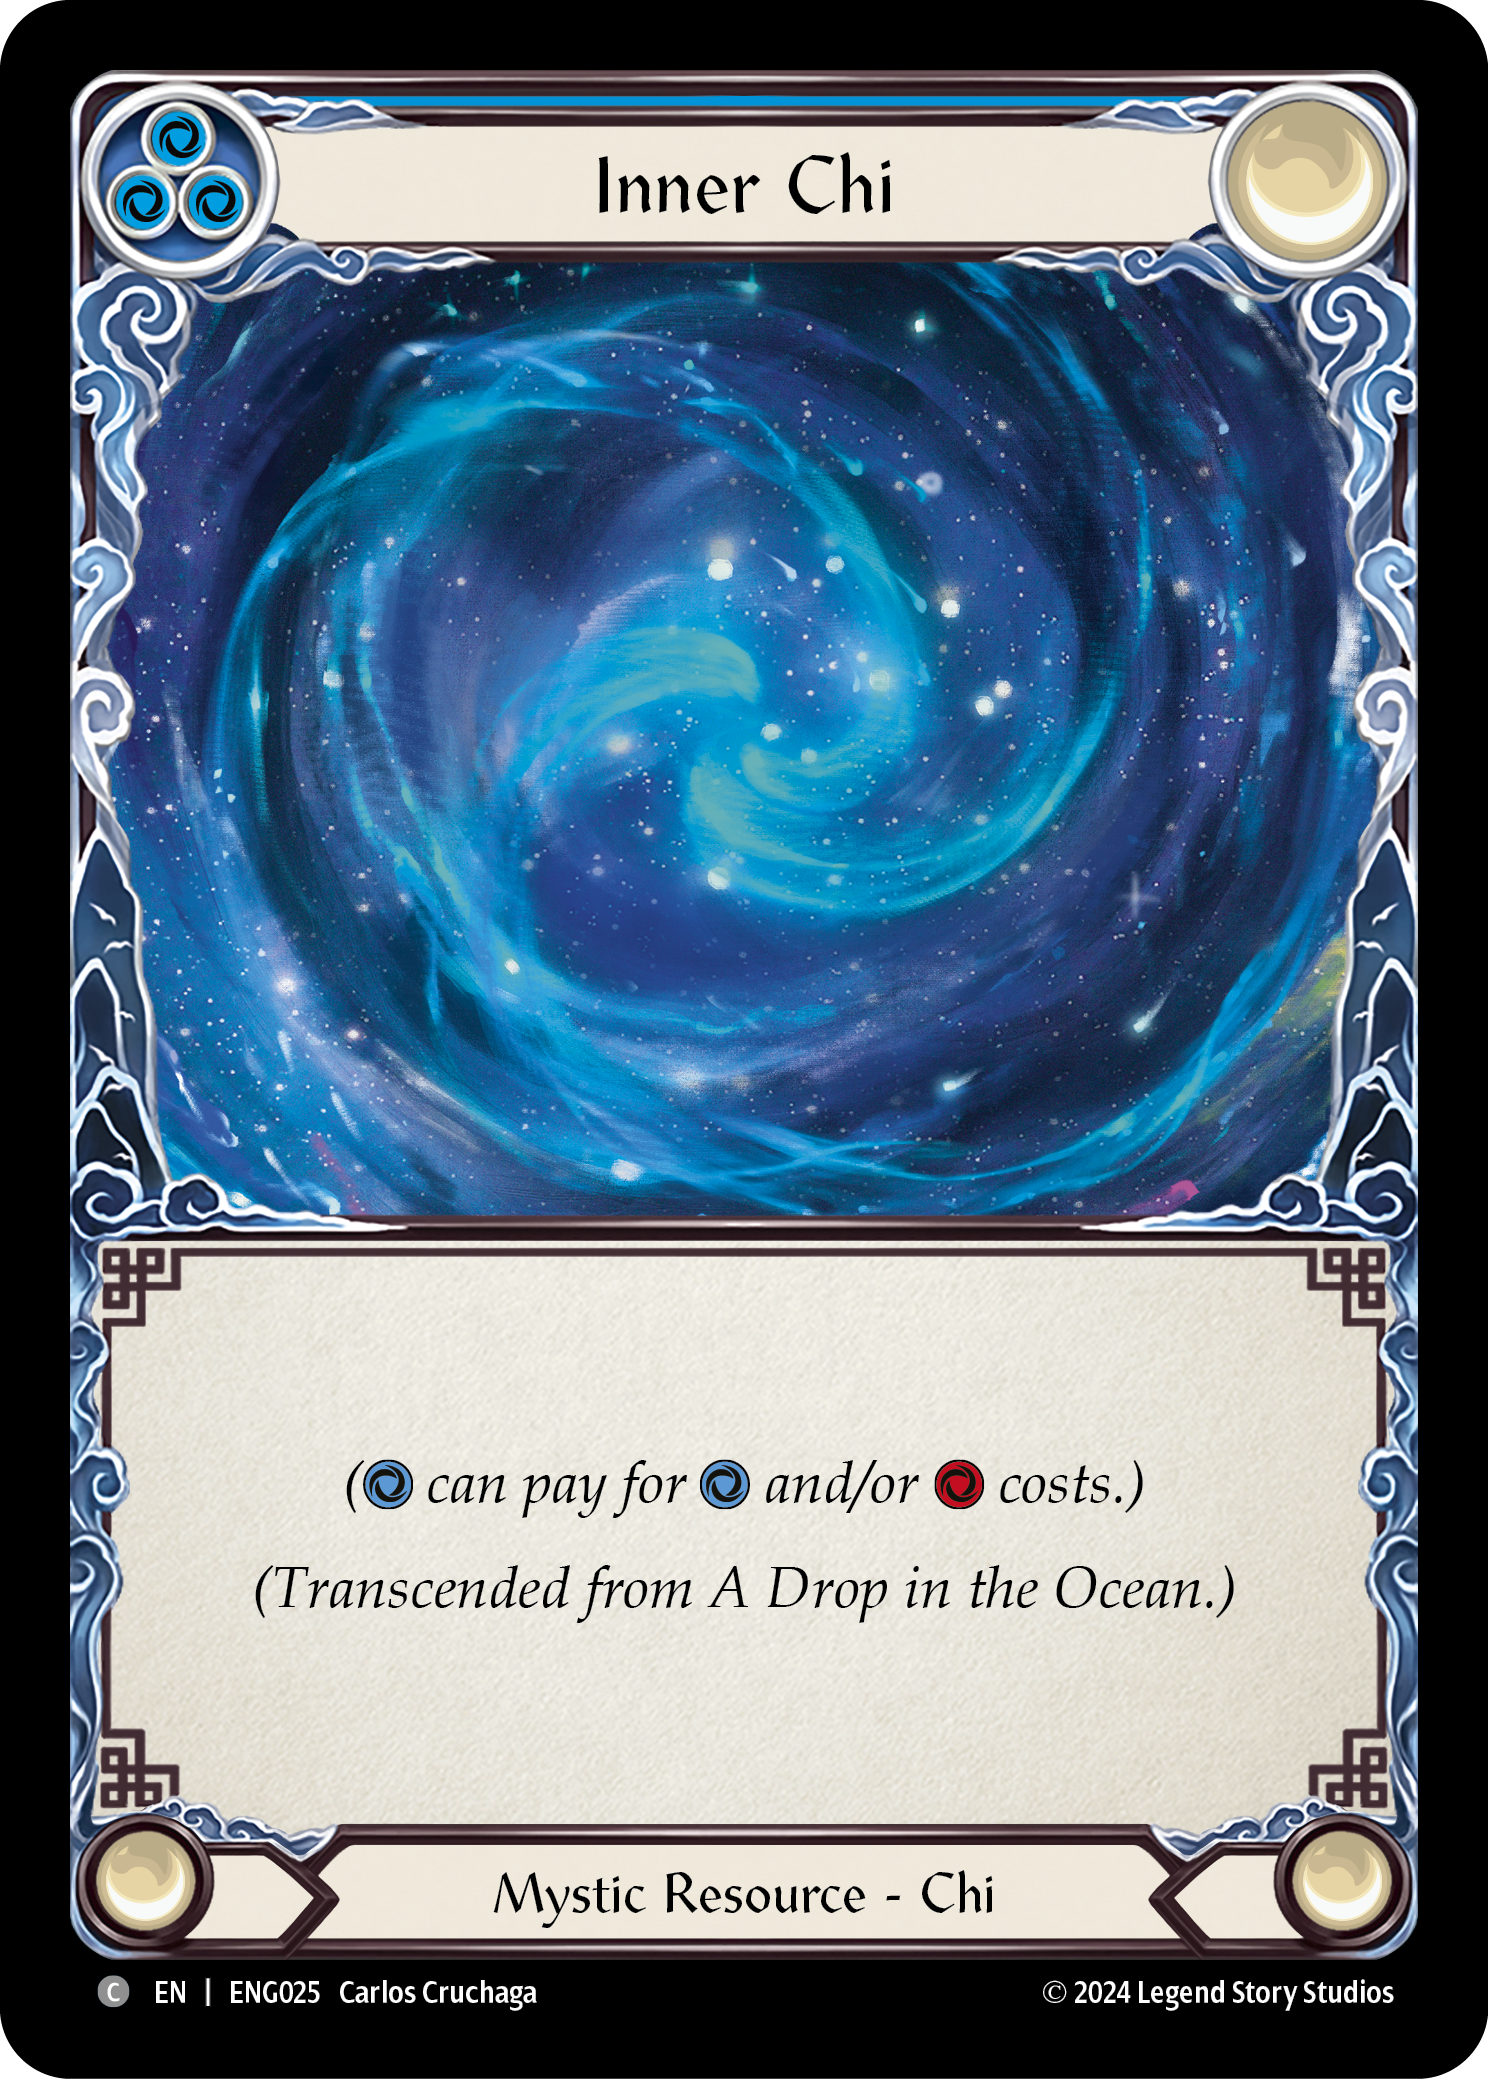
Our most important cards: Face Purgatory to stop their big pop off turn; Chains of Eminence naming Crouching Tiger or Inner Chi to stop their big pop-off proactively; Burn Up to do massive damage given they generally don’t block
Their most important cards: Art of War + equipment to allow a double combo, as their first combo is normally not enough but several is enough to kill us. Try to not give them space to set up multiple combo turns.
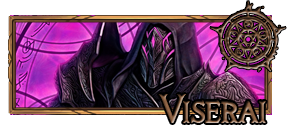
Like all of the Runeblades, we are massively favored here. Vaporize helps swing a ton of tempo, and we don’t give them time to do their busted thing.
Our most important cards: Vaporize//Shock to reset tempo; Dyadic + Grasp to stop Succumb to Temptation from swinging the game.
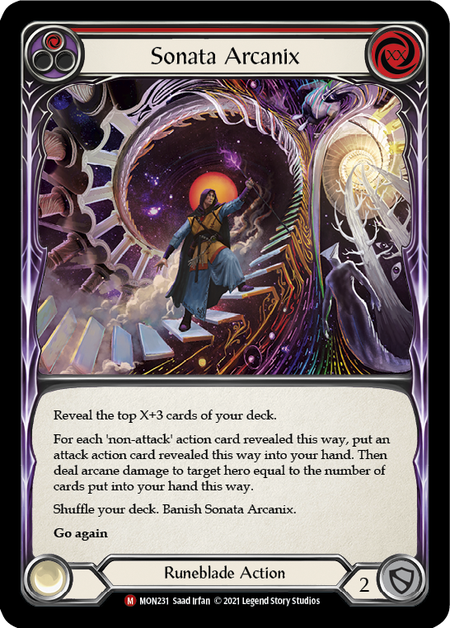
Their most important cards: Succumb to Temptation + Snuff Out. Think about these cards and play around them with armor when you read them on it, as this is their main out in the matchup. Sonata Arcanix can also high roll and kill us, but normally we pressure too much for them to have room to set it up.
Race! Our on-hits are more scary to them than theirs are to us, and we are similarly overrate each cycle. Consider siding out 0-blocks, as they can swing the matchup a lot in their favor.
Our most important cards: Lightning Surge as a consistent, on-rate starter; Lightning Greaves to clear auras and block Herald of Erudition and other relevant on hit.
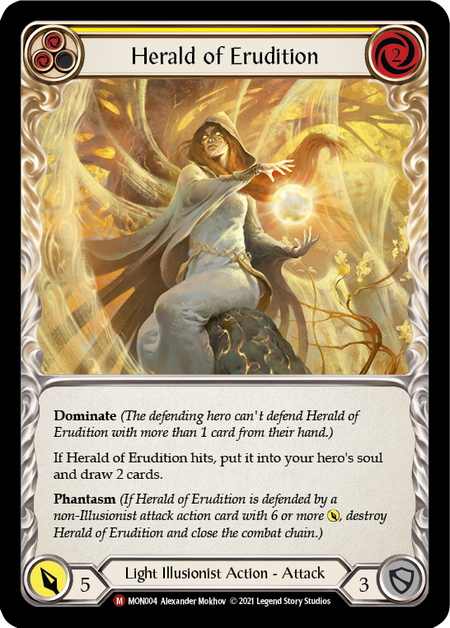
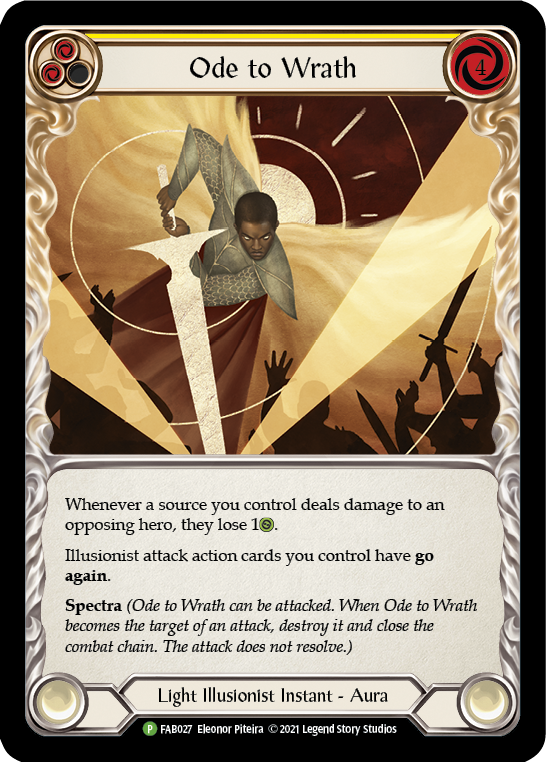
Their most important cards: Herald of Erudition to swing back in the game, Ode to Wrath to punish us for not blocking and out-race us.
Another massively favored matchup. Vaporize is at its strongest here, and they require 3 Soul Shackles to really take tempo from us. Die roll matters a lot in this matchup, as one more Shackle makes them much more scary.
Our most important cards: Vaporize // Shock is absolutely massive here and setting it up is important; Blast to Oblivion used on their Shackles.
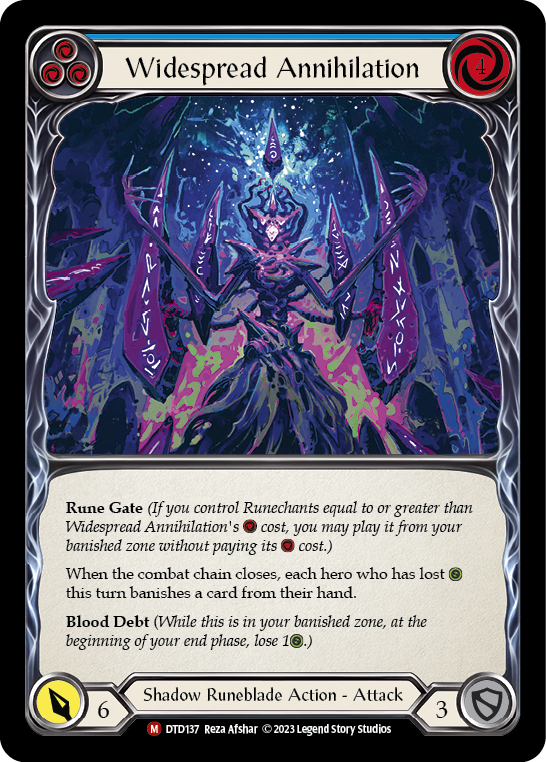
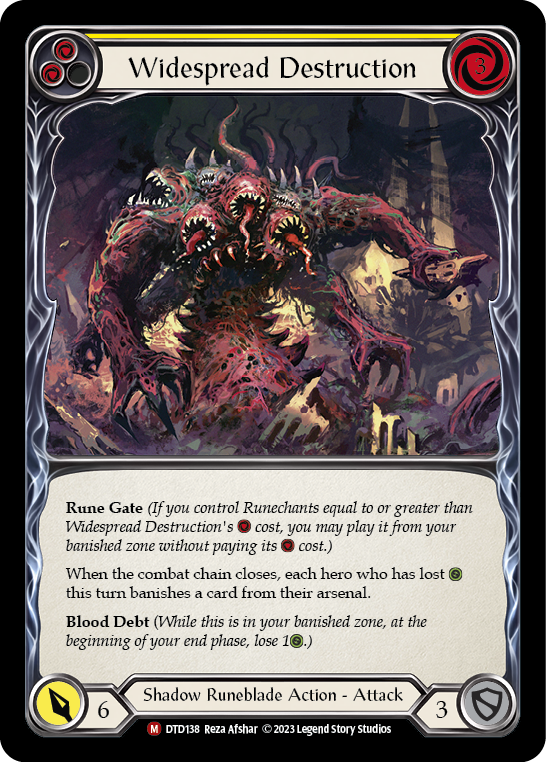
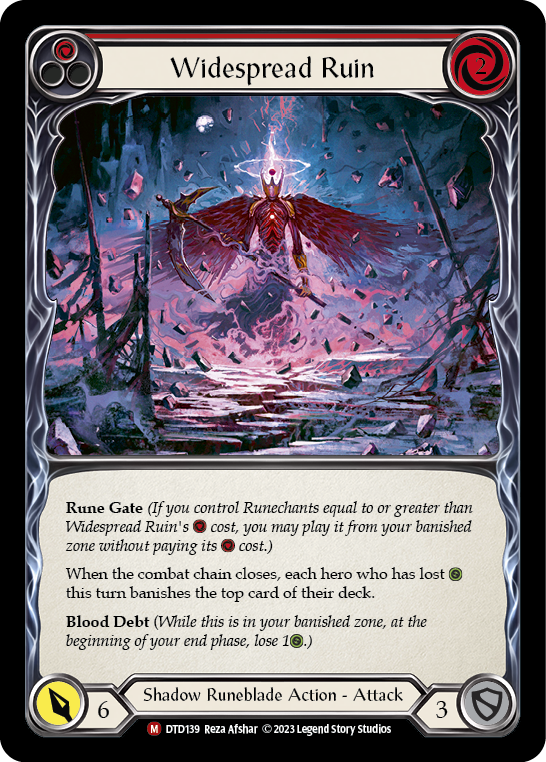
Their most important cards: Depends wildly on the build. For runegate, chaining Widespreads can give them time to build Shackles. For boomer, Succumb to Temptation sets up massive turns and disrupts us.
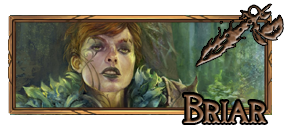
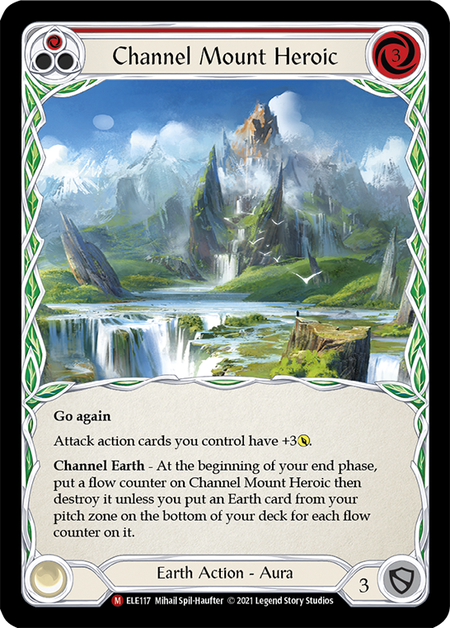
Slightly unfavored. Mostly the same deck, except they can set up very strong turns and block better. Try to out-race them and don’t give them time to set up a busted Channel Mount Heroic turn.
Our most important cards: Face Purgatory to deny CMH value; Channel Lightning Valley to overwhelm them.
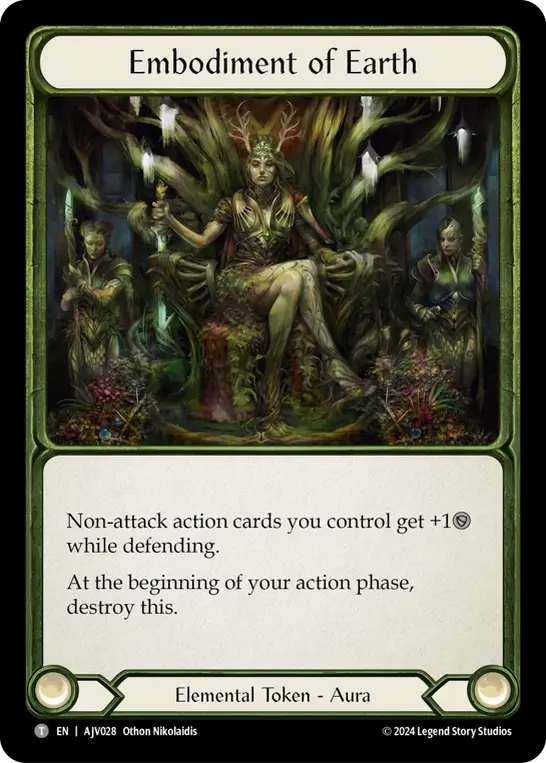
Their most important cards: Channel Mount Heroic to overwhelm us with advantage; Embodiment of Earth to block 4 on our on hits; Regrowth // Shock to set up absurd turns, as it’s hard for us to stop arcane.
The mirror! Unfortunately not that interesting (in my extremely limited testing). Mostly about who can more consistently draw combo hands.
The most important cards (on both sides): using armor appropriately to avoid on-hits (blocking Static Shock, Ball Lightning, Snatch); setting up the first big 5-card hand to force blocks and take tempo.
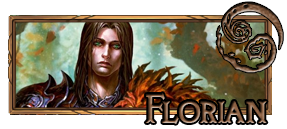
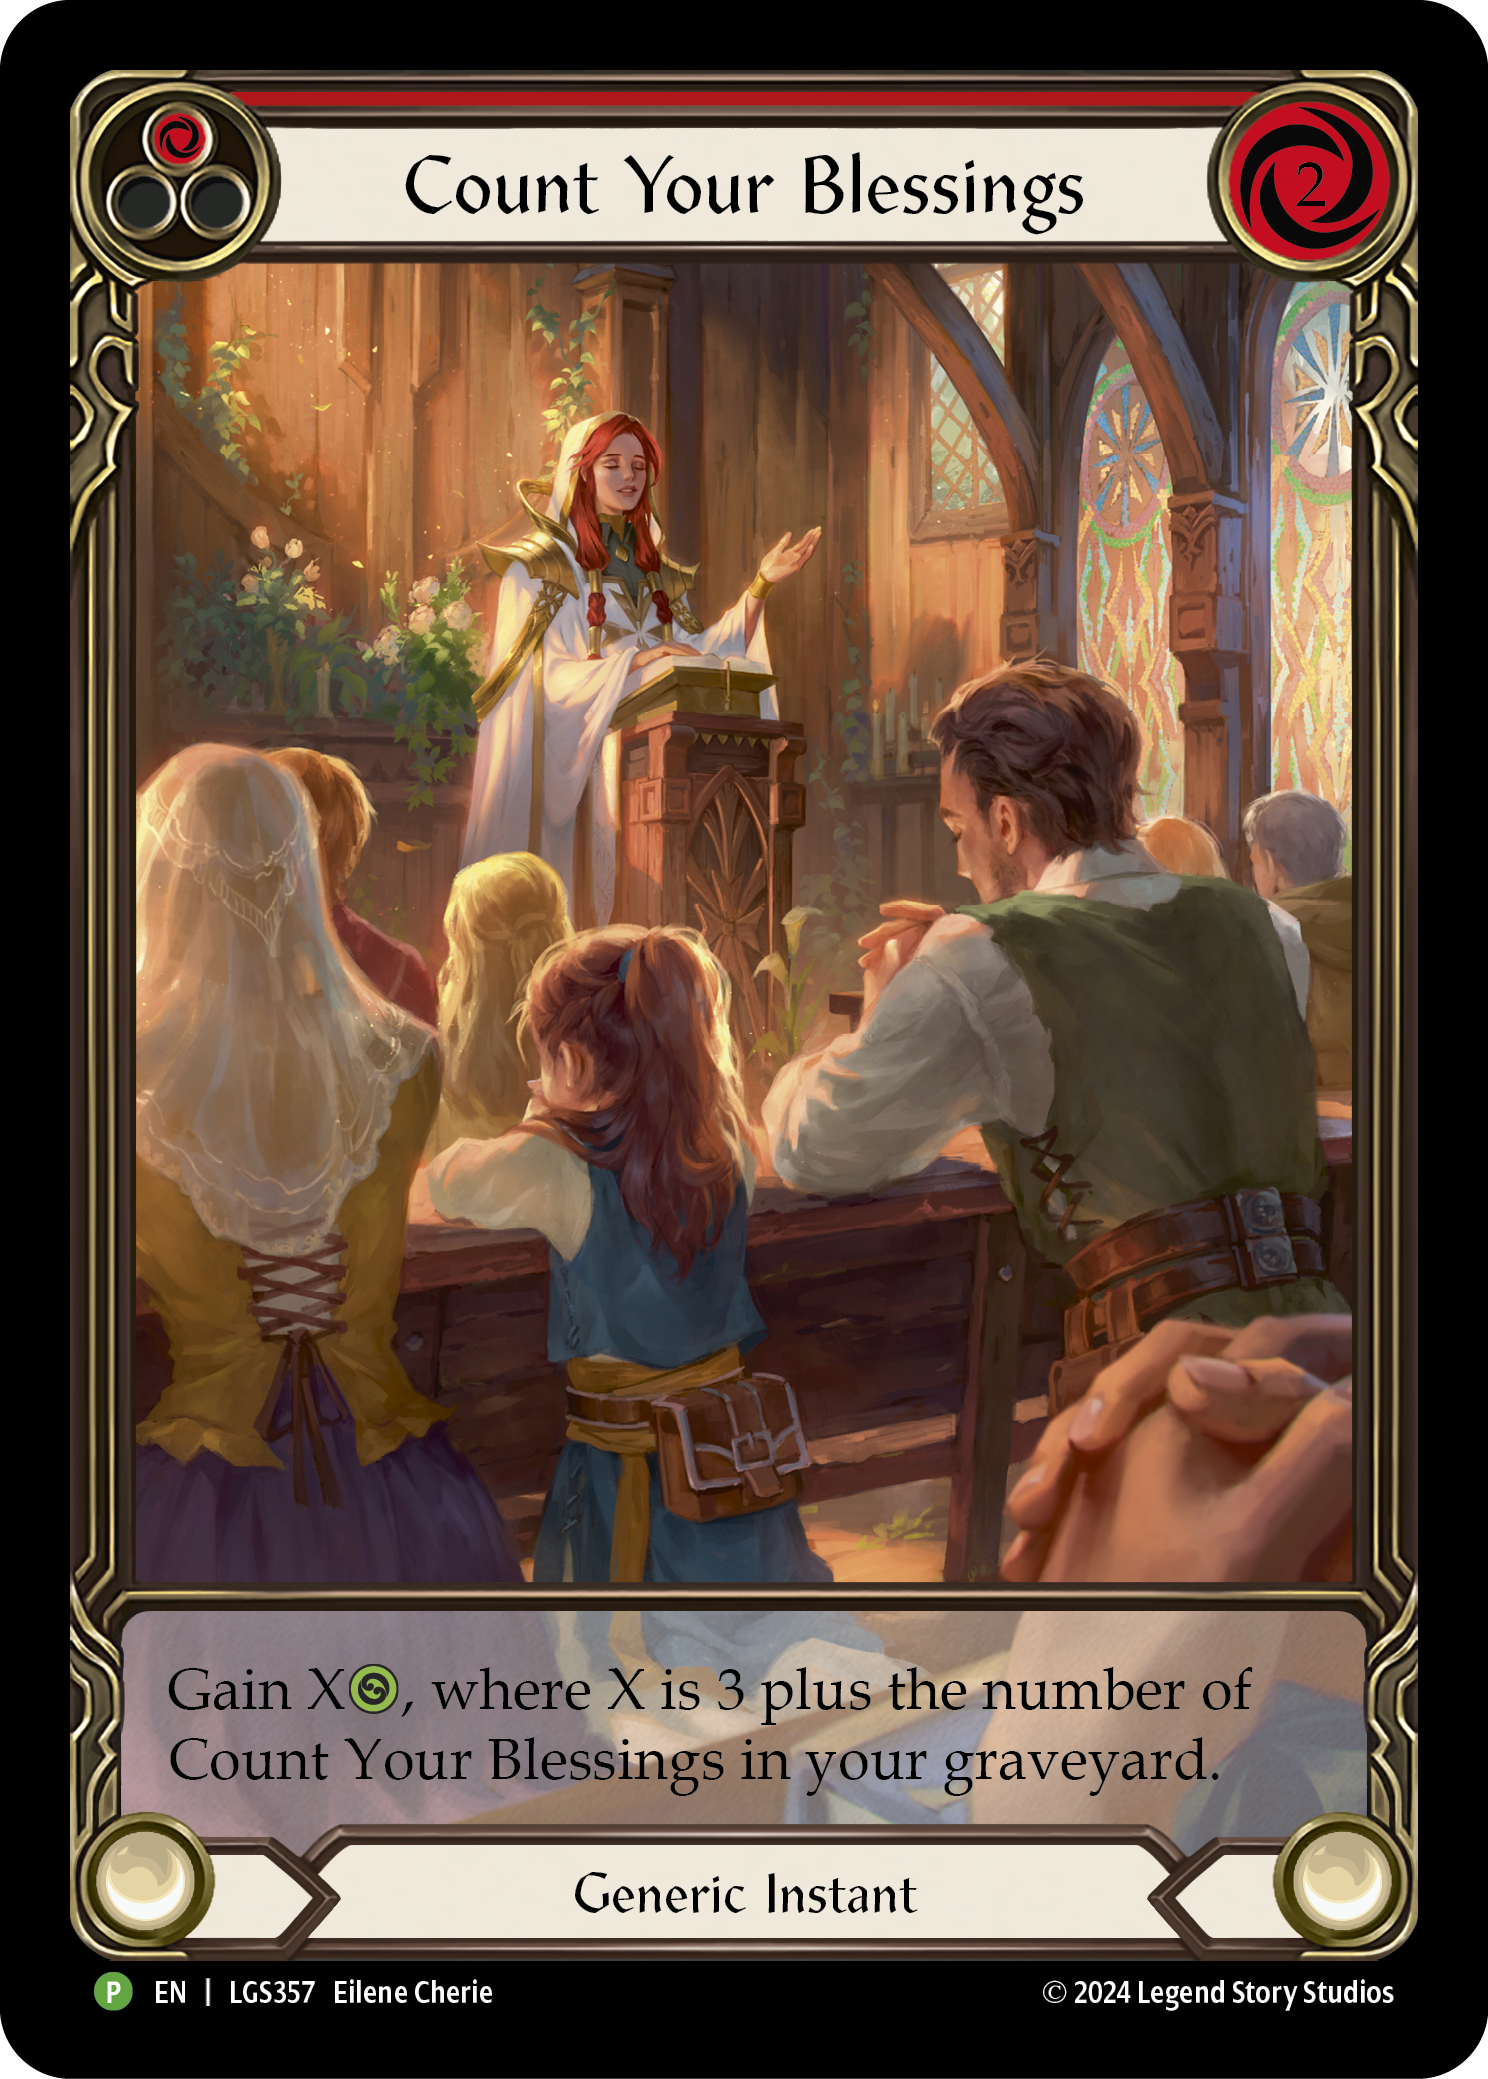
The best CYB deck. You *need* to set up 5-card power turns, and you need to use your tech cards wisely. Gravekeeping is the most reliable and just can be played out for the most part - but try to line it up with a Somersault.
Our most important cards: Gravekeeping to get rid of CYBs; Channel Lightning Valley to chain multiple 5-card hands into them; Blast to Oblivion to pick up Channel/Sting of Sorcery and keep our cycles overrate.
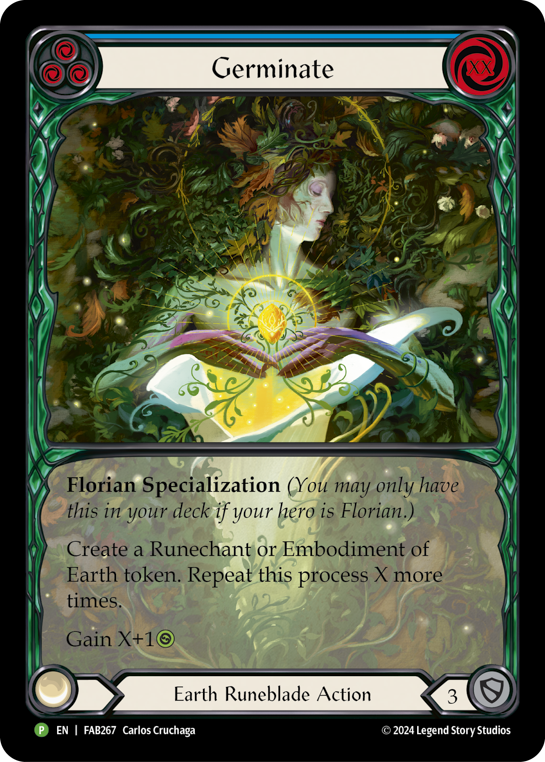
Their most important cards: using armor appropriately around our on-hits; defense reactions for the same reason; drawing Germinate at the right time (if we’re doing our job, should be very hard to make runechants/keep Germinate).
Significantly more scary than Prism. They can counter-race you very hard if you don’t keep track of their board properly. Arc Lightning is insanely busted here.
Our most important cards: Arc Lightning to clear dragons without consuming a card; Second Strike always having go again.
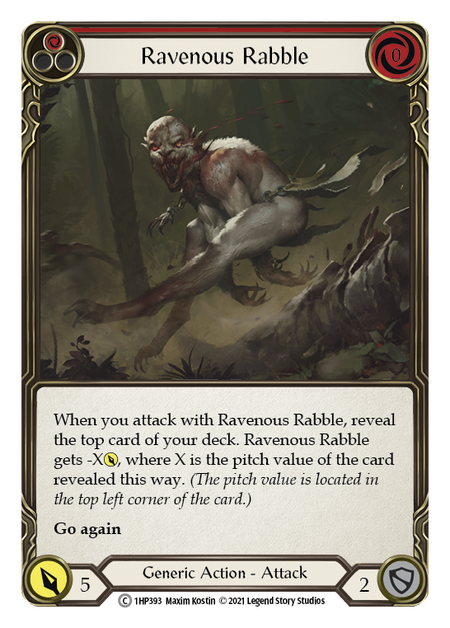
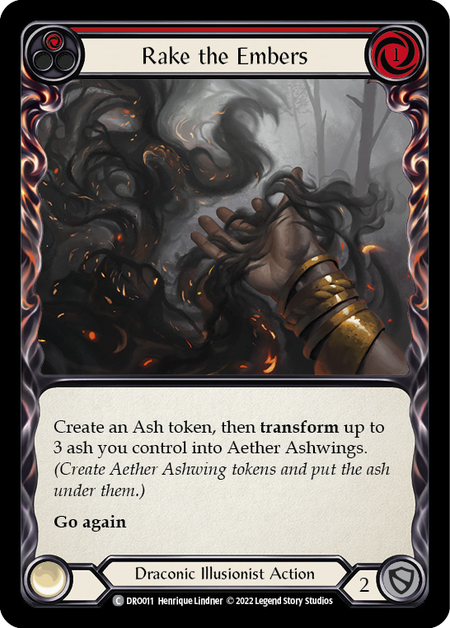
Their most important cards: overrate go again like Ravenous Rabble; Rake the Embers to overwhelm us offensively.
Conclusion
Living Legend is a new format with plenty of different decks to try, and a variety of different competitive heroes and strategies. Aurora fulfills a unique niche as a rewarding, all-in aggressive deck with a shockingly positive matchup spread and game into the arguably best deck in the format: Starvo. Consider taking her to your next LL event!
I am reachable on all platforms as PurpleAbbyW10, or PurpleAbby10 on discord. I am always willing to talk about our favorite Lightning hero, or whatever brew I am working on at the time. (I hear gears turning in the near future…)

