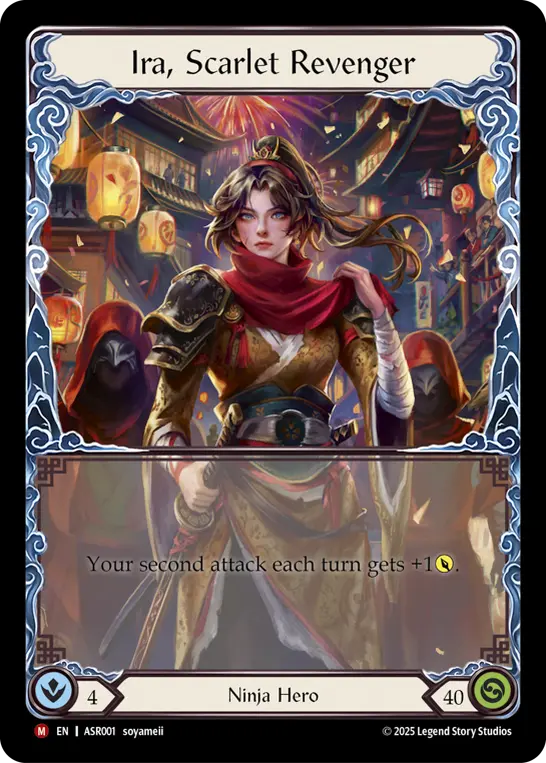
Developed as an introduction to the fundamental gameplay of Flesh and Blood, it's perhaps unsurprising that Ira was long a mainstay midrange hero of the Blitz format. Pairing Harmonized Kodachis with Mask of Momentum, Ira quickly adopted the iconic “block 2, send 2” strategy: swing both Kodachis, then close with a 1-for-5 with an on-hit effect to threaten MoM's draw and disruption every turn.


Many Paths, One Destination
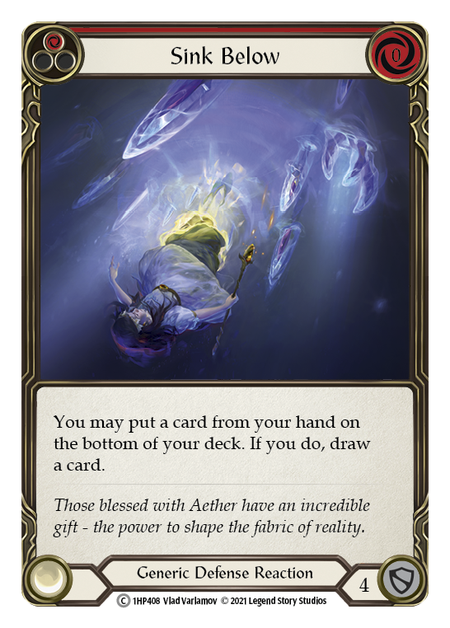
Because of Ira’s hero power, it became possible to convert a 4-card hand into 14 to 16 points of value, punching above the average 12 of other heroes. The shell took the shape of midrange to get value from defense reactions, and the rest of the deck quickly fell into place: Sink Below, Flic Flak, and Sigil of Solace to play defensive, with a few Leg Taps and 0-cost extenders. Finishing off the lists were the disruptive Command and Conquer, Censor, Nourishing Emptiness, and - when it's been legal - Drone of Brutality for late-game inevitability. 0-cost combo blues paired well with Flic Flak, and became the best fuel for the engine. She whittled away at everyone in her path to Living Legend, which she finally reached in 2023.

When the Scarlet Revenger entered Classic Constructed at World Championship: Osaka almost exactly one year after her departure from Blitz, players quickly adopted the old model to a new format. It proved effective, and while it didn’t win many events early on, Ira made solid competitive standings, mostly in the hands of Shoma Yamamura. While Ira was still growing into adulthood, however, new printings shook up the deck significantly.
With The Hunted came retrieve. Pick Up the Point and Up Sticks and Run neutralized the drawback of Zephyr Needle - and paired with Flick Knives and the now-marquee Dual Threat, Ira could’ve overwhelmed the staunchest of defenses and demanded answers for Mask of Momentum to boot. Even when Needle was inevitably banned, Flick Knives builds still retained a sizable following. Thus, the “Zoomer” decks – contrasting to the traditional midrange build, now dubbed “Boomer” Ira – were born.
While both archetypes continue to have a place in Ira’s following, High Seas gave us Nimby, and with it a niche following started for what became known as “Orange” Ira, named for being comprised only of red and yellow cards. Emmanuel Onate pioneered the archetype and secured a Top 8 placing in Thailand Nationals, and a cult following developed from there.

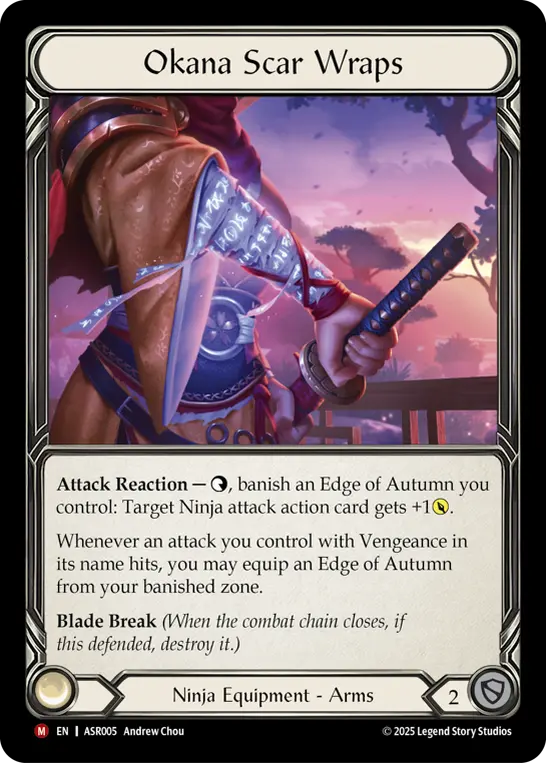
Then Ira’s signature weapon returned with blood on its mind. The Ira Armory Deck gave us yet another new playstyle, this time to live out our Kill Bill dreams. A host of combo cards to play after Edge of Autumn, and the unique Okana Scar Wraps to keep your opponent on their toes - along with every disruptive 2 cost 6 available - developed a formidable midrange deck based around 7-power on-hits without compromising the ability to go wide. The fact the deck could play quality blue attacks is an added bonus that makes the second cycle that much more threatening. Naib Mobassir broke the mold at ProTour: Singapore after the deck’s release with a Crouching Tiger approach that didn’t compromise on value but could keep the heat on when it drew hot. He took a similar list to Calling: Kansas City later the same year. Mobassir’s innovations have paved the way for the de facto Edge of Autumn build to milk extra value from Crouching Tigers, making it a unique strain of this ever-diversifying hero.
All of these innovations came in a short period of time; Ira isn’t even a year into Constructed yet. With every release seemingly injecting more variety into her, and with more of these lists seeing success, it begs the question: Why keep playing the old school build? What does following the old ways give us that these new builds haven’t?
Personally, I’ve never had a hard time answering this: Boomer is built on consistency.
- Zoomer leverages “true damage” – unblockable damage barring prevention effects – to close the game out, but that tradeoff requires playing more 2-blocks, without a much faster clock to compensate. These variants leak more damage,and suffer in longer games, traditionally Boomer’s strong suit.
- Orange Ira is niche, and the innovator of the strategy proclaimed a great deal of their success came from the surprise factor. It has a tight fan following, but preys upon being unexpected. Not that the deck lacks merit, it didn’t surprise Onate either when the list didn’t become the new, break out archetype after a strong first showing.
- Autumn Ira is the closest to a new Boomer variant, and in truth, a midrange player looking at Ira should be choosing their weapon based on personal preference. While it has a stronger second cycle, at time of writing the deck on the whole doesn’t appear to be outright better than the Kodachis, but it does shore up some of Boomer’s weaknesses.
It’s not a bad thing by any means that Ira can head a more specialized strategy. A hero who can pivot between full aggro and a slow midrange game is a hero who stands to find success in most metas, and it’s one of her most incredible traits. However, Ira excels when posture is determined by the pilot, not by the deckbuilding. What traditional builds give us that other variants can’t is consistency and flexibility thanks building our deck with ratios in mind.
Devotion, Rewarded
Midrange Ira is not simply a lesson in the fundamentals of Flesh and Blood gameplay. Ira possesses the unique ability to change posture not from a skewed draw, but from the pilot’s read on the game and their strategic preferences. I have personally watched two different Ira players play the exact same 60 cards in the same matchup completely differently. Both won. While Ira is not the hardest deck to play – a statement that must come with me admitting that I think most FAB players believe their deck is harder to play than it really is – what separates the best players from the rest is mastery of concepts all players utilize but may not think about consciously.
In my time in FAB, I have played Ira solely. While I dabble in other heroes - namely, Cindra and more recently Levia - I dedicated myself to the Scarlet Revenger from the start of my journey. I am constantly honing my play with this deck to a fine point. It’s become a part of me, and pretty soon I’ll have the Edge of Autumn tattoo to prove it. What I have learned from ceaselessly playing this deck is that to master Ira is to master understanding the flow of the game and recognizing when to change posture. I’m not just talking about tempo. I’m talking about identifying, based on what has been played, what has been pitched, and how both players are playing, the exact hand that is the pivot point for who is in control of the game; being able to look at your hand and know that the game is about to change, and you have to play into that shift.
This takes many forms. It can be playing slow first and weathering your opponent down, before looking at your life total lead and deciding it’s time to use that resource to close out the game. It’s knowing your hand is going to make your opponent stumble, and that you can make sure you don’t give that ground back. It’s choosing to have a power turn – and yes, that is a choice in Ira – or choosing to give up that spike turn for a more steady gameplan you are confident you will win with in the end.
...to master Ira is to master understanding the flow of the game and recognizing when to change posture.
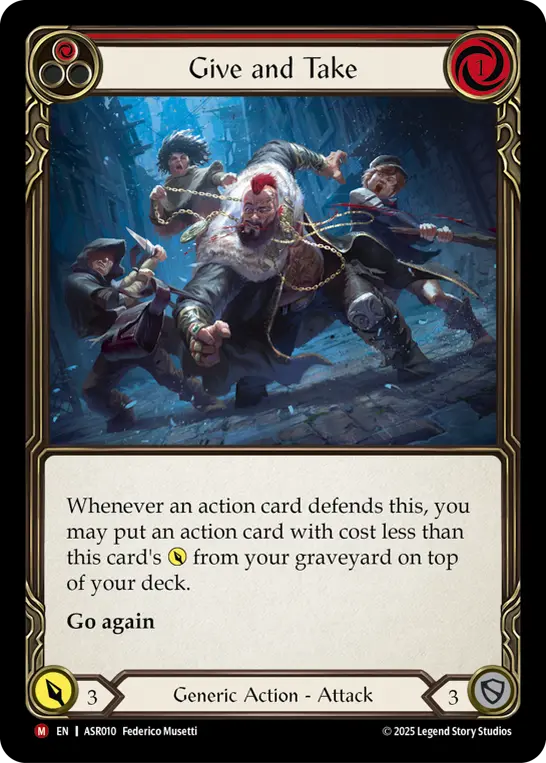
To play Ira well, the pilot has to understand all angles of attack available to them. That might be playing to pressure the hand for a turn to pressure their lifetotal harder next turn. It may be putting them in a position where they are disincentivized to block the Kodachis and sending Give and Take as the third link, threatening both a MoM draw and returning an action to the top of the deck.
Tools of Revenge
Rather than break down the deck solely card by card, I want to build an understanding of how to build an Ira deck. To do that, I’m going to explain the cards and roles as they make sense. The other important aspect to understand is that Midrange Ira, at her core, is a deck that builds for the current metagame. She is highly sensitive to heroes reaching Living Legend and set releases, and will swap cards in and out of her 80 accordingly. For example, at time of writing, 0-cost extenders are held at a higher premium than they were six months ago, where more 1-for-4’s were common. Many parts of Ira that changed over time aren’t always just about refinement, but adapting to a meta. She could just as easily revert a given adaptation in the next meta if it suits her better.
Therefore, I’ve defined core as cards present in almost or every meta Ira has existed in, both in Constructed and Blitz. The options that do not fit this definition at time of writing may always be played in one or more distinct metas, but have been optional in others. Therefore, this guide is all-encompassing. Some options have been fringe for a couple years, but realistically could come back. I made note of any cards that haven’t been seen in some time but felt deserved mentioning.
Our core strategy centers around two equipment: Mask of Momentum and a pair of Harmonized Kodachis. We want to send one Kodachi, and then either a second Kodachi or extender into a 1-cost, 5-power finisher. Alternatively, we can play a 2-cost 6-power attack as the second link.
Almost all of our finishers have on-hit effects. We want to get chip damage in while threatening either MoM or a disruptive finisher every single turn; usually, we do both. In the absence of a finisher in our hand, we’ll use an extender as one to still threaten MoM.
In order to do this every turn, our deck has to be built with ratios in mind. Most seasoned Ira players will reference ratios as a sort of recipe for constructing a successful deck. Simple math tells us that, if we want 1 in every 4 cards in our 60-card deck to be a blue, we would need to play 15 blues. The same for finishers. In practice, we play more of each to hedge against variance, but it’s important to understand probability when making a decklist. If you’re ever unsure about the construction of your deck, use any number of hypergeometric calculators on the internet. These can calculate the odds of seeing any one type of card in a deck out of a given sample size, such as the odds of drawing one of your 18 blues (number of successes) in a 4 card hand (sample) in a 60 card deck (population).
Of course, being all blues and finishers would leave a lot of value on the table. 1-2-5 is good chip damage, but 1-5-5 is a much better turn. The exact number we want varies depending on what posture the pilot prefers.
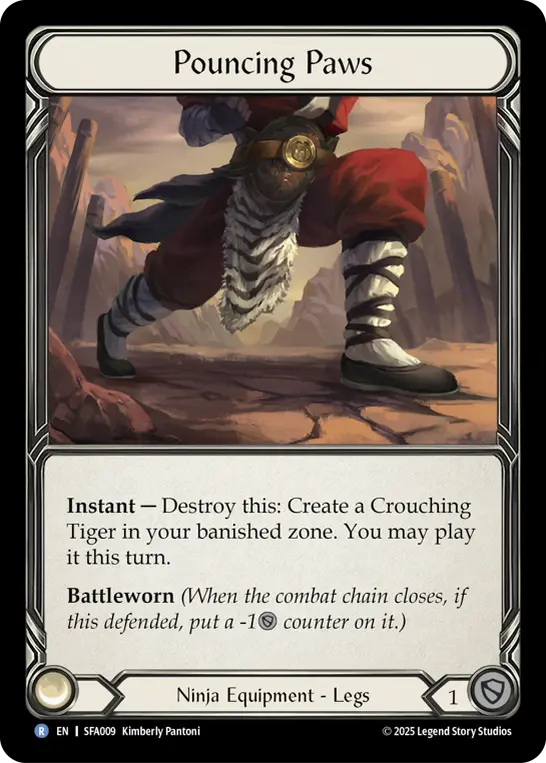
Keeping with the theme, our other equipment is a matter of what cards we include and personal preference. The one exception to this is Pouncing Paws. Most often, the Crouching Tiger sets up Dual Threat to give our second Kodachi +3, but there’s other sneaky uses, such as sending it as the second link to threaten MoM twice in one turn. I would never leave home without Paws.
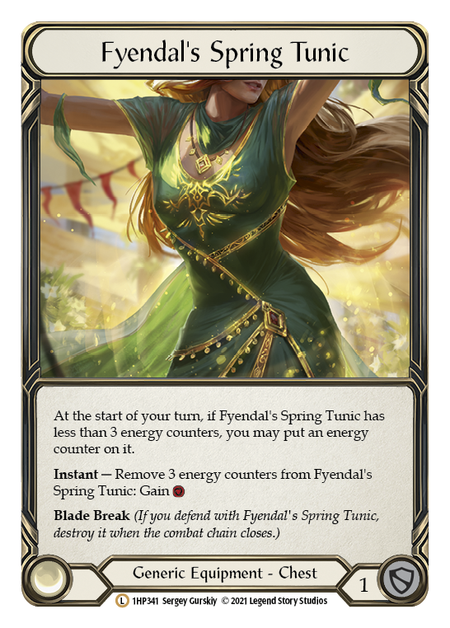

Ira has access to two chest pieces for resource generation. They both bring something different to the table. Fyendal's Spring Tunic is consistent, and doesn’t require use to work for it. It makes converting the dreaded all-red hands much easier, keeping our pressure on. It also lets us bluff double Kodachi into a 2-cost attack. A more defensive-minded shell will lean towards Tunic.
I personally use Blood Splattered Vest. At first, it started from the sheer luck of opening one at The Hunted prerelease when I didn’t own a Tunic. Over time, however, it’s come to be my personal preference. While Tunic might generate more value over the course of a long game, Vest gives us that resource almost on-demand, since it’s very rare our opponent will block the first Kodachi. It does telegraph what we’re doing, but being able to have a spike turn on demand is a massive power boost. Every time I have back-to-back power turns enabled by this card, it feels like the most broken equipment we could be running. This comes at a cost, of course: our unlucky all-red draws are that much harder to convert. When we pitch a 0-cost red to swing a Kodachi, our opponent will always know we need it to connect for that resource. If you want more control over when you can lay down the hurt at the cost of some consistency, use Vest.
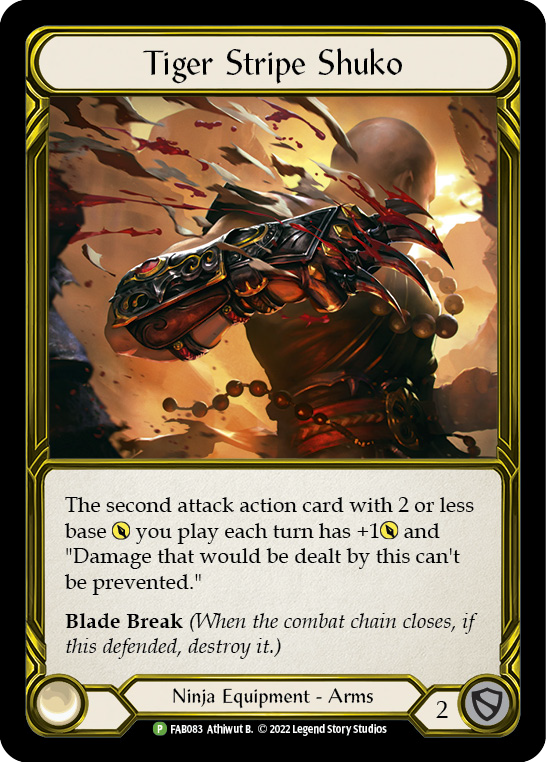

The arm slot is Ira’s worst armor. We usually struggle to get significant value from it, and it's one of her biggest weaknesses. The traditional go-to is Tiger Stripe Shuko. The only reason we play this is that it blocks 2. Sometimes we can trigger it once, but most lists don’t even have the cards to do that.
More recently, players are trying Tearing Shuko as an alternative. In addition to being much cheaper to buy, it’s usually 3 value instead of 2 when paired with Pouncing Paws. This gives us some extra value, and doesn’t feel as bad as running a Legendary equipment just for the number in its block value.
Personally, I find myself grateful to have a 2-block in the armor slot more than I wish I had an extra 2 damage when I cash in my Paws. Value is important, but value in the right places is more important. While the Tearing variety is more value – and the threat of pushing a Tiger at a spot other than the second link opens up a lot of flexibility – Tiger Stripe Shuko and Pouncing Paws cover a 6-power on-hit when paired with any 3-block card. Tearing Shuko doesn’t effectively cover those with our other equipment; it makes it harder for us to protect our arsenal against a Command and Conquer. Overall, Tiger Stripe Shuko makes our defense more flexible, while Tearing Shuko is more flexible offensively.
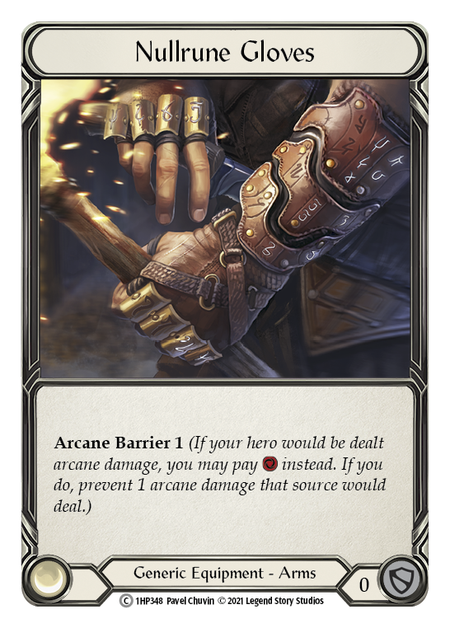
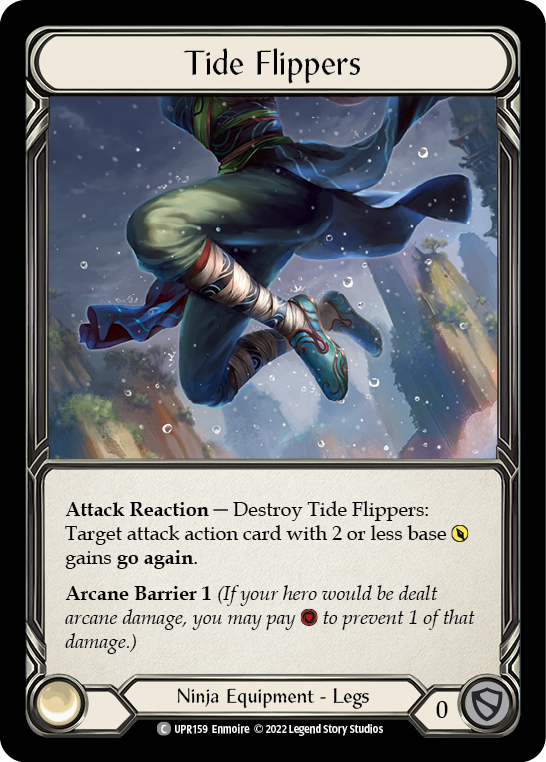
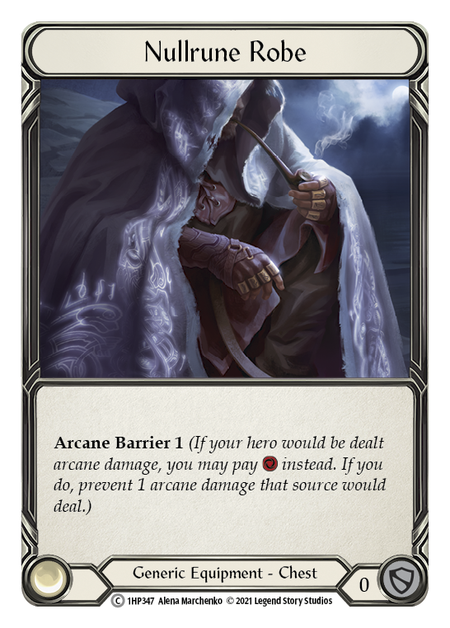
For arcane barrier, Ira will always bring at least Tide Flippers and Nullrune Gloves. If we want AB3, the next choice should be Nullrune Robe. We never want Nullrune Hood because Mask of Momentum is too valuable to swap out.
Building for Lethality

We then add a suite of defense reactions, and our requisite three copies of Dual Threat to finish out the maindeck. Ira is a consistency machine with a high floor for value. Over-the-top oppressive turns don’t usually come with that territory, so we also have a low ceiling of potential value compared to some other decks. Dual Threat gives us the ability to have those turns without compromising on our attrition pressure. 8 damage with an on-hit is a dangerous prospect. Even using this to just give Command and Conquer +3 (+4 after Ira) to make it attack for a whopping 10 is an excellent use of this card, and is going to make some jaws drop. Every list should be playing 3. The more 0-cost extenders we play, the better our chances are of getting maximum value from Dual Threat.
When we separate out the cards by role, Boomer Ira’s 60 cards usually look something like:
- At least 18-23 blues, usually 21.
- At least 12 finishers, usually always 15.
- At least 12 extenders, strongly considering how many should cost 0.
- At most, 12 non-attack cards, 3 of which are usually Dual Threat.
These are just guidelines. If we took 21 blues, and the listed minimums here, we would have 57 cards. That leaves 3 slots for flexibility and preference. The exact splits will vary from player to player. I’ve personally almost always played less non-attacks and more finishers. What’s important is that the deck feels right to the pilot. It’s also important to note this is just in a given 60. In the full 80, we will have more of one type than the other.
Before we break down the other elements of the deck, I want to touch on the underlying elements of our deck building decision. Ira is built for consistency above all. While the ratios ensure redundancy, we aren’t redundant in the same way heroes like Cindra and Dash I/O are. Aggro heroes benefit from the cards they include, but they are built to see the least amount of their deck possible to drop their opponent to zero. Boomer is a midrange deck, not a mad dash to the finish. In the same way Fai and Cindra need a certain number of Head Jabs to accomplish their goals, we need a certain number of each card role to fit our goals - but the speed of the deck is different, so the questions we ask are different.
Ira benefits from diversifying her threats to open up new play lines and angles of attack. When you study the options to include in your deck, don’t just think to yourself, “I need X number of this type of card.” Ask yourself, “What characteristics and effects do I want at my disposal, and how many cards are contributing to that in this slot?” If you want a better defensive game plan, you might play more combo cards in your finishers and extenders to pair with Flic Flak. You might play Give and Take too, because it blocks for 3 when most only cover 2. If you want consistent Dual Threat turns, you’ll need at least six 0-cost extenders, and many times more is better. Ira is a deck that is easily tuned into any meta, so keep your mind open to the possibilities.
Ira benefits from diversifying her threats to open up new play lines and angles of attack.
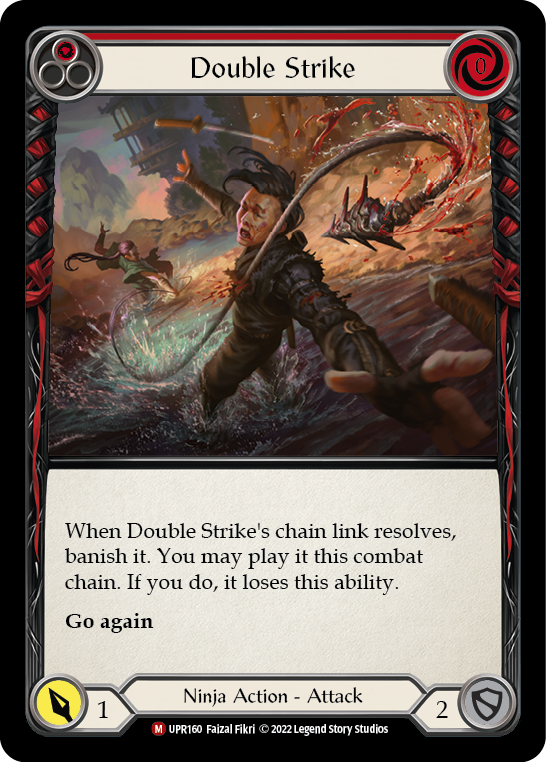


I’ve put singleton copies of Smash Up, Flying Kick, and Double Strike in my core deck before. I wanted to prey on expectations with the second Kodachi, so I included a fourth arsenal destruction card for Dual Threat. I’ve long been a proponent of singleton Double Strike for inevitability when your opponent is at one and stuck blocking each Kodachi. Double Strike allows us to go 5 links wide in the late game, almost guaranteeing a win.
Razor Reflex is some hidden tech. Sometimes they play around it the rest of the game. Other times it comes in when they don’t expect it and wins the game on the spot. These subtle choices gave me powerful options and different outs to play to while maintaining my deck’s flexibility and consistency. Because we are built to fight fair and consistent, we have to ask ourselves: What edges do we want over the field? What threats and playlines do I want available to me?
Because we are built to fight fair and consistent, we have to ask ourselves: What edges do we want over the field? What threats and playlines do I want available to me?
Finishers
Our chain enders are the haymaker punches paired with our “death by a thousand cuts” playstyle. In general, our finishers need to either have a threatening on-hit or have some utility function. While the other components of the deck are more likely to be changed when tuning your own list, these are the single most threatening cards in the deck - except Dual Threat of course.
Most lists, from Shoma’s to mine and even in Edge of Autumn lists, agree that the trio above is the absolute core of finishers.
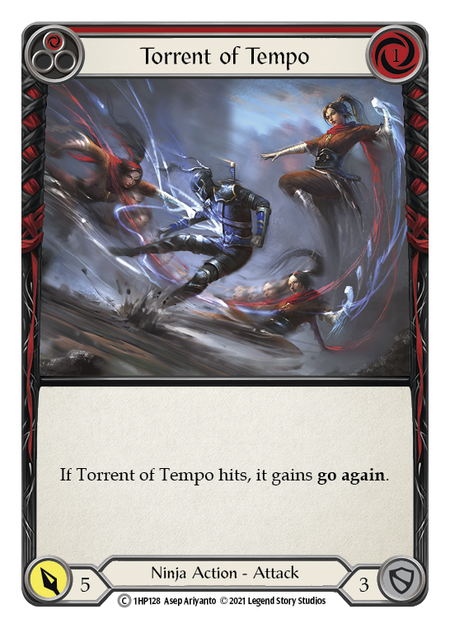
Torrent of Tempo is very rarely an extender, but it can behave like one. Sometimes, the best play is actually to send it at the second link, forcing your opponent to accept the major spike in damage this turn or give up two cards to end the chain early. If we need to pressure a hand and are comfortable arsenaling our last card, it’s a way to start shifting the tempo our way if we suspect it’s more powerful than sending it on the last link, where it often is let through if the second Kodachi is blocked.
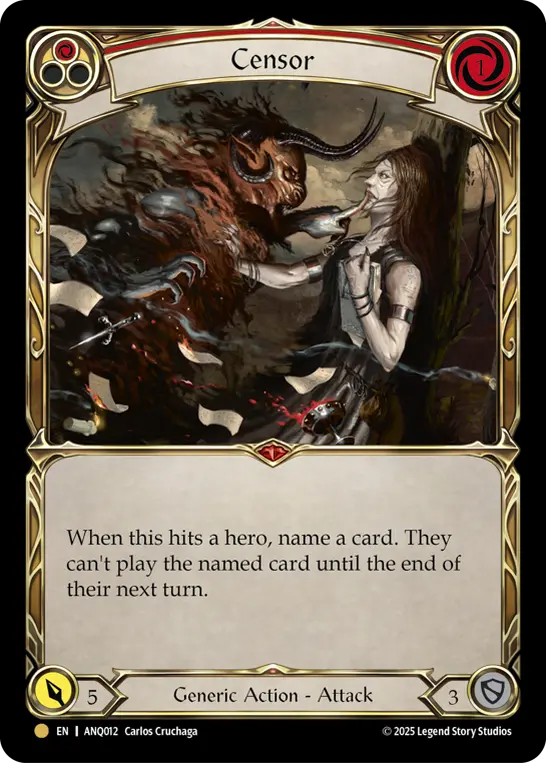
Censor is a card not seen in other decks. At first, it looks fringe. The odds of naming a card in hand are low, so why not generate guaranteed value instead? Looks are deceiving, however. After this much time on the deck, I will step out boldly and say Censor is actually the most powerful card in the deck. If you are paying attention to how your opponent is playing, what they’ve pitched, and what they’ve played this game, it becomes much easier to narrow down which of the cards in their deck they have in their hand or arsenal. Most people consider hitting a card with Censor a lucky hit. I can safely say that in any event where Censor has hit, I’ve deduced a card in their hand at least once, usually more often. There is a skill to playing this card, and it’s still an educated guess, but you’re never completely in the dark as to what to name.
(If you need help on what to name, I’ve done my best to include a list of what to name with Censor in the matchups section below. The Ira channel in the community Discord keeps a pinned list and tries to update it regularly.)

My personal preference for the last maindeck finisher is Sound the Alarm, and while it is popular I don’t think it’s quite popular enough to be considered core. Assassin was knocked down a peg since the banning of Bonds of Agony, but our opponent doesn’t need to be holding an attack reaction for this to be useful. Seeing our opponent’s hand gives us most or all the information on how they’ll play their next turn. We know exactly what we’re playing around, and that makes our next turn cycle that much more powerful. While Shoma also includes them, they are not an auto-include at this time. Some players will also put them in the inventory for Warrior and Assassin specifically.
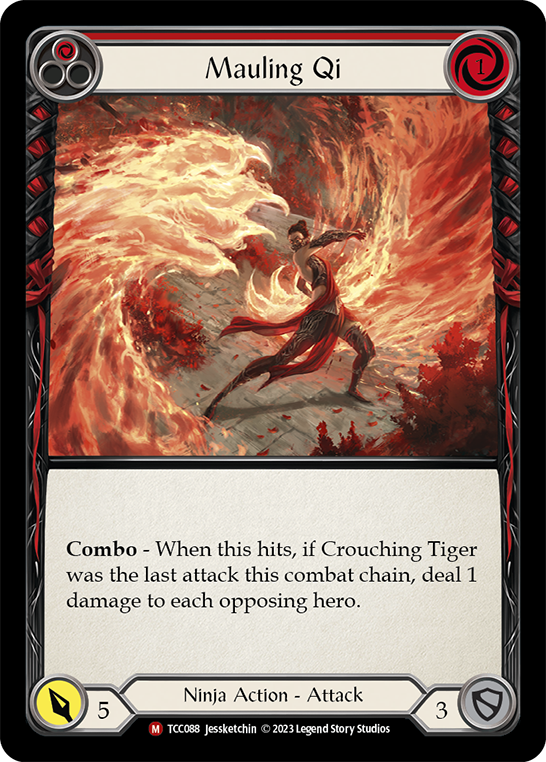
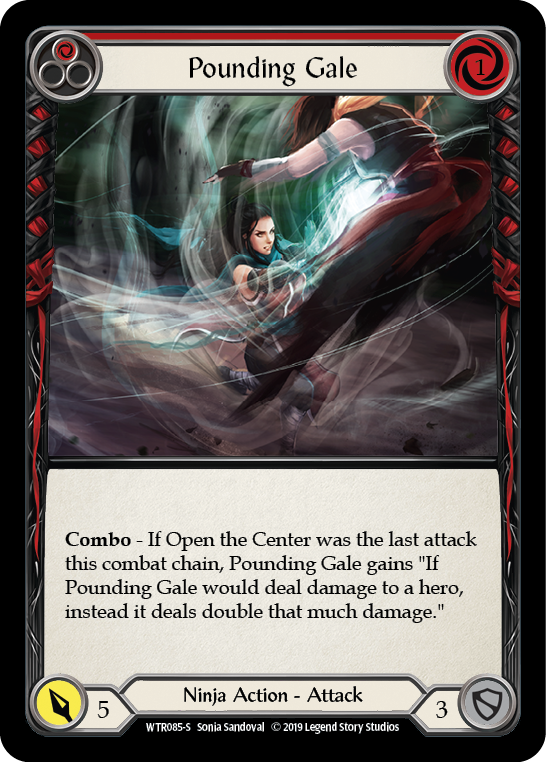
If you’re looking to bolster your defenses, Mauling Qi has combo for Flic Flak, and can sometimes follow after a Crouching Tiger, albeit very rarely. Pounding Gale can come in if you find yourself wanting additional copies of Mauling Qi. In the past, Ira has played cards like Take the Tempo and Flying Kick. While I believe there are too many excellent non-attacks for Take the Tempo to be consistently worth it, Flying Kick offers a spike in damage that makes it a fringe, but worth revisiting, option. Sirens of Safe Harbor always generate value, but I think they are vastly better in Autumn Ira’s play pattern. We have better options, but it’s worth keeping under consideration.
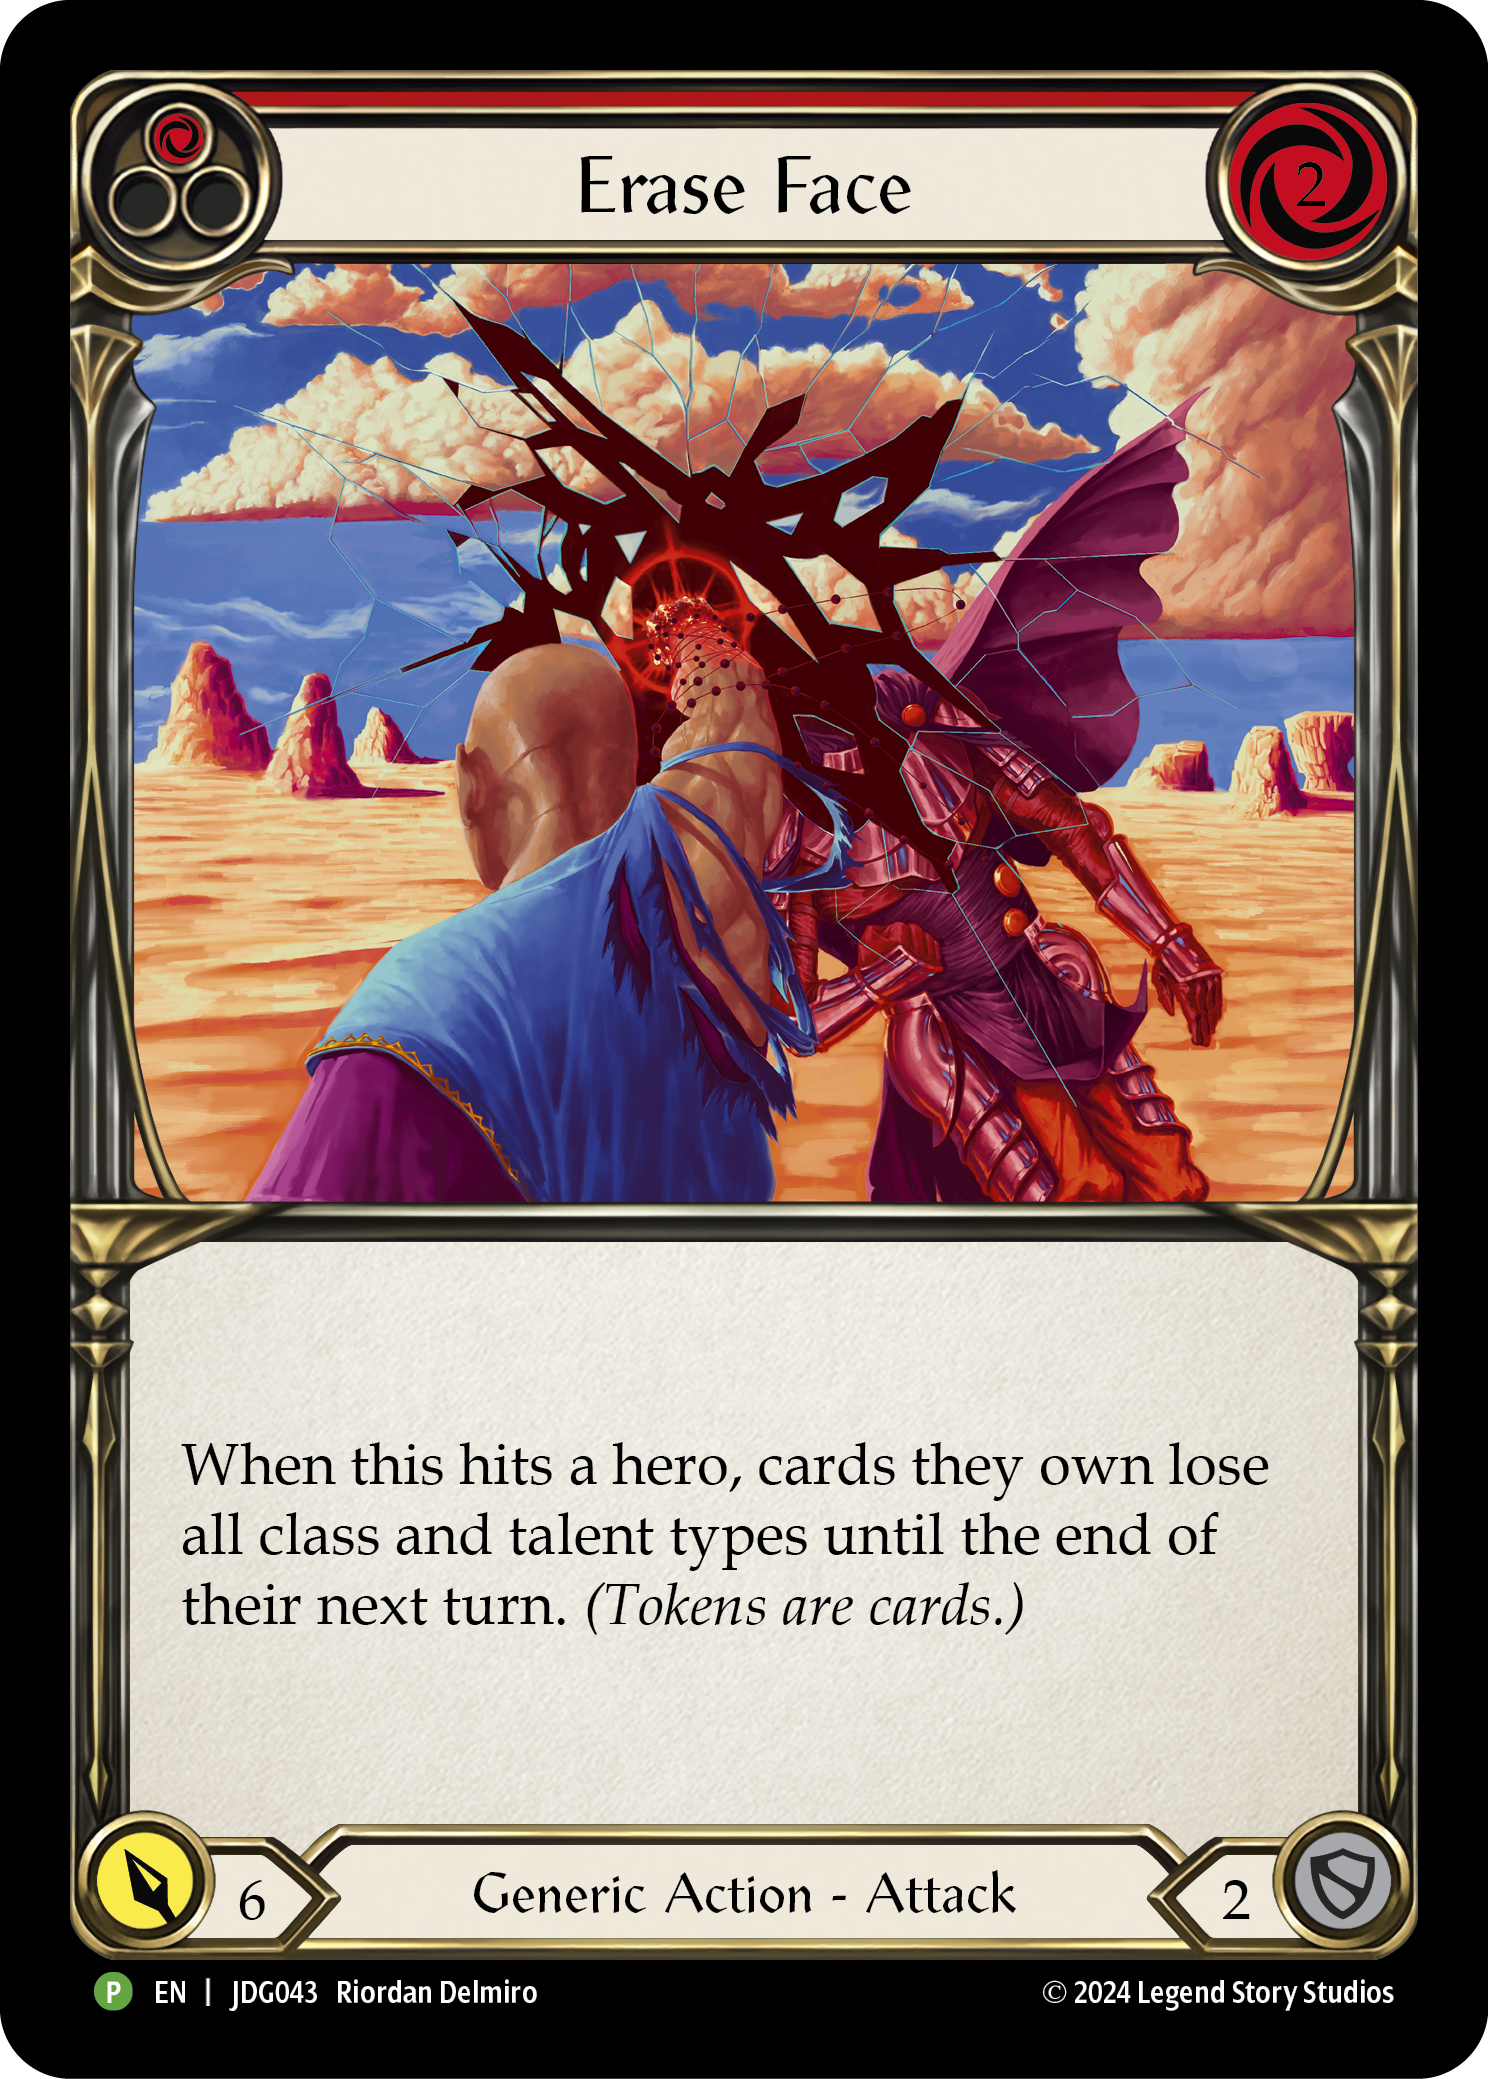
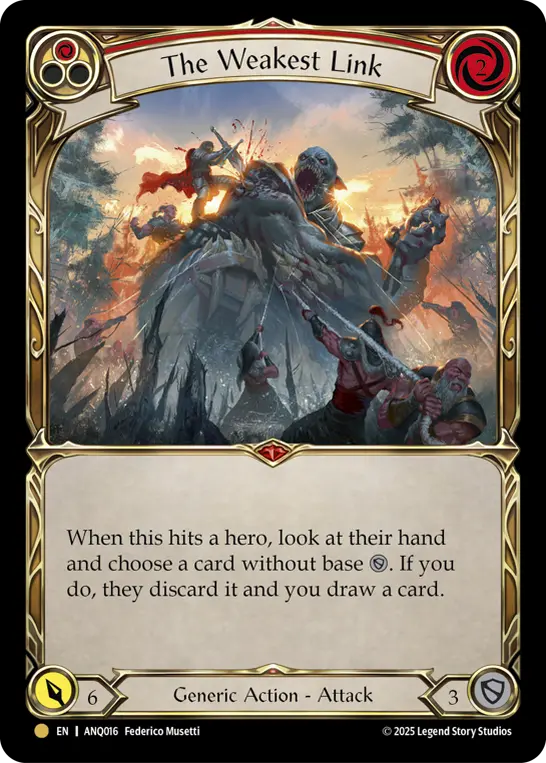

In the inventory, we tend to include more finishers with extremely powerful effects in specific matchups. Erase Face is a must. It blanks boost against Mechanologist, turns off decompose for Earth, and strips away Draconic, neutering most of the talent. The Weakest Link is for pressuring combo hands from Oscillio and setup turns from Kano. It has some applicability into Verdance as well. Humble and Amnesia trade places frequently as the last in the trifecta. Play whichever is more meta-relevant at the time.
The other popular considerations are Blanch for Illusionist and Pirates, and Gravekeeping for Cindra, Gravy Bones, and sometimes Assassin to turn off Take Up the Mantle.
In conclusion, Ira’s finisher package is rigid and straight forward, but some of the most threatening individual cards in the deck. The core is:
- Censor
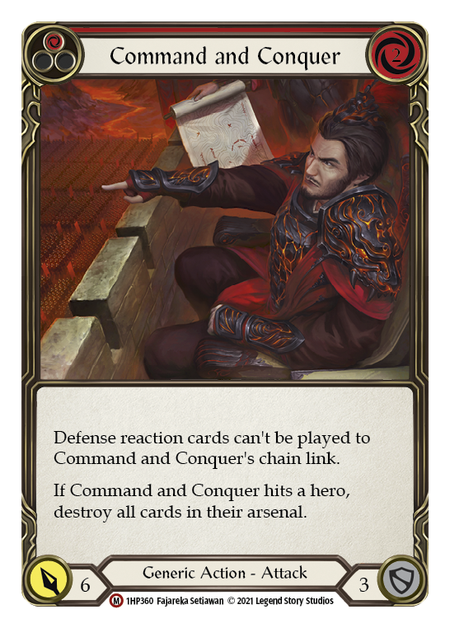
- Command and Conquer
- Torrent of Tempo
The maindeck can be filled out with many options, some of which include:
- Sound the Alarm
- Mauling Qi/Pounding Gale for Flic Flak
- Take the Tempo for extender-heavy, more aggressively slanted lists
- Flying Kick is fringe, but saw some play early in Ira’s life in Constructed
- Sirens of Safe Harbor for all-around value
For the inventory, the following are a must:
- 3 Erase Face
- 1-3 The Weakest Link
- 1-3 Humble or Amnesia, sometimes a 2/2 split is acceptable
If you want to add more finishers to your Inventory, consider:
- Gravekeeping
- Blanche
Extenders
Ira has numerous extender options, almost too many to name here. This aspect can be easily catered to the pilot’s taste and preferences. However, we need a certain number of 0-cost go again for Dual Threat to be most effective. I find we need at least 6 for consistency, with 7 in my opinion being ideal. However, I’ve played as little as 3.
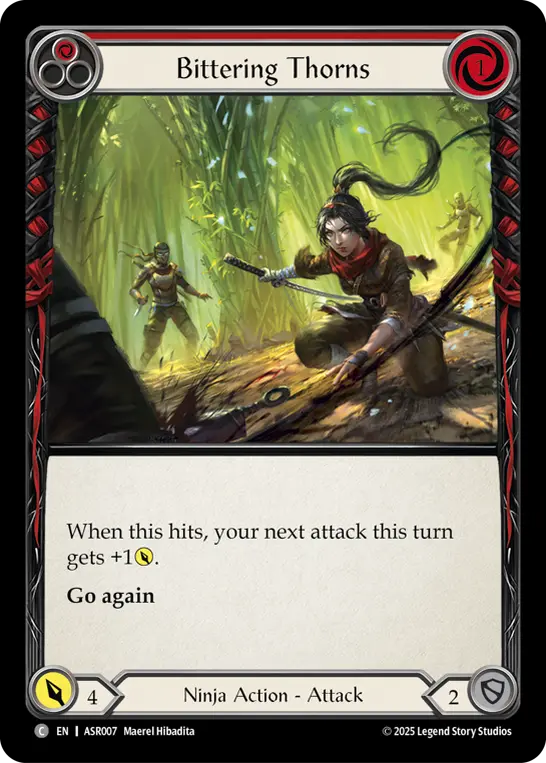
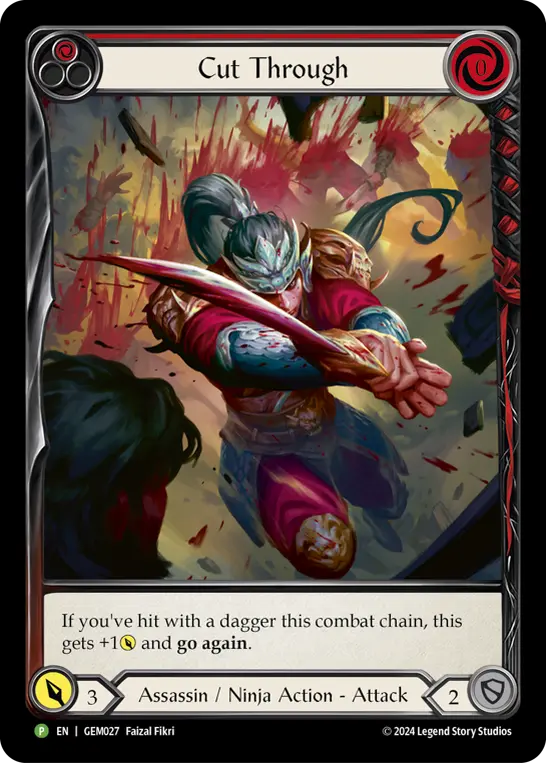
The only extenders that are absolutely core to the deck are Bittering Thorns and Cut Through. Bittering Thorns is the best extender available to us. It buffs our finishers to be above breakpoints. With Ira, it can become a six value play. Cut Through is a breakpoint extender that costs 0 and will almost always be enabled. As a 0-for-5 on the second link, it’s difficult to block, and can make our opponent vulnerable to our finishers later.

Many would consider Pain in the Backside to be core, and the ones that don’t say it’s almost always an auto-include anyway. I’ve previously been critical of this card. I think it’s a card Ira will likely always want to play as a potential 0-for-5 go again that can also yield a resource to us. However, I think the extender slot is also very competitive in Ira. PitB is a card that can be very good, but it’s also a card I’ve trimmed to two or even one copy before. There’s a lot of utility available in the extender slot. While PitB is very good, I’m not afraid to play fewer copies to diversify my threats.
A personal favorite of mine – and a headscratcher for some – I think Give and Take is underplayed. This card covers so many bases. As an extender on the second link, it’s a hard-to-block breakpoint. As the final link threatening MoM, it puts more pressure on their blocks. We either get the draw, or they potentially give us the best attack out of our graveyard. It also blocks 3, which no other card in the slot so far has. I’ll often pitch them in the first cycle for the long game. I’ve played all numbers of copies, and I’d personally always have 2 in the list. This puts me in the firm minority of Ira players, but I believe this card does too much for us to leave it out.
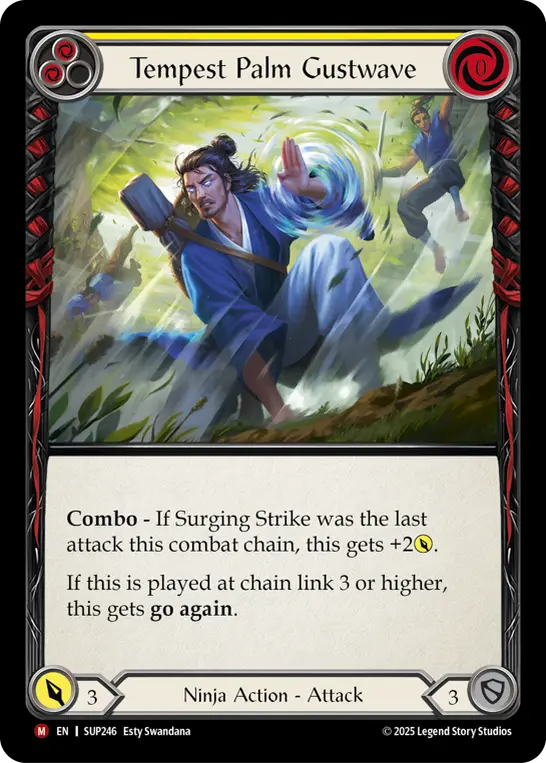
Newcomer with Super Slam, Tempest Palm Gustwave is shaping up to be a brand new workhorse for the deck. This card really does it all. It’s trivially easy to play this as the third link, opening up our opponent to our on-hits. It attacks and blocks for 3 (or 5 with Flic Flak), pitches for 2, and costs 0 for Kodachis and Dual Threats. What more could we possibly ask for from one card? At time of writing, it’s only just been revealed, but this is something I know Ira players will be happy to have available. It may be the single most flexible card playable for us, and could even become part of the core.

Enlightened Strike is a meta call, and should be considered half an extender for the purpose of ratios. In metas where we can afford to slot it in, it fixes the mono-color hands. It makes converting any clunky hand far easier, especially if you aren’t playing Tunic. It’s the best card we have to arsenal. All modes on it are relevant depending on the game state, so if you want a card that pivots with your posture without playing combo reds that otherwise have no text on them, Enlightened Strike is a must.

Looking for a Scrap became somewhat ubiquitous in Ira since her tenure in Blitz. Its dual role as a 5-power finisher or 6-power extender makes it a flexible haymaker. If you’re willing to commit to playing 1-power blues, it’s very powerful. In recent memory, it’s fallen out of favor as our extenders need to do more than just be damage. The card could certainly make a comeback one day, so it’s worth having the requisite blues and a playset of these in your maybeboard.
Long thought to be too much work for too little, Ira’s only specialization is taking slots in the inventory since Gravy Bones came into relevance. We also use this as a must-block threat into decks that don’t want to block, like Cindra, Oscillio, and Kano.
Ira’s extenders are numerous and powerful, and should cater to your playstyle preferences. The core is:
- Bittering Thorns R
- Cut Through R
There are almost too many viable options to list. While this list is mostly comprehensive, don’t be afraid to get creative:
- Pain in the Backside for its damage ceiling
- Looking for a Scrap for its damage ceiling
- Enlightened Strike for fixing hands (remember, this is a half extender for our ratios)
- Give and Take for all around value and late game potential
- Flex Claws for one card Dual Threats
- Scar for a Scar for additional 0 costs
- Double Strike for difficulty blocking MoM, and threatening MoM on a Dual Threat turn. It also gives lategame inevitability
- Spinning Wheel Kick for combo with Flik Flak
- Hundred Winds for Flic Flak and synergy with it in the blue slot
- Tempest Palm Gustwave for all around flexibility
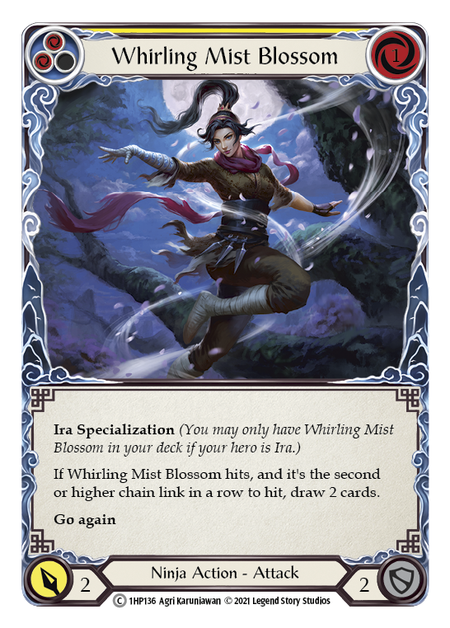
- Whirling Mist Blossom in the inventory for matchups where the opponent heavily disfavors blocking
Blues
The blues in Ira all need to cost 0 for Kodachis and block 3. These largely break down into three packages that bleed into each other.
- Value Blues
- 1-Power Blues
- Other Combo Blues
Ira has two major thorns in her side when it comes to blues. The biggest weakness is often portrayed as needing to play mostly do-nothing blues to make our gameplan work. While it is true other decks get more effective blues, I don’t think our blue base does nothing. The real trick is finding the right balance of blues meant for blocking and blues meant for playing in the second cycle, and that leads into the second issue: playing too many combo blues makes a large portion of our deck a dud to draw from Mask of Momentum, bricking what should be a power play. Sometimes we can’t even arsenal it if we think we need the pitch for the next turn.
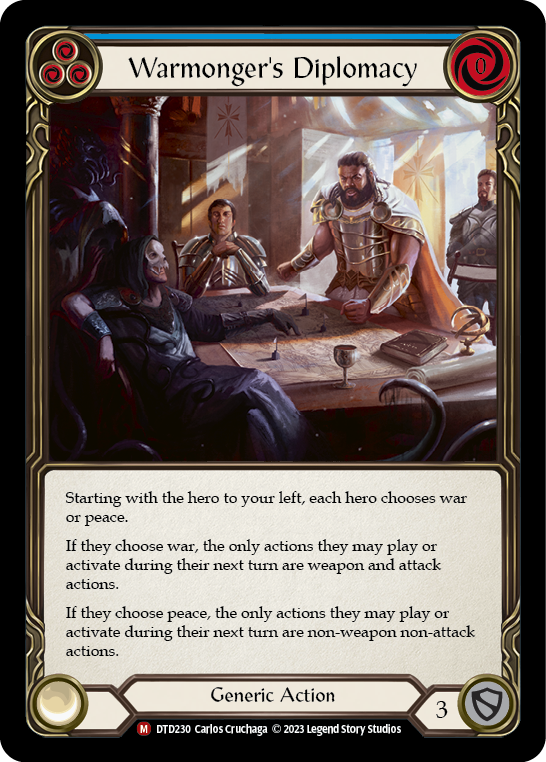

The two blues that are always included are Warmonger’s Diplomacy and Rowdy Locals. Warmonger’s shuts down entire turns against some combo decks. Rowdy Locals is a disruptive attack in its own right, and gets more respect than our opponent would like to give it.
There are additional choices here before getting into combo blues. Nip at the Heels can push a Kodachi or extender over a block to get a hit for MoM. Legacy of Ikaru is similar, but narrower in scope. Put Into Context deserves special consideration as a pitchable defense reaction that blocks for 3. Blue Flic Flak is another option for more aggressive metas. While not often seen, I have a soft spot for Knives Out. Another pet card of mine is Flex for an emergency breakpoint attack. Even on a budget, there is plenty of extra value to be squeezed from our blue base.
The 1-power package is designed to fuel Looking for a Scrap and sometimes Rotten Remains. Almost all of them will also have combo for Flic Flak. The moment one of these is laid on the table, your opponent will know you’re on LFS. If you’re not playing either of these, you’ll likely go to the other, 2-power combo blues just to attack for more.
Non-Attacks
Our non-attack package is almost always the usual suspects for defense reactions, and Dual Threat. I’ve spoken exhaustively about the card already, so I won’t rehash it here.
Our suite of defense reactions are nothing surprising. We play the best of the best available to us. In more aggressive metas, like in Aurora’s heyday, Ira slotted Wax On and Wax Off into the inventory. That All You Got? is another excellent option if you want to recover from investing heavily into blocking.
Our non-attacks do get interesting when we move beyond these cards.

Razor Reflex, the ultimate mind games card. If you want explosive reach, play three. If you want to keep your opponent guessing, play one or two. This card can win games in the second cycle, and I like to keep one handy just for that when I can. It’s also excellent for securing on-hits with our 1-cost finishers.
Pummel is an odd choice that sees very rare play throughout Ira’s history, but persists in recent memory. Alex Lo at Battle Hardened: Hong Kong and Mikko Pena at Battle Hardened: Atlanta both ran Pummels and made Top 8 on the same weekend. It could be worth exploring if you’re looking for some extra spice.
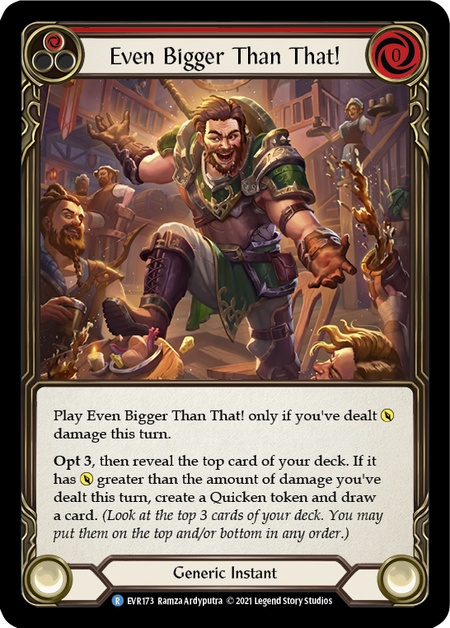
Then we have the most fun card you can possibly put into this deck. Even Bigger Than That is a powerhouse with no small amount of risk, and a tried and true hellraiser. Playing cards that don’t block is a serious liability, but while I’ve only just begun EBTT, I think it’s the shot in the arm Boomer Ira needs to stay relevant. It creates some of the most brutal turns possible. Swing with the first Kodachi and if it hits; filter your next hand, grab the biggest attack you can, and throw it down with go again. A Command and Conquer or Erase Face with go again is going to have your opponent sweating. If you’re going to play this, I would mainly play the reds, but the yellows are a defensible option as a pitch card.
(As an aside, remember you can only get a card that has power greater than the amount of damage dealt this turn. If you’re going to run EBTT, it’s worth having 2-power blues available to grab one in a pinch.)
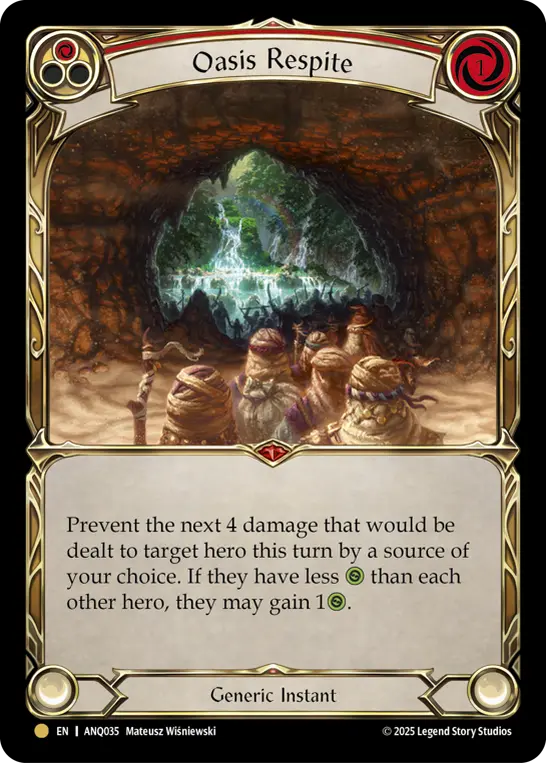
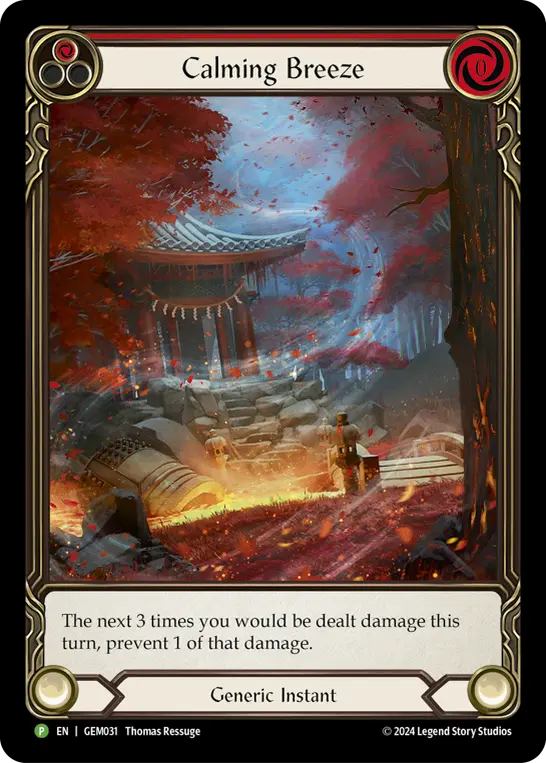

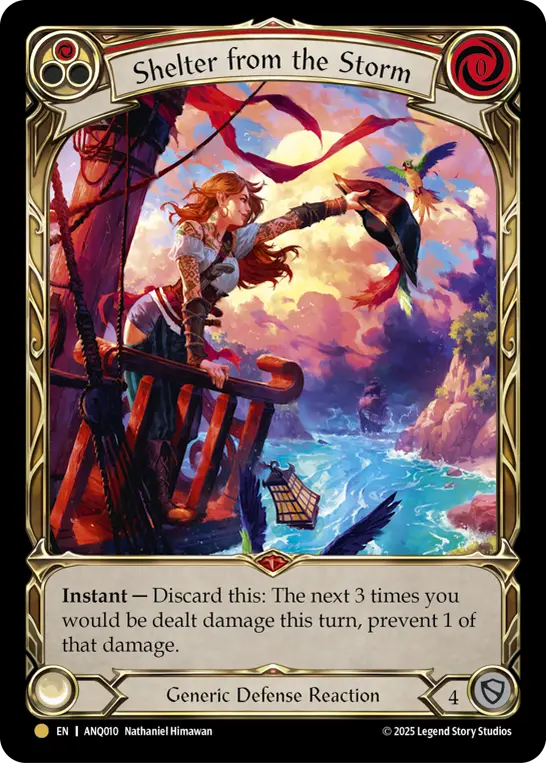
Ira will sometimes play additional damage prevention in the inventory. It’s mostly the dealer's choice. Sigil of Solace is the easiest to slot into the deck for both aggro and fatigue. In general, if you’re playing Sigil over Oasis Respite, you might trend more towards a fatigue strategy in more matchups than typical. Calming Breeze is for those of us who don’t have a playset of Shelters and want the discard effect.
Variants
As mentioned previously, Ira hosts a wide range of decks. However, there are variants of Midrange Ira specifically that should be noted.
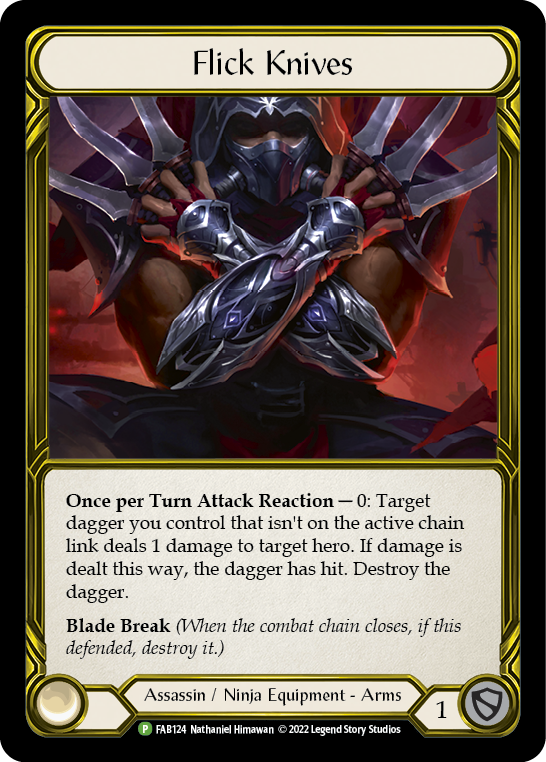

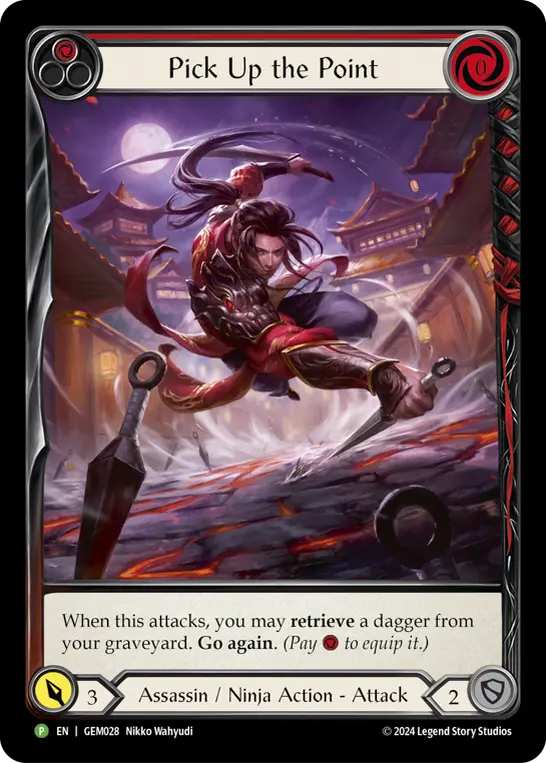
The aforementioned Zoomer decks, built with Flick Knives, Up Sticks and Run, and Pick Up the Point, are trying to slant themselves more aggressively. The thought process came from a time where Ira struggled to close out games. Zoomer tries to solve this problem by presenting more true damage with Flick, backed by extenders and Up Sticks to force more damage through. Generally speaking, it does better into defensive decks than traditional Boomer, but worse into aggressive decks. Over time, this build has fallen out of favor, but it could come back in the right meta.
Generally, a list like this wants 9-12 sources of retrieve. Oliver Berry won their ProQuest: Singapore in 2025 with a Flick build, and it seems he was targeting aggro and fatigue with Wax On and Wax Off, and Wreck Havoc in the inventory.
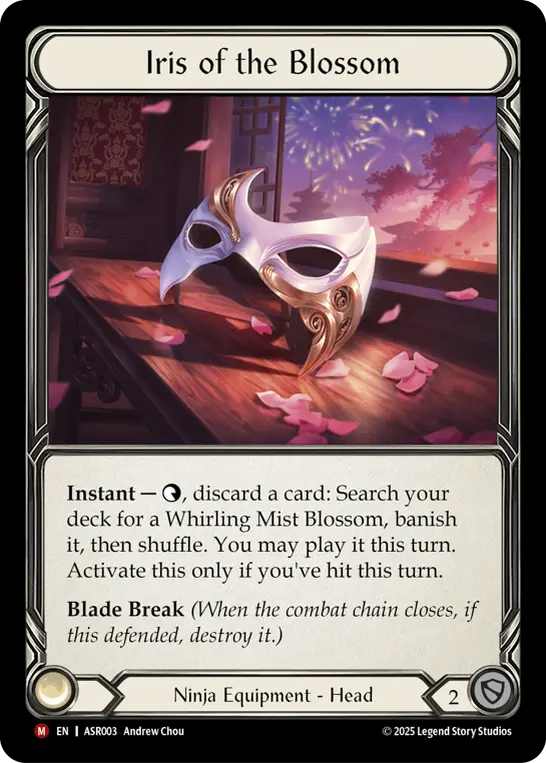
Since the Armory Deck’s release, some Boomer pilots have opted to pivot away from Mask of Momentum and into a threat that can be tutored. The logic here is that, against a meta of decks that care more about disruption than MoM triggers, they’re blocking regardless and we can get value from a different headpiece. When the Armory Deck released, some players turned to Iris of the Blossom to grab a must-answer threat at a moment’s notice. At Calling Kansas City, Aaron Grace claimed 24th place with this spin on the Boomer gameplan. Iris opens up a lot of diverging play lines for Ira. Finishing out the list is Fiddler’s Green and Sirens of Safe Harbor to get more value from discarding to Iris. This is the first big placement from an Iris Boomer list, so there’s a lot still unexplored in this emerging strain of Midrange Ira. It’s still unclear what the tradeoffs are in the matchup spread, but for someone looking for a new take on an old favorite, this would be my first choice.
Matchups
Before getting into the detailed matchup guide, there’s a few important theory and practicality notes I need to explain.
First, I’m one person. My notes apply to my style of list, and as I’ve said previously, two different pilots can take a wildly different approach to a matchup and still win.
It’s important to consider our ratios when sideboarding. Removing extenders for finishers is going to give us a different pace of play than the list will typically have. Some players swear by always maintaining the ratio in your deck in sideboarding. I personally cut extenders for more finishers most of the time. Finding the right answer for your build might take some experimentation
This is my own philosophy: I very seldom cut a playset entirely when deciding what to bring in from my inventory. Diversifying our threats is something I do in the inventory phase as much as when I’m deckbuilding. For example, if I don’t expect a matchup to go long, but I do want to drive a late game wedge into my opponent’s defenses, I’ll trim one or two copies of Give and Take to keep the option open to send it when it’s most likely to trigger. I might leave one Flex Claws in the deck too to keep the option of a one-card Dual Threat open if I leave it in the arsenal. Sometimes, I board out my existing singletons to “board in” to a different set, so to speak. Once I started experimenting with this, I saw much more success. The ability to pick which powerful and subtle edges we want is one of Boomer’s most powerful traits.
Because Ira is a midrange deck built for the utmost flexibility and consistency, many of our matchups are 50/50. While Boomer Ira is a simple deck to play, finding wins in a matchup spread that's mostly even hinges on choices and navigating the matchup correctly. While it may not be obvious at first, a positive win rate with this deck exemplifies skill expression.
Unless otherwise stated, we always want to go second. I’ve made a note when a matchup is better to go first in.
Slightly technical, but it’s always good to stack your equipment in a pile facedown when you’re sideboarding. They must be on the table to have been selected, but whether you have one weapon or two is not open information in the pre-game. While the builds aren’t that different, there’s a chance the opponent boards incorrectly if they assume you’re on Edge of Autumn instead of Kodachis.
Lastly, I’ve included a Censor naming guide in case you don’t know what to name – special thanks to the community Discord for pooling together good answers for every hero!
For reference, here is my personal list. At time of writing, I’m missing the staple blues like Warmonger’s Diplomacy and Rowdy Locals, and a couple copies of some expensive sideboard cards, but otherwise this list is complete. This is the link to my personal list that I’m always updating, which means no matter when you’re reading this, this will always take you to an up-to-date list. While it may never be the most recent tournament winning list – and might have some audacious choices I’m experimenting with – it gives you an idea of what Ira looks like at the time you’re reading this.
Assassins
- Most Assassins all play similarly, save for Huntsman. For the majority of Assassins, play defensive and time your disruption carefully. While many play multiple arsenal destruction cards, parking a card in it if we expect a Codex of Frailty will preserve our hand for the following turn, giving them much less tempo. Our sideboard strategy is the same for most of them: defense reactions, Sound the Alarm, and Humble. We have a different strategy for Huntsman.
- Of all the Assassins, Slippy will be the most aggressive. Play defensively into them, and time your disruption carefully.
- Vs. Marionette, deny them Mark at almost any cost. Be willing to block Hunter’s Klaive almost every turn. It’s usually a tight game, but we can come out ahead with careful play.
- Vs. Uzuri, her gameplan is very similar to ours. She’s very happy to block with two and send two, but she has a low go again count, so with constant pressure we should win. We can respond to Uzuri's ability with a defense reaction to preemptively block a Command and Conquer before it hits the table. Don’t hyper-fixate on this as a midrange mirror. She can still tear us apart if we don’t play around the stealth attack being pumped instead of swapped.
- Vs Huntsman, fatdeck. Bring in the defense reactions, any relevant 2 for 6’s, and even spare attacks if you have them. Diversifying your threats makes Hunter or Hunted less of a blowout for us. They can burn through our deck quickly if we aren’t careful, so apply pressure while preserving the deck.
- Overall, our Assassin matchups are favorable if you play carefully. These are knowledge check and skill check matchups, so don’t be too dissuaded if you’re struggling into them.
- Censor targets: Codex of Frailty, Leave No Witnesses, Just a Nick, Infiltrate & Kiss of Death (Slippy), Savor the Bloodshed (Marionette), Isolate & Infect (Uzuri).
Brutes
- All the Brute matchups play similarly, although they have their own nuances that make them different. Your first go-wide or Dual Threat turn is unlikely to success thanks to Scowling Flesh Bag, so don’t be afraid to use Dual Threat as +3 to a 2 for 6. Of course, putting your finisher in the arsenal will usually protect it for a Dual Threat turn ass well. You can also block with excess blues so Flesh Bag can only banish a card you'll gladly arsenal. Bring in defense reactions, Erase Face, and Humble.
- Rhinar is the worst of the bunch for us. He has plenty of arsenal disruption in addition to his constant intimidate. A fatigue build is far worse for us here. Block aggressively so you can take the hits on his larger intimidation turns. Your arsenal will be difficult to keep, so don’t rely on it.
- Vs Kayo, Armed and Dangerous, his primary goal is to clobber us with above-rate attacks backed by his 5-power blues for discarding. Humble can be backbreaking, and I wouldn’t hesitate to send it for 10 with Dual Threat. This is definitely a block two, send two match, but be willing to throw your whole hand down if necessary so you can put on the heat next turn.
- Vs Levia, her higher average attack power makes her deadlier than the other two, but it also makes our disruption that much more valuable. A well-timed Humble can force her to give up her hand or change into Blasmophet.
- Overall, these matchups are thought of as unfavored, but I’ve never had much trouble with them other than Rhinar. If we play well into them, we should be winning more often than not.
- Censor targets: Bloodrush Bellow, Swing Big, Wild Ride or Pulping if they kept a large hand, Shadowrealm Horror (Levia) or the most threatening card in banish if you anticipate a flip to Blasmophet.
Earth
The Earth matchups are best summarized by this image.

- I split Verdance and Floridan off due to their similarities with each other while they each share significant differences with the other members of their respective classes. Bring in Erase Faces and sometimes defense reactions.
- These are two of our worst matchups, with Florian being much worse than Verdance. They are defensive, patient decks that have a better late game than us while being more than willing to cover our chip damage.
- Vs. Verdance, go first. Plume of Evergrowth getting banned makes this matchup an enigma again. There were two philosophies previously. The first is if they didn’t bring a potion combo, fatigue was the best way with Sigils, Oasis Respites, and AB3. Now that they’ve lost the ability to combo out of the graveyard, it stands to reason they’ll bring potions more often. If they do, we then go to the second option, which is to be as aggressive as possible.
- It is possible to beat Verdance, but it’s very hard and requires the Verdance player to make a mistake or two to give us an opening.
- Vs Florian, go first. Bring in Double Strike and anything else difficult to block and aggressive. His endgame state is almost impossible for us to overcome against a seasoned player. We have to beat him before he gets there, which is very, very difficult.
- Overall, Verdance is beatable if we dedicate a significant amount of inventory space (upwards of 8 cards, not counting arcane barrier) just for it. Florian is possibly our worst matchup in the game.
- Censor targets: Plow Under, Felling of the Crown, Germinate (Florian), Rampant Growth/Life if she kept a large hand (Verdance).

Gravy Bones
- The lone Necromancer. Against most players, we’re favored, but the higher the skill of the opponent, the less favorable it becomes.
- Whirling Mist Blossom feels like a win-more until it’s against a very good Gravy player, then it’s just barely enough to keep us in the game.
- It’s pretty straight forward. Carve every ally apart like you’re Black Mamba against the Crazy 88 in Kill Bill.
- It is possible to manipulate the attack pattern to make the opponent block in awkward positions. This varies heavily by board state, and could almost be a complete guide on its own.
- Fearless Confrontation can be a complete blowout if we don't play around it. Try not to swing the second Kodachi until all allies you plan to clear that turn are gone. I would also hesitate to attack an ally with a finisher unless we absolutely must.
- Once he’s got very few allies left, he should be easy to deal with on his own.

Guardians
- There’s multiple distinct types of Guardian. While all of them are generally even or favored matchups, our approach varies wildly. Bring in defense reactions.
- Vs Jarl, don’t give him equipment ever. He’s our best matchup out of the lot because he’s not very good at dealing with chip damage. If we keep our pressure on him, he’ll fall behind very quickly.
- Vs Victor, we’ve pretty much lost if we’re down to our blues. Try to set up the best Dual Threat turns you can, and let the Kodachis go to work. He’s the most likely to fatigue us, so fatdecking with our 2 for 6’s is a good strategy.
- Vs more aggressive Guardians (Betsy, Valda) respect the strength of their swings. Give them some cards, but if you expect a Pummel is coming it’s sometimes better to take the big hit to keep pressure through the discard.
- Vs Valda once she gets going she can roll us. Because of MoM, Valda can usually decide to give her next crush attack dominate by letting us draw from it. She can frequently make two Seismic Surges are turn. The best plan is keep her off her Surges as best as you can. Her defensive game is lacking compared to some of the other Guardians, so our pressure wins out.
- Censor targets: Command and Conquer, Spinal Crush, Pummel, Bet Big (Betsy), Oaken Old (Jarl), Golden Son (Victor) or whichever card they drew off a clash, Put ‘em In Their Place (Valda).

Illusionists
- At present, the only illusionist is Prism, Awakener of Sol. If another ward-centric illusionist like Enigma returns, Vambrace of Determination is a good card to keep around.
- We have plenty of poppers for Prism, in addition to go again. We have full flexibility into spectra.
- That said, Arc Light Sentinel is a real pain, and if she gets multiple of them in a game it’s enough for her to claw ahead. If our deck bricks, she can take over the game at the drop of a hat.
- Fatigue is a valid strategy into Prism if aggro fails you. Try to board out your 2 blocks to keep her from gaining too much momentum
- Overall, we’re favored into the class as a whole due to our go-wide strategy and plentiful poppers.
- Censor targets: Herald of Triumph, Herald of Erudition, Wartune Herald, Herald of Protection. I would consider Arc Light Sentinel sometimes if it’s late game and it looks like we can close out if we get one more turn.

Mechanologists
- Almost universally, we want to grind mechs to a halt. Bring in defense reactions and Erase Face.
- Vs Dash I/O, go first to prevent leaking damage. Drop the hammer on turn 0, then immediately pivot into fatiguing her. Be patient. She will burn through her deck on her own, and if we have a high enough life total when she has about 4-6 cards left in the deck, we’ve won. She has high armor, so don’t expect your first Erase Face to connect.
- Vs Puffin, there’s multiple distinct variations floating around that make her tricky to board for. I’d bring in the standard fair for the class, plus Amnesia to turn off her hero power. If she’s boosting, we can fatigue. If she’s more value oriented, we can grind against her very efficiently. We also have the perfect tool for shishkebab-ing her bird.
- Vs Teklovossen, don’t let up the pressure from him. He’s turned the corner once his attacks start gaining overpower, so be as threatening as you can to him.
- These matchups are very favored for us, but playing smart is key. Dash I/O can still win if we aren’t careful. If we don’t pay attention to what Teklo or Maxx are doing, that’s giving them what they want. Pay attention, play smart, and you shouldn’t have much trouble with these.
- Censor targets: Zipper Hit, Zero to Sixty, Boom Grenade & Spark of Genius (Dash I/O), Palantir Aeronought, Cogwex Zeppelin, and Cogwerx Dovetail if they have cogs already (Puffin).
Ninjas
- Being midrange with disruption gives us a leg up over our classmates. Censor targets are different for almost every hero.
- Vs Cindra, bring in defense reactions (even if they aren’t always the best), Erase Face, Humble, and sometimes Whirling Mist Blossom to force a block. She has 1 point of armor she can easily block with (Dragonscale Flight Path), so Humble and Erase Face for 7 is going to be backbreaking to her turns. Don’t get too risky with it though, she can still beat us if we take too much damage to preserve our hand.
- Cindra Censor targets: Any draconic starter like Oath of Loyalty, Rising Resentment, Brand with Cinderclaw, and Ignite. Sometimes Wrath of Retribution or Spreading Flames if you expect a blow out turn.
- Fai is pretty much the same strategy, but he’s more predictable and easier to block. We shouldn’t have any trouble with him. Expect Tenacity from his Mask of Pouncing Lynx in the late game.
- Fai Censor targets: Any draconic starter, Spreading Flames
- Vs Katsu, while we may be borrowing each other’s signature weapons, Kodachis will usually win out in the end. We have more chip damage, disruption, and can block more freely. Bring in defense reactions, Amnesia, Humble, and Whirling Mist Blossom to pressure his hand further. This is a matchup I like cutting more 2 block extenders from in favor of my higher block value sideboard cards. Be on the lookout for him to grab Enact Vengeance out of the deck to threaten our arsenal. If we keep his attacks at bay, he eventually runs out of cards in hand to setup his combo, and then we’re usually safe. Don’t be afraid to overblock! Sometimes he has a sneaky Ancestral Empowerment or Legacy of Ikaru up his sleeve (because apparently he can steal our family’s legacy too – what a jerk).
- Katsu Censor targets: Bonds of Ancestry, Ancestral Empowerment, Surging Strike.
- Vs Ira, it’s going to be a midrange slug fest. You can bring in defense reactions, Whirling Mist Blossom, Double Strike to threaten MoM multiple times, and Amnesia if you suspect this is an Edge of Autumn build with Crouching Tigers (At worst, it blocks for 3 and attacks for 7). Dual Threat turns are always telegraphed, so they’ll know what too expect. Usually the player with the better understanding of their specific deck will win in my experience, so this is a true skill test.
- Ira Censor list: Command and Conquer, any relevant disruption, Dual Threat if she kept a larger hand: A smart player won’t telegraph this and find a way to preserve both the hand for a full turn and arsenal the Dual Threat for next turn.
Rangers
- Rangers are odd for Ira. Sometimes they present little threat. Other times they’re a real pain in the, well, backside.
- Vs Riptide, if you are certain it is Redspine Manta, bring in defense reactions and treat it like an aggro deck. Otherwise, I’d exercise caution with defense reactions thanks to Dreadbore. He is a very flexible hero, so it can be hard to tell what he’s going to do. It’s hard to lean on ranger’s poor defense because defense reactions from hand reload his arsenal.
- Watch for Frailty Trap bricking our turns. Riptide has almost no efficient answer to our weapons other than those. Even if we board wrong, our weapons alone can be enough to win the game by his inability to handle them well.
- Vs Marlynn, I like going first since she needs some setup. Bring in defense reactions, Humble, and Amnesia. She doesn’t do much that’s terribly threatening to us outside Three of a Kind. Keep her off gold and you’ll whittle her away comfortably.
- Overall, Marlynn is straightforward and one of our better matchups. Riptide can be a guessing game, but there’s multiple ways to approach him so test and find what works for you.
- Censor targets: Codex of Frailty, Murky Water (Riptide, if aim counters are present), Three of a Kind (Marlynn).
Runeblade
- Since we already covered Florian as an Earth hero, the only other Runeblade in the game is Vynnset. Go first because she has setup elements. Bring in Amnesia and AB1.
- Vynnset is tricky. If you try to race her, she’ll blow you out of the water. You have to disrupt her constantly while playing for fatigue. It’s a tricky matchup, but an even one in my opinion.
- It’s very hard to keep her off her “if an opponent has lost life this turn” effects due to the sheer number of runechants she throws at you. Succumb to Temptation and Cull can be back breaking, so sometimes it’s better to take the hit if you suspect one is coming.
- Censor targets: Malefic Incantation, Deathly Wail, whatever Runegate is in her banished zone.
Warriors
- Warrior has both some of our best and worst matchups.
- Vs Dorinthea, bring in your defense reactions and Sound the Alarm. Do your best to get them in arsenal to keep her from getting reprise. Do what you can to block out the first hit, then send two cards. Rinse and repeat until her life total hits 0.
- Vs Kassai, bring in the standard fare for Warrior, plus Amnesia to eliminate her Gold- and Copper-matters cards. Kassai is a true pain for us, and could be another one of our worst matchups. Her value is much stronger than ours and thanks to utility from the graveyard, we’ll be hard pressed to keep her down. Cintari Sabres are a pain to block out as well, and racing is almost out of the question. Keep her off her on-hits if at all possible, and try not to take a turn off from overblocking.
- Kassai has enough hits on Censor to get her own list: Blood on her Hands, Draw Swords, Hit and Run, and Slice and Dice.
- Vs Boltyn, the honest answer is to get familiar with Boltyn’s math to avoid getting blown out. Thanks to his hero text, we can actually keep large hands into him because we can just not block and not give him go again. Nimby, however, is going to make sure he keeps the heat on. The classic midrange strategy with Erase Face, Humble – and I know I sound like a broken record here but – any defense reactions in the inventory will make short work of him.
- V of the Vanguard & Lumina Ascension are the big ticket items for Censor. Sometimes Nimblism isn’t bad if you know it’s coming and think he doesn’t have much else for go again left.
- Vs Fang, we can almost bring the entire package of sideboard 2 for 6’s into him. This matchup is abysmal for us. The moment they hit three Fealty it’s all downhill for us. Do your best to keep him off of them, because the whole game changes once he has them. The faster you can go without conceding Fealty to him, the better.
- Fang’s Censor hits are dependent on game state. If he has less than three Fealty; Pledge Fealty, Affirm Loyalty, and For the Dracai. Once he has three, start naming Hunt’s End and Long Whisker Loyalty.
- Censor targets: Blade Flurry (all warriors).

Wizards
- Shockingly, we actually have an alright matchup into one of them: Oscilio
- Vs. Oscilio, go first. Don’t go lower than five defense reactions (I personally do six). You can board out Dual Threat here because he pressures our hand so much. I look for Erase Face, Amnesia, Whirling Mist Blossom, and any prevention or pseudo-prevention effect (Sigil of Solace, Sirens of Safe Harbor, etc.) I would bring AB2 minimum.
- While Humble looks annoying at first, every experienced Oscilio player I know says it doesn’t do much of anything into them, but bring them in if you have the space to.
- Keep disrupting him and keeping him at bay on his big Gone in a Flash turns is the best bet. Disruption is bad for Oscilio, and with his 3-4 armor in blocks and no block instants, sometimes he’s forced to take the hit. It’s an uphill battle, but it isn’t nearly has difficult as it seems. I have a near even win rate into him, he’s very beatable
- Kano, on the other hand, can burn in the aether for all I care.
- AB3 and all the healing and prevention in the world is not enough to stop the ICBM Kano lists. Go first and race him, and keep a blue in hand for AB. If you get Oasis Respite in the Arsenal, you probably still lose but it’s the best chance you have. Take the loss and get lunch.
Out for Revenge
Ira is not a high rolling hotshot or a format all-star. She hardly has the power turns heroes in either of those categories get. She has a high floor for value, but a lower ceiling, and that’s exactly what makes her so special in FAB. In a game where power is often defined by over the top spike turns where a little bit of gambling goes a long way, Ira is the cold hard confidence that says you don’t need any of that.
No matter the meta, Ira will find a way to make a place for herself in it, targeting vulnerabilities in the top heroes while never showing mercy. Playing Ira feels like saying to the game “I don’t need your tricks and your gambits, I’m good enough to win on my own,” and she’s got the guts to back it up. As a devotee to the Crimson Haze, I’m looking forward to every meta change, every new card that we have to consider playing against, and tuning just for it. The work of an Ira player is never done. The deck is constantly in flux, and I am always honing my prowess for the next match.
If you ever have any questions or want to talk about Ira, feel free to find me in the community Discord under the username CavalryWolfPack. I always want to discuss this hero and the philosophy of the deck. Until then, I’ll be sharpening my kodachis and katana, waiting for the next opponent.