Hayden Dale is the winner of the 2019 Calling in Sydney. Originally from New Zealand, he now calls Australia home. Instantly hooked by the game, Hayden has a huge interest in the competitive side of Flesh and Blood. You can find him on Facebook under Hayden Dale, or over on Instagram @gaming_instyle .
Previously...
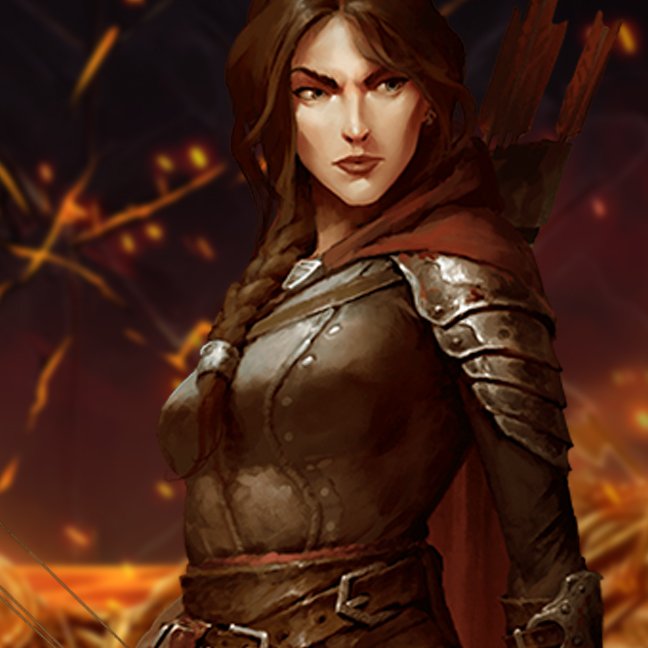
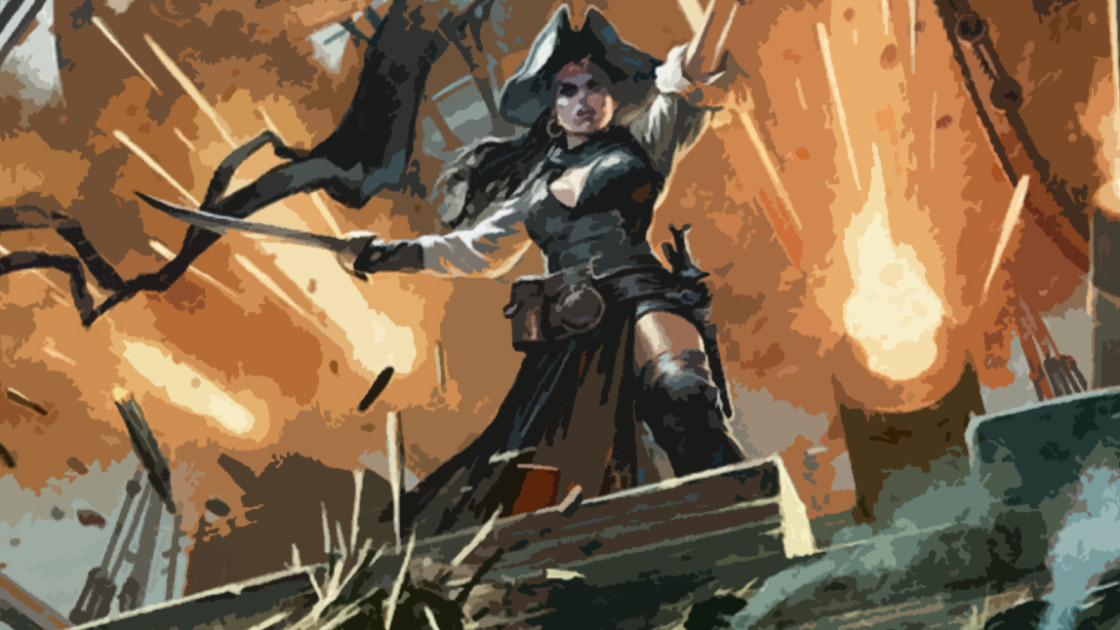
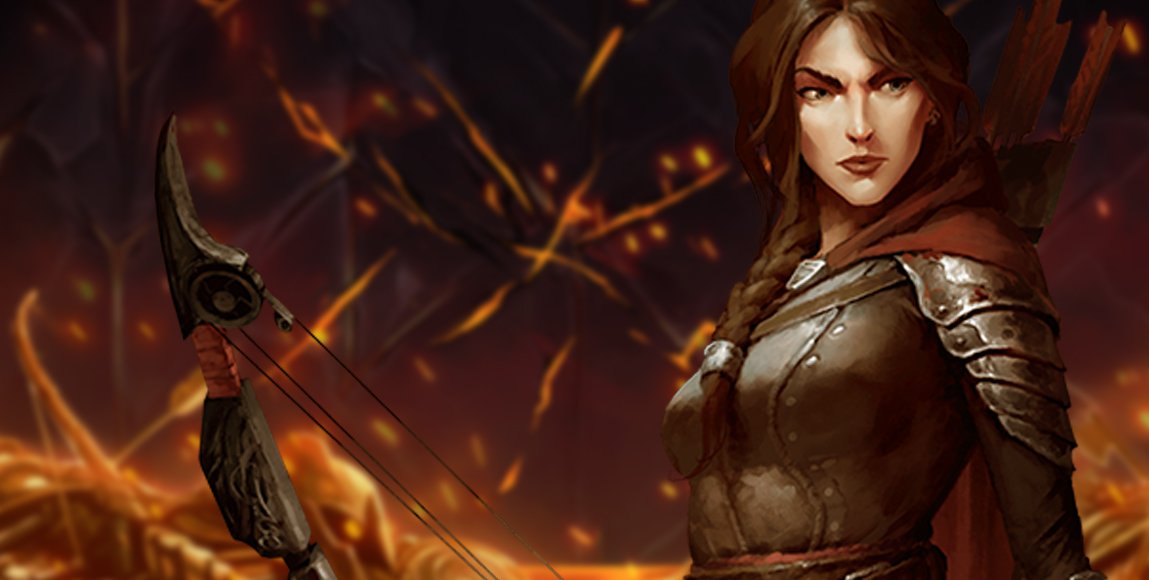
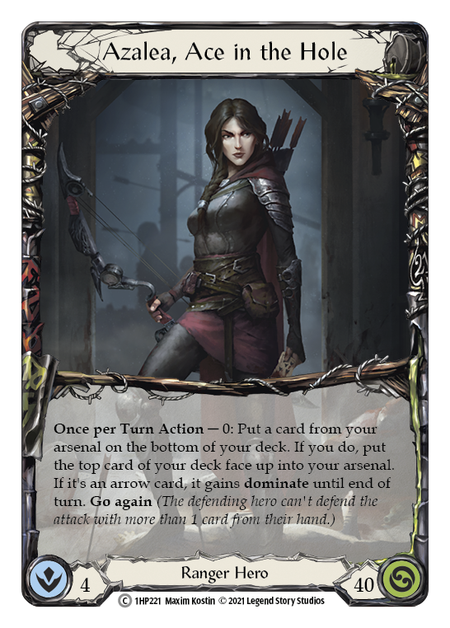
Part three of Hayden's Azalea experiment expands the classes she's been tested against and includes a host of fringe card choices to see her across the line, bringing with her a rain of arrows.
by: Hayden Dale
In the final part of my classic constructed deep dive on Azalea, I am bringing you a matchup guide for each of the eight current adult Heroes. This guide includes explanations on how to go about setting yourself up in the pre-game, gameplay strategy, and important cards on both sides of the matchup.
Since Crucible of War’s release, I have been playing and theorycrafting Azalea at great length. After spending so much time with her, I find myself firmly and regretably in the camp that, right now, Azalea is the weakest hero in Classic Constructed. There are a few reasons for this:
- The unique and specialized class design that doesn’t allow for the core FAB game structure to be played.
- A very linear set of cards available which forces the deck builds and game plans to be fairly narrow- and thus easy to play against
- The lack of a weapon that deals damage
- The complexity of this hero and class in deckbuilding and gameplay.
That last item is something I only really came to appreciate during this series. However, I do genuinely think Azalea is playable, and that she can compete if you set your deck up right, targeting the key matchups with your build.
The Decklist, as presented at the conclusion of Part 3, can be found here. I'll be referring to this build as I move through the article.
The Core Gameplan
Through this series, I have touched on how this deck plays in a couple of key matchups, as well as the general strategy of the deck. Before we dive into matchups, I think it is important to circle back to the guiding strategy of this Azalea, Ace in the Hole build.
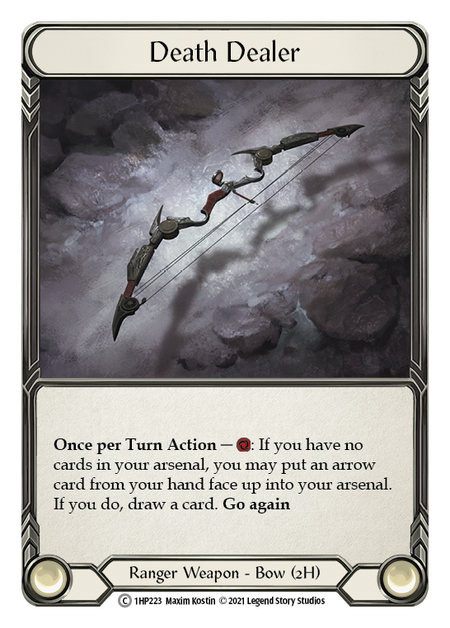
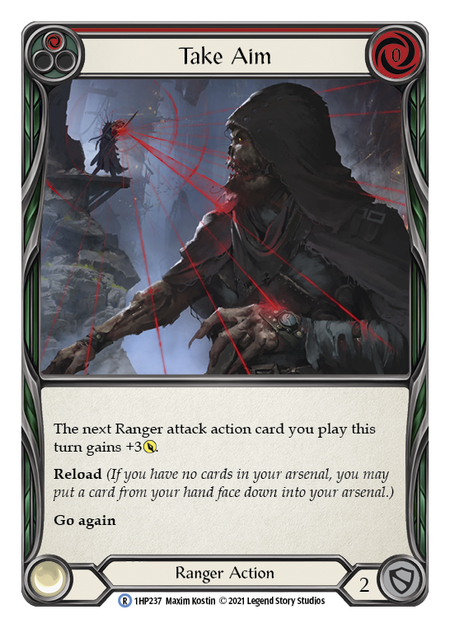
The number one aim of this build is the focus on maximizing the power of Death Dealer, while the core strategy is a focus on disrupting the opponent in the early- to mid-game with relevant 'on-hit' effects from the key arrows in any given matchup. This maneuvering through the mid-game allows for setting up inevitability late and forcing damage to end the game with either the go-wide ability of Rapid Fire and Flock of the Feather Walkers setup, or using Take Aim and Dominate from Azalea’s Hero ability.
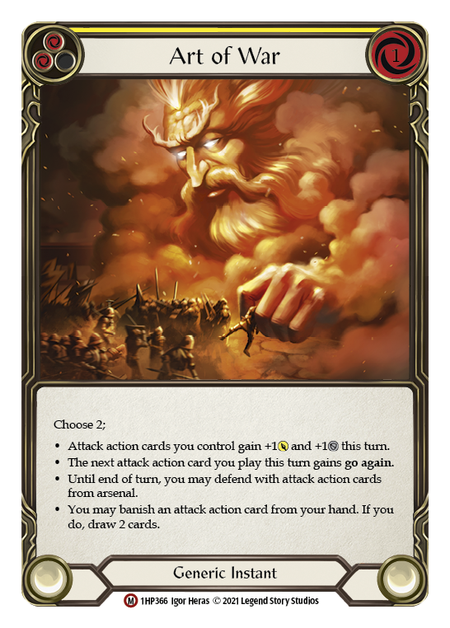
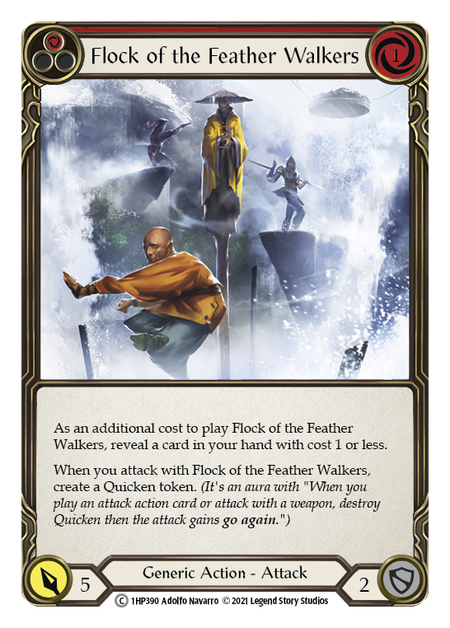
The deck has access to a defensive package to combat the decks who want to wrestle you for tempo, like Warrior, Ninja and Ranger. However, the primary supporting cards are all about setting up, pushing damage, and going wide: Flock of the Feather Walkers, Razor Reflex, Promise of Plenty, Enlightened Strike, Art of War and Ravenous Rabble.
In some matchups you will have to trade your life for opportunities to take the tempo and get yourself on the front foot with 'on-hit' effects (think Red in the Ledger vs Ninja). However, against those more defensive decks, running in an attack or two every turn isn’t going to break through unless they want you to. Think Dash and Guardian primarily. For these matchups, you want to keep pressure on with some go-wide cards while looking to get set up for bigger turns.
A turn attacking with just Flock of the Feather Walkers is perfectly serviceable if the follow up turn allows you to send three or four attacks at your opponent, guaranteeing you leak damage. Just keep in mind that not all decks will afford you the time and space to set up. Other decks will punish you for taking a turn off. Knowing the matchup and how you will play the game as you start the first turn is always important in Flesh and Blood, but even more so with a deck that can flex and yet be punished easily if on the back foot.
Vs. Mechanologist
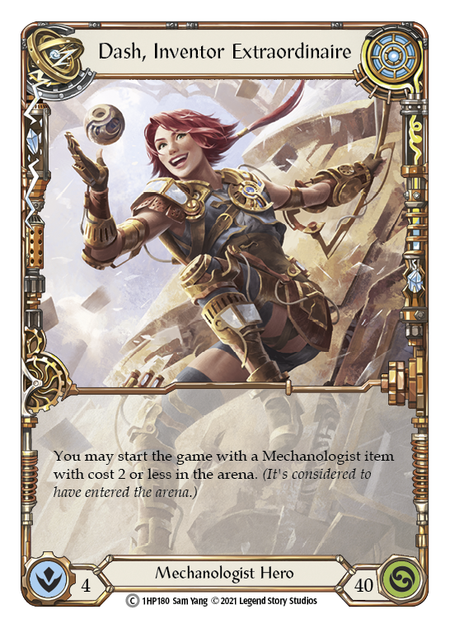
Dash and her Pistol seems to have had the spotlight stolen from them recently, what with Blitz becoming the predominant format and Ira, Crimson Haze the talk of the town. But make no mistake: until Monarch drops, Dash is still going to be the hero to beat in Classic Constructed. She has a consistent game plan and doesn’t get punished very often, with her two worst matchups (Ninja and Brute) fairly underrepresented. Players seem to be reluctant to play more aggressive strategies that can really prey on Dash’s reliance on setting up items early game.
Side Out (15):
- Eirina’s Prayer red x3
- Feign Death x3
- Tripwire Trap x3
- Take Cover red x3
- Sleep Dart red x3
The Dash player will likely play a controlling role in this match, keeping their defense reactions in and probably electing to leave the High Octane + Tome of Fyendal package out. You want to put pressure on them as they draw items, as those are the turns they aren't able or can’t afford to defend. When you find those openings, push damage and score relevant 'on-hits'. You also want to set up for the late game by pitching cards like Take Aim, which have a lot more value after you burn through their defense reactions. Ideally, those late-game Take Aims can enhance a dominated arrow to finish Dash off.
Vs. Warrior
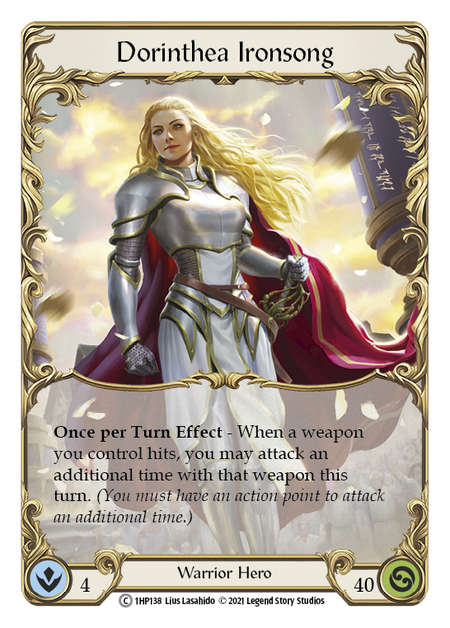
Dorinthea is extremely likely to show up at events, be it local Armories or constructed Callings. She's a popular hero that you need to ensure you can put on the back foot. While this matchup may seem like a race to zero life, it really isn’t; you're buying time while you assemble the right combination of cards to swing in score significant damage/'on-hit' effects. The package of Tripwire Trap, Take Cover and Feign Death allow you to steal tempo back on key turns. Despite the Ranger's reputation, you have a reasonable number of cards that defend for 3 (all arrows) and that suite of defensive cards to ensure you don’t lose momentum as they swing back, trying to push in their own big turns.
Side Out (15):
- Eirina’s Prayer red x3
- Promise of Plenty red x3
- Art of War x1
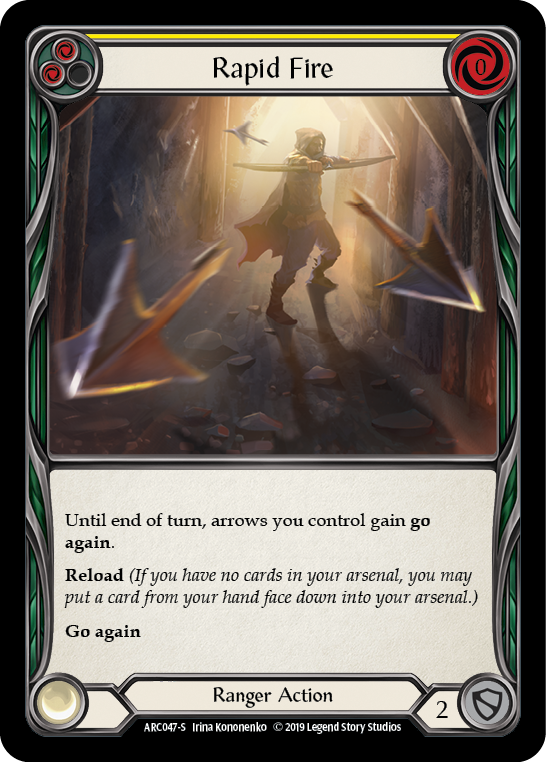
- Rapid Fire x1
- Flock of the Feather Walkers red x2
- Ravenous Rabble red x3
- Take Aim yellow x1
- Enlightened Strike red x1
The key cards to be aware of and ensure the Warrior player doesn’t line up often against you are Singing Steelblade, Steelblade Supremacy and Steelblade Shunt. Your defensive cards are, of course, very key in this matchup, but equally important is how you set up and utilize your Sleep Darts and Red in the Ledgers. Both of these arrows are important 'on-hit' effects against Warrior. This matchup really is all about impactful turns and swinging the tempo back your way with the defensive cards. Don’t be afraid to drop a weaker hand on the table to defend against a threatening Warrior's Valor or Steelblade Supremacy turn.
Vs. Brute
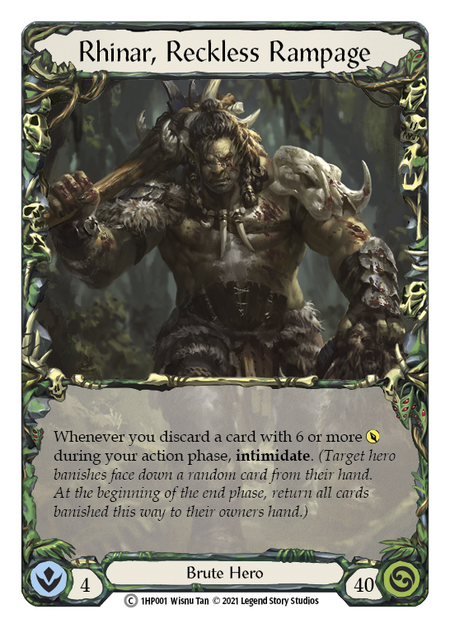
I wrote about the Brute matchup in Part Two, and I still think the approach I shared then is the correct way to play it. Your role here is to send attacks at Rhinar every turn, and find setup turns throughout the game to push damage in chunks. You're especially looking to connect with 'on-hit' effects like Sleep Dart and Hamstring Shot. The Brute players have respectible defensive capabilities, so you also want to ensure you aren’t just throwing your best cards into turns that they can easily defend or minimize the damage.
It is important to set up a final turn, and dominated arrows with extra attack from cards like Take Aim are very hard for Brute to keep out late game. I recommend watching their pitch and how they ustilise their defense reactions, as the best players will pitch some of these reactions to line up late game.
Side Out (12):
- Eirina’s Prayer red x3
- Feign Death x3
- Tripwire Trap x3
- Take Cover red x3
Romping Club is, of course, a key card for the Brute if they follow an attrition strategy. It allows them to block out with 3 cards every turn and still swing back for four. This is why setup turns are so important: you need to get those chunks of damage in, and they're happy to throw most of their hand defending. Bloodrush Bellow turns often close out games.
Look to counter their momentum with a few key cards of your own. Sleep Dart is good to prevent the Brute setup turns. Hamstring Shot can make the Romping Club lines more difficult. And the damage modifiers are very good here- Art of War and Razor Reflex especially.
Vs. Guardian

Historically, this is probably the most difficult matchup for Azalea. Bravo decks have a steady stream of defense reactions to keep out key arrows, and when they change gears and start bringing big Crush attacks, it's almost impossible to stop them from getting that 'on hit' effect.
Side Out (8):
- Eirina’s Prayer red x3
- Feign Death x3
- Take Aim yellow x2
A well-timed Tripwire Trap can really help this matchup, especially if the Guardian player feels they need to start taking some damage in order to set up for their attacks. If Bravo is playing the defend-into-Anothos strategy, the lines of play should be to set up turns that break the defense. Utilize cards like Flock of the Feather Walkers, Three of a Kind, and Rapid Fire to go wide, ensuring you can sneak an attack past the defenses. Watch to see how many red attacks they're pitching and anticipate their return to avoid getting blown out.
Vs. Ninja
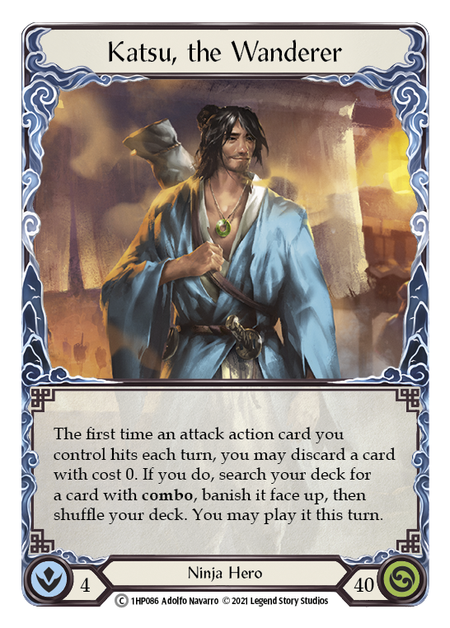
This matchup is all about using your arrows to apply pressure and keep on the front foot. Ninja traditionally doesn’t defend well with the high number of combo starters and other 2 defense cards. It can be especially difficult for them if their defense reaction suite is light. You will find almost all of your arrows' hit effects line up well. Tripwire Trap and Feign Death allow you to break up big combo turns and utilise your hands more efficiently than they can.
Side Out (12):
- Eirina’s Prayer red x3
- Ravenous Rabble red x3
- Promise of Plenty red x3
- Rapid Fire x2
- Art of War x1
You aren’t looking to go as wide in this matchup, which is why we pulled the cards that are here solely for the go-wide appeal. A lot of these cards also defend for 2 so can be liabilities in certain hands where you must block with one, two or three cards vs the Ninja attacks.
Vs. Wizard
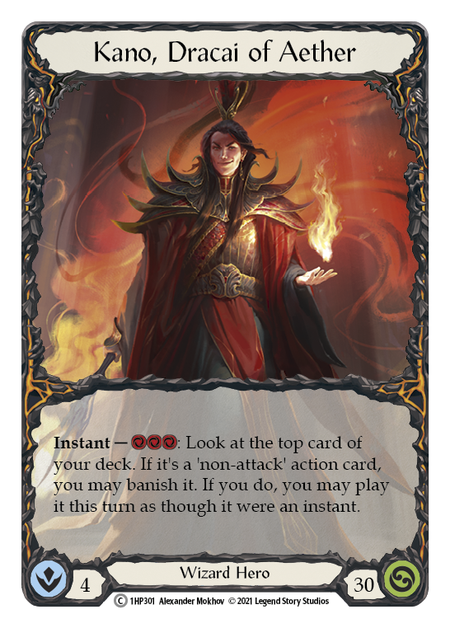
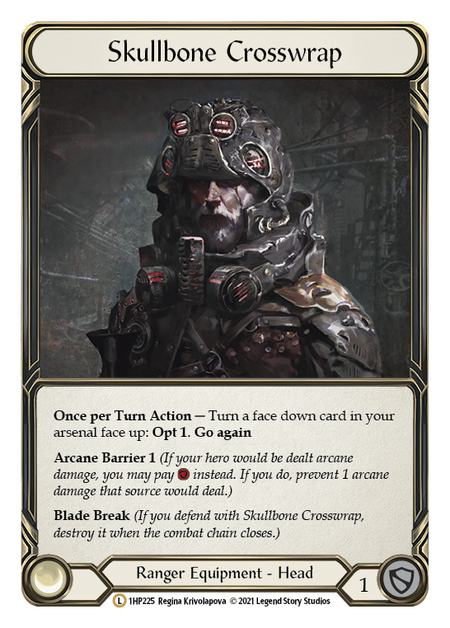
This matchup is all about speed! Two of your equipment (Crosswrap and Bracers) have inherent Arcane Barrier 1, which defend well against Kano's common play pattern vs. aggressive decks: defend with 2-3 cards while pushing back minor damage with a card like Voltic Bolt. Kano is looking to chip you down before finishing with a big combination for cards for 10 to 15 damage, so any minimizing of those small bursts can keep you out of range longer.
Side Out (15):
- Tripwire Trap x3
- Take Cover red x3
- Feign Death x1
- Sleep Dart yellow x3
- Flock the Feather Walkers yellow x2
- Take Aim yellow x3
From Azalea’s side, it is key to keep pressure on with either a tall Take Aim attack or a wide assault of arrows. A big point in the Ranger’s favor here is that both tall and wide work well vs. Wizard; it's all about being able to push damage in any way possible.
Vs. Runeblade
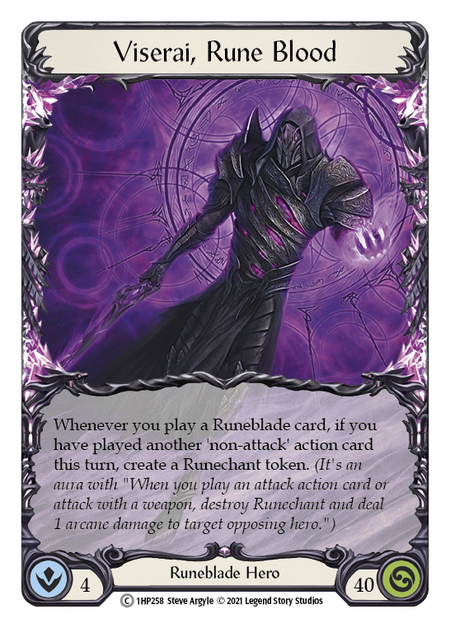
Runeblade has not seen huge amounts of play in Classic Constructed and for that reason it is hard to know exactly the build and strategy any Viserai opponent might employ. If they're playing a control strategy, storing up a few Runechants before throwing a big payoff attack, I think it is important to apply as much pressure as possible. Be the aggressor and ensure you put pressure on hands that are able to make stacks of Runechants.
There will be turns the Runeblade player opts to take a lot of this damage to try and get a four or five card hand involving Mordred Tide. Red in the Ledger and Remorseless both shine as counters to this plan, so try and set up these attacks to guarantee hits where possible, and save some for the key turns late game where the opponent will be looking to commit the majority of their hand to the big attack turn! Sleep Dart is also very useful against Runeblade.
Vs. Control Side Out (12):
- Tripwire Trap x3
- Take Cover red x3
- Eirina’s Prayer red x3
- Hamstring Shot red x3
If you know the opponent is running an aggro build or a strategy that wants to attack every turn- focusing on Nebula Blade and cards like Mauvrion Skies- I suggest a different sideboard strategy. Eirina’s Prayer is pretty underwhelming vs. Control, since Ranger can’t just sit with it in Arsenal and wait; it lines up a bit better against the aggressive Runeblade, but you are really just better off forcing them on the back foot and making your arrows count while ensuring they don’t get any on-hit effects off from their own attack actions.
Vs. Aggro Side Out (15):
- Eirina's Prayer x3
- Hamstring Shot red x3
- Promise of Plenty red x3
- Flock of the Feather Walkers yellow x3
- Art of War x1
- Take Aim yellow x2
Vs. Ranger
The mirror is the one matchup I have tested the least, mostly because Ranger still seems to be played so little. In the games I have played, the defensive package did a lot of work and is something your opponents will likely not have, giving you an edge. Many Ranger lists seem to go for more attacks or non-attack action buffs like Nimbilism to max out a larger deck size and play a consistent “throw cards at the wall every turn" strategy.
Side Out (13):
- Art of War x3
- Ravenous Rabble red x3
- Promise of Plenty red x3
- Eirina’s Prayer red x3
- Rapid Fire x1
Setting up Take Aim with a great Crosswraps Opt to find a dominated arrow can set your opponent back and get you out ahead in this matchup. Hitting your fellow Ranger player with a dominated Red in the Ledger, or even Hamstring Shot, can be a real tempo swing. Set up big turns with Flock or Rapid Fire for your late game; Azalea decks traditionally struggle to block well, so being on the offensive is certainly best. Tempo is key here!
Wrapping It All Up
This is the fourth and final installment in my series with Ranger in the Crucible of War era. I hope it has been helpful, interesting, or at least mildly entertaining!
I was surprised by how much I enjoyed the challenge of this hero. I feel that Azalea is underpowered in Classic Constructed, but by no means is she unplayable. The class has some very potent cards, and I feel this build really sets itself up to utilise these and maximize the power of Death Dealer.
My parting advice for playing Azalea in this format is to really focus on the full game, not just each turn cycle. Setting up an end game is really important, and getting the most out of the key cards in each matchup is vital.
Enjoy nocking those arrows, and let’s see what Monarch might bring for our lady in the shadows!