This is a republishing of an article that first appeared on FABDB in November 2020. Hayden Dale is the winner of the 2019 Calling in Sydney. Originally from New Zealand, he now calls Australia home. Instantly hooked by the game, Hayden has a huge interest in the competitive side of Flesh and Blood. You can find him on Facebook under Hayden Dale, or over on Instagram @gaming_instyle .
Previously...
In part 2 of this 4-part series, Hayden returns with Azalea in tow, after a few weeks of testing and with some fresh ideas.
by: Hayden Dale
After 2 months playing a lot of Constructed Azalea, I can safely say I continue to learn news lines of play with each and every game. Azalea is not as straightforward to build and play as I had expected when I picked up and played a limited number of games with this hero in the Arcane Rising format. The new tools that Crucible of War injected into the card pool, did not make the task any easier!
In this third installment of my constructed deep dive following my time grinding away with Azalea in Classic Constructed, I am reviewing some cards I have been testing in the build. I also share some learning about certain cards and approaches I threw out to you all at the end of the last installment. If you haven't read those, I'd recommend you pause to do so.
Expanding the Testing Pod
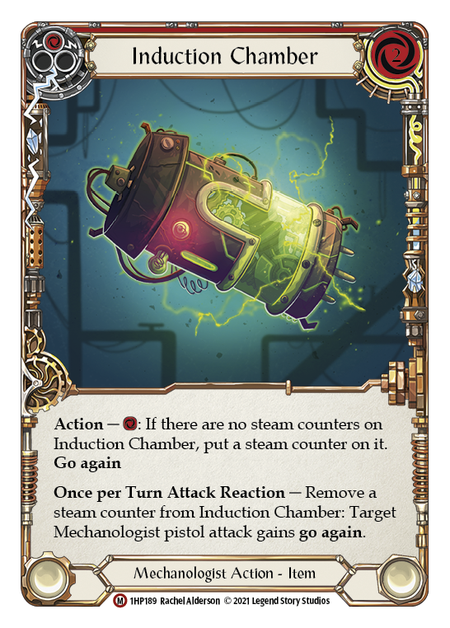
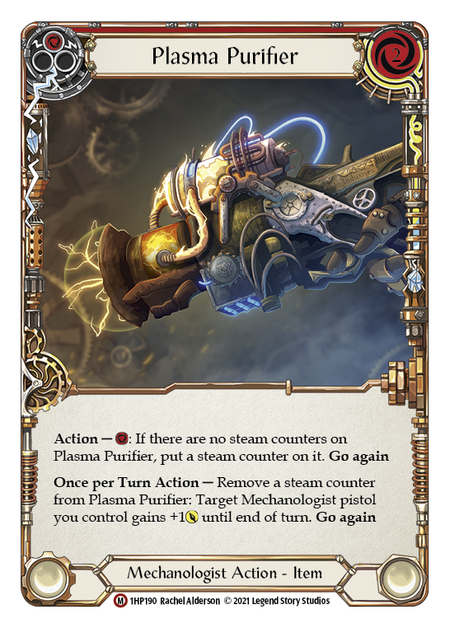
The list that I shared in Part Two was one that I was very happy with to give coverage across the metagame against the usual suspects: Mechanologist, Warrior, Brute and Ninja. However, I felt that the matchup against Mechanologist (particularly the midrange builds) was still tough- certainly winnable but it didn’t feel favored. The main issue I was observing during these games vs. Mechanoogist was that there were occasionally turns in the early- to mid-game where the deck would throw up an awkward hand that would result in only being able to present a single arrow on offense. It is so important vs. Mechanologist to put them under pressure early, to punish them for taking turns off and allowing themselves the time to set up Induction Chambers and Plasma Purifiers.
So I spent the next round of testing with the focus of improving the consistency of the early game pressure the deck could output. Below are some of the cards or changes I looked at, and my thoughts after testing each, primarily against Mechanologist.
Questions from Part 2
In Part Two, I had some specific questions I felt I needed to answer.
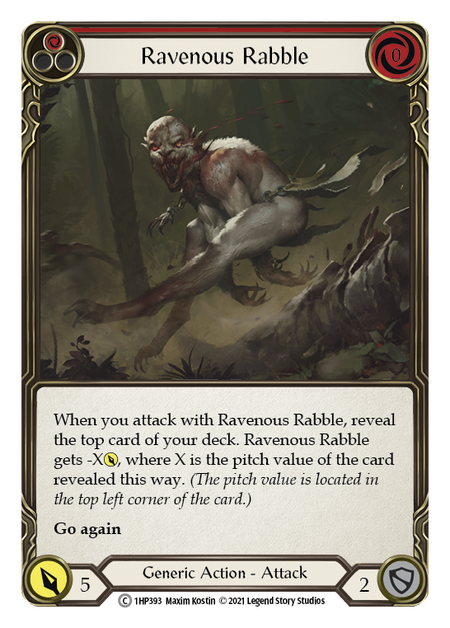
Ravenous Rabble is perfect as a go-wide card to help put as much damage on the board in a turn as possible and smooth out hands where you have multiple arrows but no way to give them go again. The downside being that there is no on-hit effect, so late game Rabble is less effective at provoking blocks where your arrows would often do a better job due to on-hit effects. Again, we're compromising on defense to include this card; these 2 defenses really add up and force you into a one directional, aggressive play style that doesn’t allow you to flex on the key turns for your opponent.
Conclusion: Rabble is a great fit for the matchups where you don’t want to block, and can really help smooth out draws in Azalea, chaining into an arrow or two after.

Scar for a Scar vs Ravenous Rabble?
For this build and with the focus I have, the answer would appear to be both. They would both be played for the matchups where pressure is paramount and blocking is unfavorable: Mechanologist, Brute, and Runeblade. I'd cut Scar vs. Wizard. Finding space for all 6 cards is the difficulty- there are really so few cards I would be happy to remove. After playing both for a while, my preference is for Rabble, because I want to be sure it'll do what it needs to do whenever I happen to draw it.

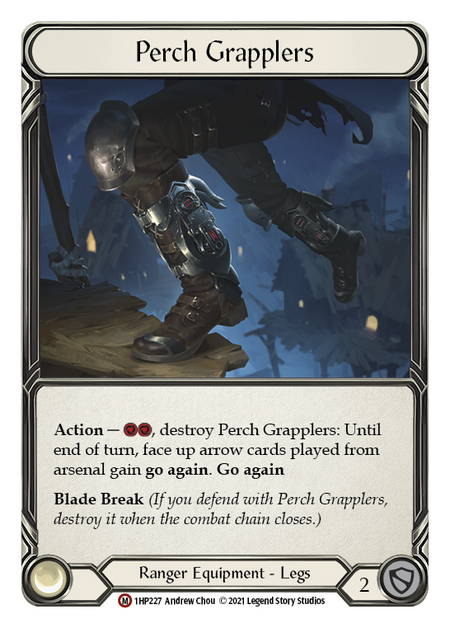
Perch Grapplers + Energy Potion
The Grapplers are inherently strong, a piece of equipment that is going to give your face up arrow cards from Arsenal Go Again for a turn without the expense of losing a card from hand. Partnering with an earlier Energy Potion setup can allow for a full 5 card hand and a seriously big damage punch. This interaction is very strong and a really great end game finisher. There are, of course, downsides in setting up that potion; however, in our midrange build that looks to ensure we can block effectively with a large portion of our deck, you can happily block out with three cards on one turn, play an Energy Potion on your turn, and pass back, ready for that endgame flurry!
Unfortunately this isn’t as effective vs. both Mech and Brute. Vs. Mech, that's due to it meaning you either take a turn off or needing to have Go Again attacks in the hand; this can do the opposite of what we need, making draws more clunky and potentially losing a turn. Against Brute, it can be a real liability due to the Intimidate mechanic; the possibly of Energy Potion being left in our hand lowers our options for blocking with two cards vs a Barraging Beatdown. Brute is a matchup where clunky hands are going to punish us if we can't push back big damage turns after those turns we're locked out of defending.
Conclusion: A powerful synergy and great end game finisher that would shine best vs. decks that want to attack often and where defending as Azalea is preferable. If I could free up a few spots in the side deck, I would be getting these in for this build. I don't have those extra slots, so as it stands, they're missing the cut right now.

How to fit in more yellow cards, and are they needed?
Short answer: no. As I have said previously, the number of resources in this deck between blues and yellows is very tight, and you can not remove any from the core of the deck for any match really. While I think an extra yellow or two could be beneficial for some game plans, I don’t think it is necessary, and it hurts you in the matchups where you just want to pitch the one resource card each turn and use the rest. You lose an extra damage, which in this deck often is the difference between an on-hit trigger connecting and not.

Do I ever want to go tall rather than wide?
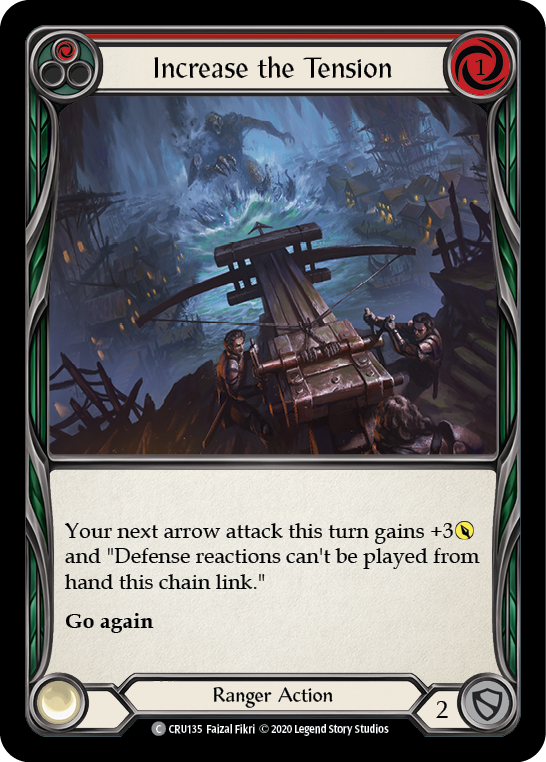
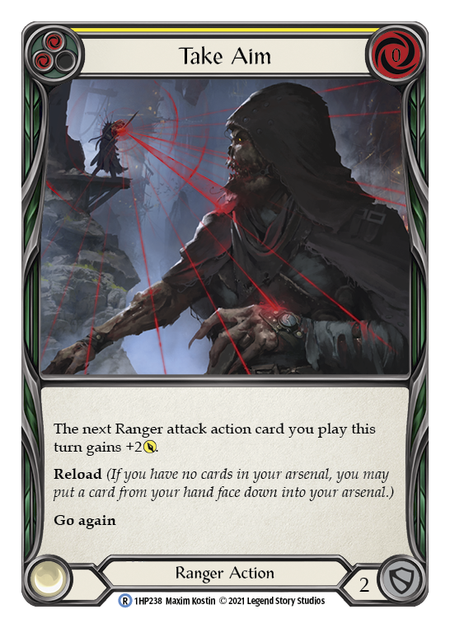
Going tall means using a card like Increase the Tension or Take Aim to increase the power of a single attack. The opposite is go wide with many attacks, the strategy we've been focusing on. Going tall can be really beneficial, especially in conjunction with Azalea’s hero ability to give these attacks Dominate, effectively making it impossible for the on-hit effect to not connect. I think there are major benefits in going tall, especially against decks that don’t defend well, as it is less setup than multiple arrows. With that being said, there are also a couple of key things that have me staying away from going in on the tall attack path with this deck. First is the fact that these cards all defend for just 2, with Come to Fight the only exception. This again forces us into a predominately aggressive stance in turn cycles where we will often not be able to use our hand to full efficiency.
Of course, we could remove existing 2 defend cards, such as Scar for a Scar and Promise of Plenty. However, this would hurt the consistency of our average hand. I much prefer the attack actions as cards that can be played on their own and still have value on our turn; a card that buffs an arrow only has value paired with an arrow. Take Aim stays in the core- these are really fundamental to the endgame in this deck, and Reload is also indispensable.
Fresh Ideas
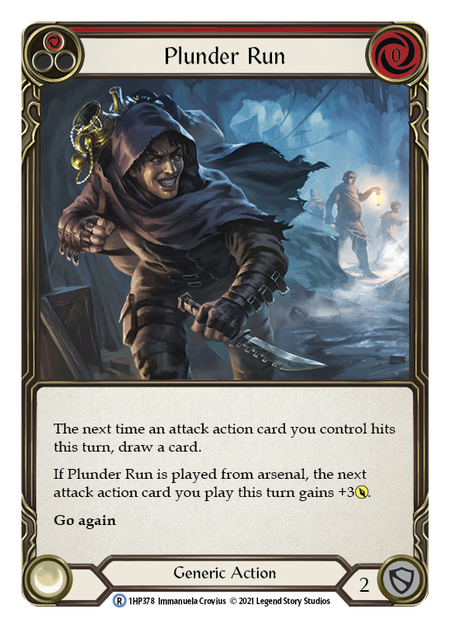
Plunder Run was the first inclusion I felt would benefit this deck for upping the early game pressure. If a Mech opponent is holding back two cards to ensure they can play an Item, or holding Spark of Genius to search one up, Plunder Run + two or more attack actions is going to generate some serious advantage and make it almost impossible for them to block out the on-hit card draw effect. I only tested with the red cycle.
Overall the turns where plunder run was able to be set in Arsenal and played in combination with a four card hand were strong damage turns that either resulted in pushing damage or setting an arsenal card. There were some downsides, however. Often, drawing this when you were setting up to play a big turn was enough to derail the plan- Plunder Run is much less effective from hand. The other downside is that it takes the place of an arrow in your Arsenal- ideally, you'd like to start your turn with an arrow there, or even a card with reload. Finally, it's one more card that defends for just 2.
Conclusion: Helpful for early game pressure; however to get the full power out of it, you'd need more generic attack actions with go again. Fits better in super aggressive Azalea builds that focus less on arrow synergy.
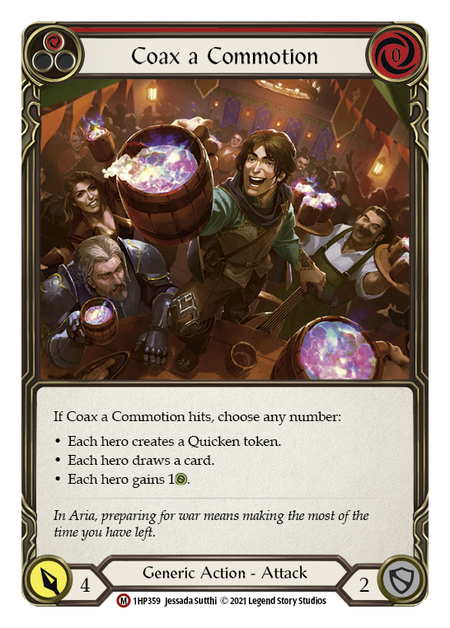
Coax a Commotion I found to be very underwhelming in this Azalea shell. The power of the card is clearly high and I have found this card very strong in combination with Flock of the Feather Walkers. In this deck, however, the supporting structure just isn’t around for this card to shine, and it doesn't have natural go again.
Conclusion: Not for this Azalea build- however, I think this card is an offensive superstar for any deck that wants to put the pedal to the floor on offense. Load up on Razor Reflexes, Flock of the Feather Walkers, and other Go Again cards, and you'll find almost every hand with this card in it to be very strong.
Dealing Death
I am now left with a list that I have pumped quite a bit of testing into and is in a spot where I feel I am targeting the matchups I want. The list feels balanced, and I have a clear plan for how I adapt around my core match up to match up. You'll find that list here.
With the current list, everything feels pretty solidified to me. I will say if you are in a meta where Warrior is going to be light or not a focus, I think you can rework, trim, or even completely cut the Tripwire + Take Cover package in favour of some Plunder Runs and Scars. Next time, I will be going over gameplay with Azalea through the lens of this current list. I hope that a focus on core gameplay of this class may help those who may not quite feel experienced or comfortable, perhaps even those who are curious about this deck build itself and how it plays out. I will also share tips and tricks for playing Azalea in constructed. Until then, happy gaming!
In his conclusive finale, Hayden resolves his deep dive into Ranger with some game plans, sideboarding, matchup-specific advice, and a word of warning of how not to play her.
by: Hayden Dale