This discussion begins with a general piece on the format and strategies of draft. If you haven't read that yet, cycle back to it here.
Now that we have the basics out of the way, let's get advanced. This is my advice on not just how to draft, but how to win at Outsiders draft. The Pro Tour is fast approaching, along with Road to Nationals, and even your local Armories (at my local stores in Colorado Springs, we run draft and CC side by side!) Outsiders draft is going to be the primary draft format at a lot of these events, and I'm here to get you ready for the top tables.
You'll need practice in order to win, sure, but I've done a lot of work for you already. In this conclusion to my mini-series on draft, I am going to tell you all about the specifics in this set, what sorts of cards are desired by each hero, how to open a draft game of FaB Outsiders - and more importantly, how to close one out. We'll also talk about some of the interactions unique or new to this set. By the end of this, you will be well equipped to take on a draft of Outsiders - and even win it all.
The Heroes of the Pits
First and foremost, it is important to familiarize yourself with what makes this set unique. It is also advisable to be familiar with each and every one of the cards and their roles. I'm going to get get you started with that in a later section highlighting some of the best role-fillers in this format, but for now, let's go over the new heroes, mechanics, tokens, and the common equipment pieces.
Assassins
Two brand-new Assassins are clocking in for this limited format: Uzuri, Switchblade and a new version of Arakni, Solitary Confinement.
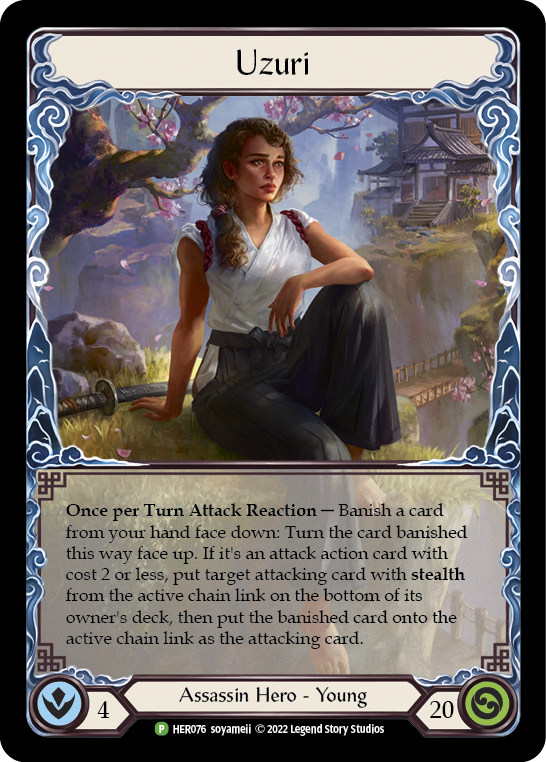
Uzuri comes with the ability to, as an attack reaction, banish a card facedown from hand and make the opponent sweat. When the ability resolves, you turn the card faceup, and if it is an attack of cost 2 or less, you may put your currently-attacking card with stealth on the bottom of your deck and replace it with the attack you banished.
Notably, cards like Sneak Attack are perfectly happy to see you trigger this attack reaction, even though it doesn't have stealth and does not qualify for replacing; the simple act of activating Uzuri gives it the attack reaction-based boost it's looking for.
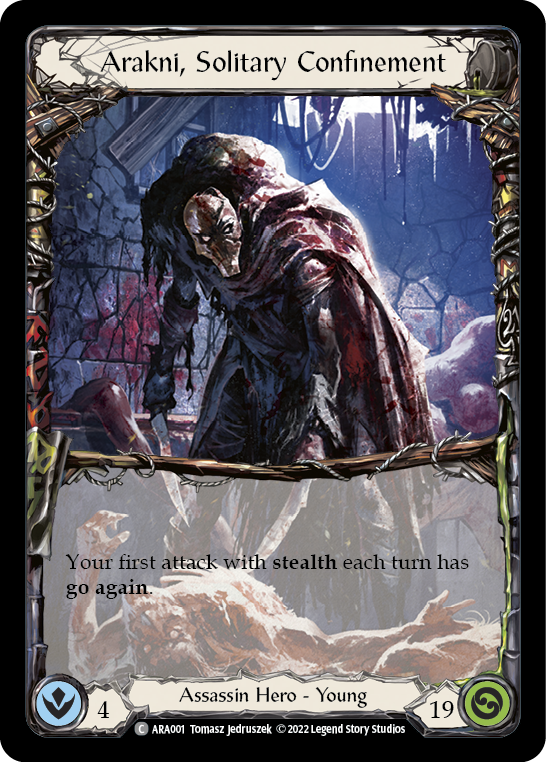
The other new assassin, Arakni, Solitary Confinement, gives us an incredibly powerful ability in the form of raw go again pasted onto the first attack with stealth you play each turn.
The stealth mechanic is actually a bit of a neat trick: stealth doesn't mean anything on it's own. Stealth is defined by the user, not by itself, as we saw with our two new heroes. Who knows where stealth will go in the future, but what we can say is this: stealth is what you and your hero make of it.
Rangers
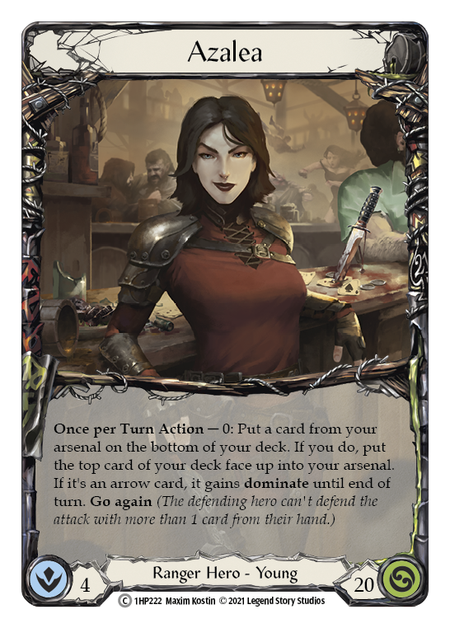
Azalea returns in this set, and brings her decaying pirate friend Riptide along for the ride.
Azalea offers dominate to arrows that she rips off the top of her deck, and this hard-to-stop damage remains strong in draft.
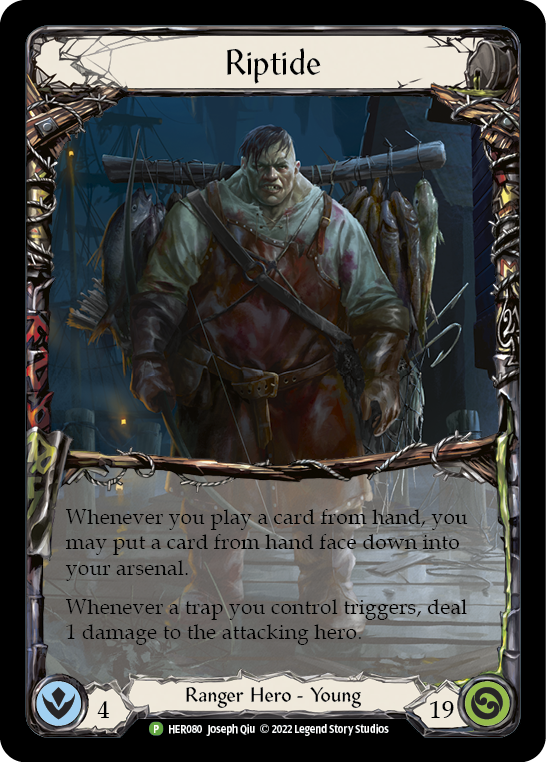
Meanwhile, Riptide lets you, essentially, reload a card into your arsenal every time you play a card from hand. This is an excellent way to load arrows, but has applications far beyond that.
Aim counters are a returning feature first introduced in Dynasty. An aim counter means something different to each arrow, and although each arrow can wear a aim counter, not all of them care. In this set, aim counters tend to confer +1 attack power, but each arrow gets to define what an aim counter means to it.
The new bow, Barbed Castaway, offers a way to all rangers to add aim counters to their arrows; Azalea's new quiver gives her alone the unique power to give her arrows pulled off the top of the deck an aim counter for 1 resource.
Ninjas
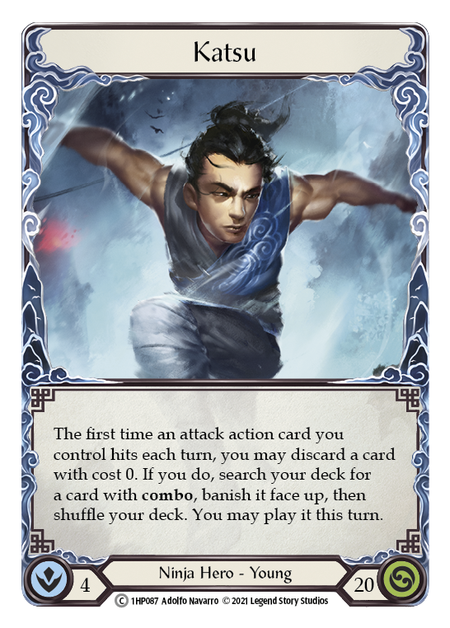
Although both Ninjas are returning heroes, this is the first time that we get to see Benji in an official draft format.
Our wandering Katsu bears the ability to tutor up combo cards right out of his deck, should his attack action cards find purchase; this offers consistency to a class that deeply desires to line its cards up in exactly the right order to spell doom for the opponent.
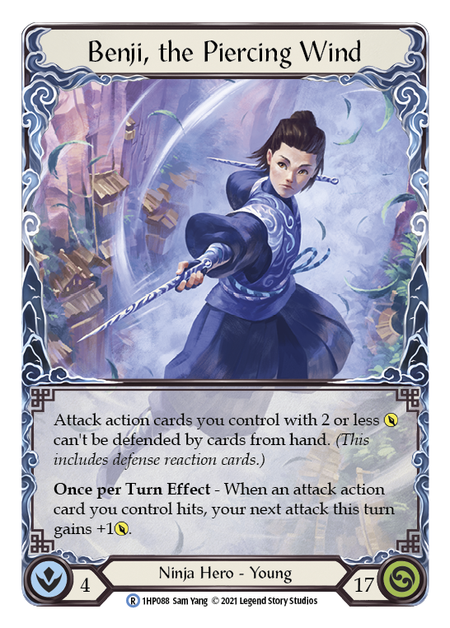
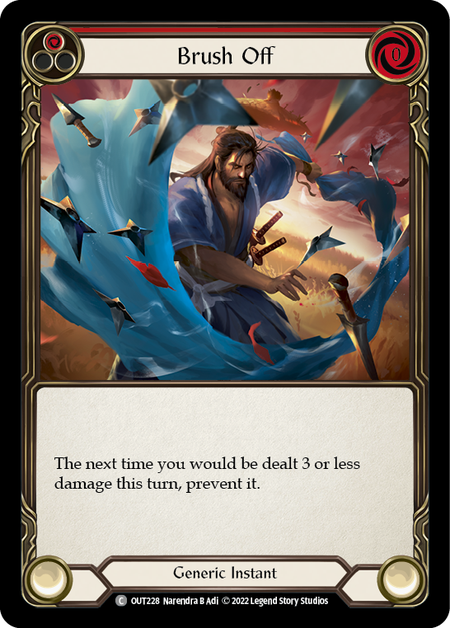
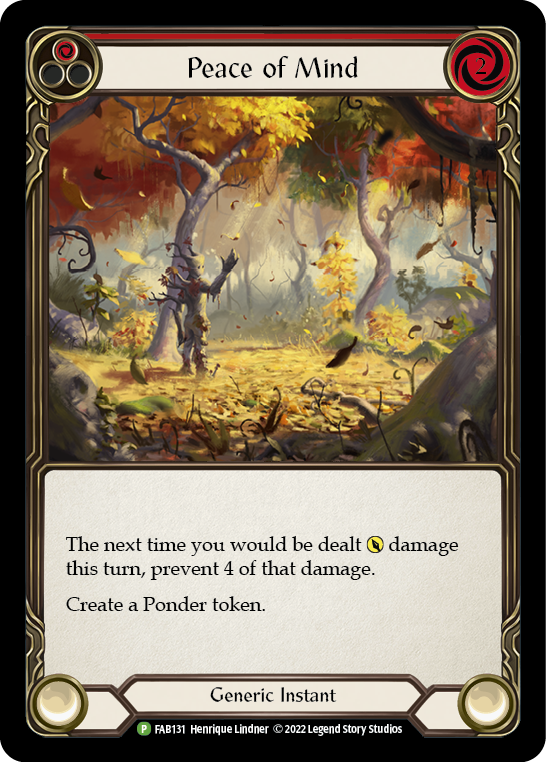
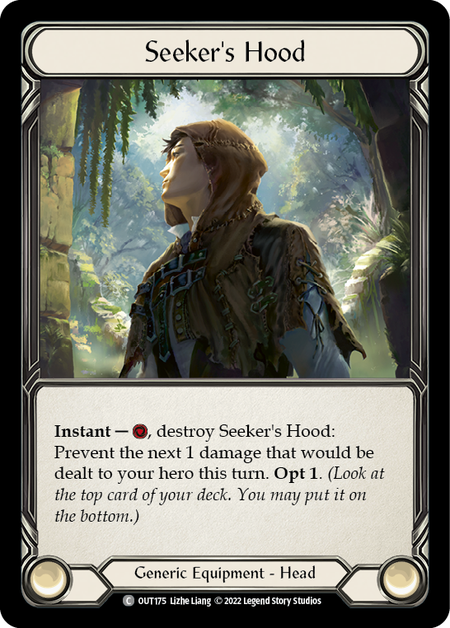
Benji, on the other hand, offers two contrasting abilities. Any attack action card with power 1 or power 2 that Benji sends at the opponent cannot be blocked by cards from hand. Defense reactions from arsenal, prevention cards like Brush Off or Peace of Mind, even armor like the Seeker's set - all these can get in the way of Benji, but eventually those options exhaust. Eventually, Benji is going to deal enough unblocked - unblockable! - damage to the opponent that they simply keel over. And when Benji does connect with an attack action card, the next attack he sends gets a +1 bonus.
Pondering Poisons and Pestilance
The shady business of the Assassins and Rangers are shown through a shared pool of tokens, and it's worth your time getting familiar with them.
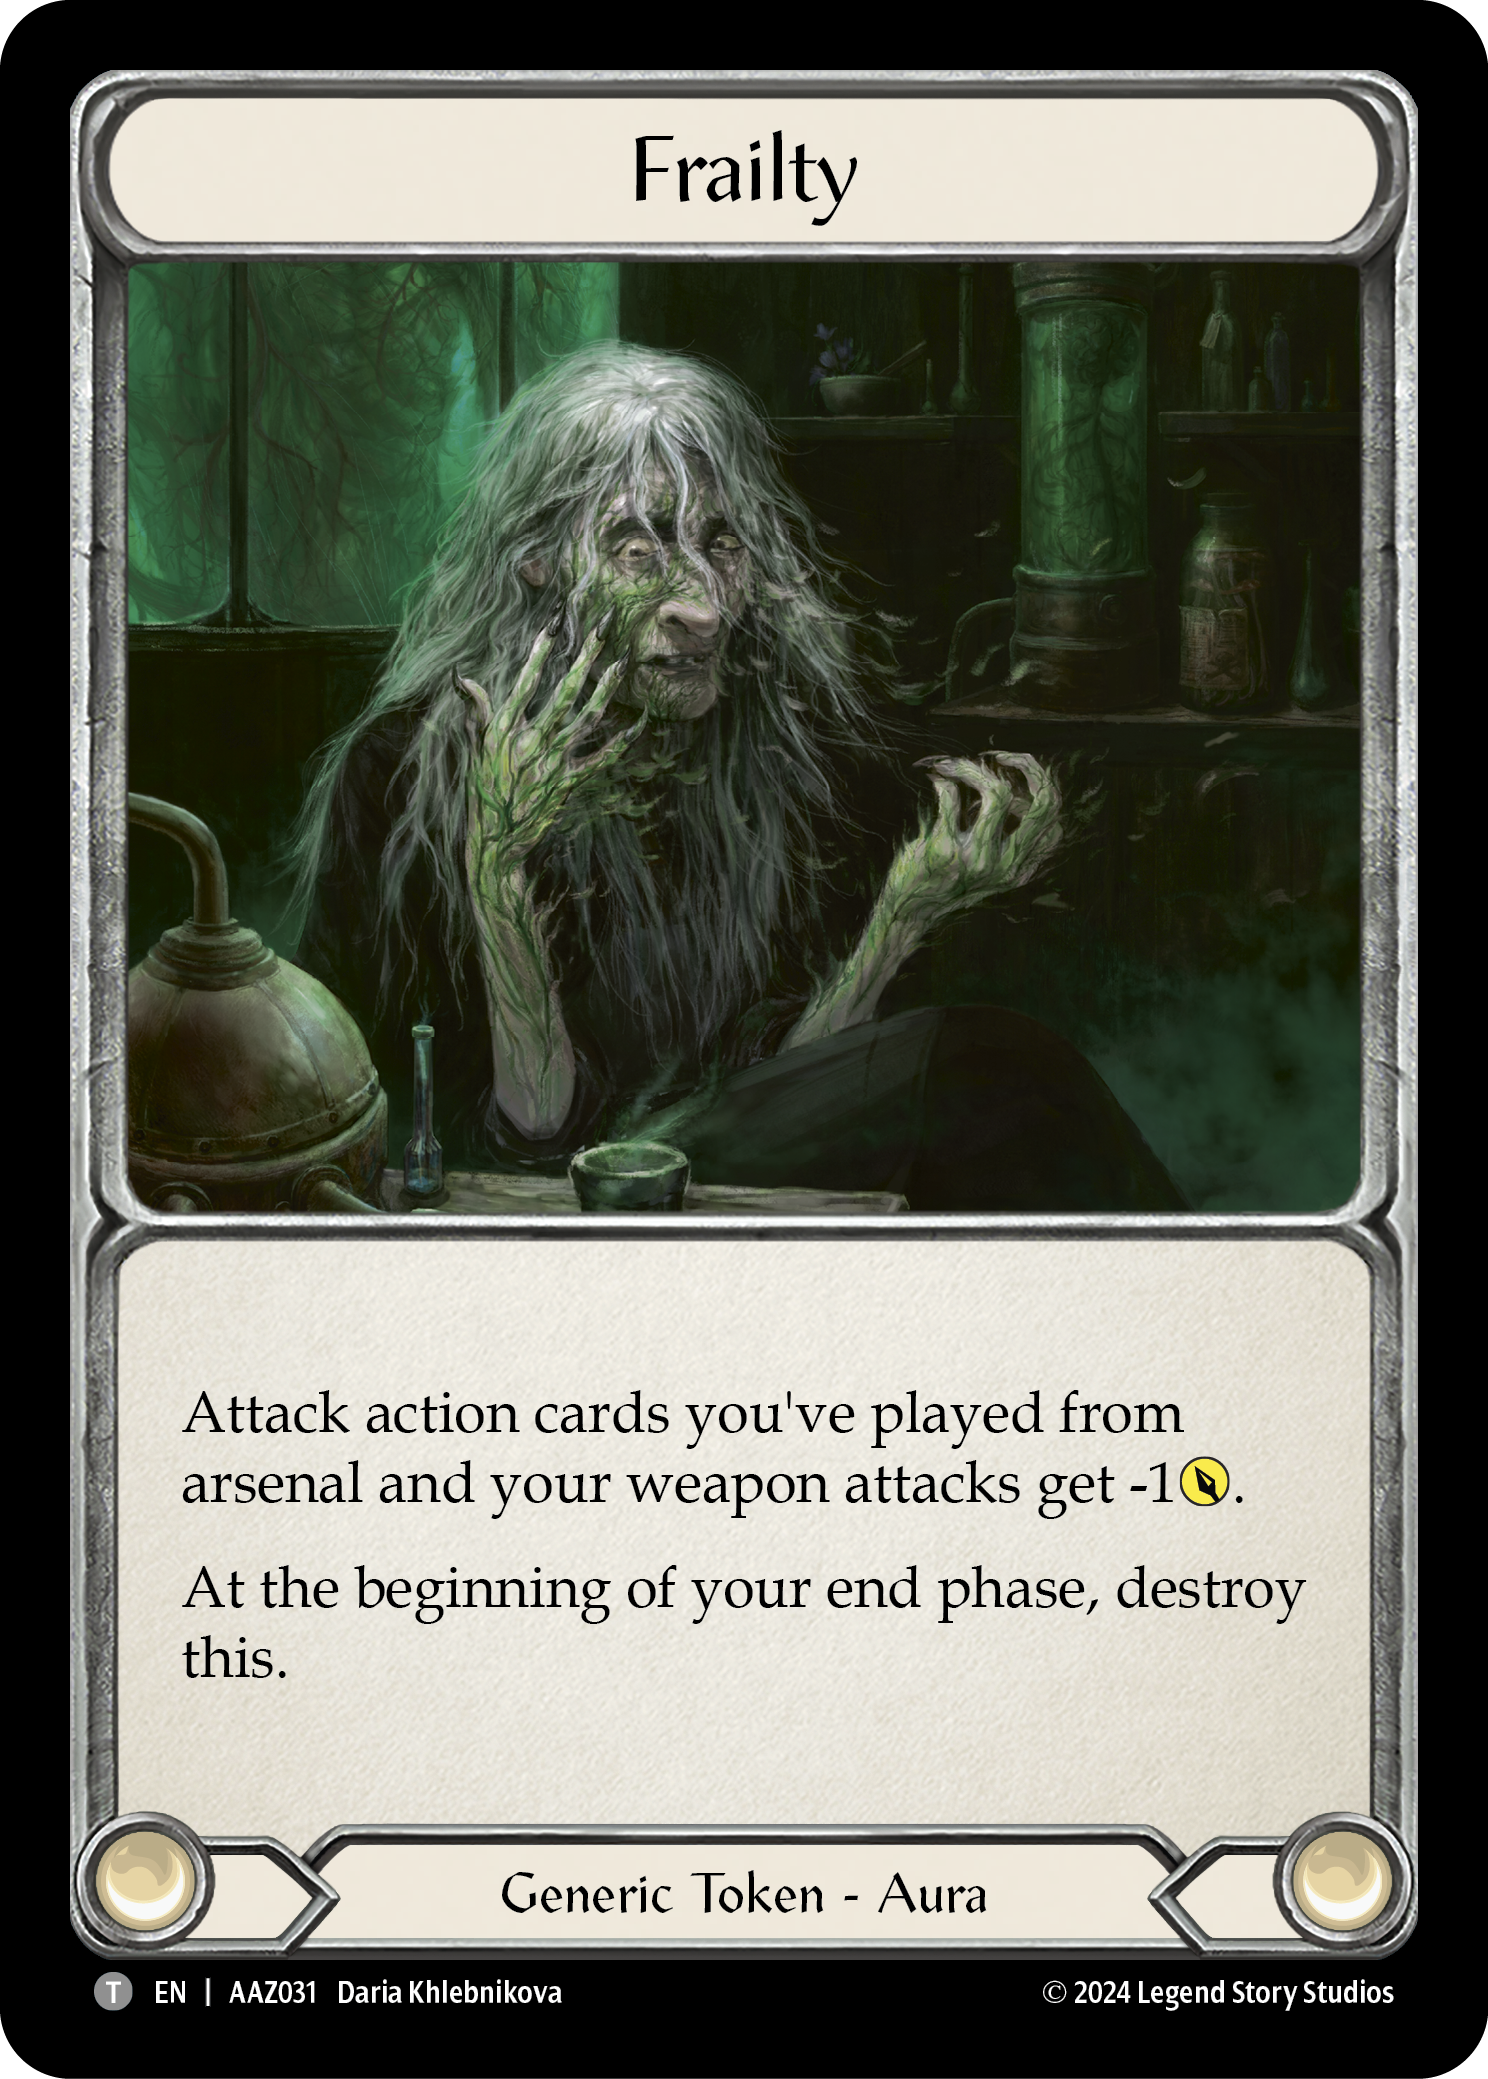
Frailty
This card is absolutely devastating for most everyone in this format: Assassins and Ninjas lose out on their basic weapon damage, and Rangers play most of their cards from arsenal. Rangers actually have a greater opportunity to work around this in Outsiders draft than the other classes, as many of their arrows confer +1 attack power when granted an aim counter; still, if you've done the work to place an aim counter, you hate to lose that +1 to a Frailty.
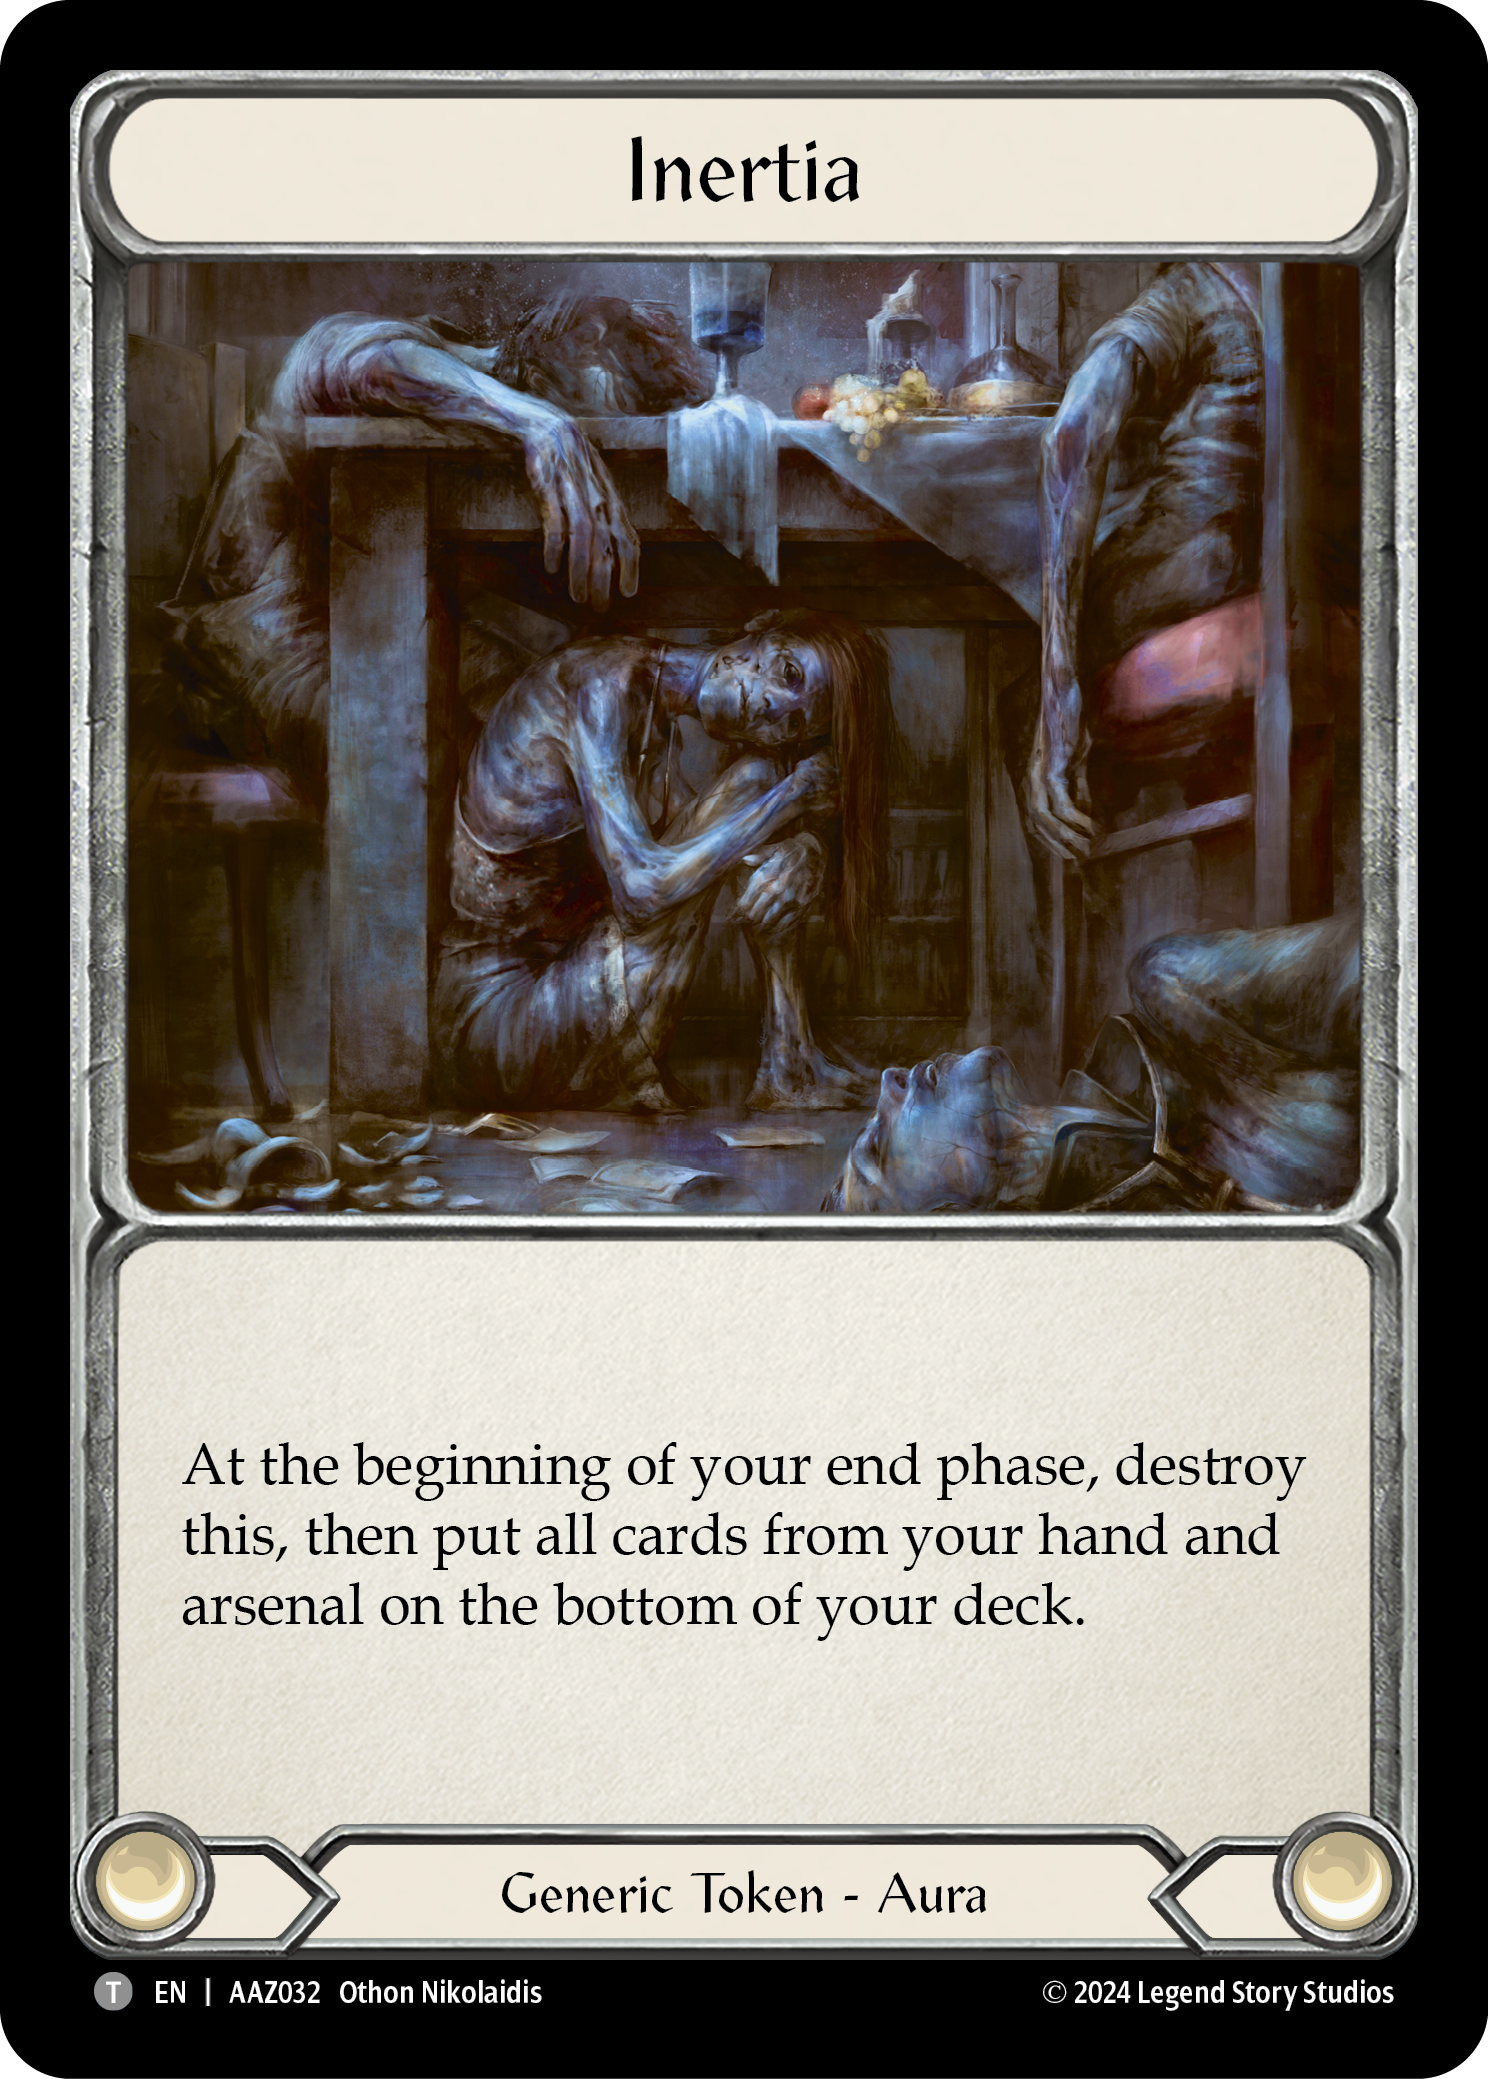
Inertia
This token, to me, heralds a change in Classic Constructed... but has slightly less impact in draft. Rangers are affected most by this, but truly, any one of the classes in this set extract good value out of their arsenal. Inertia can trigger the opponent to go “all-out” and maximize output by using every card they can... but if you are well prepared with traps and adequate defenses, this might just be the critical flaw you can goad them into making.
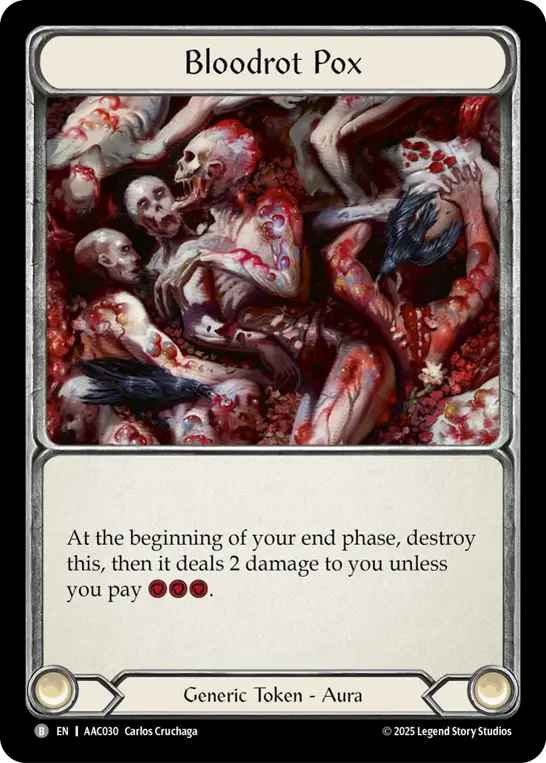
Bloodrot Pox
In draft, those 2 damages can be absolutely devastating, especially when most of the heroes in the set start with fewer than 20 hit points. Benji even clocks in at 17; 2 damage is almost 12 percent of his life instead of “just” 10 percent.
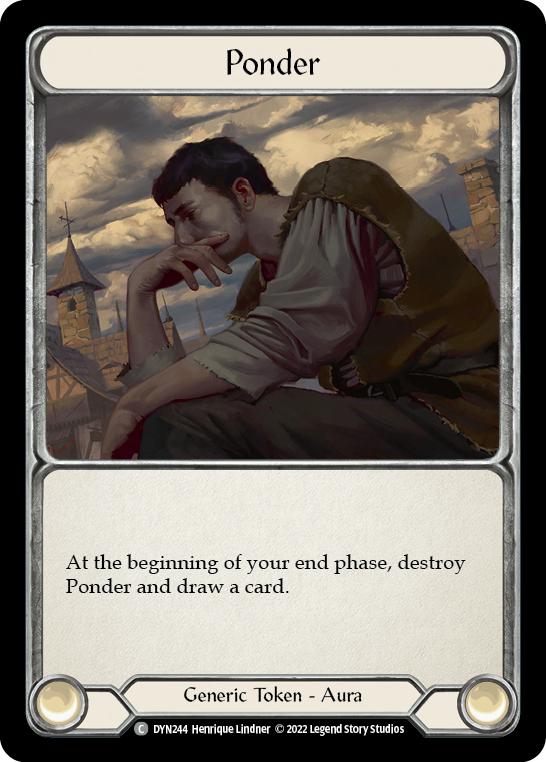
Ponder
This additional card draw is very powerful, if applied appropriately. Ponder's “start of your own end phase” trigger is simultaneous with the preceding token triggers of Bloodrot Pox, Inertia, and Frailty; you may order the firing of these triggers however you would like. I recommend that you pay close attention to their needs, and act accordingly.
Let's say that you have all three tokens in play, and the you have managed to play out every card but 1 lone red from your hand with no resources left in pitch. Unfortunately, due to the Inertia token, you won't be able to keep any of your present cards to arsenal with, but not all hope is lost. If you know that your deck has a high chance of spitting out a blue or yellow card on the draw, then it might be proper to trigger the ponder token before both the inertia and bloodrot, just for the increased chance at clearing the bloodrot pox damage. 2 damage, as previously noted, is a whopping 10% of your life total when at full-- 2 unprevented damage is the stuff that characters like Riptide and Benji make wins out of, and doing that work for your opponent is not necessarily going to pay dividends at the tournament. However, if your deck is very likely to spit out either blue or red cards, in this circumstance, the clear choice is to let the inertia clear your hand, then draw off of Ponder, then let the bloodrot pox trigger. If you draw a red, sure you can't pay for the pox, but you couldn't have done so with 2 reds either, and now you have the option to arsenal that red card; if you draw a blue card, just decide between the 2 damage prevented vs the threat presented by the blue card in arsenal. In every case, you don't really care when the frailty token is put on the chain - it does not affect these considerations.
Geared for War
A defining aspect of the draft format is the limited availability of basic equipment. In a given box of Outsiders, there is a minimum of 24 common equipment; and I have found that there's usually 1 or 2 additional rainbow foil equipment, for an average of 25 equipment pieces at the drafting table. This means that if everyone is careful, they can get 3 or maybe 4 pieces.
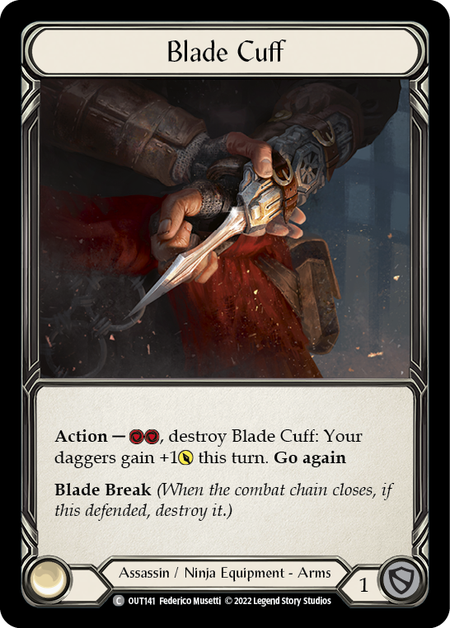
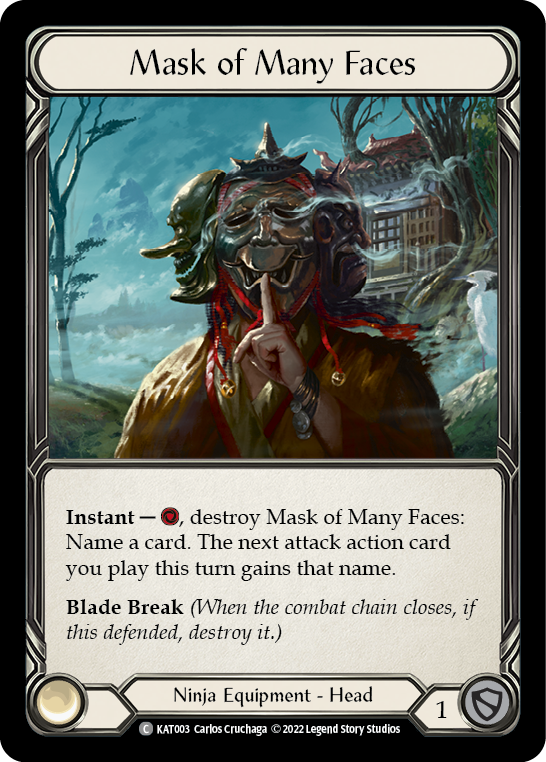
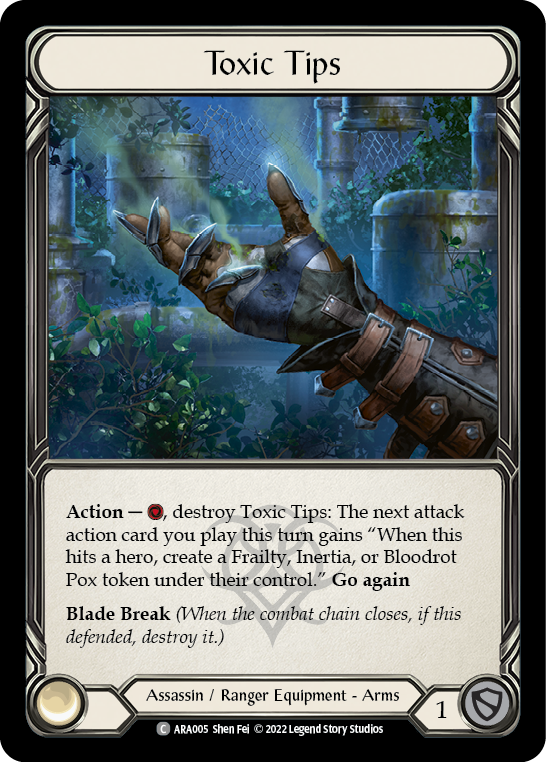
Your mileage may vary with your equipment, but I have found that it is almost always better, in this format, to take armor that prevents damage or blocks in some way. Rather than going over every piece, what I want you to take with you is this: the proactive common equipment pieces, like Blade Cuff, Toxic Tips, Mask of Many Faces... these cards are almost always better off blocking than being used. Each one costs a resource or two to make use of, thereby requiring another card from hand to be dedicated to your offense. Blocking is huge in limited, as both life totals and decks are smaller; the pressure is on right away, and taking an extra hit in order to present perhaps 2 additional damage is not usually the right play.
I recommend being careful to take your 3 or 4 pieces of armor as they come to you. Opening the game on the defense with Seeker equipment is a very powerful move, as you can prevent damage that your opponent sends at you without losing cards from your deck (thus staving off fatigue), and simultaneously fixing your impending draw with all of the opt.
Staying Open-Ish
The debut of dual-class cards is going to be remembered in the history of the game, whether the concept makes a return or not. In terms of the draft, the dual class cards offer powerful options that allow you to stay relatively open in the early parts of the draft, allow you to pivot (albeit narrowly) in the middle of the draft, and even obscure the signals around you throughout the draft.
Because dual-class cards always share with Assassin, it can seem like there are Assassins everywhere - but you probably won't be so lucky. If there are 4 or 5 Assassin drafters in your pod of 8, they will very likely all suffer from infighting and the lack of good picks going around. If you find yourself feeling like you are one of a large crowd of Assassins, consider pivoting into Ranger or Ninja as soon as you can; not only do the dual class cards make it a touch harder to figure out who's drafting what, they also make it easier to pivot in pack 2 if you get squirrely about your position in the picking order of packs.
The Anatomy of a Pack
This set, like so many other FaB sets, was printed in multiple locations. Normally the differences are pretty minor, and that is still true here - but there are some anecdotal differences.
Japan print has plastic foil packs and the chance at either 2 or 3 rare cards in your pack. Belgium print has paper packs and a chance at 1, 2, 3, or 4 rares in a pack. (I have opened my unfair share of Belgium packs with a single rare in.)
The first 9 cards of the pack are common cards that cannot be multi-class. You usually get 3 or 4 generic cards, and 6 or 5 single-class cards, respectively. In the Japan print, those 9 cards are all shuffled up, while in the Belgium print the generics come as the first 3 or 4 slots, with the following 6 or 5 slots holding randomized single-class cards.
There is a slot for common equipment, and a slot that only holds Rare cards, and a rainbow foil slot that can hold cards of any rarity.
The other two slots are where the differences really stand out. In the Japan print, one of the two remaining slots holds common multi-class cards only; the other slot can be a rare or a majestic card. In the Belgium print.... well, the multi-class slot can also carry a rare and not just commons, but the slot that can deliver to you a majestic card, and can also give you a multi-class common.
I have opened packs of Belgium print that had 13 commons and a single rare - but I've got to tell you, it only makes the draft experience better, more varied. You cannot look at a pack of Belgium print with 13 cards in and say, yep, they took a rare - unless there are 0 rares, in which case they took the only rare.
But is that even so bad? The rares are good in this set, but the commons are the majority of what will take your deck to the finish line. I would like to echo something that LSS pointed out in their own article addressing the print differences: just focus on the draft. Whether a pack has 1-4 rares or 2-3, the average is the same. If my players are antsy about it, I make a mix of 12 Belgium packs and 12 Japan packs, passing them out randomly to the draft seats. I reckon that LSS might do something similar at the forthcoming big events - but at the end of the day, I've found that the draft experience is not really changed between the two printings. Practicing draft will pay dividends, whether it's on Japan print, Belgium print, or a set cube. Heck, LSS might even do a special Pro Tour print run of Outsiders - the only way to prepare is to get in more drafts.
Pits Priorities
As you can see, there is a lot of stuff that sets this draft format apart. There are 6 heroes, 2 in each of the 3 classes. There's a whole new type of card, the dual-class card, that obscures the drafting signals around the table. There is the unprecedented ability to pivot in this set, something that we had not really seen before in FaB draft - you can do a quick ball-change and stay in your own class, or you can even recede into the shadows and take up the Assassin's mantle pretty late in the process.
With all that to consider, what do you draft?
Apart from the general guidance I proffered in the prior article, let's talk about what cards a given hero might consider powerful... and what cards they might consider hate-drafting from the table so that they can clear a way forward. You might think that Benji doesn't want to be picking Brush Off or Peace of Mind, but these are the sorts of cards that can really get in Benji's way, making them excellent targets for starving the table.
Benji
Benji can either go very aggressive with lots of low-power and hard-to-block attacks, or rely more on control by blocking with 2 cards each turn and trying to crack back with a Kodachi or two and a Cut Down to Size, Freewheeling Renegades, or even Spring Load - just anything to force a block while whittling with Kodachis and harnessing the full power of 2 card hands.
Power Cards:
Head Jab (BY), Twin Twisters (BY), Deadly Duo, Cut Down to Size (R), Feisty Locals, Spring Load
Hate Picks:
Brush Off, Peace of Mind, blue block 3's, and blocking equipment
Katsu
Katsu is well served as a setup deck that does a little bit of control, but he also has the option to go into aggro with efficient attacks that can bleed the opponent dry. He is comfortable blocking while making little jabs that prevent the opponent carrying full hands into their attack phase, all the while getting his arsenal set up with a red Surging Strike to kick off a combo.
Power Cards:
blue 0-cost cards, Be Like Water, Surging Strike, Short and Sharp
Hate Picks:
Ravenous Rabble, anything that could possibly create Frailty
Riptide
Riptide finds victory, in my experience, by attacking with one or two cards - something that makes him unique among Rangers - and trying to hit those high break points. He wants to take high-hitting arrows from Azalea and use them to bring the opponent down within trap range. He will run out of arrows eventually, so it can be important to make sure that you have 2-4 traps in the deck that you keep to finish the game with. He does have a proactive gameplan for more full hands, as he is capable of attacking for 8 (with 2 on-hit effects) off of just 2 cards: Scout the Periphery or Come to Fight, paired with any of the on-hit-poison attacks.
Power Cards:
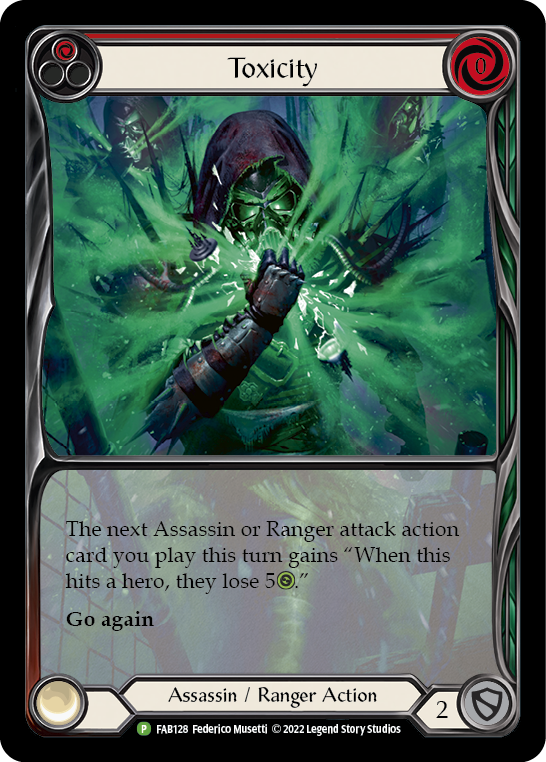
Falcon Wing, Murkmire Grapnel, Death Touch, Scout the Periphery, Toxicity, traps, big red arrows
Hate Picks:
Ravenous Rabble, big red arrows, and honestly just taking lots of traps...
Azalea
Azalea finds her wins by sending dominated arrows with on-hit effects that the opponent is unwise to ignore. Sometimes the dominate isn't even the most important part - if a Katsu or Benji puts 3 or 4 cards in front of a Frailty-inducing arrow, that's a clear win for us.
Power Cards: Seek Horizon, Spire Sniping, Fletch a Tail, Widowmaker, big red arrows
Hate Picks: traps, cards that block 3, bladebreak equipment, buffs
Arakni
The Arakni included in this set has the unique ability of plastering go again onto their first stealth attack every turn. This enables our hero to attack as many as 4 or 5 times in a turn, if their arsenal lines up well. This strategy requires a mix of reds and blues, so as to pay for the Spider's Bites alongside the stealth attack cards.
Uzuri
Uzuri does not have a lot of inherant go again, unlike Arakni. This means that we will either have to trick it in with Ravenous Rabble, or settle for the bait-and-switch tactics that are her namesake. Take 6-power attacks first and worry about stealth later: Arakni is unlikely to be taking our blue and yellow stealth cards from us, as they make such good use of the reds. Once you have silly threats to swap in with, now it's worth focusing on having enough stealth for the trick to work.
Tips and Tricks
Whenever a new set comes out, we are set ablaze with new interactions and interesting synergies. The zeitgeist is alight with innovation as we navigate spoiler season and start to draft the cards for ourselves. With all this raw possibility in the air, there are bound to be some tricks that... well, don't work quite the way we want them to. Be careful of relying on interactions like these!
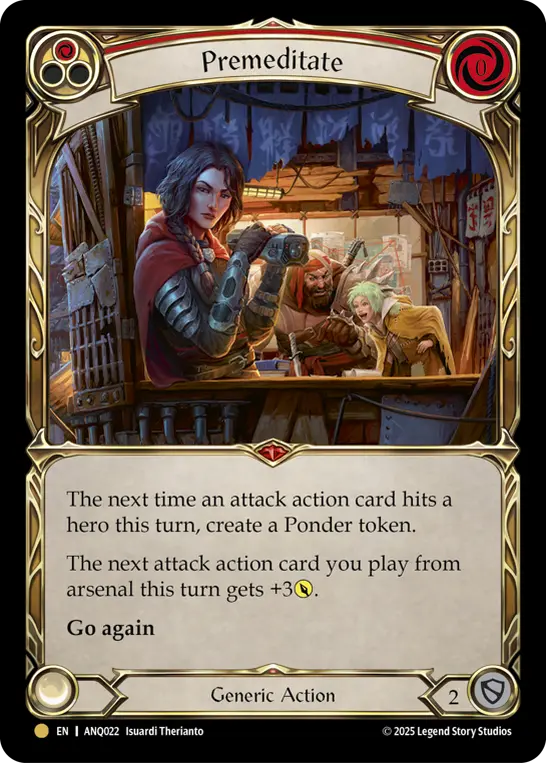
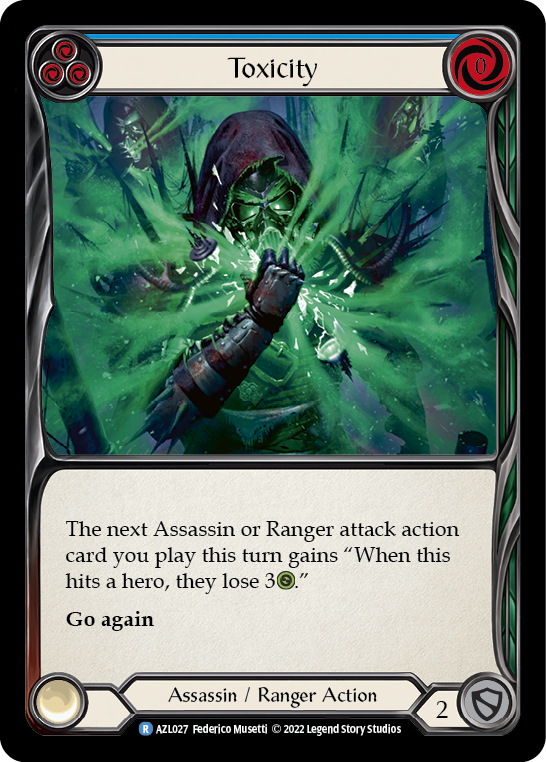
Uzuri's effect is slick, but effects like Toxicity do not transfer over to the newly-turned-up card. Be very careful when making use of effects like Premeditate or Toxicity - the damage boost or the bleed effect on these cards only applies to the card played appropriately - though the "Ponder on hit" effect from Premeditate hangs around to see the next card that hits this turn.
Don't just rely on ponder to dig you out of a bloodrot pox unless you know for certain that it will be enough to do so. The last thing you want is to drop too low because you were banking on a prayer to get you out of medical debt - er, a pox.
Block early and often! Down in the Pits, even the merest scratch can spell your downfall. Once you get down to 4 or 5 life, all the heroes come alive in interesting ways. Benji can knock you out in 2 cards if you have 4 life, so maybe keep some equipment and traps around to make sure that doesn't just happen to you. Likewise, if Riptide has been stowing away his traps and waiting for the right moment to spring them, he can easily block you out and deal some damage back while he's at it. And Uzuri? Man, once you are down that far, every single one of uzuri's two-card hands could just spell your doom. But let's not forget about the other clock in the game: fatigue. Limited is already an inherently fatigue-heavy format, and when characters like Uzuri can trick you into bad value propositions on your blocks, the rate at which you take risky blocks increases - and usually, your life decreases right alongside your long-term survivability!
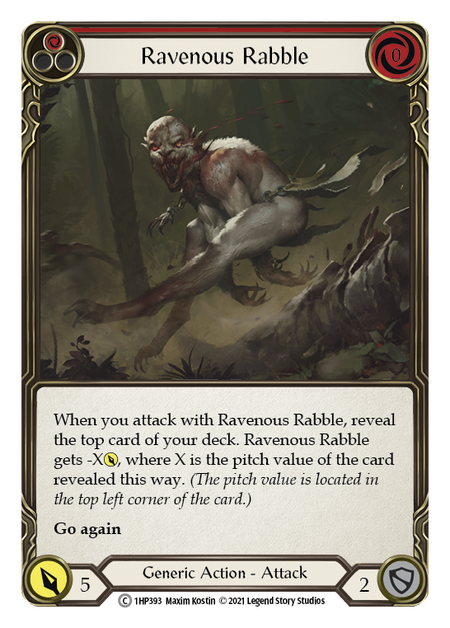
Uzuri does get a lot of value by swapping a mediocre stealth card for a powerful 6-attack, but might I recommend swapping out your stealth card for a Ravenous Rabble? Sure, it'll get full power, and that is nice - but what I'm playing after is that surprise go again! If you play your cards right, you can trick your opponent into overblocking your surprise Rabble, then close out with a Freewheeling Renegades or some other card that the opponent is ill-prepared to block.
Benji's second ability to boost an attack after a hit can be a game-finisher if you run enough yellows and blues in your deck. Ninjas are always in a powerful position when they can get the opponent into a Kodachi lock, where every attack threatens to end things; but Benji can make use of those cards that were great pitch fuel early on and turn them into an unblockable victory pattern. Just be sure to save your blue 1-attacks to be the follow-up strike; if it's late in the game and you have a blue attack card and a yellow attack card in hand, open with the yellow for 2 unblockable, trigger Benji, and close out with the blue attack for +1 (so 2) unblockable. If you instead open with the blue and move in to the yellow, your second attack might be at power 3 or 4, making it perfectly blockable from hand.

Riptide's effect triggers every single time you play a card from hand. Now of course, you can decline the 'may' portion of that trigger - but it's often good to build around it. All of the run-ups in the set, like Premeditate, Scout the Periphery, and Come to Fight, help you to bypass the restriction inherent to arrows: that they must be played from arsenal. This also works when you play a defense reaction or instant on your opponent's turn; if you play a card from hand, you can arsenal something for free.
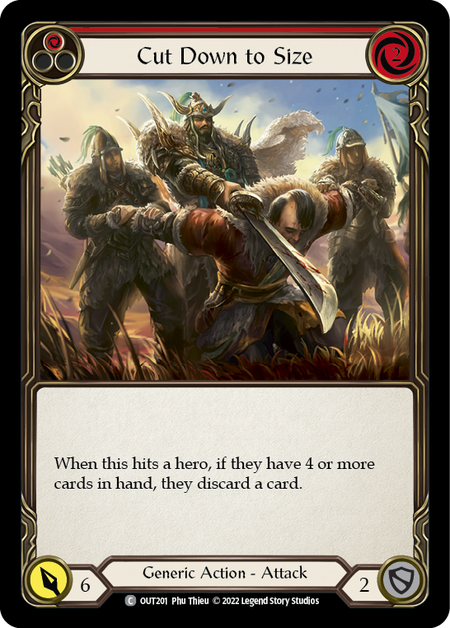
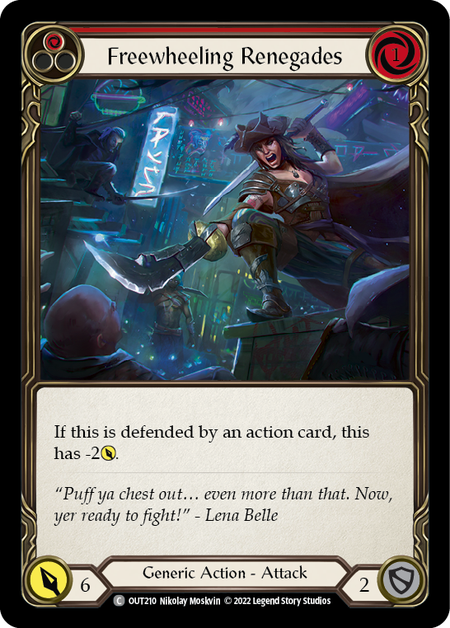
Freewheeling Renegades, Cut Down to Size - anything that forces blocks is going to be strong in the opening turns. Early on in the game, it is very important to sap powerful cards from your opponent's hands. Some players are keen to take damage early in an effort to crack back with full hands: it is therefore very important to punish this idea. Cut Down to Size rarely ever hits for full effect, but it doesn't need to; and the same goes for Freewheeling Renegades. If you can force the opponent to block with their red Come to Fight or a critical on-hit arrow, combo starter, or finisher, then you are weakening their deck even while they are preventing or blocking your damage.
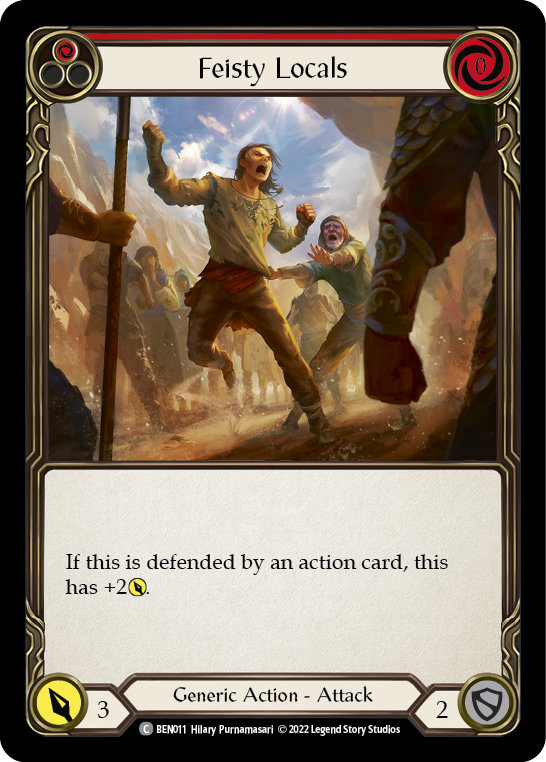
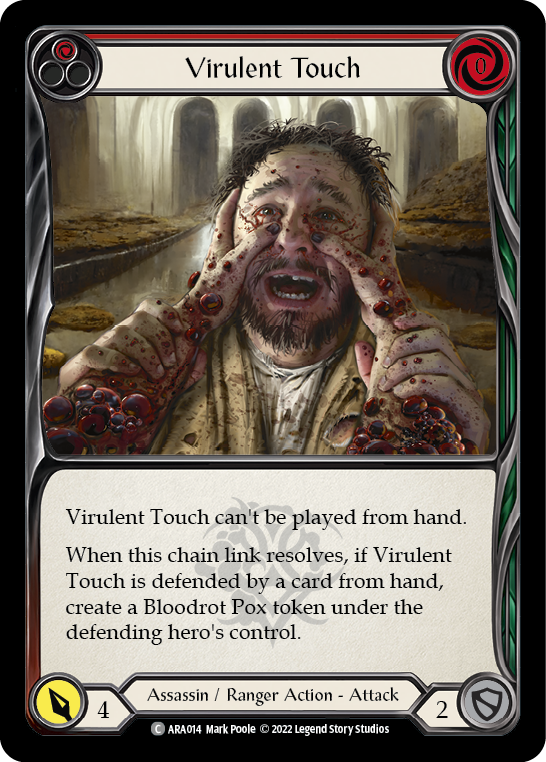
Feisty Locals and Virulent Touch are excellent cards that make the end of the game a little bit easier to cinch up. Feisty Locals is one of my top cards ever for limited, and that's because of its talent at being a 1-for-2 trade: if the opponent is at 2 or 3 life, you can freely block with 3 cards from hand and crack back with a Feisty Locals, which demands 2 cards of its own. The same is true with Virulent Touch (Pox Malone if ya nasty): if they block from hand, then they'll get a bloodrot pox token, effectively threatening lethal at the end of their own turn unless they dedicate one to three additional cards to doctor's fees. These tempo hits are really only the most impacting to the opponent in the endgame; I would rarely attack with a Feisty Locals early, as it is just such a good role-player in the endgame.
There are always potential Assassins in the shadows, as there's a lot of Assassin support in the set. If you start to see that Assassin/Ranger is getting overdrafted, you've got two options:
- If there are arrows still floating around in packs, Ranger is generally favored into Assassin, so start taking arrows to take advantage of the increased Assassins.
- If Ranger is shoring up and there aren't any arrows to be found, consider going with one of the Ninjas instead. You might not be as favored in to the Assassin matchup as a Ninja, but at least you aren't trying to make a deck out of the dregs that other Assassins have already picked through.
Reading the signals of the table should help you find your class and hero just as much as 'picking the most powerful card'. If you see powerful cards that are highlighted as powerful cards for a particular hero still wheeling around the table late into pack 1, then you should note it as a good sign that players are not keen on playing that hero, and that it might be time for you to pivot into that hero if people are just going to be handing you all those powerful cards anyhow. The sooner you can recognize and read the signals in draft, the better!
In every set of Flesh and Blood, there are cards that block for 2 or 3 - this is not new. What is new, is the amount that this matters. Frequently in this set, your 3-blocks are pretty hard to give up to an attack - excepting for traps, of course. For Rangers, a good deal of your cards that block for 3 are arrows, and it's pretty difficult for a ranger to win sans arrows. If you can pressure the opponent with attacks for 3 and 5, more so than attacks for 4 (which is one of the golden break point numbers in Classic Constructed), then you will either be landing hits and making the opponent bleed, or you will be hitting them where it really hurts: removing powerful threats from their deck, permanently.
Staying Ahead
With all this at your fingertips and in your ears, I feel confident that you will be able to do well at your next Outsiders draft. Remember to practice, and most importantly, have a good time. Outsiders really does have a lot of meat on the bones, and you will be well served if you take the time to practice and gnaw off the gristle and marrow. This guide should help you avoid pitfalls and notice come-ups, and will put you ahead of someone with otherwise comparable skill. But rest assured, there's a lot, a lot more to the set for you to discover and revel in. With 4500+ words, I've covered a lot of ground, but there is so much more for you to draft Outsiders for years to come.
Music by Wavecont, Sparks by Chaël | Music promoted by Chosic | Creative Commons Attribution 3.0 Unported License | Licensed under creative commons Attribution-ShareAlike 4.0 International