Dromai is a hero that has been much beloved since her release in Uprising, but often misunderstood. Her dragons and ash mechanic make her a fundamentally unique champion unlike any other in the game; and as such, she requires an equally unique approach to deckbuilding and play. I’d like to take a little bit of time on my debut article for the Rathe Times to go into some detail on my favorite hero, and maybe share a little understanding of how my version of her deck ticks. But first, a brief introduction.
Some of you probably know me as an active member of the Flesh and Blood community or for my art and alters, but many of you don’t. My name is Mara Faris. I’m an artist and alterist based out of Roanoke, Virginia in the U.S. and have been working professionally in the art industry for 11 years now. I’m also an avid competitive card gamer and have been for most of my life. In Flesh and Blood, I was featured in the Goliath Gauntlet tournament, and most recently took back-to-back top 8 finishes on Saturday and Sunday main events of Battle Hardened: Charlotte.
But if I’m known for anything, it’s my absolute obsession with illusionists, and especially Dromai. In particular, the unique red-line aggressive build that I’ve pioneered that’s come to be known as Empress Dromai has really drawn a lot of attention from the community at large.
Before we dive into the nuances of the deck, let’s start with the basics. For those of you not especially familiar with the hero, Dromai is a Draconic Illusionist hero first printed in Uprising.
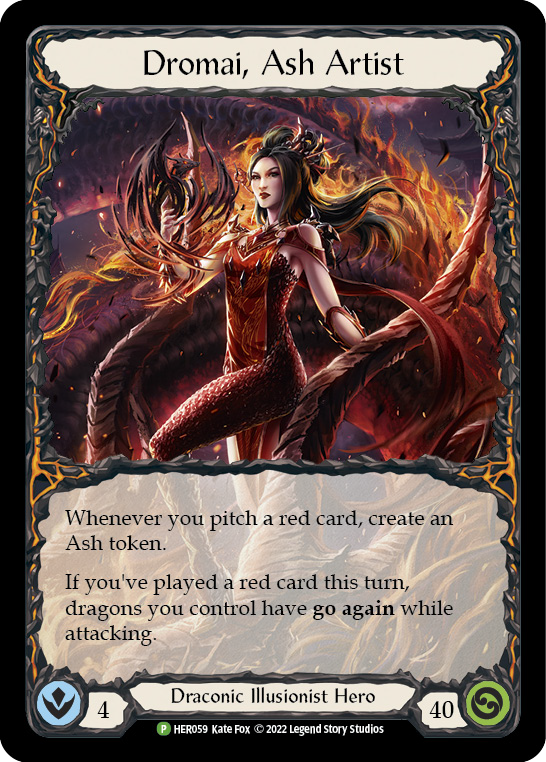
Above all, two things really set Dromai apart from any other hero in the game. First off, the one everybody loves: dragons. Dromai is the first hero to make extensive use of the ability to summon allies to her side of the table, forcing her opponents to split their efforts between fighting you and keeping your horde of pets from getting rapidly out of hand.
Second is the ash mechanic. Dromai requires a special resource called Ash in order to summon her dragon allies. It’s my belief that this mechanic is the fundamental core that most players (even some very high level ones) don’t quite seem to be able to wrap their heads around. And it is this mechanic that defines a well-built Dromai deck, and what really sets Empress Dromai apart from the other more typical blue-heavy builds. Let’s take a deeper look.
All About Ash
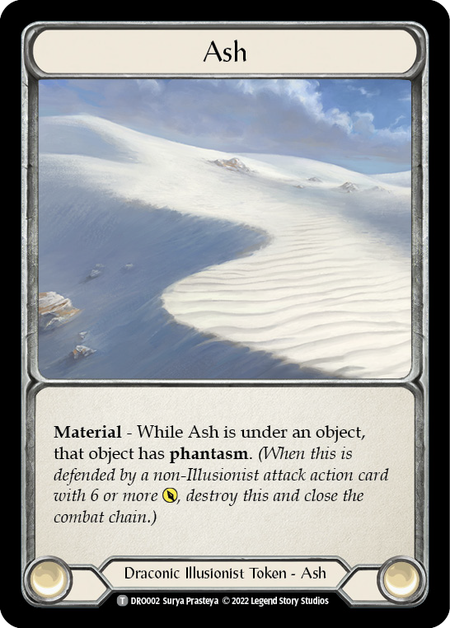
First off, how do we make ash? Aside from a few cards (like Sweeping Blow and Dustup), most of our ash is going to come from Dromai’s hero power. It lets her create ash whenever she pitches a red card to pay for her costs.
This creates a very unique tension for the Dromai player. Most players understand that pitching reds is almost universally terrible. You earn far fewer resources with a red than a blue, and you lose too much value. But because of this extra perk, we’re more incentivized to take these sub-optimal lines.
Cards that might look weak to some heroes may be uniquely suited to Dromai because of the additional ash gained; or some cards may be worse due to the nature of needing to rely on reds to pay for our cards.
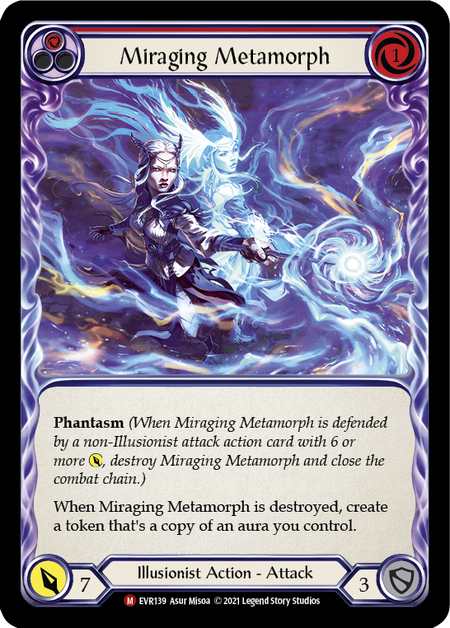
One of the fundamentals of Empress Dromai was finding a deck that could reliably pitch red cards without dramatically sacrifice total power. This starts with finding cards that can still remain above rate, even when pitching red. Miraging Metamorph is a perfect example of this. When pitching red, it’s two cards for 7 damage - nothing incredibly amazing, but a reasonable, above rate card on it’s own merits. Add on the ability for it to generate an ash, and now we’ve got a very solid, consistent powerhouse to help keep our ash up.
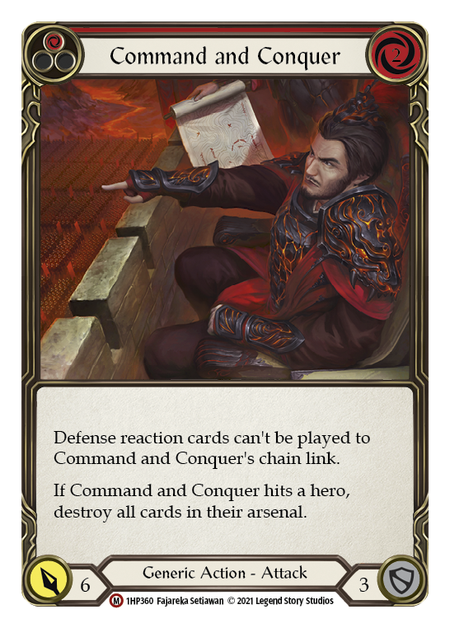
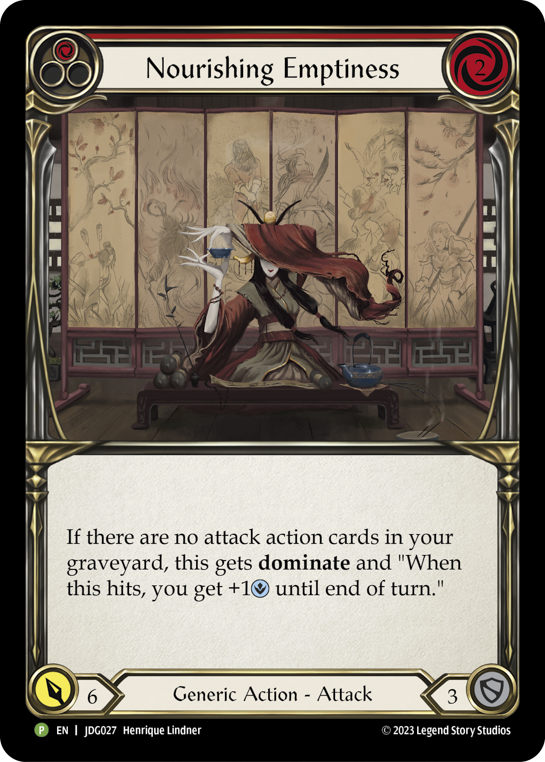
The same goes for cards like Command and Conquer and Nourishing Emptiness. Though these two cards cost 2, we can offset that cost by making use of Flamescale Furnace to generate an extra resource, leaving them still at least on rate or higher, while incidentally granting us our precious ash.
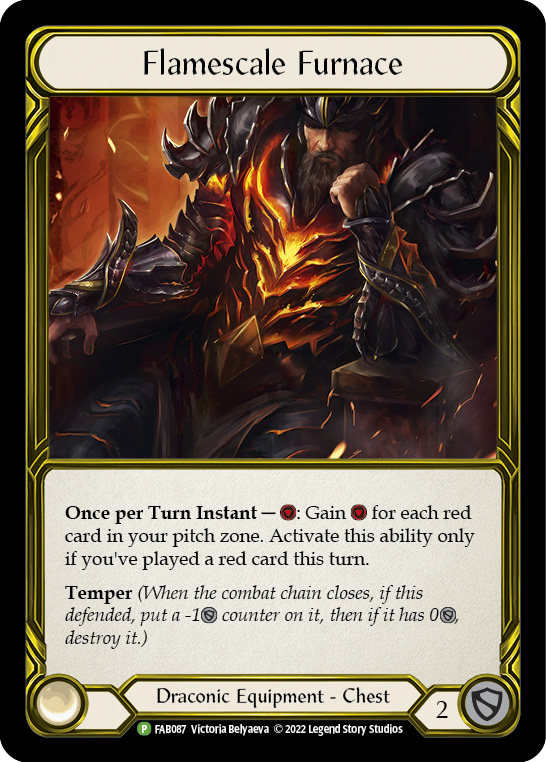
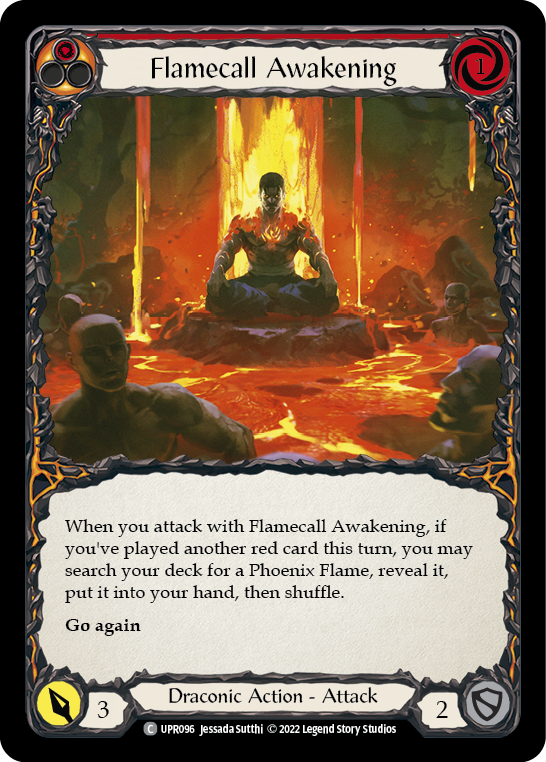
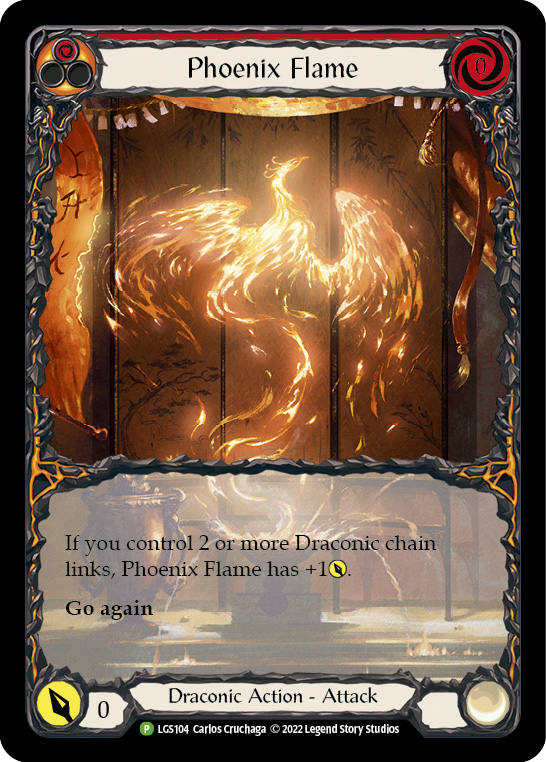
And speaking of Flamescale Furnace, I can’t over-stress just how incredible Flamecall Awakening is for a Dromai list that can support it. If we lead with a zero cost card with go again (Which shouldn’t be too hard in Dromai), we can play our Flamecall, create an ash, search for the Phoenix Flame, pitch it to Flamescale Furnace, and generate 2 resources - as well as our two ash - for free! Flamecall Awakening is certainly one of the cards that makes this deck really sing. We don’t call it 'Draconic Belittle' for nothing!
Pressing Our Advantage
Okay, so now we’ve got a good grasp on our ash and how to make it. So how do we build the rest of the deck?
I think whenever you’re building a new deck or a new archetype, you have to sit down and really ask yourself ‘What does this deck do better than anyone else? What am I trying to do, and how can I leverage this hero to those ends?’
For Dromai, it’s easy to miss. She doesn’t have massive, disruptive Channel Lake Frigid turns. She doesn’t have huge, crippling dominates. She doesn’t even have the big, explosive Art of War turns like her little brother, Fai.
So what does she have? Raw, numerical value. On an average 1:1, almost any Dromai card will out-rate any card from another hero. Her cards are just amazingly above rate. So we need to keep this truism in mind through all of our deck’s construction. This is our stated goal, and we need to carry it through across every card we put in the deck.
We want to choose cards that are plainly efficient and powerful individually, and we need to make sure we can find at least some of those cards that can ideally help maintain our ash production without falling too far below rate (or ideally, not below rate at all) to help supplement our plan.
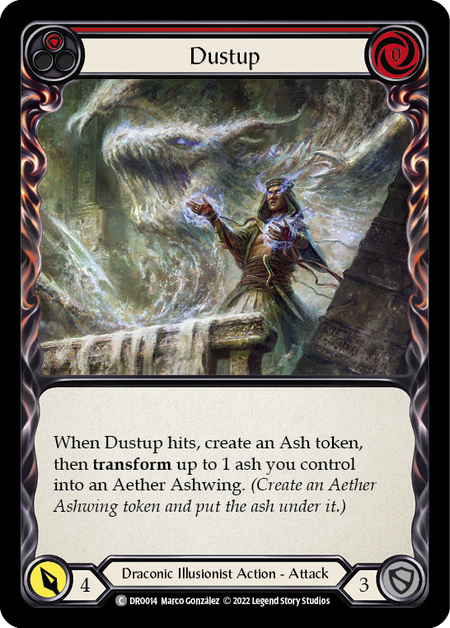
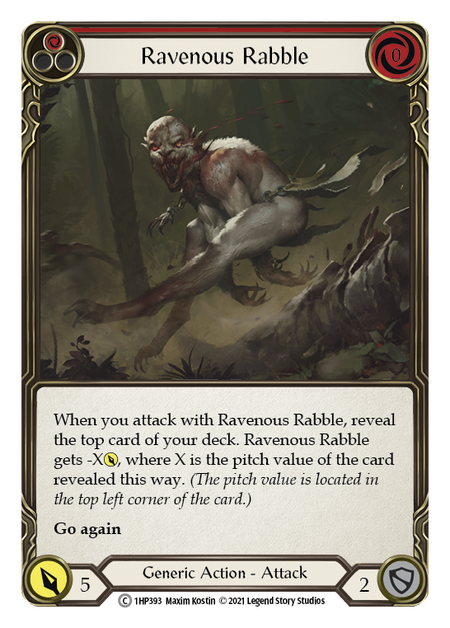

Holding to these two facts, most of the deck slowly begins to come into shape. The zero for four attacks (Scar for a Scar, Ravenous Rabble, Dustup, etc) seem like easy auto-includes; and as mentioned earlier, cards like Miraging Metamorph and Command and Conquer are good to remain above rate and still help us keep up our ash flowing.
Then comes the easiest part of the deck: the dragons. All the dragons are wildly above rate. So we really want to slam just about as many dragons as we can afford into the deck - though there are a few noteworthy omissions.
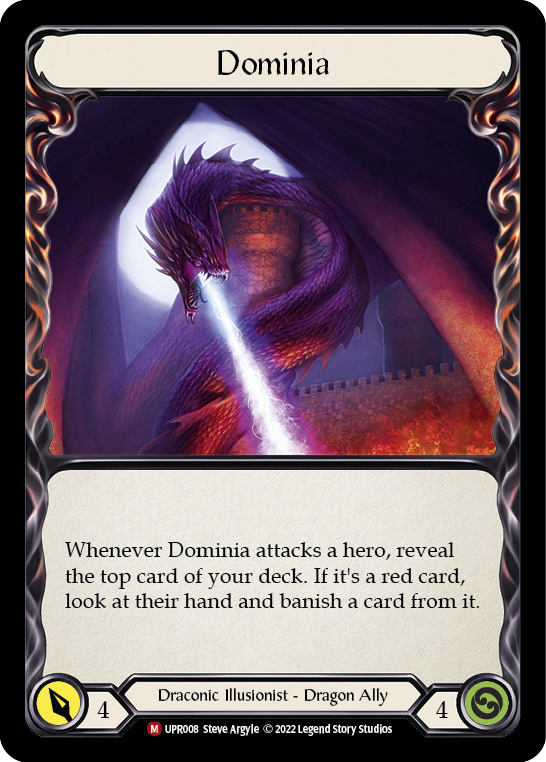

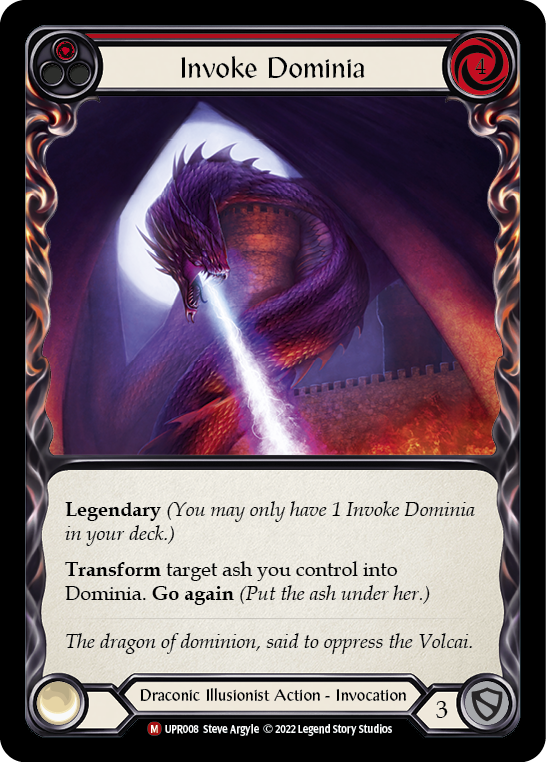
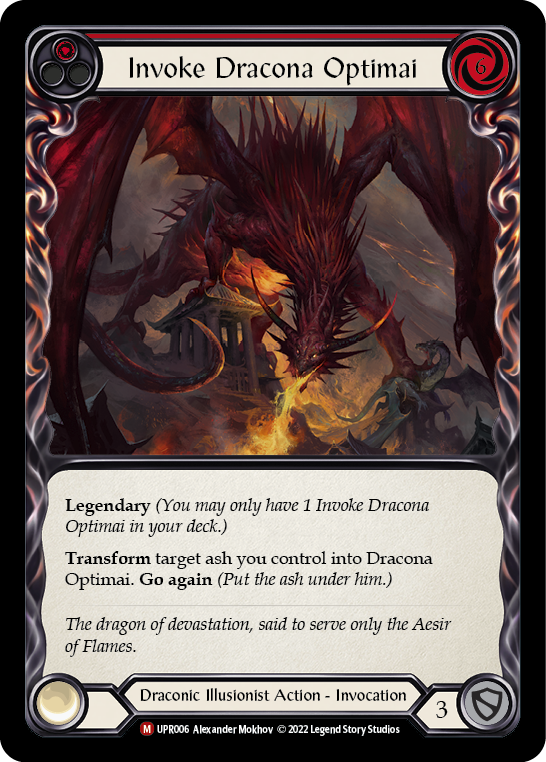
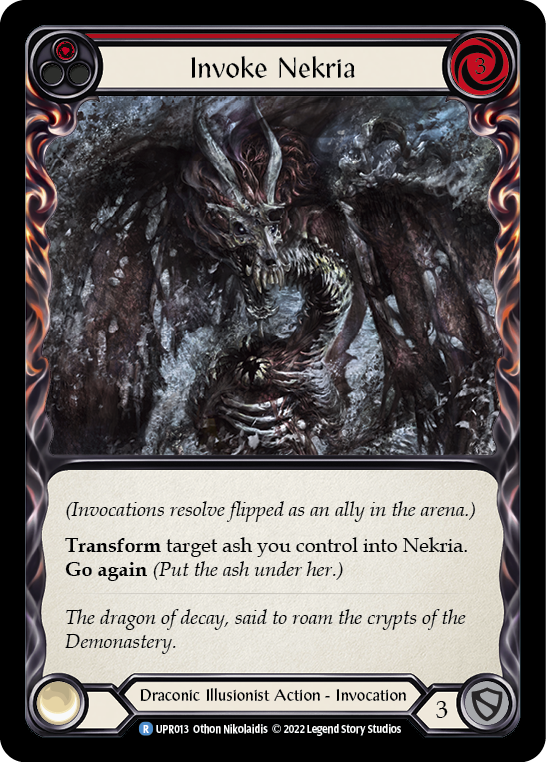
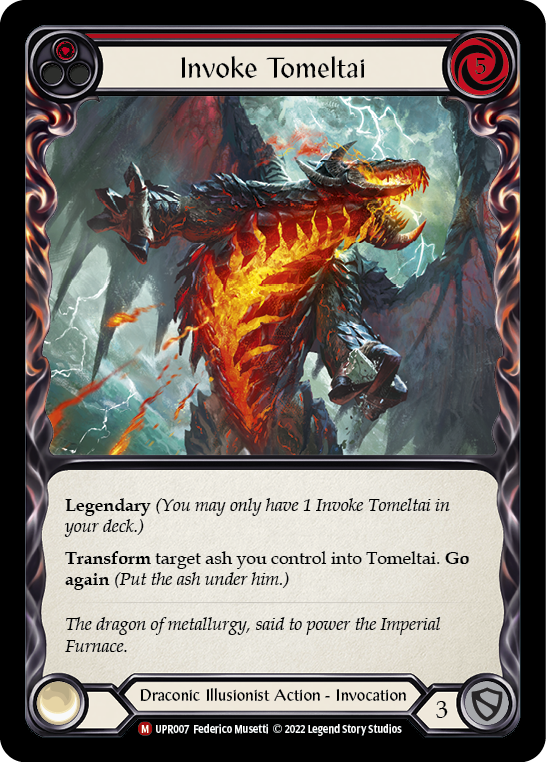
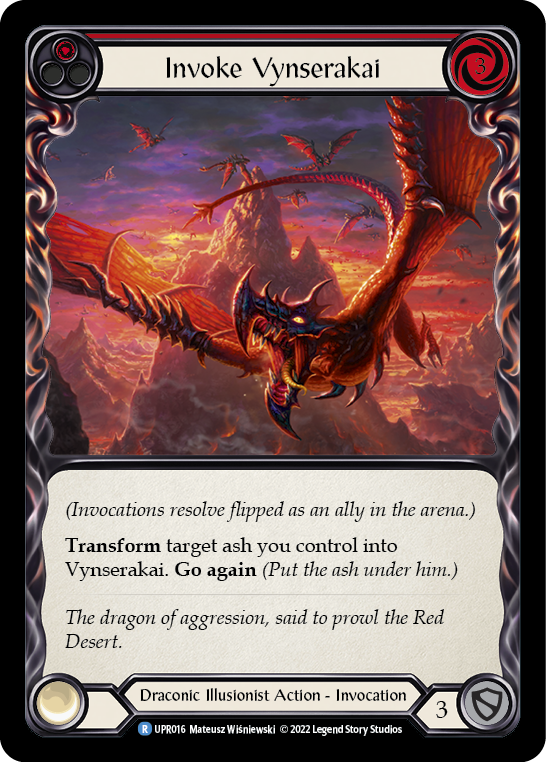
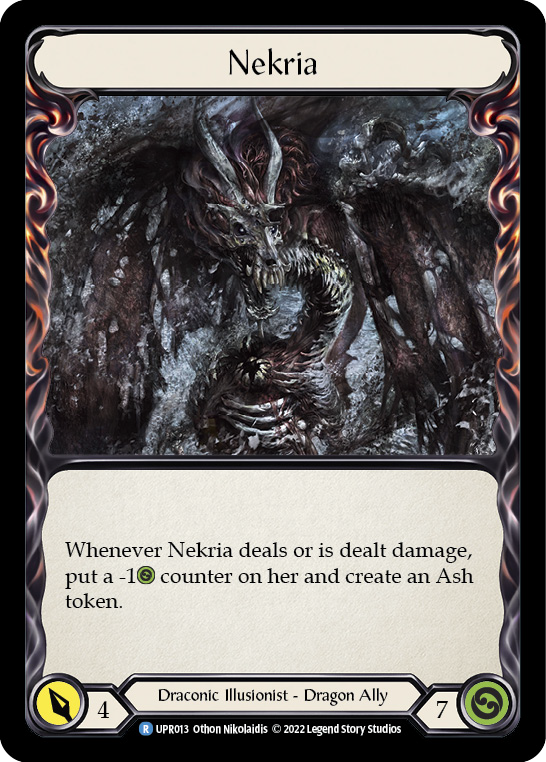
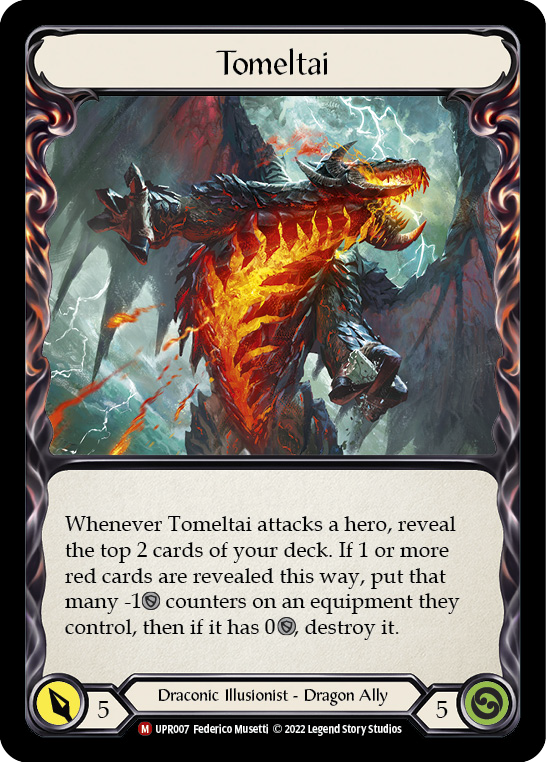
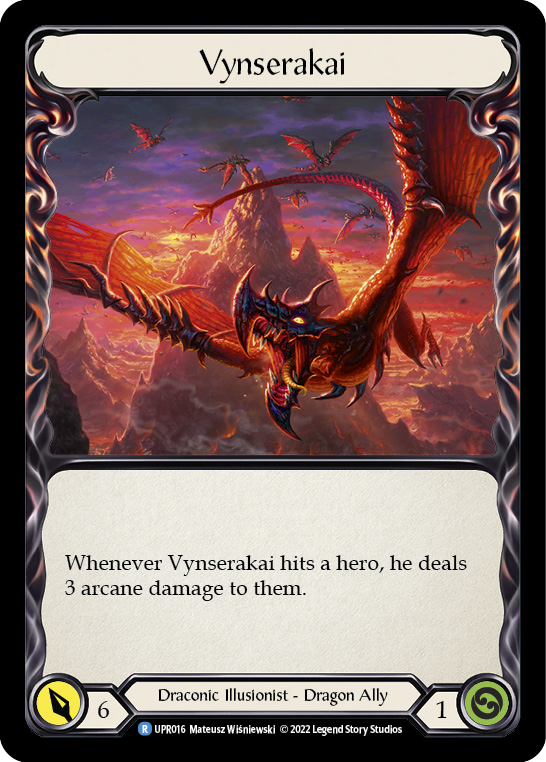
Nekria, Vynserakai, and the three legendary dragons (Dominia, Tomeltai, and Dracona Optimai) are absent from this list. As much as we’d love to find a way to run them, being a full redline list means we can get to two resources reasonably with furnace, but a 3 resource dragon becomes much, much harder to cast - let alone a 6 cost dragon! So we’ve got to make a concession and leave the biggest dragons at home.
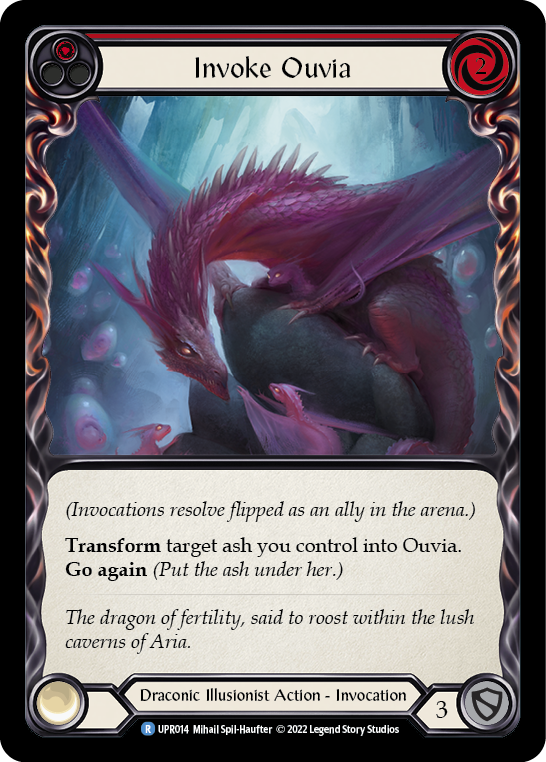
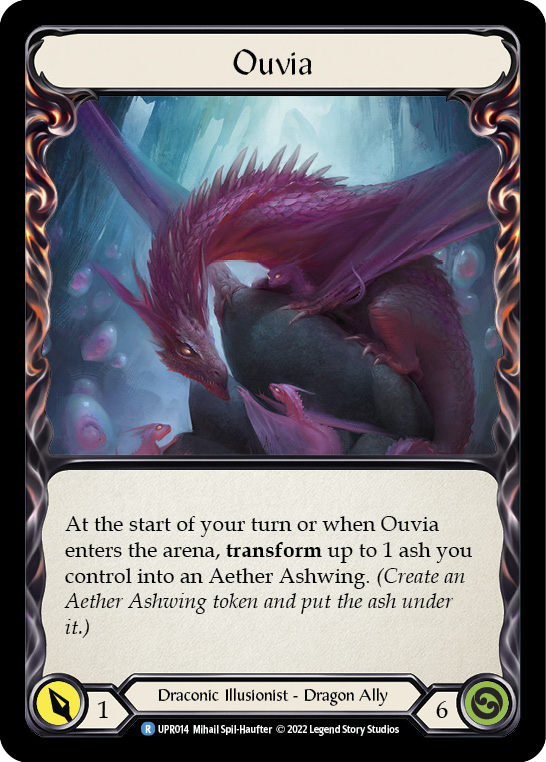
The other dragon of note is Ouvia. She does fit our curve, and she is strong, but even a redline deck has to be at least a little careful with its ash, and Ouvia can be a little ash hungry at times. Though she comes in and out of the deck, I often find myself running one copy of Ouvia, and that generally feels okay.
Everything in Balance
So now we’ve got our dragons, our ash generators, and our efficient attacks. Time to put them all together. This is where things can get a little tricky, because Empress Dromai is performing a very delicate balancing act and we need to properly ratio several things all at once. When we’re picking numbers, we need to be keeping all of the following things in mind:
Ash Economy – Ash Positive and Ash Negative Cards
Some cards will gain us ash when we play them (like Miraging Metamorph or Flamecall Awakening). Some will lower our ash total (like Invoke Azvolai or Rake the Embers). Some cards (like Invoke Kyloria or Billowing Mirage) will be ash neutral. We want to keep a careful eye on these ratios. If we have too many ash negative cards and not enough ash positive cards, we’re going to find ourselves struggling to keep our ash around, and won’t be able to play more of our powerful ash negative cards. We’d like to ideally have at least an equal number of Ash positive and negative cards, though I’d prefer to err on the side of staying ash positive when we’re able.
Cards with Go Again versus Chain Enders
Our chain enders are some of our most powerful cards, and often present difficult blocking decisions for our opponent, who’s already struggling to find resources to ensure they don’t get overrun by our dragons. But too many chain enders can very quickly lead to awkward games, or unplayable hands. Ideally we don’t want to have more than about a quarter of our 60 card deck taken up by chain enders. This should be about enough to hopefully have one per hand most of the time, but not so likely to end up with multiple too often, which lead to problems. Enlightened Strike, despite being a card that doesn’t actually generate ash, is a great card to fill one of these slots, since we prefer it to be a chain ender, but in a pinch, we can always give it go again to help smooth out a turn.
Zero Cost Starters
We have several reasons to need to play an efficient red card to start our turn. Primarily, we need one to turn on Dromai’s hero ability that gives our dragons go again. But also, we have Blaze Headlong and Flamecall Awakening that both need us to play a red card to unlock their strengths. Flamecall in particular really wants a zero cost starter to facilitate the Zero cost > Flamecall > pitch the searched Phoenix Flame into the Furnace for 2 resources > 2-cost finisher line that we love so much. Like our chain enders, we’d like to keep at least about a quarter of our deck as zero-cost starters to hopefully have one in most of our hands. Unlike the chain enders though, we’re more than happy to go over the 15 slots here to add a little extra consistency.
One-Cost versus Two-Cost Cards
We’ve already established that Flamescale Furnace is one of our most powerful tools. It’s one of the primary reasons we’re able to cheat the restriction of only playing red cards in our deck, and lets us play our two drops for (essentially) only one resource. But for this to work, we need to have already pitched a card earlier in the turn before we activate the furnace. This means we need enough one-cost cards to make sure we’re not stuck with uncastable two drops all the time. This one is less hard and fast of a rule as the previous ones, and can offer a little more flexibility in the build, but generally speaking I like to try and have at least 2 one-drops for every two-drop in the list.
Earning the Crown
Keeping these four rules in mind, we can pretty well put the core of the deck together, and what we’re left with is a hyper-efficient, aggressive Illusionist that can present high damage and, thanks to it’s all-red nature, can do so very consistently turn after turn. We combine the power of on-board dragon allies that demand resources from our opponent and powerful on-hit effects that demand blocks, leaving our opponents in a position where they are forced to use a majority of their resources struggling to answer our threats or risk being buried in an avalanche of raw value and efficient turns. This is the fundamental strategy at the core of Empress Dromai, and the thing that sets it apart from the more traditional blue-heavy Dromai builds.
Empress Dromai is a fast paced, powerful take on the Illusionist class. The deck is challenging, and has a lot more layers than a typical aggro deck - but personally, I find the deck very enjoyable and highly rewarding for someone willing to put the time into learning it’s nuance. I hope that giving you all a brief peek behind the curtain to the inner workings of the deck has enticed at least a few of you to give it a try. For those of you that do, good luck out there!
All hail the Dragon Empress.