Teaching an Old Hero New Tricks
The release of Monarch gave us four new shiny (or shady, depending on their talent) heroes to play around with, but it also introduced many cards to support our legacy heroes. Bravo got Rouse the Ancients to dominate the opposition, Azalea received Memorial Ground to seek out the perfect offense, and Viserai can now deal more than 1 arcane damage from a single source.
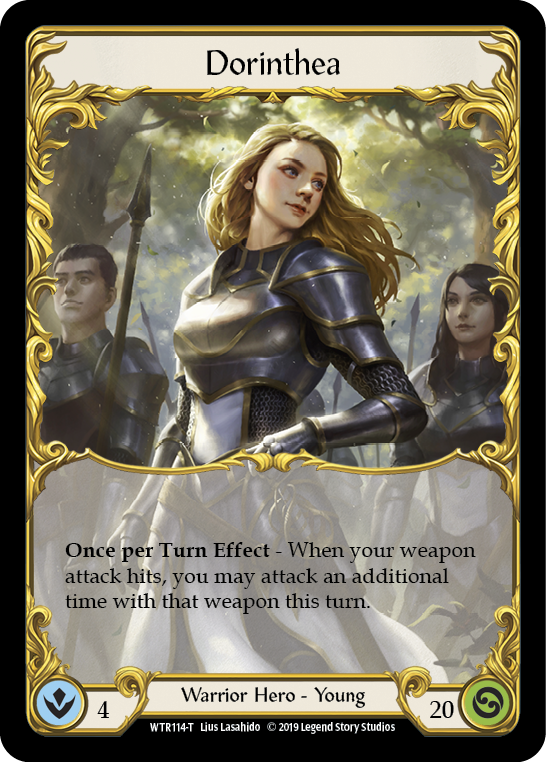
Despite Warrior getting a refocus through the lens of Light, a cursory glance didn't seem to show anything new for meta darling Dorinthea- with a possible notable exception of her brand new anti-Kodachi kicks Valiant Dynamo. Taking a closer look, however, I started to get excited about what the Hatchets of Body and Mind might do. What I found was a completely fresh take on building our good ol’ blondie.
Spilling Blood
You can't have a conversation about axes without starting with Spill Blood. This Majestic is a key reason to give the Hatchets a second look, giving each a hefty +2 buff and Dominate until the end of the turn.
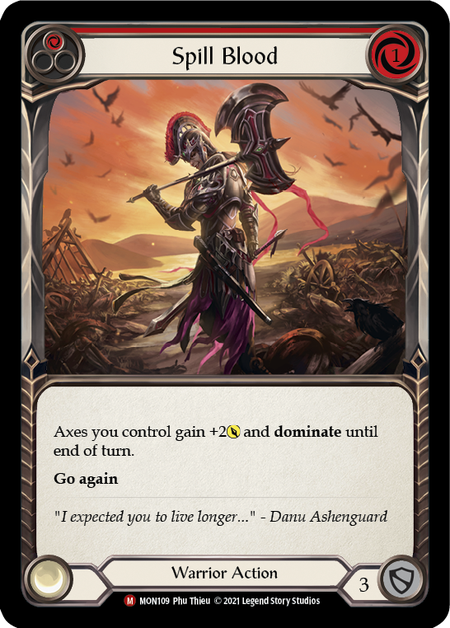
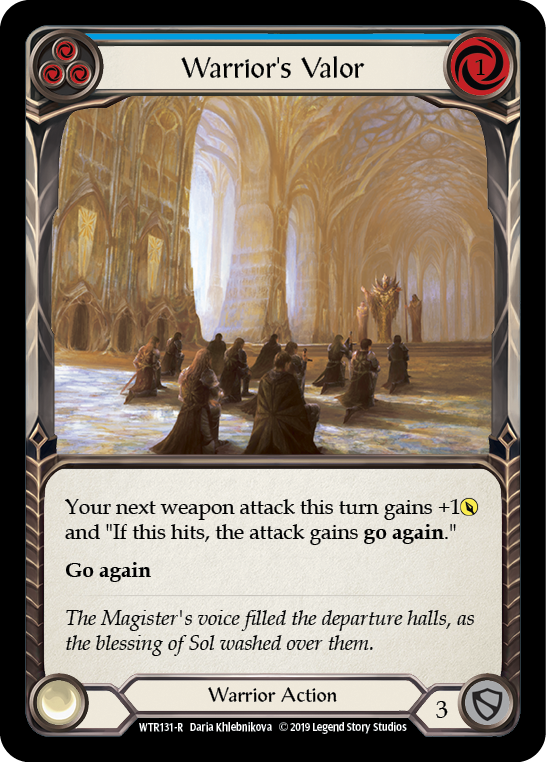
Warriors have many ways to abuse this buff. Stacking another attack action on top of it, such as Warrior's Valor, can force extensive equipment blocking, if a full block was even possible. It also makes it extremely difficult to get out ahead of attack reactions like Out for Blood. And is any Warrior conversation complete without mentioning Rout? A Dominated axe into the dreaded Rout could easily close out games; even a defense reaction like Sink Below can’t be played again to that chain due to Dominate!
But Why Dorinthea?
Certainly the synergies with Spill Blood could also be used by Boltyn, who has access to his own hero ability and Lumina Ascension for some devastating turns. What does Dorinthea offer as an Axe Warrior?
Unlike her luminous brother-in-arms, Dorinthea doesn’t require as much set-up for a Spill Blood turn, nor does she overly rely on drawing the right cards to go off. Furthermore, Dorinthea’s hero ability enables a very consistent line of play with cards which give weapon attacks “go again”, such as Spoils of War.
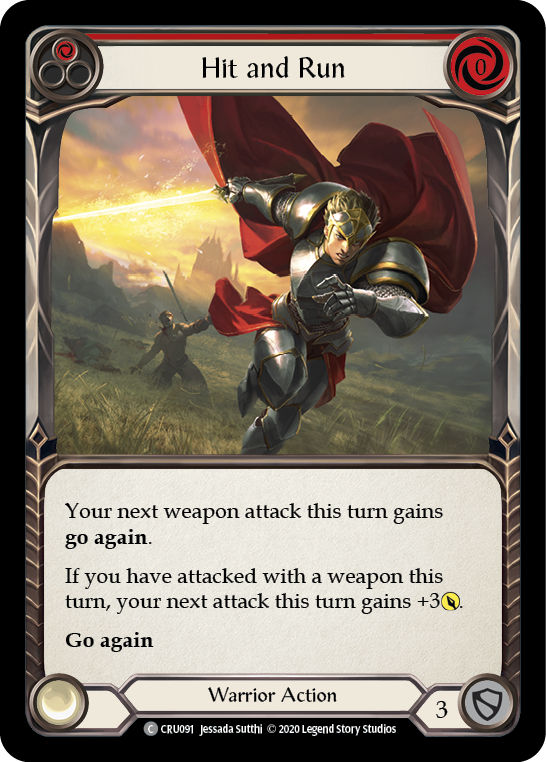

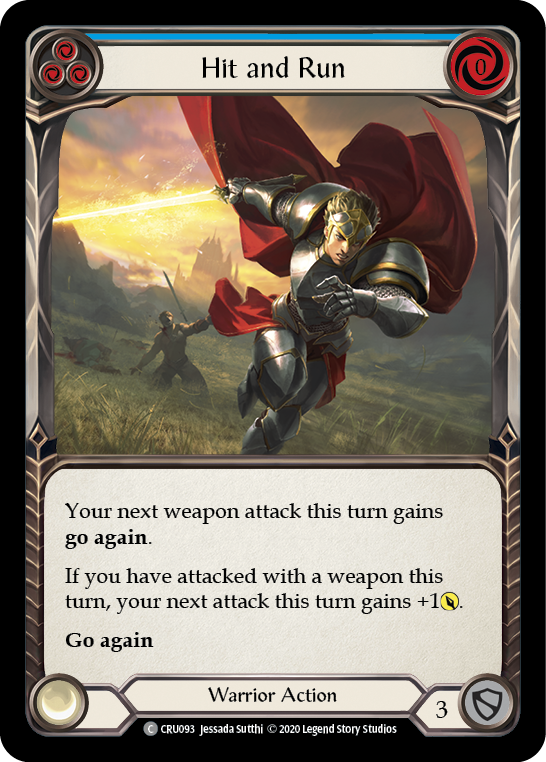
One such card that's incredibly important to this build is Hit and Run. If Dorinthea has 3 pitch available and 2 Hit and Runs to work with, she can swing with her axes three times as long as one of them has hit! Assuming you play a red Hit and Run after the first attack, your attack sequence would be 2 > 6 > 3.
Pro Tip: The axes keep their +1 buff until the end of the turn. Even if you’re swinging with your second hatchet twice, it still does 3 damage.
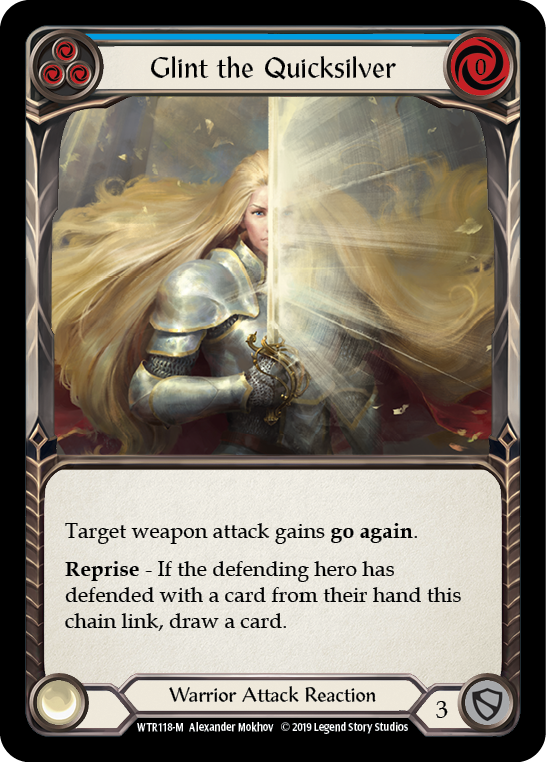
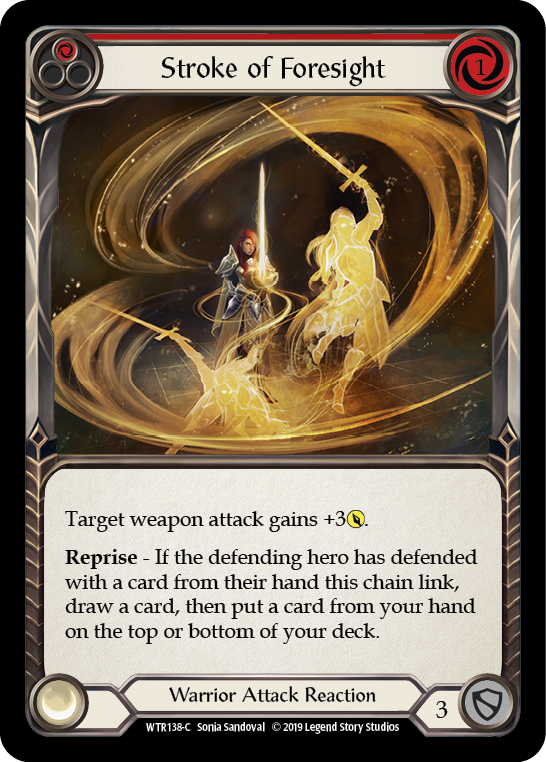
Unlike Dawnblade builds, where it's obvious that the first attack needs to be blocked, your opponent doesn’t know which 1-handed weapon attack is going to be the most impactful. Do they allow the first attack for 2 to hit, and risk taking another hit? Or would they like to commit to an inefficient block? Even without a pre-buff from a non-attack action, your opponent always has to consider the possibility of a Glint the Quicksilver in your hand. Or perhaps they declare no blocks, and now you can punish them with a Stroke of Foresight for a good chunk of damage.
While the ceiling for Boltyn’s utilization of his signature hatchets may seem like a tantalizing offer, Dorinthea’s consistent ability to threaten damage with the hatchets is a valuable asset that’s often overlooked. And unlike a Dawnblade build, she’s guaranteed a second attack if she's tacked Go Again onto her first.
The Decklist
Weapons
- Hatchet of Body (1)
- Hatchet of Mind (1)
Equipment
- Arcanite Skullcap (1)
- Braveforge Bracers (1)
- Fyendal's Spring Tunic (1)
- Gambler's Gloves (1)
- Nullrune Gloves (1)
- Nullrune Hood (1)
- Nullrune Robe (1)
- Refraction Bolters (1)
- Valiant Dynamo (1)
Loadout
- Biting Blade (Red) (2)
- Biting Blade (Blue) (1)
- Dauntless (Blue) (2)
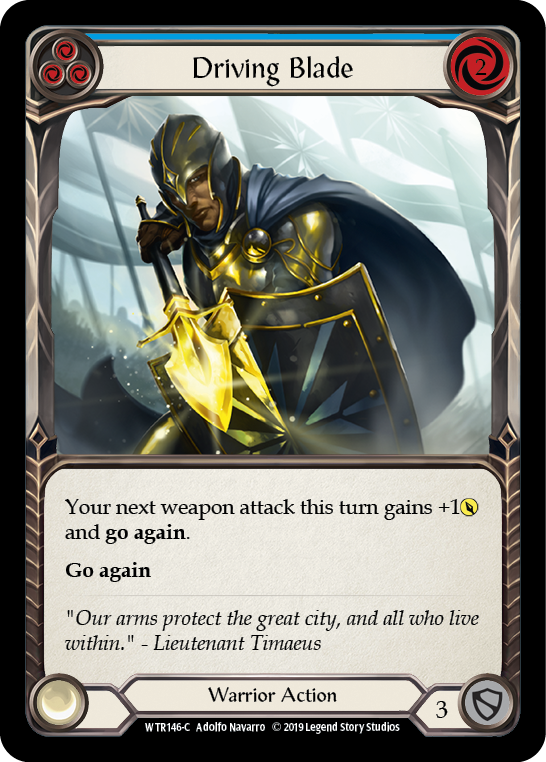
- Driving Blade (Blue) (2)
- Glint the Quicksilver (Blue) (2)
- Hit and Run (Red) (2)
- Hit and Run (Yellow) (2)
- Hit and Run (Blue) (2)
- Ironsong Response (Red) (1)
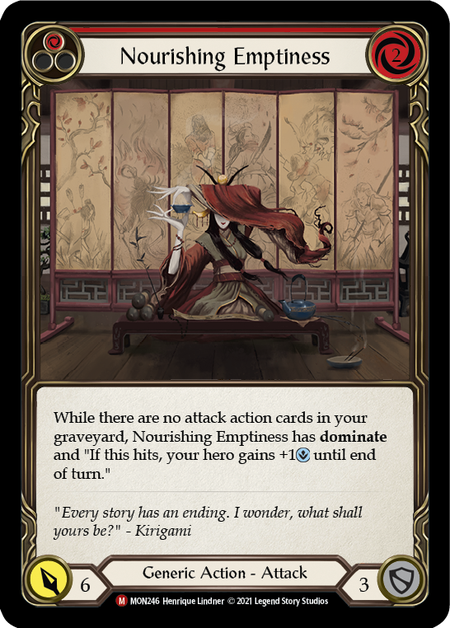
- Nourishing Emptiness (Red) (1)
- Out for Blood (Red) (2)
- Overpower (Blue) (1)
- Rout (Red) (1)
- Sharpen Steel (Red) (2)
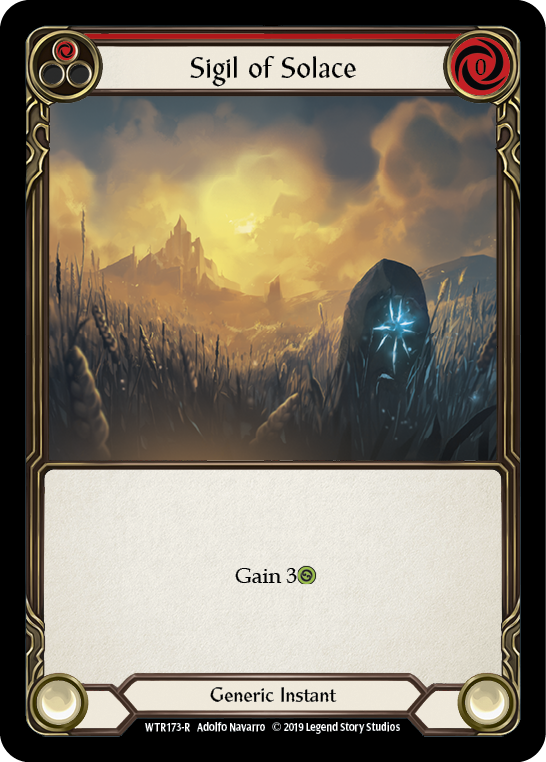
- Sigil of Solace (Red) (2)
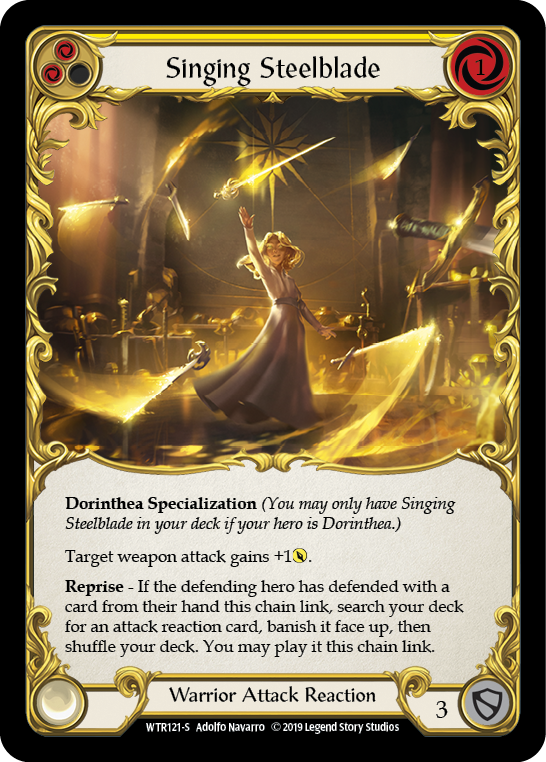
- Singing Steelblade (Yellow) (1)
- Spill Blood (Red) (2)
- Spoils of War (Red) (2)
- Steelblade Shunt (Blue) (2)
- Stroke of Foresight (Red) (2)
- Warrior's Valor (Red) (2)
- Warrior's Valor (Yellow) (2)
- Warrior's Valor (Blue) (2)
The decklist seeks to utilize the natural synergies that other Warrior cards have with Spill Blood, as well as utilizing the superbly efficient Hit and Run lines discussed above. With a good amount of blues, Axe Dorinthea can also include a few unexpected attack actions like Nourishing Emptiness and Command and Conquer; these allow her to mount an excellent two-attack offensive in nearly every situation, as well as blocking out Prism’s phantasm attacks in the current meta.
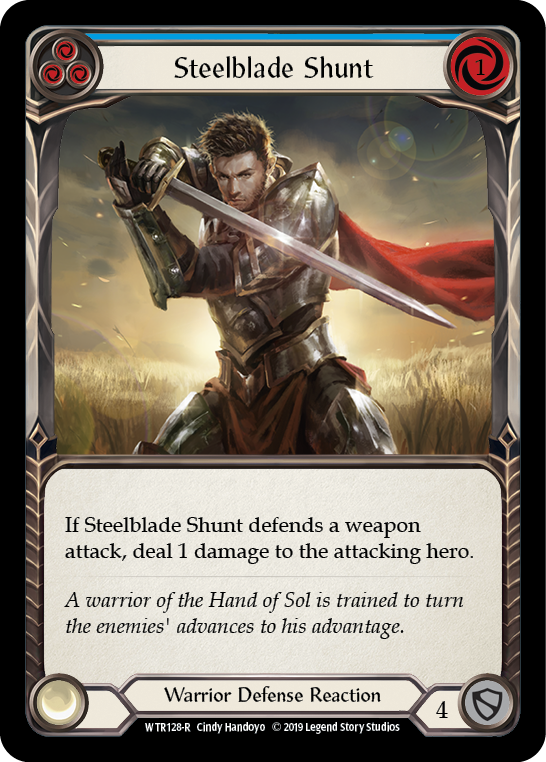
Staples like Steelblade Shunt, Sigil of Solace, and Singing Steelblade all find a home in the decklist, helping to add extra flexibility to your gameplan, especially if the game starts to go long. Additionally, with the exception of the Sigils, every card in the deck blocks for 3 for a consistent defensive throughout the game.
The beauty of Axe Dorinthea is her ability to easily tweak her deck according to the meta or your own budget. Not seeing many Prisms? Feel free to cut down the attack actions to a single Nourishing Emptiness, and add what you feel might be more appropriate. Waiting for Crucible of War Unlimited to be released? Replace the copies of Spoils of War with red Driving Blades, your wallet will thank you for it. Heck, you could squeeze a red Overpower in there for extra spice if you wanted to!

While the deck has a very clear backbone, the cards that make the deck tick work nicely with most of the tools in the Warrior’s card library. Warrior’s comprehensive suite of armors also enables you to have the right tools in every situation.
Generally, how might you pilot this deck? Your goal is always to chip in damage, while waiting for an opportunity to swing back with a scary Spill Blood turn. It’s better to be patient waiting for a decent offense, rather than betting on your opponent blocking poorly!
A great way to chip in damage is to swing a bare axe at your foe with some pitch floating, and if they choose not to block, you could punish them with either Out for Blood or Stroke of Foresight. Even if they overblock, you could simply arsenal that card and pass your turn.
The aforementioned Hit and Run lines also function as great pressure, making opponents either underblock or overblock as they can never be sure of your exact line of play.
Sometimes, you might need to play extremely aggressively to race your opponents down, such as in a matchup against Control Dash. Don’t be afraid to take a big chunk of damage if you have to, and eat them alive on your own turn. In a similar vein, don’t feel the need to rush and push damage over if you don’t have to! Most of your cards do 3 damage, and also block for 3 damage; utilize them to fit the situation. The trade will nearly always be even.
Once you wear out your opponent’s armors and drive them to a low life total, a single Ironsong Response or Steelblade Shunt could seal the deal!
Got Axes, Need Victims
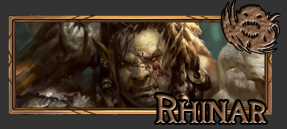
Against Rhinar, go first if you can- don’t let them chip in damage for free! It’s usually a good idea to block out their attacks if you can, especially since they could potentially Intimidate away your hand and swing you for unblockable damage. At the same time, try your best to force cards out of their hand to the best of your ability; their need to discard for their attacks makes every card in their hand more valuable than the ones in yours. Remember to always play around Reckless Swings if you haven’t seen them already!
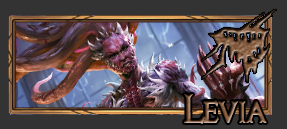
The Levia matchup feels like a matter of making the opponent block out when they've accumulated too much blood debt in order to punish them for going gung ho on the Banished Zone. Keep pressure up, and don't be afraid to play a little aggressively in order to get cards out of their hand when it matters. Later into the game, one missed Levia trigger could just be the end of them right there.
As with the Brute matchup, go first against Bravo if you can; you’d regret doing otherwise if they’re able to set up a Towering Titan on turn one. Try to arsenal Steelblade Shunt where you can, in order to play against their Dominated attacks or a potential Pummel. Sometimes, getting crushed by their effects is unavoidable - do your best to play around them! Be patient, but not too patient or they may deck you!

Going second against Prism seems to be the better choice. Keep up the pressure on them, and make them drop cards to block so that you don't have to contend with Heralds being tossed at your face; you guard rather poorly against them. Use your hatchets to clear their spectra if you have to! The effects of multiple Auras stack up fast; better to get rid of them before you realize it’s too late. Remember that pre-buffing with a non-attack action gives them an opening to play Arc Light Sentinel; if you suspect one, do your best to play around it. Also, always keep your attack actions in your hand to pop their phantasms!

Go first; the chance that Dash draws into an item on turn 1 and gets to play it out without consequence isn’t something you want to contend with! Play aggressively and run them over if they’re the control variant; or if they’re using a more aggressive list, you can consider blocking them out till they eventually deck themselves with boost. The moment the second Induction Chamber hits the field, life becomes a little tougher for you.

The image shows Katsu, but in Blitz the most likely Ninja is still Ira. Go second, and do your best to play a good tempo game. A Flic Flak can completely blow you out on your turn; always attack as if they potentially might have one. Your goal is to make them block as inefficiently as possible, while sneaking in damage with surprise attack reactions whenever you can.
Against them, your Dauntless might be one of your greatest assets. They will typically aim to block with two cards, and swing back with their own two cards; a blue to pitch and an attack to use along with their Kodachis. Consider the fact that their two-card offense is likely going to be stronger than your own, but your three- and four-card offense is scarier. It is definitely one of the tougher matchups, but play smart and you shall prevail!
Go second against Azalea; while you might take some damage on your first turn from Dominate, it’s better than letting Azalea have the tempo advantage throughout the game. Depending on the Ranger’s builds and draws, it might be a viable strategy to simply block her out and deck her, as she’s unable to attack without her arrows. Ranger also blocks extremely poorly, so a single Spill Blood turn can put her on the backfoot for the rest of the game.
Never let a Runeblade go first, if you can. Punish them when they attempt to set-up, or when they have lower tempo turns. Whenever you can, prevent them from making runechants with their on-hit effects - blocking that one point of damage now is as good as blocking two! If they’re playing an OTK variant, simply run them down with as much damage as you can manage.

My advice for Chane isn't that different; the strategies and concepts seen in Viserai are still present in a different form. Chane still has to set up by chaining away for later in the game. You'd still be playing to avoid getting punished by the on-hit effects of cards like Dread Tryptich, Meat and Greet, and Mauvrion Skies. In a way, blocking an attack that makes a Runechant blocks an extra point of damage, and denying Chane the ability to deal arcane makes blocks more linear, enabling you to adequately strike back at the opposition.

In this matchup, both players are on a timer equivalent to their life totals. Go second, and punish Kano for his lack of armor and need for cards in his hand. Kano’s life total is tiny, and it’s not unrealistic to threaten lethal by the second turn. Pitch when you have to for your Nullrunes, especially against a high-value play like Aether Spindle. Both of you are playing a game of wits, and while that match won't last many turns, they will be very long turns.

When playing the mirror, go second in order to keep tempo up throughout the game. Against Tall Dorinthea, do your best to prevent her from hitting her second attack; a single +1 token on her Dawnblade could cost you the game.

Go second, if you can. Against Boltyn, prevent him from getting his Soul up and running, and he’ll never reach his payoffs. Always keep in mind their extensive suite of attack reactions!
Sharpen Your Steel
A few more advanced tips for once you get used to the basics of piloting this deck:
Warrior's Valor:
A lot of the time, it is more effective to use Warrior’s Valor after a Hit and Run, if you have both cards in hand but no way to buff the first hit. While it might be tempting to swing with the Valor on the first axe, if your opponent fully blocks that attack, your turn will just end. If you instead choose to swing with a guaranteed “go again”, you could chip in two damage and activate Dorinthea’s ability, making your next attack with the Valor a must block if they don’t want to take 3 more damage. Furthermore, even with a blue Valor, the second axe attack would require an additional card to block since it’s base attack would be 3, having already swung with the other axe.
Reprise:
Against a good opponent, your reprise cards could become completely dead if they choose to block smart. An early Ironsong Response in the arsenal could jam it up for the rest of the game, leading to inefficient or inflexible turns down the road. A Singing Steelblade could lose its value in a similar vein as well. Many times, a Glint the Quicksilver might really just be used as a blue Hit and Run, and don’t hesitate to see it as such! Being greedy with your reprise triggers punishes you more so than your opponent's playing into them; even use them to block if you have to.
Play the Bluffing Game:
With the composition of the deck being rather even, sometimes you might get really bad draws, such as quad reds or blues. While you might choose to concede such turns and block every single point of damage that you can, consider the fact that your opponent might not know what is in your hand. You could simply pitch a blue Dauntless and swing with your axe while you have nothing but a Steelblade Shunt in hand, and they might overblock fearing an attack reaction. That’s a huge win for you! Similarly, with quad reds you could pitch for one and swing, and they might again overblock fearing an Overpower or simply eat the damage for free. While it might feel bad not having optimal hands, knowing how to play around them is an integral part of the game, especially so when you’re piloting Dorinthea who strikes fear simply by having cards available in your hand.
Be Patient:
Patience is also very important; oftentimes it’s a better call to arsenal a Sigil of Solace rather than blowing it immediately. That way, you might even be able to control your life totals and deactivate the opponent’s Arcanite Skullcap. Why crack your Refraction Bolters for 3 damage, when you could sit on them till you need them during a crippling Spill Blood turn? Never be too frivolous with your resources; save them till you can use them to truly blow out your opponent, and perhaps even throw them off from their own gameplan!
Hopefully this article has gotten you excited to try out Axe Dorinthea yourself! It is certainly a very consistent build, yet one that also allows for many explosive plays that blow your opponent right out of the water. Now go out there and spill some blood!