Some of you may have seen my recent post on my own blog with respect to a tall Dorinthea deck that I have been testing and playing recently. This deck has been designed in order to combat the “Blitz menace” known as Ira. In nine Skirmish events that I have competed in with some variation of this deck, I have made the top eight all nine times and went on to win three of those events. I have won a large majority of my games against Ira.

"Dorinthea has been designed in order to combat the Blitz menace known as Ira."
What Makes Ira Tick?
Ira builds were popularized by Chris Gehring’s successful build from the Blitz-a-Thon event in October. The meta before Blitz-a-Thon was generally more aggressive. Ira fundamentally changed that. The “post- Blitz-a-Thon” Ira decks are defined by:
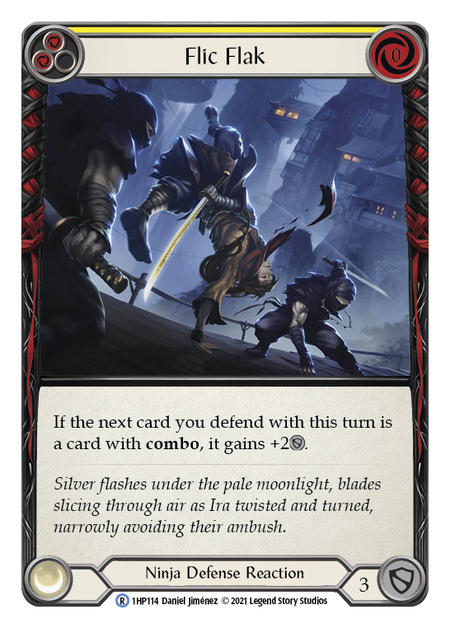
- Maximum copies of Flic Flak.
- Many zero-cost blue combo cards, mostly without the other pieces of their combo- these are used both to ensure you can do two Harmonized Kodachi swings in a turn and also to put up a strong defense when paired with Flic Flak.
- Various attacks that can be used effectively with Ira’s ability (like Command and Conquer) or after two weapon swings (like red Torrent of Tempo).
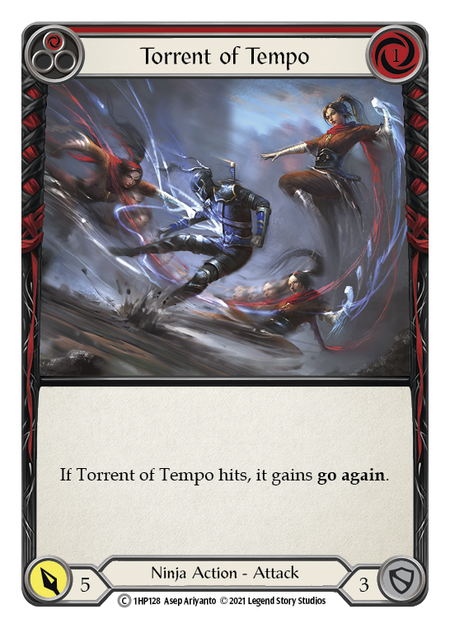
These tactics come together into a fairly effective combination. An Ira deck can pitch blue, swing two Harmonized Kodachi (or one Harmonized Kodachi and then a Zephyr Needle in some matchups), then use the last energy for an attack like Torrent of Tempo (red) or Pounding Gale. If all three of these attacks hit, Ira will be able to draw with Mask of Momentum. That’s quite a bit of threat for just two cards!
On defense, Ira is even better! This style of Ira deck has a lot of blue, which can fuel a lot of Arcane Barrier defense against Wizard or Runeblade. Further, these Ira decks typically run maximum copies of Flic Flak, which can get huge value in the right situation- not only are these useful in their own right as defense reactions, but they often buff up your next block when combined with all the combo cards, making it difficult to use multiple attacks effectively against Ira’s defense.
The Ira core of zero-cost blue combos, Flic Flak, and some nasty attacks has been successful to a meta-defining degree.
These Ira builds have been successful to a meta-defining degree. There are some variations on this style of build- some are more defensive, while others incorporate more aggro options- but overall the “core” of zero-cost blue combos, Flic Flak, and some nasty attacks to combine with Ira’s ability has proven very strong! Indeed, Ira put together a dominant performance at the recent Calling: Auckland event, taking six spots in the top eight and going on to win. Heading into the Skirmish season, Ira was the deck to beat!
Here are some examples of this type of Ira deck:
The Challenger: Tall Dorinthea
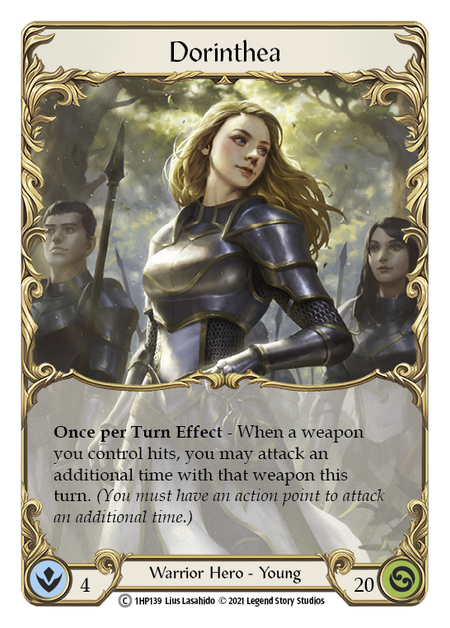
Tall Dorinthea, on the other hand, is a style of Warrior that has been around since the early days of Flesh and Blood. This style of deck relies on making multiple Dawnblade attacks with few or no attack actions but lots of buffs via non-attack actions and attack reactions. Ideally, it combines cards like Warrior’s Valor with Dorinthea’s ability to allow for multiple Dawnblade swings in a turn, then uses attack reactions to break through the opponent’s defenses.


In Classic Constructed, Dorinthea builds were moving more in a “wide” direction, playing more unconditional go again effects and generic attack actions. However, this style of build can be highly vulnerable to Ira’s efficient Flic Flak defense. Similarly, Kassai, Cintari Sellsword can put together an even wider attack pattern (which I quite enjoyed in earlier Blitz times), but this also proves vulnerable to Ira’s defenses. Therefore, tall Dorinthea has made something of a comeback. It’s a strong build in general and the “tall” attack pattern is considerably less vulnerable to Ira’s Flic Flak-based defenses, as the tall Dorinthea player will only be making one or two attacks in a large majority of turns!
Dorinthea is a strong build in general, and the tall attack pattern is considerably less vulnerable to Ira’s Flic Flak-based defenses.
Here are some examples of this type of Dorinthea build:
Ira vs. Dorinthea: The Matchup from Both Sides
Pregame
The first step of the game is going to be determining who goes first. Remember, if a game is being played in the playoffs of a tournament, the top seed gets to pick first or second!
In general, I believe both players want to go second in this matchup. The player who goes second will usually have a tempo advantage, since they can block a lot against enemy attacks and then redraw at the end of the turn to still have a full hand. That said, neither of these decks is in a terrible position if going first.
- Dorinthea can potentially play an Energy Potion or force Ira to heavily overblock a Dawnblade swing by threatening big attack reactions.
- Ira can often get a bit of chip damage in by making several small attacks.
Both decks may also enjoy the opportunity to get a reaction set up in Arsenal for the future- either a defense reaction in Arsenal for Ira or an attack reaction in Arsenal for Dorinthea can go a long way in this matchup.
After determining who goes first, players then select their equipment. I’ve gone over my recommended equipment selections for both characters below. Please note that these selections assume access to the full Equipment card pool.
Standard Equipment Loadout for Ira
Harmonized Kodachi x2
Mask of Momentum
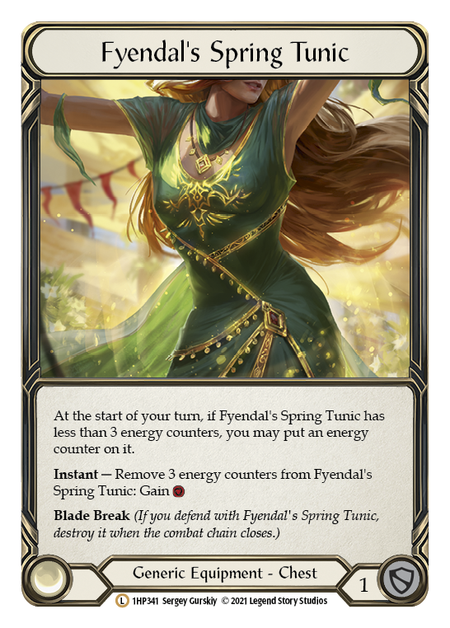
Fyendal’s Spring Tunic
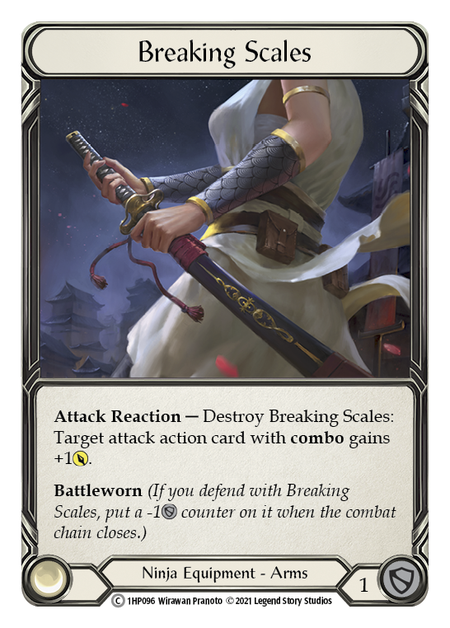
Breaking Scales
Snapdragon Scalers


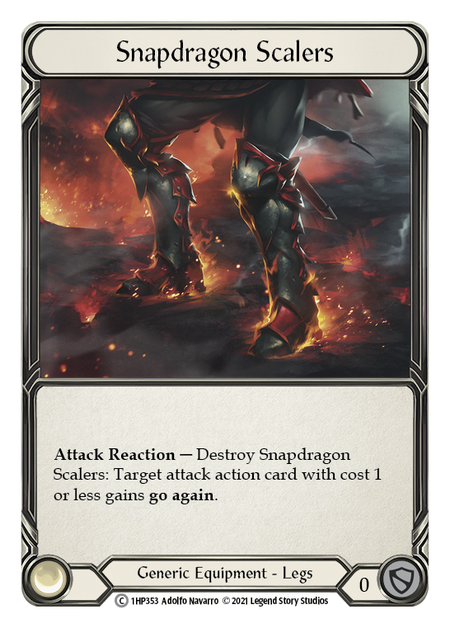
Ira can use her Snapdragon Scalers to put on extra pressure, giving an attack go again to allow an additional followup attack on a turn that would otherwise be over. This can be critical for trying to retake tempo once Dorinthea has been whittled down enough that she doesn’t have much life or armor remaining; by suddenly attacking aggressively, Ira may be able to retake the initiative and go on the offensive to try and close out the game.
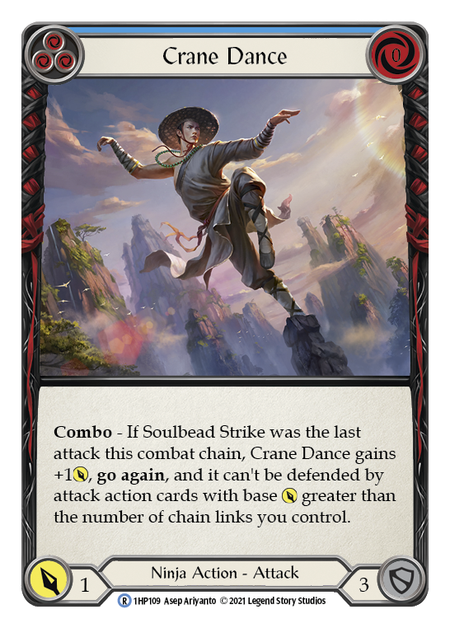
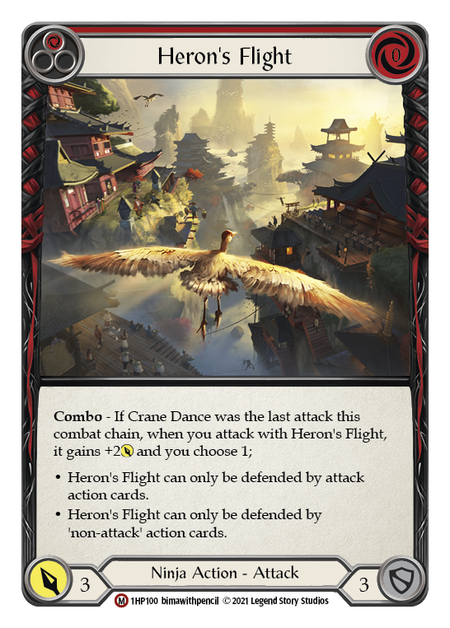
Snapdragon Scalers can also be used to enable the Heron’s Flight or Find Center combos when paired with a copy of Crane Dance. Heron’s Flight in particular can be a decisive finisher in the right situation- pick “attack action” and many Dorinthea decks will be unable to block against it at all! On the other hand, the Find Center combo (like Flic Flak) is much more effective against wide strategies and is somewhat unimpactful against tall Dorinthea, especially given the difficulty involved in executing it.
Unlike in some matchups, Ira may wish to block with her Mask of Momentum relatively early in the game, as the odds of triggering it are quite limited against Dorinthea’s armor. However, Mask is still likely the best pick because Arcanite Skullcap is not reliably better and Mask does generate substantial pressure with the threat of its card draw.
While I have seen some players equip Breeze Rider Boots over Snapdragon Scalers as a means of increasing their armor defense against Dorinthea, I am not convinced that this is a prudent option for Ira. In my opinion Snapdragon Scalers are quite important for turning the game around and gaining the initiative at the right moment, while Breeze Rider Boots don’t synergize as well with the attacks Ira most wants to be playing. While Breeze Riders might work with all the combo cards Ira tends to run, those are mostly there to pitch and block with rather than to use for offense.
One last note on equipment is that Ira may choose to run 1x Harmonized Kodachi and 1x Zephyr Needle in the hopes of dealing more damage and making their second attack harder to block. Depending on the opponent’s decklist, this might be prudent. The problem is that these Dorinthea decks generally play 1-4 defense reactions that can break the Needle (typically blue Steelblade Shunt and/or Springboard Somersault), while an Ira deck typically has 0-2 copies of Razor Reflex to try and prevent the Needle from breaking. This puts the Ira player in a potentially risky position. While Ira can still exert some threat if the Needle does break, she becomes much more reliant on cards from hand to attack and her Mask of Momentum becomes much weaker. That said, if you can avoid getting that Needle broken, either with a preemptive Razor Reflex or with lucky draws, you might be in a pretty strong spot!
Standard Equipment Loadout for Dorinthea
Dawnblade
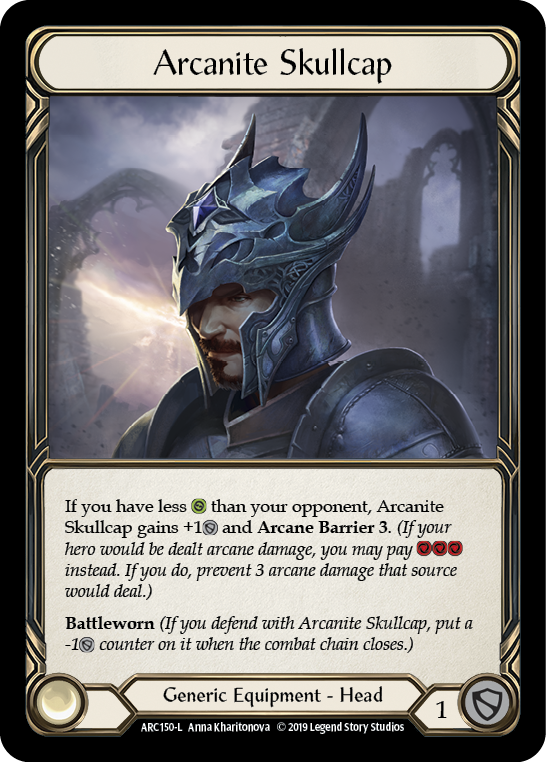
Arcanite Skullcap
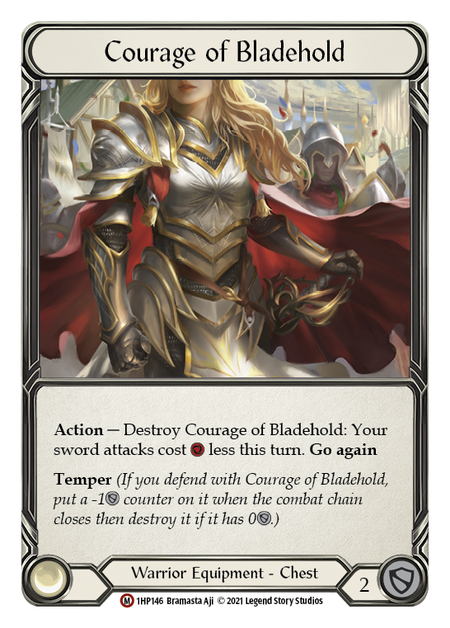
Courage of Bladehold
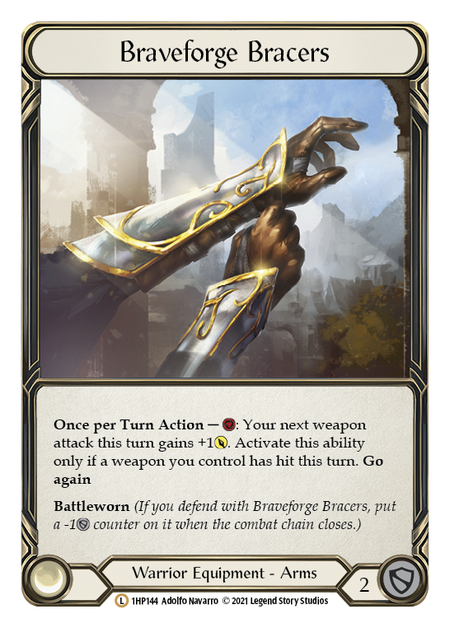
Braveforge Bracers
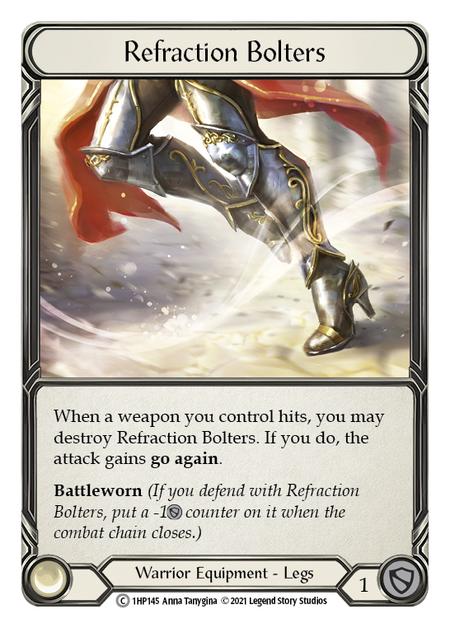
Refraction Bolters
This loadout supplies Dorinthea with a huge amount of armor! If Dorinthea uses all of her armor for its maximum block value, she can block a mighty ten points of damage across the course of the game.
This armor, sometimes referred to as “the fridge”, allows Dorinthea to counter Ira’s Mask of Momentum without using cards from hand. Typically, you’ll do this by using armor to block the second Kodachi swing in a turn that might otherwise threaten a Mask trigger.
Note that the Dorinthea player only needs to use armor to block Mask if they believe that a third attack is on the way, and that in some cases it may be better to hold back on this and make the Ira player “show their hand”. For instance, if an Ira player pitches blue and swings twice with no other cards in hand and one card in Arsenal, I’ll happily not block as Dorinthea in order to save my armor for higher-pressure turns. If their one remaining card does threaten Mask, I can block with cards from hand or armor if needed; if not, I’ve saved armor for the future.
Dorinthea can block a mighty ten points of damage across the course of the game.
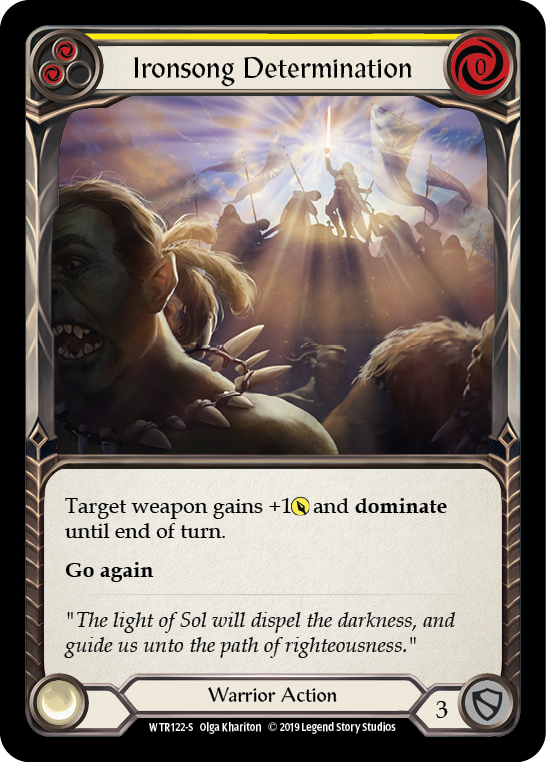
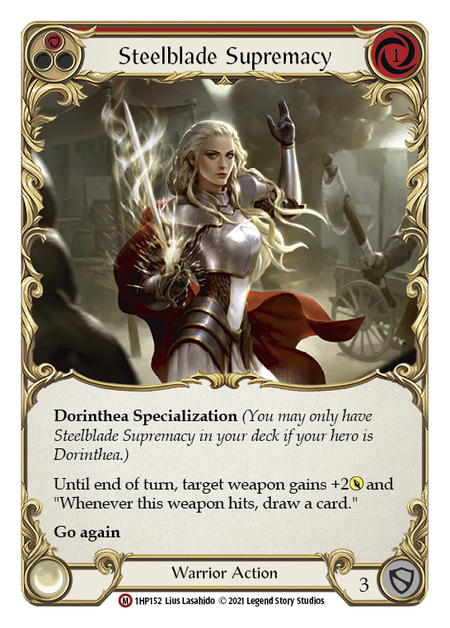
The Dorinthea player also has two different pieces of equipment that can be used to play “explosive” turns: Courage of Bladehold and Refraction Bolters. The go again from Refraction Bolters and the discounted sword attacks from Courage of Bladehold can be very strong and at times fuel the potential “breakthrough” that Dorinthea needs to get the advantage. However, don’t use these abilities lightly! Save them for a time when you really need them. Ideally, you can combine these with Ironsong Determination and/or Steelblade Supremacy in order to achieve a huge turn and put yourself in the driver’s seat.
One last tip is to use Courage of Bladehold and Refraction Bolters to block before you destroy them for their activated abilities. Blocking with them early on allows you to avoid “wasting” their armor by discarding them with the block unused. Note that while Courage can block twice, it will be destroyed after its second block as it has Temper rather than Battleworn; typically, you’ll want to block with it once and then destroy it for its ability rather than blocking twice in a game- though the option to block again is there if you need it.
In-Game Dynamics
In general, this is a matchup where Ira is the control player and Dorinthea is playing beatdown. Typically, Ira will give up substantial tempo by using her cards to defend against Dorinthea’s big attacks, while Dorinthea will give up life and armor to Ira’s pokes while trying to save aggressive cards in hand in order to keep the pressure on. As mentioned earlier, both decks usually want to go second in this matchup, as going second is very advantageous for Dorinthea’s tempo (and hence something Ira doesn’t want to let Dorinthea get!)
The game will often be determined by whether Dorinthea can score meaningful “breakthroughs” to get Dawnblade counters or otherwise unleash big turns. If play continues to late game without major “breakthroughs” (or with them being contained quickly afterwards), Ira’s repeated small attacks will become harder and harder for Dorinthea to block. Unless Dorinthea already has a major advantage as the players start to run out of cards in deck, Ira’s Harmonized Kodachi pokes and other small attacks will likely be able to secure the game. This means that Ira is happy to have the game go long while Dorinthea would generally prefer to get things over with quickly if possible.
Ira's Strategy
As the Ira player, it’s important to know that your role is generally not to be the aggressor at first. Try to stave off Dorinthea’s pressure with solid blocks. In many cases it is correct to “overblock” by defending for more than an attack is actually coming in for, hence allowing you to stop your opponent’s attack even if they have an attack reaction available to buff it.
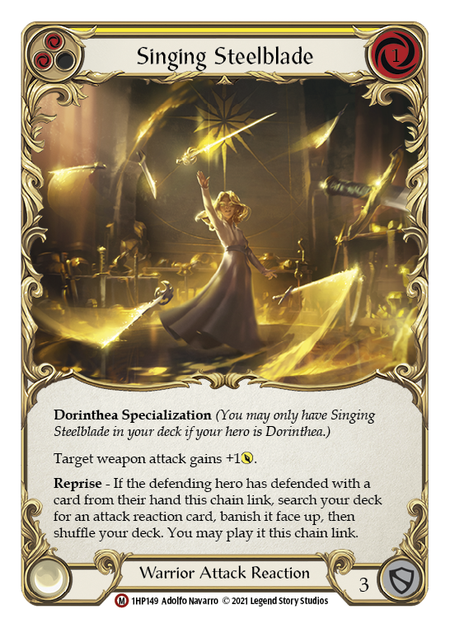
Overblocking by three will keep you safe against a “standard” red attack reaction for three damage, but in order to be more secure you may wish to overblock for four, thus putting you into a safe position against Singing Steelblade searching up a “standard” red reaction or against an Overpower (blue). In theory you need to overblock for six to be safe against Overpower (red), Rout, or two “standard” red reactions, but doing this is not really very practical under most circumstances.
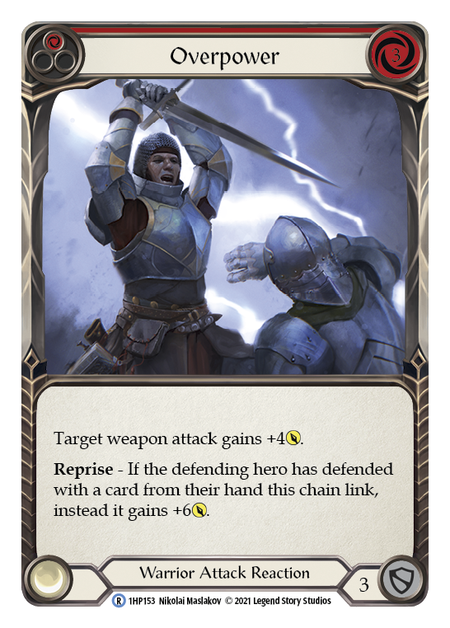
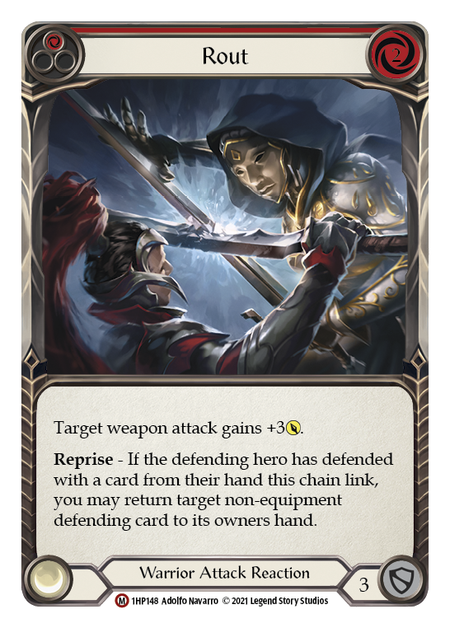
If going second, it can be prudent to overblock very heavily on the first turn in case you get hit by an Overpower (red) or a copy of Rout, either of which can produce a +6 damage swing and inflict a heavy hit through a normal block or even a small overblock! Depending on what you draw, it might well be prudent to overblock by six or more when going second, though if the cards you have in hand are crucial to your gameplan you may want to risk a lighter block.
It’s also important to take opportunities as Ira to play things a little riskier in order to try and push damage through. For instance, if you have a strong defense reaction in Arsenal you may not need to worry as much about overblocking, as if the opponent has an attack reaction you’ll perhaps be able to stop it with your defense reaction anyway. This might be a good opportunity to ease up on the defense a bit and try for a bigger turn of your own.
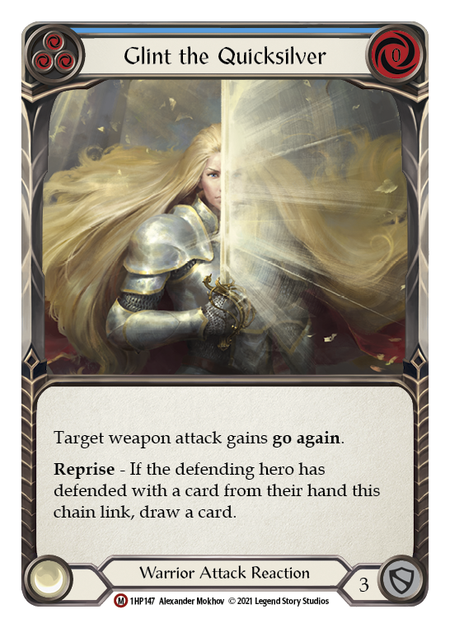
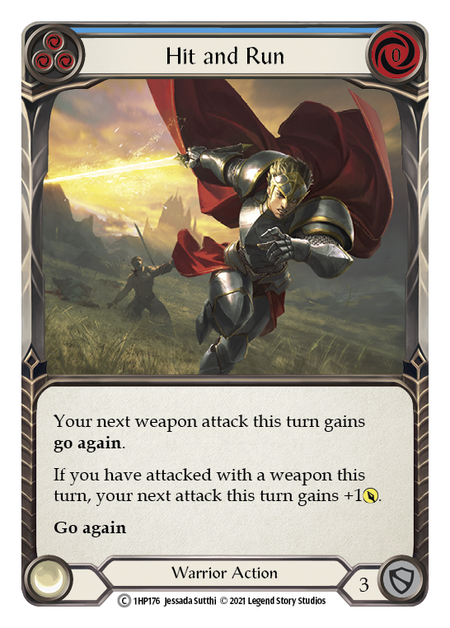
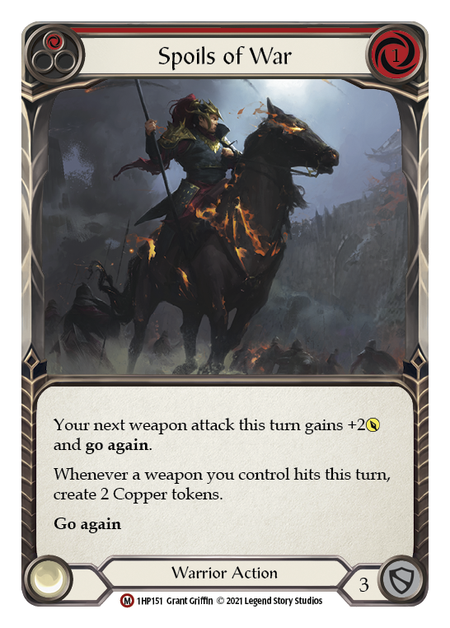
In general, if Dorinthea isn’t threatening go again with a card like Warrior’s Valor, Hit and Run, or Spoils of War, it may be safe not to block as much and try to get some damage of your own through. However, you still need to be careful of a potential Glint the Quicksilver or Refraction Bolters play. Don’t get overconfident! Further, the large number of attack reactions in the Warrior deck means that sometimes not blocking a Dawnblade swing can be very dangerous, as it might lead to taking lots of damage if attack reactions are used to push through!
One other thing that can really help as Ira is getting a strong defense reaction into Arsenal. Not only does this mean that you might be able to defend against an attack without enabling Reprise, but it also lets you have an extra bit of defense in reserve and may mean you no longer have to “overblock” if worried about a potential attack reaction. But be careful, as there's a chance that Dorinthea may be able to push through with multiple attack reactions, and if something is sufficiently important (Steelblade Supremacy, for instance) you may wish to overblock even with a defense reaction available.
For further guidance, I recommend checking out Session Blood’s episode on Dealing with Dorinthea, as this should provide more information on Dorinthea’s tricks and how to counter them. While I believe this episode was not made specifically with the current environment in mind, similar concepts should still hold true.
Dorinthea's Strategy
As the Dorinthea player, your goal is to overwhelm Ira’s defenses and get counters on your Dawnblade by scoring multiple hits with it in a turn -- even a single counter makes your attacks much harder to stop. While this may be easier said than done, if you play strategically you may find yourself able to push through more effectively than you might think!
Your two best cards for achieving breakthroughs are Ironsong Determination and Steelblade Supremacy. If you can combine the two, even better! Try to get attack reactions and other support cards to go alongside these in order to have the highest chance you can get of landing a big combination attack and scoring the “breakthrough” you need.
At times, you may need to be strategic about how best to use your attack reactions and other cards in order to make decisions harder for your opponent. You may wish to avoid playing cards that would be beneficial but unnecessary in order to bluff that you might have an attack reaction in hand. Similarly, there might be some situations where it’s prudent to conserve your attack reactions in order to have access to them for a potential “breakthrough” later. This is especially true if you don’t have the energy to make another attack after playing an attack reaction; while in some cases it may be correct to react anyway and try to push damage through, I think it’s often better to put the reaction in Arsenal and get ready for another turn where playing it might buy you a second Dawnblade swing.
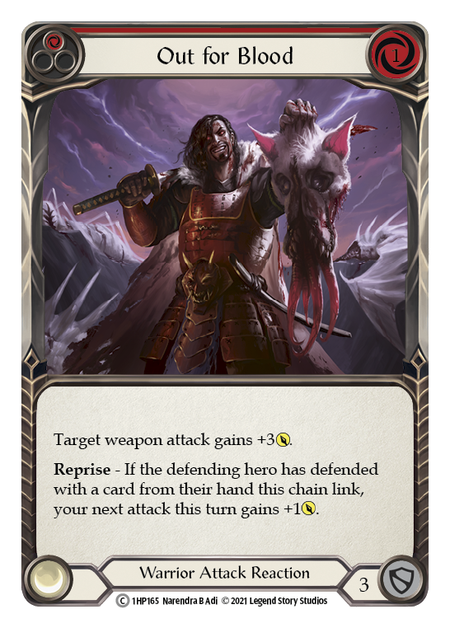
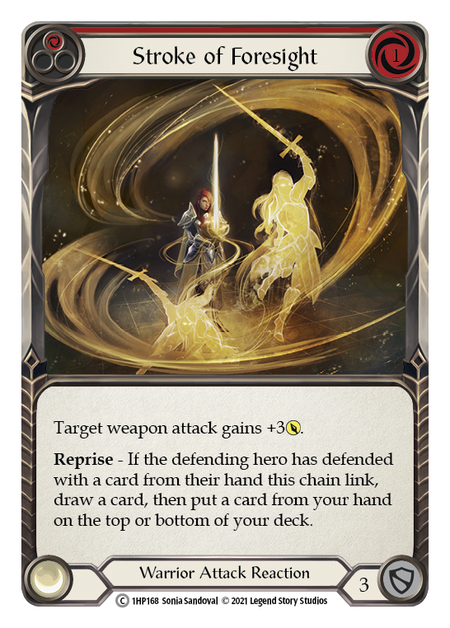
Don’t be afraid to play attack reactions without Reprise enabled if necessary. Sometimes, it can be a good idea to just make a basic Dawnblade swing and then try to buff it up with cards like Stroke of Foresight or Out for Blood after your opponent declines to block, allowing for lots of surprise damage; in the right situation this can even be lethal! Similarly, while it sometimes hurts to play Rout or Overpower without their Reprise effects, at times the stats are what you most need.
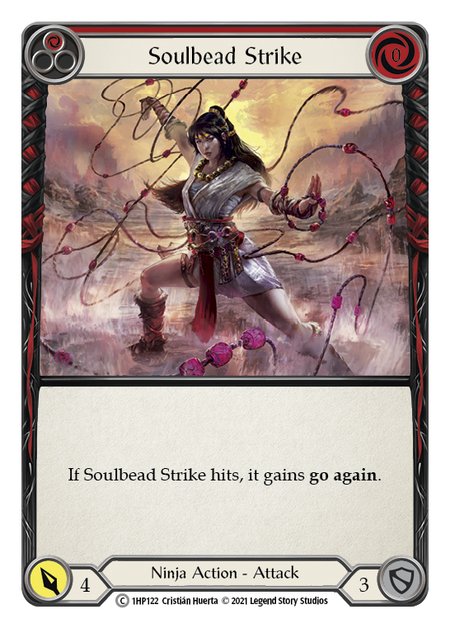
On defense, it’s best to avoid blocking too heavily if you can help it. Try to preserve momentum and keep a strong hand with which to threaten your opponent- blocking with your armor or with your face is often the best bet! I’ve noticed that Soulbead Strike and Torrent of Tempo are often worth letting hit if the opponent only has one (or MAYBE two) cards left and isn’t threatening Mask; often they won’t have something that can follow up effectively and it can be better just to block with a single card (or even nothing at all!) rather than investing more defense to deny the go again. Steelblade Shunt generally should not be played unless it’s for lethal (either to save you from it or to inflict it on them!) or to break a Zephyr Needle. Under normal circumstances, you’ll want to pitch it early and play it later.

Two tricks to watch out for are the Heron’s Flight combo and potential Razor Reflex plays, especially as you drop lower on life. Sigil of Solace can be worth holding in hand or Arsenal to bait out your opponent into going for one of these plays too early; if they go for their big move and you survive with Sigil, they can be in big trouble! Similarly, it’s often good to let them go for the Razor kill if you have a defense reaction ready so that you can counter both their Razor and their swing at the same time! Also, don’t forget Ira’s Breaking Scales! While this card is way less impactful for Ira than it is for Katsu, it can still provide a surprise bit of bonus damage at a key moment.
Adapting to a Changing Meta
So, let’s say you’ve read the above but you still want to go further to give yourself an edge in this matchup. How, then, can you adapt your build to either fight back against tall Dorinthea (as Ira) or to combat Ira even more efficiently (as Dorinthea)? Read on and find out!
Tailoring as Ira
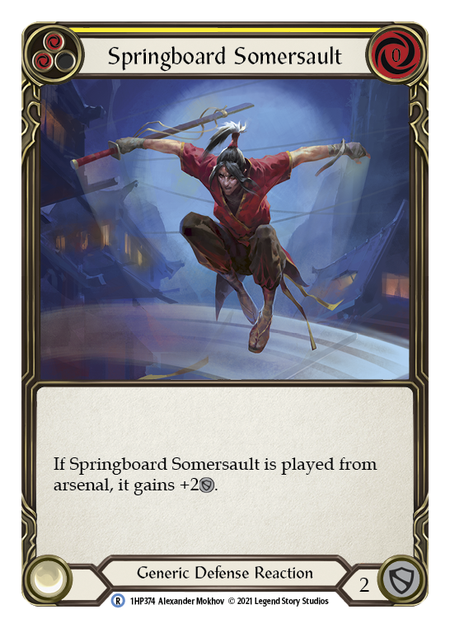
While Ira probably does not want to cut Flic Flak (doing so would weaken other matchups significantly), Ira players might benefit from adding more defense reactions, especially bigger ones, in order to try and contain Dorinthea’s tall attack pressure. If you aren’t already running Springboard Somersault in your Ira build, I think it’s a great addition: not only can it fully stop some attacks without triggering Reprise if played from Arsenal, but Somersault also pitches for 2 and thus doesn’t constrain you as much as some other defense reactions when it’s time to “turn the corner” and put the pressure on.
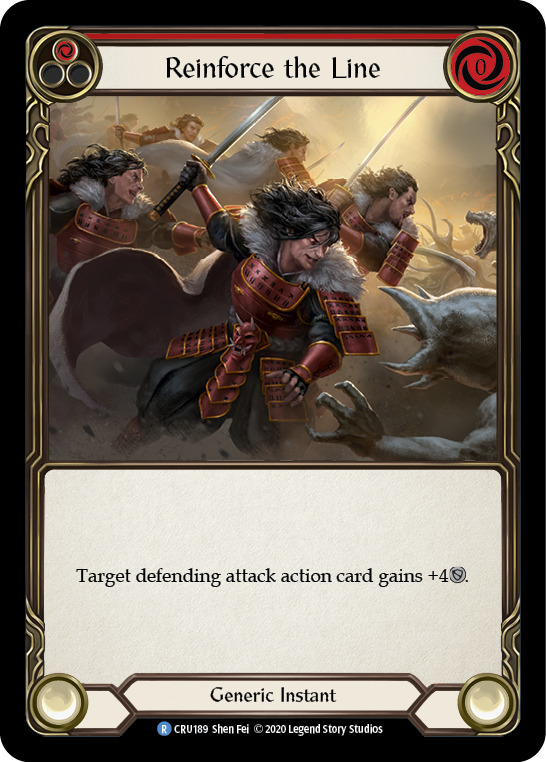
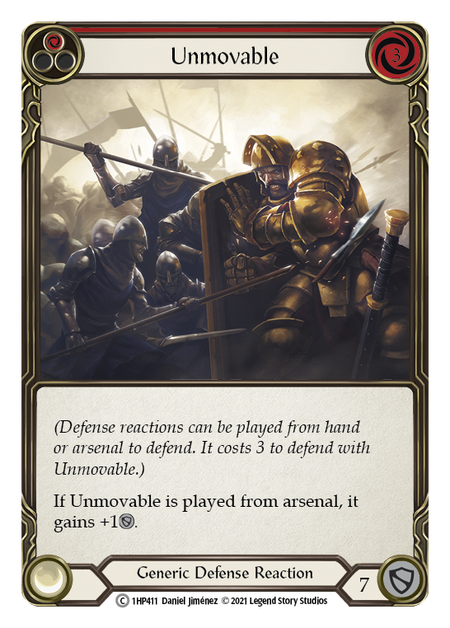
I have seen some Ira players add Unmovable to their deck in order to have a strong option to defend against the Dawnblade. This can be awkward against decks with wider attack patterns, but helps a lot against tall attacks like those Dorinthea or Bravo has to offer. Another option might be Reinforce the Line, which synergizes with Ira’s large number of attack cards and gets around Ironsong Determination and Dauntless. However, note that Reinforce is extremely vulnerable to Rout and may be risky to play if your opponent has enough energy floating to potentially Rout the attack action card that it buffs. Even if you’ve seen your opponent pitch Rout recently, you may not be safe; if they have a Singing Steelblade and enough energy for both that and Rout, they could potentially search for the Rout and play it even if it is towards the bottom of their deck!
Another potential improvement Ira players can make is to cut two-block cards from the deck. Two-blocks can make defending against Warrior much more awkward, especially if you have to overblock; a hand with lots of two-blocks can be a major catastrophe if it comes up as your opponent tries for a “breakthrough” turn!
It may sound crazy, but my toughest Ira opponent thus far, Dante Delfico, does not play any two-block cards other than Drone of Brutality (red) and a few two-block defense reactions, forgoing Razor Reflex, Leg Tap, and other two-block options used in some other Ira decks. While you might benefit from having some of those aggressive two-block cards when it’s time to try and “turn the corner” and start contesting tempo more, they can be major liabilities when Dorinthea has the tempo advantage- which she often does in this matchup!
Tailoring as Dorinthea
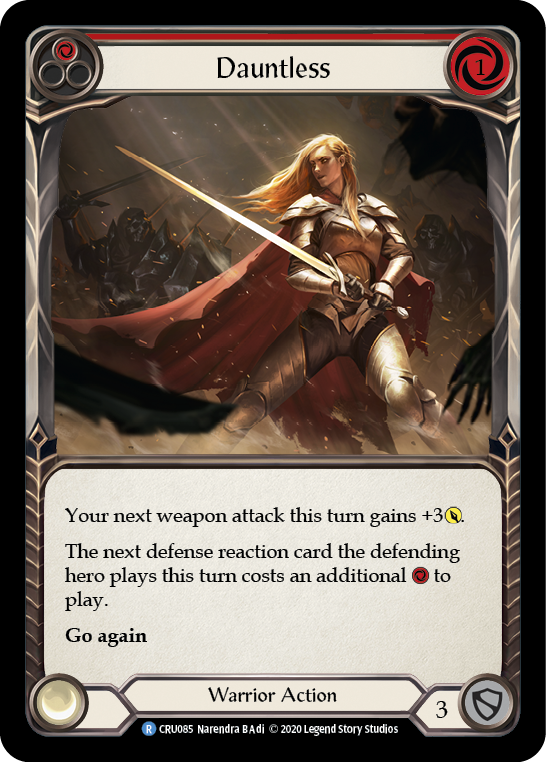
On the other side of things, these Dorinthea builds are already somewhat tailored in order to oppose Ira, so they don’t generally need to make as many changes in my view. There is however more that can be done if you really want to set your sights on Ira! For instance, I have a version of the build that adds two copies of Dauntless (red) in order to make it harder for Ira to use her defense reactions. Dauntless can change Ira’s defense reactions from very efficient to very inefficient in the right context. However, note that Dauntless is best played against an opponent whose Tunic is either broken or uncharged, as a charged Tunic can be used to pay the additional cost from Dauntless and hence allow the Ira player to play a defense reaction without having to pitch an extra card.
On the other hand, Sigil of Solace (red) can be reduced or cut, as to some degree it plays into Ira’s game plan more than yours. While Sigil does help you avoid the “Kodachi zone” and is very helpful at times in other matchups, running more aggression can help you increase your chances of scoring that “breakthrough” you need, and cards like Sigil which prolong the game aren’t optimal against a deck that has more inevitability in a late game scenario.
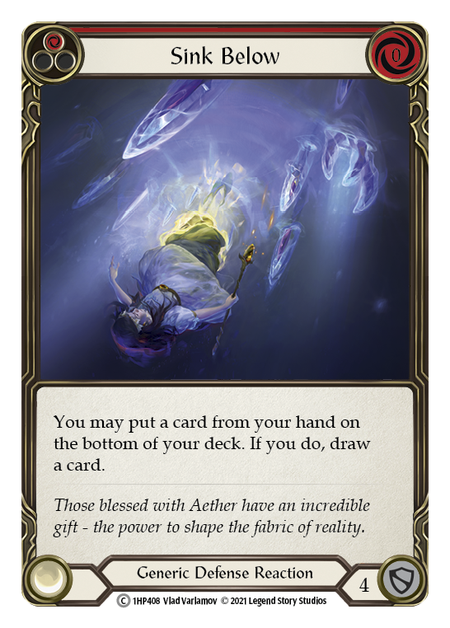
If local Ira players are menacing you with Zephyr Needle, increasing your defense reaction count can help you break that Needle sooner and take the advantage. Note that adding defense reactions can also help you in the Dorinthea mirror, which looks to be an increasingly relevant matchup. However, I generally prefer to run only yellow and blue defense reactions as Dorinthea, so Springboard Somersault and Steelblade Shunt (blue) seem like the best options against the Needle. While cards like Sink Below (red) are very popular normally, they can be clunky in the Kano matchup or on turns when you are being aggressive!
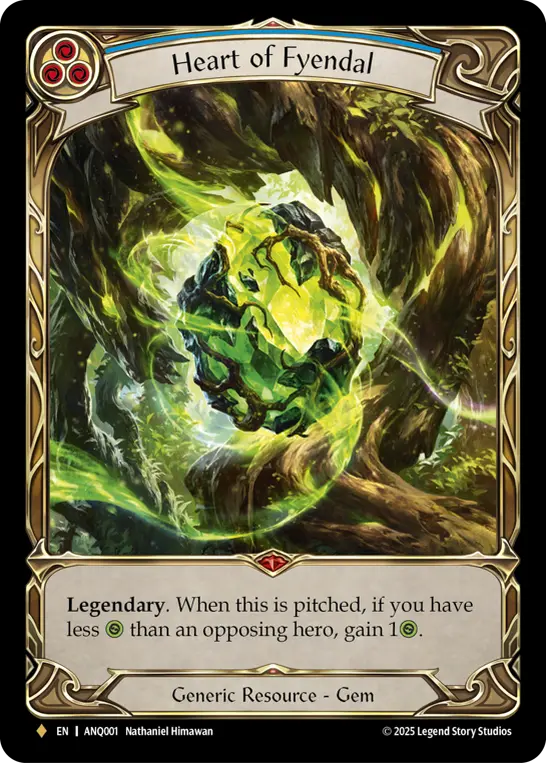
Lastly, I kinda hate to say it but Heart of Fyendal can be quite useful for Dorinthea in this matchup. As I said earlier, there’s often an extended midgame where you are ahead on tempo but behind on life as Dorinthea, and the one or two free heals Heart can provide can be the difference between getting stuck in the “Kodachi zone” and tanking another hit or two to prevail. I totally understand if you do not want to purchase this card given its expense- I don’t have one at present myself- but I do think it adds a bit to the deck, and if I physically owned one, I would be running it for Skirmish events.
Conclusion
As the Skirmish season progresses, we’ve seen Ira vs. Dorinthea as a fairly common matchup, especially on top tables. With both of these decks looking like strong competitors, I’m excited to see whether another build can pop up and challenge them. Personally, I think Kano can be a very powerful option, but I feel “tournament fatigue” may be limiting him when it comes to some of the larger events.
In the meantime though, the battle between Ira and Dorinthea looks like it could continue to be an important matchup. Hopefully this analysis will help you prevail regardless of which side of the matchup you’re on!
The battle between Ira and Dorinthea will continue to be an important matchup.
Shoutout to Dante Delfico for his assistance in answering some Ira-related questions for this article and to all the players who have helped me develop my tall Dorinthea build, especially Rob Cygul. Until next time, good luck out there!