At this point, you can count on one hand the number of notable Dash I/O placements, and they have all been notable names in the game: Thomas Dowling, Franco Antonio Regalado, Mara Faris, and most recently Sam Sutherland. But notably, each of these showings occurred within very different metas - painting a picture of a versatile hero who can adjust to answer any landscape.
Consensus places Dash I/O as a strong aggro deck - not at the very fore of the aggro meta, but with unique strengths to merit consideration within that context. The inherent issue with Dash I/O then shows itself in the difficulty of building and piloting her.
Throughout this article, we are going to look at some styles in greater depth and consider what and when we might want to revise our tactics. If you would like a basic refresher, you can check out my prior article on Dash I/O.
Your Boosting Blueprints
The greatest blessing and curse to most Mechanologist playstyles is the ability to boost your attacks. At a basic level, giving go again is going to help us present more damage to our opponents - but it is important to note that if you boost every attack action card you play, you will quickly end the game with no cards left in deck. If you boost 30 attack actions in a deck of 60 cards, you will be fatigued unless you manage to take out the opponent first!
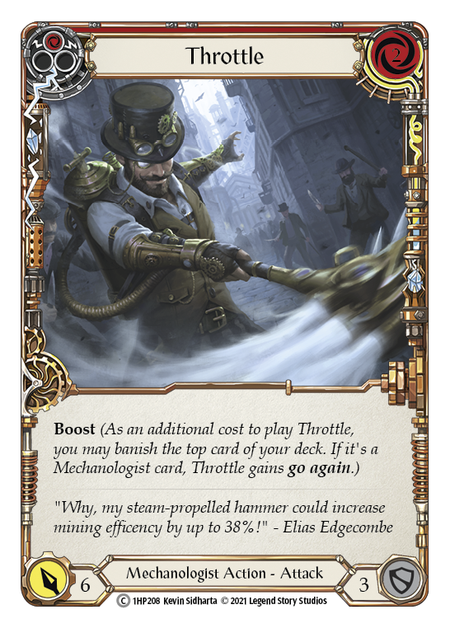
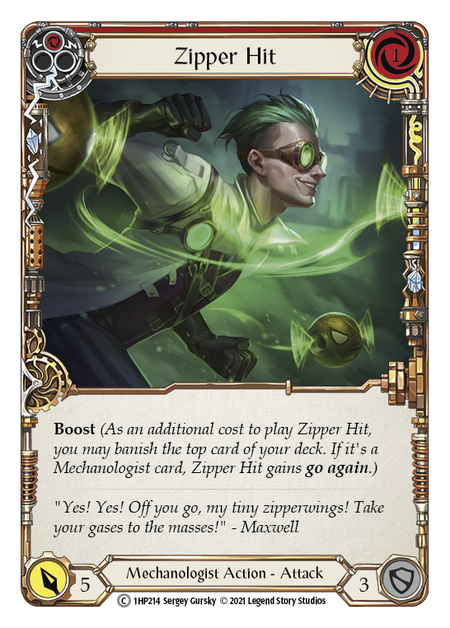
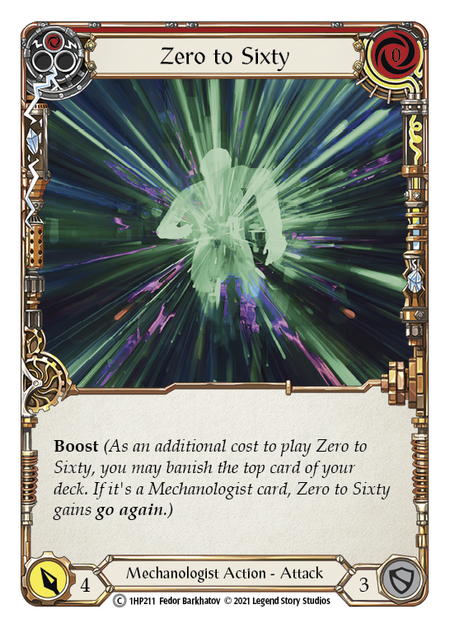
Boosting should be done each time with the consideration that you are giving up two cards to play a card that transcends the on-rate level to above rate. A red Throttle is a 2-card 6 with no on-hit. If we boost the Throttle into a red Zipper Hit, that could become a 3-card 11 in practice. If we boost the Throttle/Zipper Hit into a red Zero to Sixty, it becomes a 4-card 15. But we're not counting cards leaving the deck in this equation - if we factor that in, we spent 6 cards (1 of which was pitched, so it does go back in the deck) to send 15 damage.
The damage quickly scales, but so does the number of cards we use to reach that point. While going through the block portion of your opponent’s turn, try to consider the best plan for your turn, and how many cards you will use to get there.
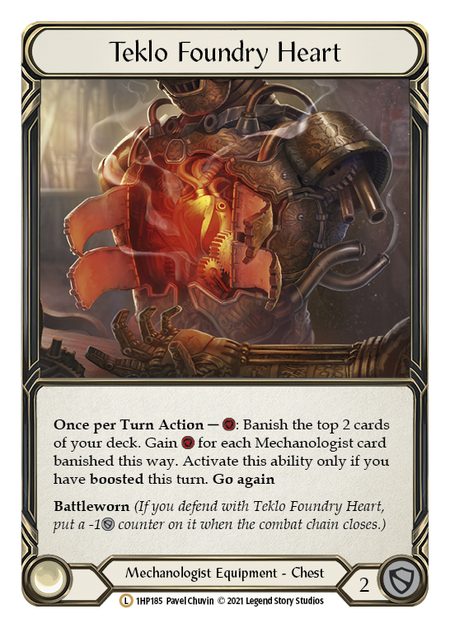
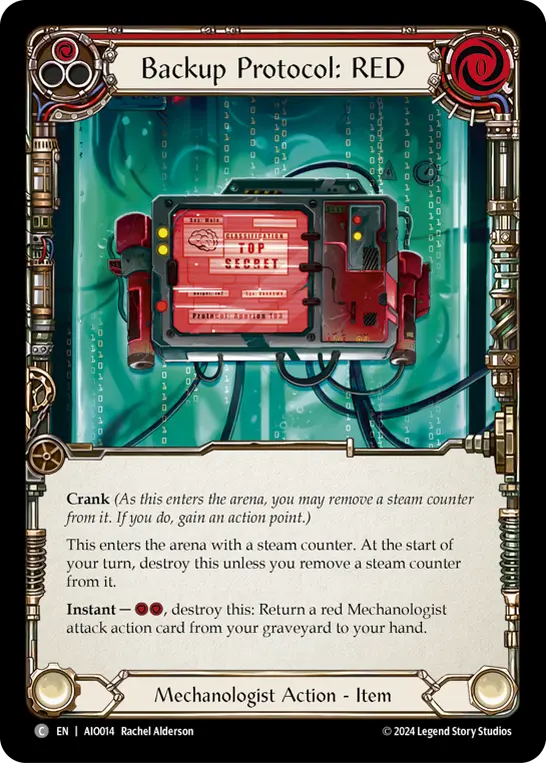
Boosting is not just a way to give go again, but is also a great way to search your deck for any cards you may need. The ability to see the top of your deck grants you a window to see a portion of the hand you will draw into. If I see an item on top that I do not want in hand, I can activate Teklo Foundry Heart to banish it before it's in my hand. In the same vein, I may find myself ending my turn early without a boost if I see a Spark of Genius on top. Early game, I may try to save a Maximum Velocity from being banished so that I can block with it and have it become a target for Backup Protocol: RED later.
Schematics
In that previous article I referenced above, I wrote about the distinctive styles found in Dash I/O. Thomas Dowling’s early build ran Tome of Fyendal to extend turns and build toward a Maximum Velocity. Seeing the top card of the deck ensured that you could make the appropriate decision on when to play Tome and increase your output. Mara Faris used cards like Soup Up and increased her Boom Grenade count. She was going to long-term value as opposed to high damage. Other plans have been set back a little bit with High Octane’s ban, but these 2 lists can still show us some template of how we want to make our list.

Let's get right down to it. The first question you need to ask is, “Do I want to run Maximum Velocity?” Maximum Velocity deals ten damage by itself, but it is demanding to play. Regardless of your list, you should understand how many blues you have, how many items are in, and the costs of the cards in your deck. While that may seem daunting, it's not as cumbersome as it sounds. As the game progresses, it should become easier to calculate Maximum Velocity’s chance of drawing the appropriate hand with cards left in deck, since your graveyard and banished zone will be filling up and most decks tend toward greater pitch values in the late game as you've been pitching those cards all game.
If you're not running Maximum Velocity, you should still be familiar with the composition of your deck. One of the primary sources of action points is playing and cranking an item from the top of your deck. It's common to see around 17 items in the mainboard of most decks - which comes with an excessive cost of variance and non-blocks in the deck. Having this many items can lead to clogging your hand up entirely and asks that you make good habit of those boosting strategies I laid out before. If you have played off the top, whatever you see on top of the deck at the end of your turn will be what you draw into.
Essentials Package
Most Dash I/O decks will want to consider these cards, and have a good reason if they choose to exclude them.
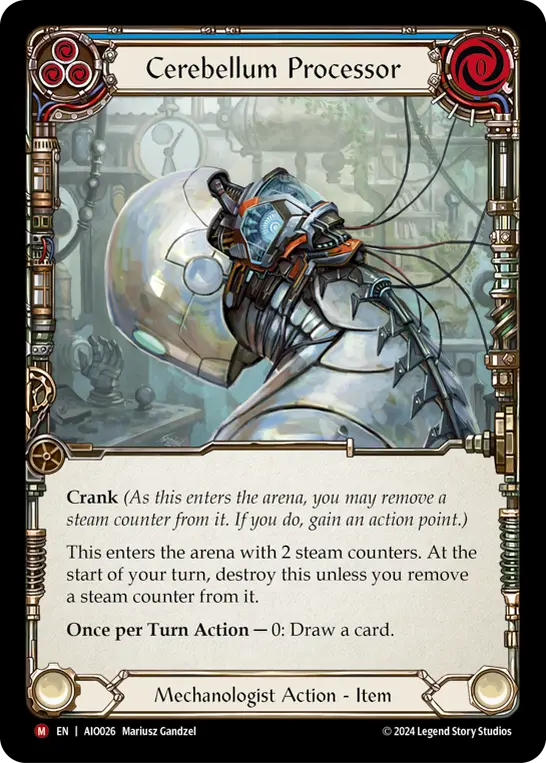
At this point, Cerebellum Processor needs no introduction. As a blue 0-cost with crank, this item can just as easily be played off the top of the deck as from hand. It's function is to draw a card, but the activated ability does not provide go again, which often limits it to providing you an arsenal.
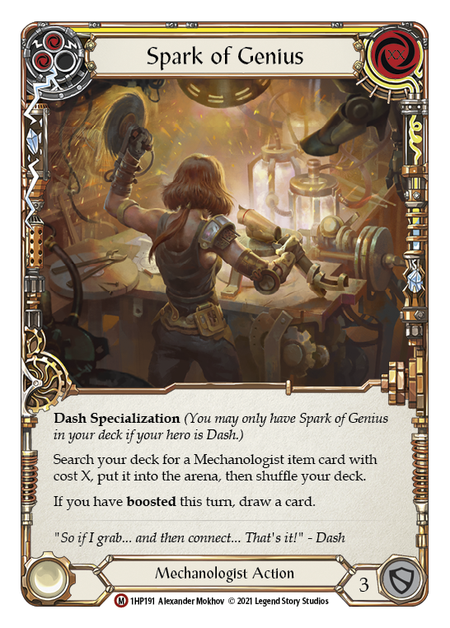
Spark of Genius is a card that has been integral to every form of Dash since her debut. If you've boosted, being able to get an item and then replace Spark in your hand has immense power. This often feels like the best card in your deck, with a high floor and high ceiling.
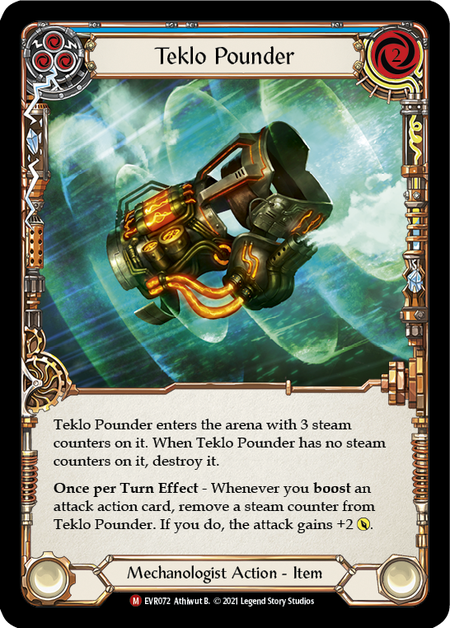
Teklo Pounder is needed in block-heavy matchups. A dedicated sideboard card, I will bring them in against heroes that block well: Guardians, Warriors, and Assassins are a few examples. In other matchups, I will chose to play it if I'm going first. If you run 3 Pounders, you have 6 chances of seeing it in your opening turn, or a 17%, since Spark of Genius can also target it. While not a high chance, this is a calculated wager to look for on turn 1. The Dash I/O player should understand when they would want to see this, and when it can't afford to - if facing an Azalea, for example, taking a turn off to play a Pounder can leave open a critical window that may not otherwise have presented itself.
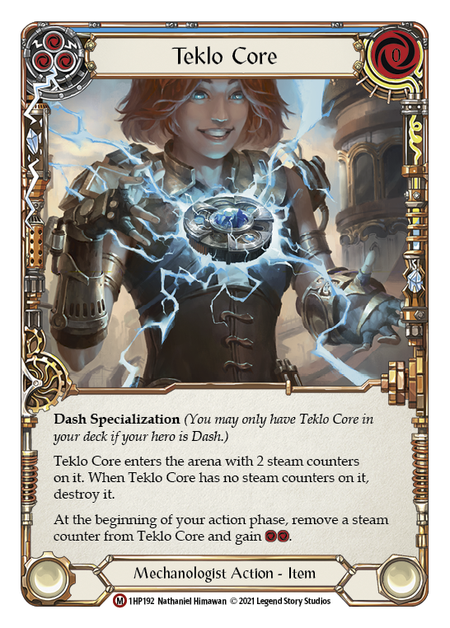
Teklo Core is another old Dash staple. It's an item that lets you begin a turn with 2 resources for 2 turns in a row. At its worst, it's a blue pitch, but playing it on the table increases the chances of being able to utilize your hand regardless of what you draw.
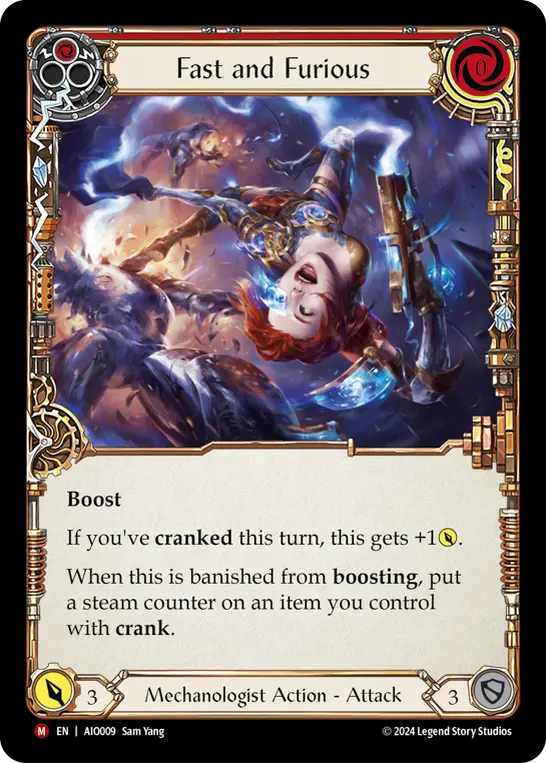
Fast and Furious really shines in its passive ability: when it's banished to pay for a boost cost, it puts a steam counter on an item with crank. This can be used to extend the life of your Cerebellum Processors or any other crank-related items on board. Playing it from hand, it's usually a 0-cost 4 (if you have cranked this turn).
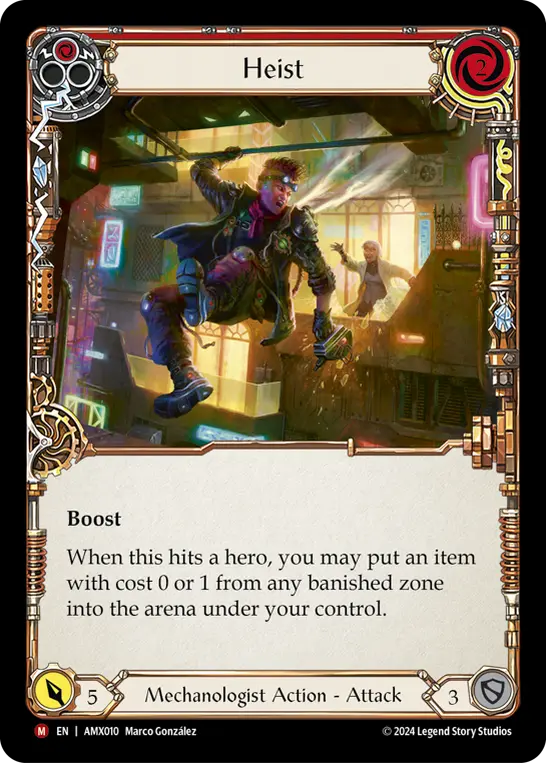
Heist can be a fantastic card if played correctly. If you have any items in your banished zone, it demands respect from the opponent. At worst, you force an opponent to block to attack; but at best, its on-hit provides recursion and can gain you an action point.
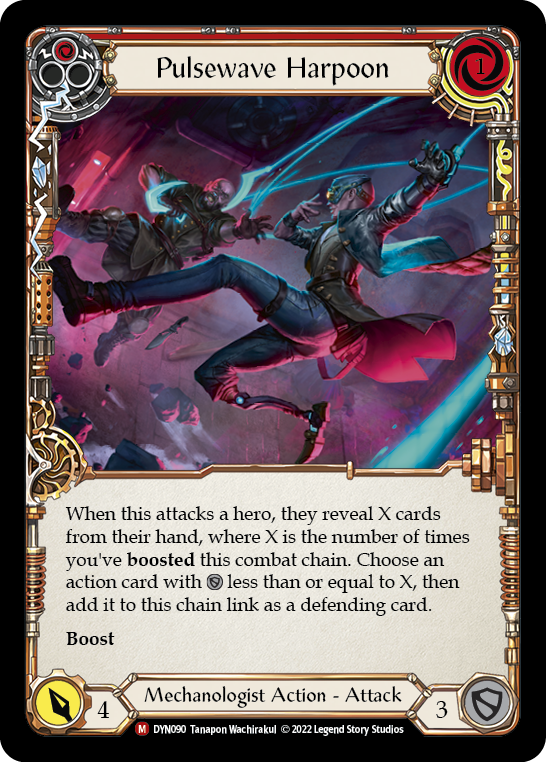
Pulsewave Harpoon provides disruption that Dash I/O simply doesn’t have in her deck. Though Pulsewave Harpoon can only take action cards under the correct circumstances, the options include all-star threats like Lumina Ascension, Codex of Frailty, and Bloodrush Bellow. If you are not presented with a card of great value, then you may try to take a card paramount for pitching on your opponent’s turn.
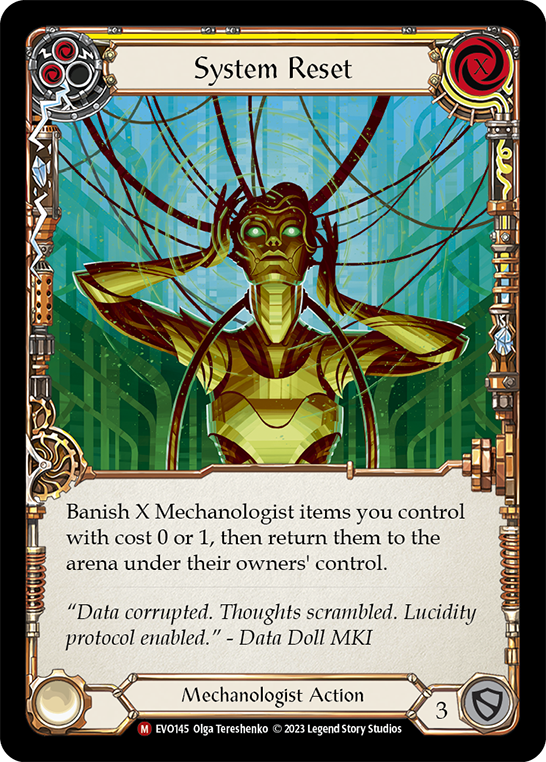
System Reset is the new High Octane. If you have multiple items on board and play System Reset, you can crank them to gain that many action posts and do with them as you please. This helps to not only increase the life of your items, but the action points can be used to draw from Cerebellum again, shoot the pistol, or conserve cards by not boosting. However, it can feel useless in hand without the right board state. If you are playing a higher concentration of items in deck to gain more action points, it can be necessary.
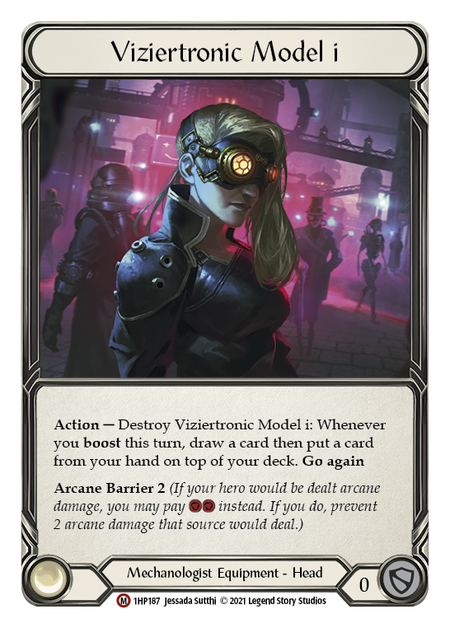
When I started playing Dash I/O, I was using Crown of Providence - and it's still the best helmet if your opponent can send crippling attacks such as Red in the Ledger or Spinal Crush. There were times it helped get me out of a jam - but with a deck as aggressive as Dash I/O, I hated experiencing off turns where I was not able to apply any pressure. Thinking heavily on my options, I rediscovered Viziertronic Model i. Formerly, I'd only noted the Arcane Barrier 2, but when I read it again I realized it was able to convert item-heavy hands while setting up Dash I/O for a topdeck play.
I/O Training
Learning to use Dash I/O can be a little difficult. Know your costs, know your pitch, and understand the spread of what is left in your deck. While these are basic principles you will want to understand in most decks, they're much more relevant with a deck you can burn through with speed.
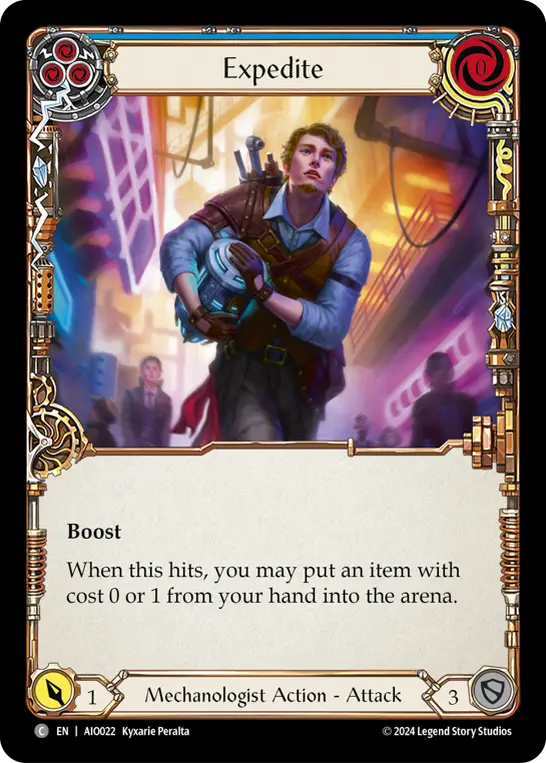
I recommend always leaving a boost card in arsenal. A blue Zero to Sixty or Expedite makes an excellent arsenal card: I will not miss them if they disappear to a Command and Conquer, but if I need to make a certain quota of boosts this turn, or need a singular boost card to start Model i, then it's the perfect kindling to get a fire started. It's also another attack that's on-board if you need to threaten a Boom Grenade trigger. Knowing what/when to arsenal depends on the matchup and what your deck is designed to do - but that extra attack can mean the difference for Pulsewave Harpoon or Maximum Velocity if either present themselves.


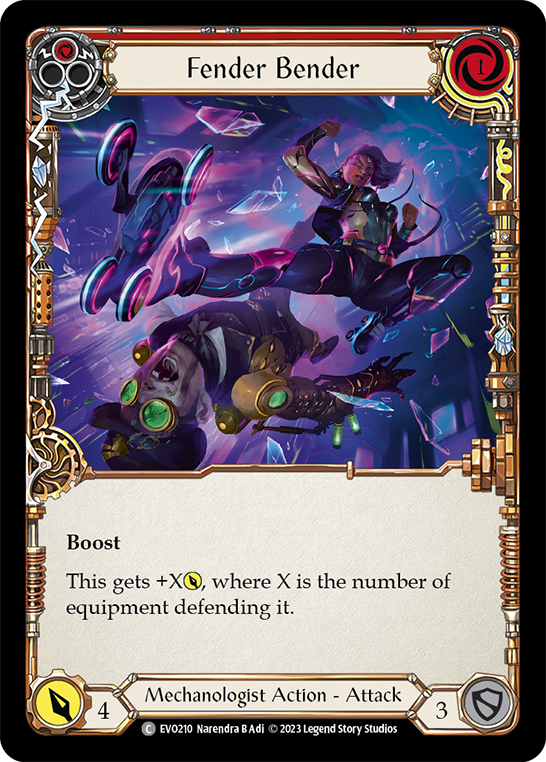
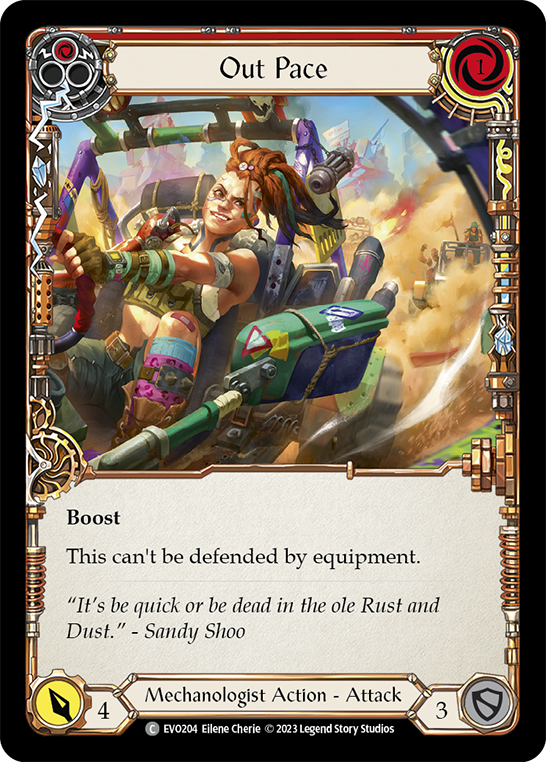
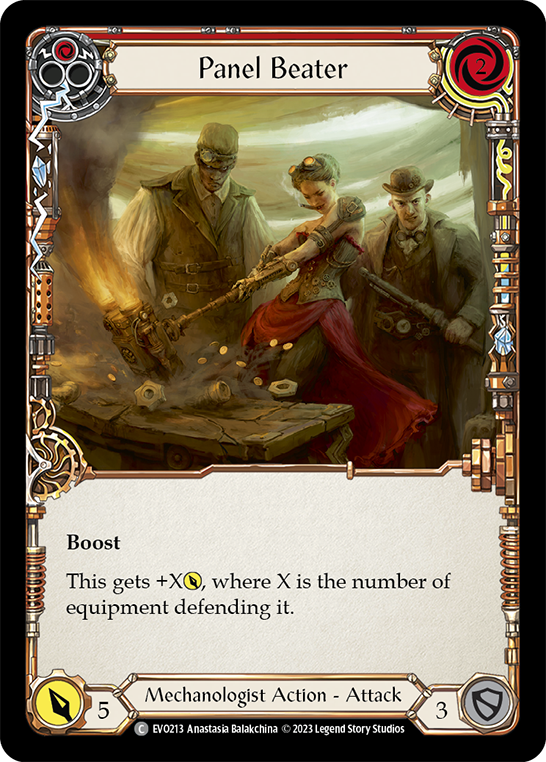
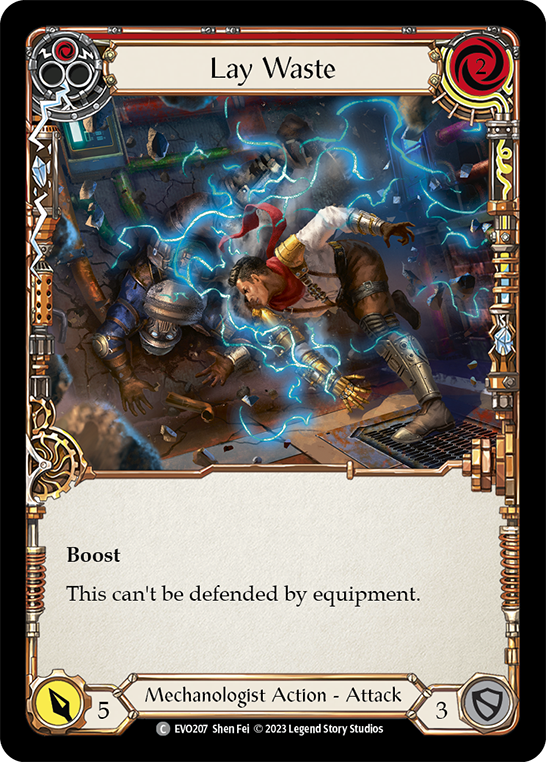
Experiment with and use cards that are central to your goal. There are many lists and many cards that have been showcased for Dash I/O since her beginning, but a lot of the popular cards are the tried-and-true, proven-through-fire options. Zipper Hit is a common 5 power 1 cost attack that has always been a fantastic option, but Mara Faris showed off the power of a similar card called Out Pace. It gives up 1 value of power, but it cannot be blocked with equipment. There are other cards that prohibit or punish users if they block with equipment. Fender Bender, Panel Beater, or Lay Waste are also viable options. In a meta where equipment block is plentiful, these will do wonders.
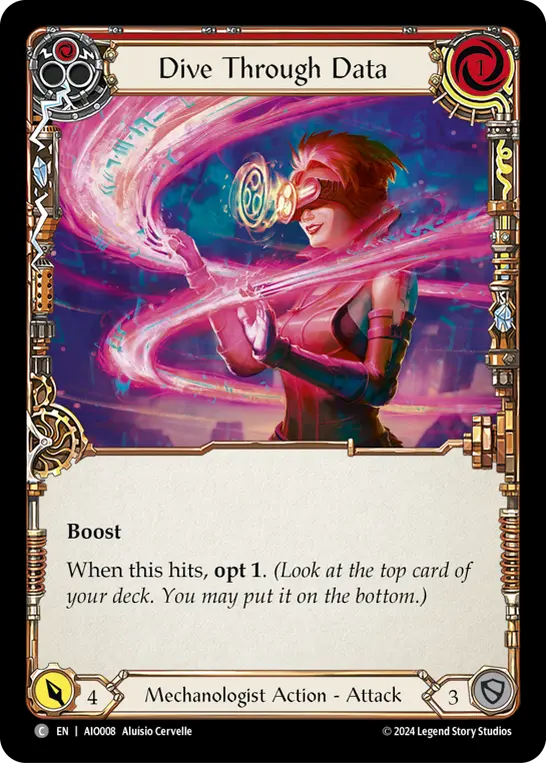
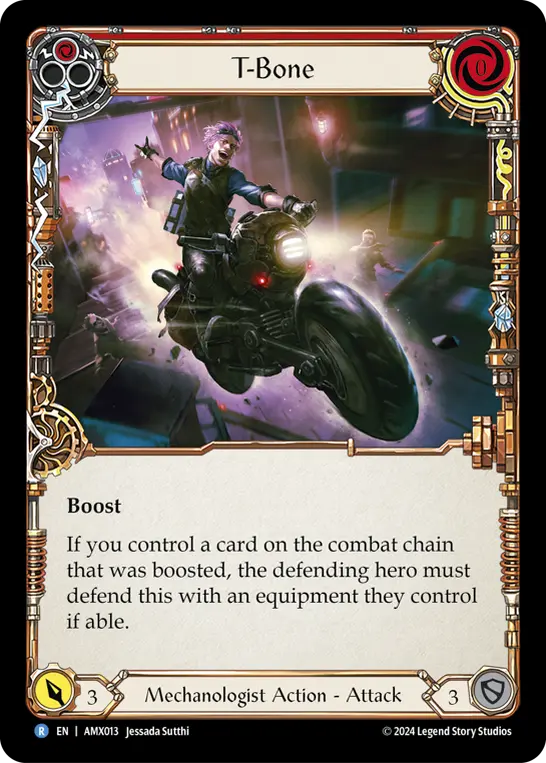
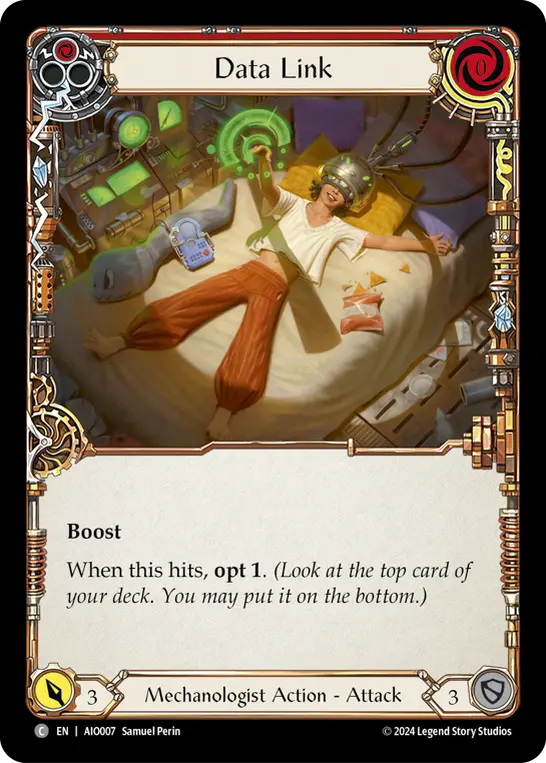
Another staple of Dash has long been T-Bone. This card forces the opponents to block with equipment. In a best-case scenario, you are forcing the blade break or temper of a valuable equipment. Expedite is a 0-cost 3 that allows you to place an item from hand into the arena on hit. This can assist with gaining action points if they are crank items and getting them out of hand if they are items without the crank ability. This helps you play a Teklo Core and Pounder in the same turn without gaining an action point. If digging through your deck is important you might look at the cards Dive Through Data or Data Link. These cards opt on hit, and will allow you to search your deck quickly if you are aiming to find items or power cards.
Shutting Them Down
Eventually there will be a point where the game is close to an end. When reaching this point, you need to understand how you will finish off your opponent. If your opponent’s deck is filled with a bunch of 2-block cards, this may not be an arduous task to do; but if you find yourself against a class with copious 3-blocks and defense reactions then you may need to take time to craft an escape plan. This is where knowing the contents of your deck becomes critical. Depending on what's left of your deck, a Maximum Velocity may be an easy thing to shoot for when it becomes available. If you can play 3-4 cards, then crank an item off the top for 2 pistol shots, you may be able to chip away at their remaining health in a few turns.
Be wary of reaching a point where both players are at critical levels in the game where they need to only be hit by one or two attacks to win/lose. As the Dash I/O player, you may have a good number of items still in your deck; these can easily put you on the back foot if you are needing to strip 3 cards from an opponent.
More experienced players may try to turtle up in the beginning, and that’s where rehearsing what you do with your deck pays off. You will want to maintain tempo throughout, but also be aware of what you play - and what it banishes from boosting. If you lose most of your powerful attacks toward the beginning, you will find yourself weaker at an expedited rate. If you are consistently banishing your blue cards, you may find yourself resource starved late game.
If they are being very overprotective of their life and you can do moderate damage, then playing for a setup is a great strategy. Teklo Pounder works wonders here and may add some extra damage throughout the game.
My favorite endgame strategy is usually accomplished by pitch stacking. I try to incorporate Convection Amplifiers in my list if I know the game will become very defensive for the opponent. To close the game, I will try to have a healthy number of items in the discard. Then I will use Hyper Scrapper to come in for 15ish dominated - with one or two Boom Grenades behind it, if possible. This strategy usually works well if the opponent has around 12 or less life left.
Outside of those parameters, it can be extremely hard to close - so make sure you have that plan in place when designing your deck and rehearsing your strategy!
Variables
There are few heroes that need a specific matchup plan. As an aggressive deck, sending damage is your first priority - but there are a few circumstances that should cause you to reconfigure. Considerable amounts of armor block, paired with a high rate of 3-blocks is one such circumstance. Runeblades, Warriors, and Guardians are all classes that come to mind. Cards such as Out Pace, Fender Bender, Lay Waste, and Panel Beater are all great here. Teklo Pounder also shines in these matchups, since the heroes play slow enough to warrant it hitting the field. The goal is to provide enough damage per turn where the opponent is blocking and not actively trying to disrupt us from our turn.
The biggest threat to strip cards from Dash I/O is Assassin. Even cards that just take the top of the deck can slowly add up. Bonds of Agony can provide a significant threat, as Dash I/O runs multiple copies of most cards in her deck. Having a red or blue Zero to Sixty peeled from our hand, then losing 2 red copies from deck, is a significant loss. There is some play around Persuasive Prognosis - Dash I/O can easily see the top card of her deck, which gives us some knowledge about what the outcome of the hit will be.
With Kano, I recommend bringing in Arcane Barrier 4 - but in practice, using only AB3 unless the situation calls for it. The reason for AB4 is that you might come to a situation where using your boots or Viziertronic Model i becomes important for you to push the game state. If you are constantly pitching to AB4, you will have 2 cards left on your turn - allowing the Kano to have a much easier time to combo.
Though we already spoke on Guardian, one needs a special mention. Jarl can significantly slow down Dash I/O’s gameplan. There is a significant need to be mindful of each attack and our equipment on the table. Once equipment is lost and frostbites start accruing, you will feel extremely limited as to what you can do as a player. Try to make Pulsewave Harpoon turns count by swiping any disruption they may have and ensure you can survive a Blizzard being played to disrupt your turn. A lot of their constricting cards will be 2-block and Elemental, so prepare to make them regret including those!
Verified Users
Before we wrap up, let's look at a Dash I/O from Calling: Portland, Thaminda Edirisooriya managed to reach Top 8 with Dash I/O. His list can be found on FABrary here. Thaminda recently did an interview with The Teklo Foundry here and shared some great insights into his list.
There were some crucial pieces of information that Thaminda shared during his conversation with Teklo Foundry. He found as a weapon Hanabi Blaster was much better in a deck with Cerebellum Processor. Cerebellum Processor can put a full stop your turn, so the pistol can be missed many turns, and the value can easily be easily under-utilized.

If we were to look at his list, we can see that many of the cards in his list are boost cards. Thaminda actually has less items in his list than many current Dash I/O players I’ve worked with and spoken to. During the interview, he questioned the purpose of Bios Update over another attack or item. Bios Update does provide excellent value if you have a Cerebellum on the field or if you are running Symbiosis Shot, but I can see a questionable lack of value with Hanabi Blaster.
I believe the most critical point that Thaminda made correctly was that he had a plan of how his list would perform against a lot of the field. He focused on Runeblade and Zen, stressing that T-bone was important to snipe equipment and make them weaker to Heist and Boom Grenade on-hits. Much of Dash I/O’s kit has generic value with little on hits, and consequently much of Thaminda’s list focuses on cards with high value. Throttle, Zipper Hit, and Zero to Sixty are all cards that have a respectable power for their cost. He does include Out Pace, but any of these cards with generic value can be swapped out for cards with utility that feeds your deck's needs. He does have Under Loop in the sideboard, stating that players will commit equipment or more cards to block the breakpoint, especially if they want to keep fatigue on the table.
/Article
At this moment, Dash I/O is an aggressive deck with tools for multiple matchups. She has a complete wall of armor blocks if played correctly, but can also fire off like a glass cannon. The ability to have a combo turn that Sam Sutherland displayed at Worlds is still there, but it takes a lot more effort to set up and execute with the lack of High Octane. There is still some success to be had with it in the Living Legend format, but her pilots have displayed an abundance of innovation just as she herself is depicted to have. Since the beginning of Dash’s time on the scene, she has consistently revised her decks with new tech to stay relevant.
The newest tech? At Calling: Memphis, we saw The Hunted's Null Time Zone already having an influence. Aaron Cutbirth on Dash I/O managed to play Null Time Zone in a stream match against Jordan Long on Zen during Round 7 of Day 1. With Null Time Zone, Aaron named Inner Chi - severely crippling Jordan from playing Zen as intended. I see Null Time Zone as a new way to look at matchups by preventing debilitating cards from attacking us. Bonds of Agony, Inner Chi, Bloodrush Bellow, Codex of Frailty, Command and Conquer, Erase Face, and many more stand on a short list of targets you may use to turn your opponents' best options into cards not even fit to share space with Titanium Baubles. While it's still early, this card looks to have a bright future.
Do not be afraid to try something new with this hero, and I hope you can go far with this. See you at the table!