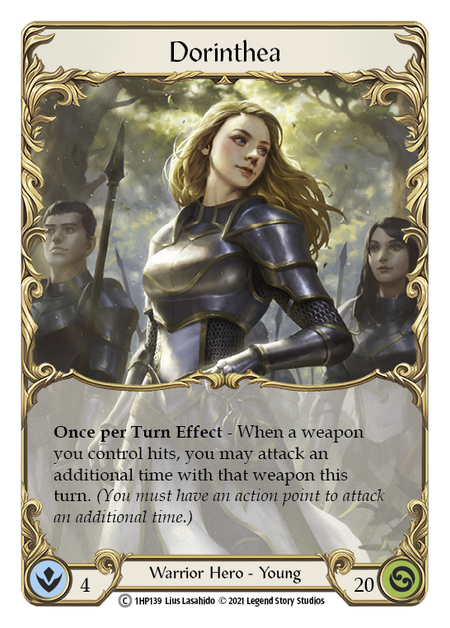
The inaugural Skirmish season has seen a pair of heroes experience the most success, with Tall Dorinthea and the ever present Ira in her various forms proving to be staples of the top tables. These decks are very consistent, capable of attacking for large amounts of damage each turn while also playing solid defense due to running few cards that don't block for 3. Additionally, Dorinthea gets to run the best defensive armor set in the game, while Ira leans on Flik Flak and other defense reactions to blunt opposing attacks.

With Ira and Dorinthea saying "You must be this tall to ride" to the current blitz format, the other decks finding success this season have tended to take a different approach. Claw Brute and Kano players are looking to deliver a couple overwhelmingly powerful turns to burst down their opponents before they succumb to the flurry of Kodachis and Dawnblades. Many Viserai players have gone in the other direction, looking to play defensively until delivering a single, lethal blow. This archetype has a good matchup against Ira, but tends to struggle against Brutes who Intimidate away their defense reactions and Wizards who ignore them altogether.
For those who don't enjoy such polarized matchups or just plain want to attack more, let me introduce you to Viserai Midrange.
The Path Less Travelled
Viserai Midrange is an archetype I've been working on since before the Skirmish season began, refining it over many Armory events at my LGS. I piloted it to a Top 8 finish in the Gamers' Haven Skirmish on the first weekend of the season, playing against nothing but Ninja and Warrior opponents. Since then, the archetype has also seen success in the hands of Christian Franco, who took down the Mighty Games Skirmish in France with a version of the deck originally found in my Runeblade 101 article.
This version of Viserai is proactive, hoping to attack fairly often to tax our opponent's hand (or health) while simultaneously looking to set up some larger turns via Arknight Ascendancy coupled with Sloggism or Oath of the Arknight.
The Runecrafted Armory

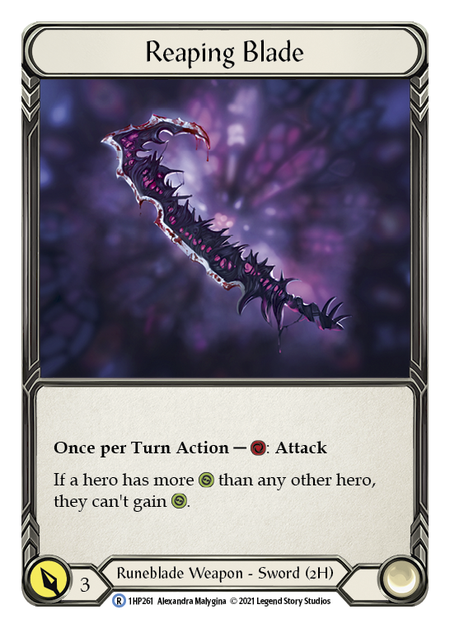
Reaping Blade is the weapon of choice for this deck. We rarely attack with our weapon until the late game, since it doesn't leave us with any Runechants for the following turn. The more important aspect is the passive anti-healing ability. Sigil of Solace is a very popular card in Blitz, so it's a win for us any time we can make it awkward for our opponents to have Sigil in hand. Nebula Blade could be used in a variant of this deck aiming to go wider, but it generally stays on the sidelines. If we ever become more hard pressed for inventory slots, Nebula Blade will be the first to go.

This is my preferred equipment loadout vs. any class without Arcane damage.
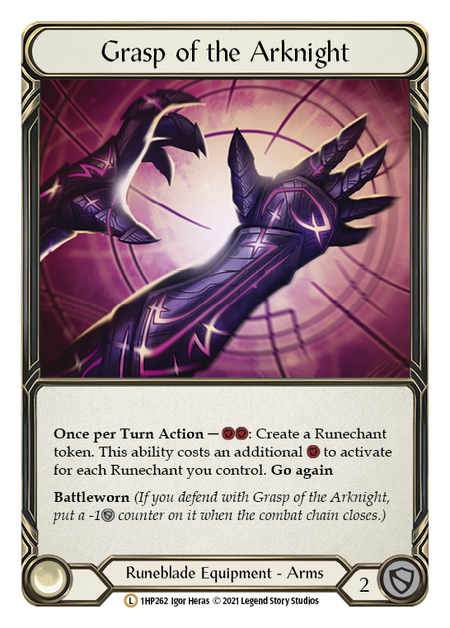
Runeblade has one of the best defensive armor sets, in line with Guardian and outclassed only by Warrior. Since we're trying to set up big plays, the ability to block as much as 6 damage on a single turn without using any cards from hand is invaluable. Grasp of the Arknight plays a key role in assuring we've always got Runechants at the ready. When we go first, it allows us to mulligan cards we don't want to see yet while making sure our Reduce to Runechants are live as early as possible.
While Grasp of the Arknight is good, Bloodsheath Skelata is the best equipment Runeblade has to offer. It blocks well before a big turn, and then can be cashed in for the equivalent of up to 6 resources! Sloggism is a helluva card when it's free. Skelata can also be used in conjunction with Rattle Bones for a devastating follow up to an Arknight Ascendancy.
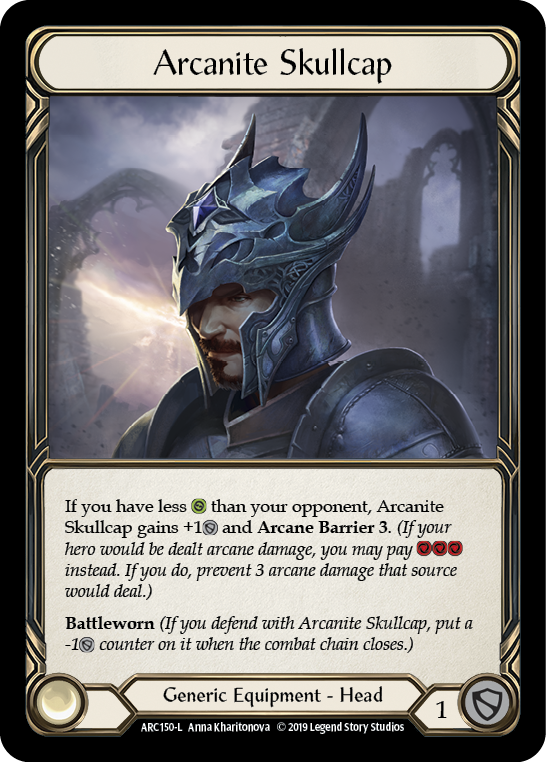
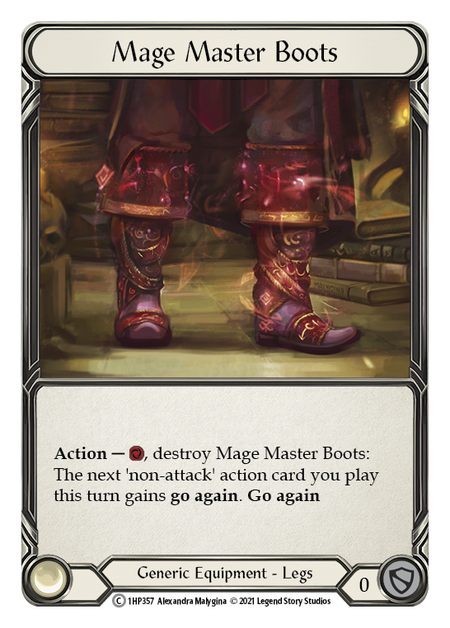
Arcanite Skullcap is simply a shinier Ironrot Helm for us. Against Ira and Dorinthea, it's easy to get the full 3 defense out of it, and you'll generally want to save it to prevent on-hit triggers (*cough* Command and Conquer *cough*) or to block without triggering Reprise. Mage Master Boots are the slot most easily replaced, but they do work well with Read the Runes to surprise discount some of our attacks, and they are vital if you're determined to run a Tome of Fyendal (which I currently don't). If you find you're still just under too much pressure, feel free to switch them out for Ironrot Legs.
Bloodsheath Skelata is the best equipment Runeblade has to offer.
Our anti-magic lineup is pretty straightforward. We want at least Arcane Barrier 3 against Wizard, since we run a decent amount of Blues, but our best weapon against Wizard is aggression. Because of that, Skelata stays in. On key turns when you're both low, Skelata allows you to be aggressive while still keeping cards in your hand to defend their arcane damage. Since against Runeblade you only need Arcane Barrier 1, I run Crown of Dichotomy if I think my opponent is on OTK (since Mage Master Boots can help you have more explosive turns) and Nullrune Boots if I think they're mirroring me (blocking opponents' Ascendency turns is key).
Whispers to Guide You
Cards and decks don't exist in a vacuum, so the following are the general rules I followed when designing the deck. Some are to help us compete with the common meta decks, and others are for helping us take full advantage of our Runeblade synergies.
- All our cards should be able to block. Ira, Dorinthea, Kassai, and Rhinar are all great at making you feel silly for running cards that can't block or don't block well. That is why we're running zero cards that can't block, and why there are a few less 2 defense cards than previous iterations. We adapt or we die.
- All our attacks should allow us to end our turn with Runechants in play. Reduce to Runechant is a great card, but only when it's free. 11 of our 40 cards have their cost reduced via Runechants which make them vital to our deck maintaining velocity.
- Make up for consistency issues via deckbuilding as much as possible. Runeblade does not inherently have the level of consistency found in most Ira and Dorinthea decks, so we try and make up for some of that with deckbuilding decisions. This is best represented in the pitch selection for our suite of buffs as we aimed to minimize the frequency with which we're stuck with unplayable cards in hand.
Runeblood Recipe
- (2) Amplify the Arknight (red)
- (2) Arknight Ascendancy (red)
- (2) Mordred Tide (red)
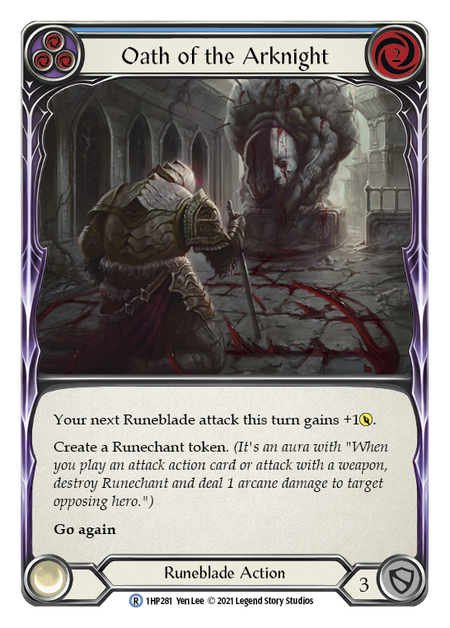
- (2) Oath of the Arknight (red)
- (2) Rattle Bones (red)
- (2) Read the Runes (red)
- (2) Reduce to Runechant (red)
- (2) Spellblade Assault (red)
- (1) Amplify the Arknight (yellow)
- (1) Mauvrion Skies (yellow)
- (2) Pummel (yellow)
- (1) Read the Runes (yellow)
- (2) Reduce to Runechant (yellow)
- (1) Sloggism (yellow)
- (2) Spellblade Assault (yellow)
- (2) Amplify the Arknight (blue)
- (2) Become the Arknight (blue)
- (2) Dread Triptych (blue)
- (2) Mauvrion Skies (blue)
- (2) Oath of the Arknight (blue)
- (2) Sloggism (blue)
- (2) Spellblade Assault (blue)
View this deck on FaB DB.
(Note: this is my live deck, so it may not match the text above if I make changes to the list.)
The Heavy Hitters

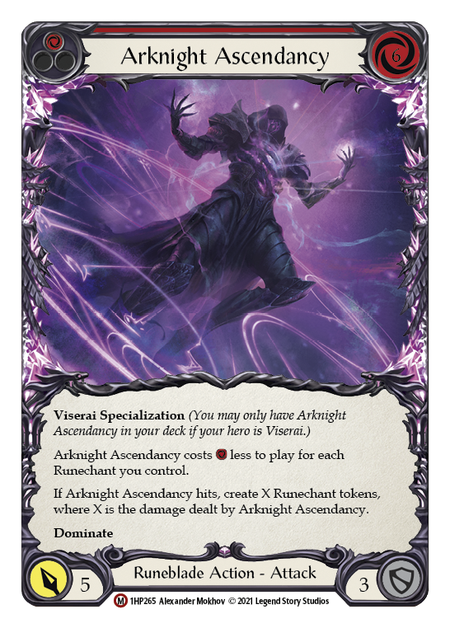
Arknight Ascendancy is one of the main reasons to play this deck, and you will hear it mentioned many times throughout the rest of this article. Paired with one or more of our buffs, we're attacking for at least 8 with Dominate without even accounting for Runechants. Ascendancy turns are a very big deal for this deck, usually drawing at least some armor blocks against Warrior and causing Ninja players to make some hard choices regarding their equipment. Keep in mind that the discount from Bloodsheath Skelata stacks with Ascendancy's own discount, so just 3 Runechants in play can threaten a very big turn.
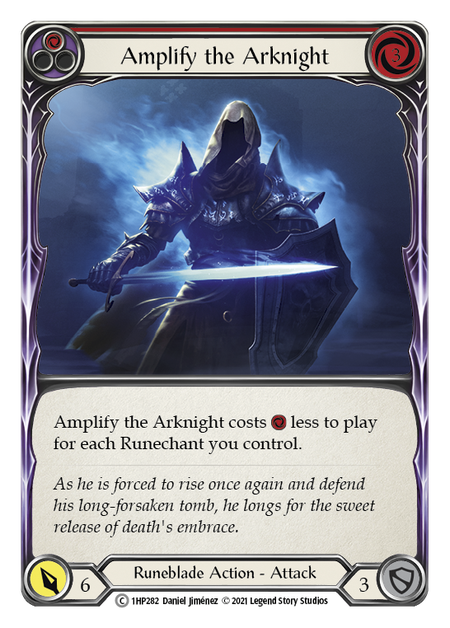
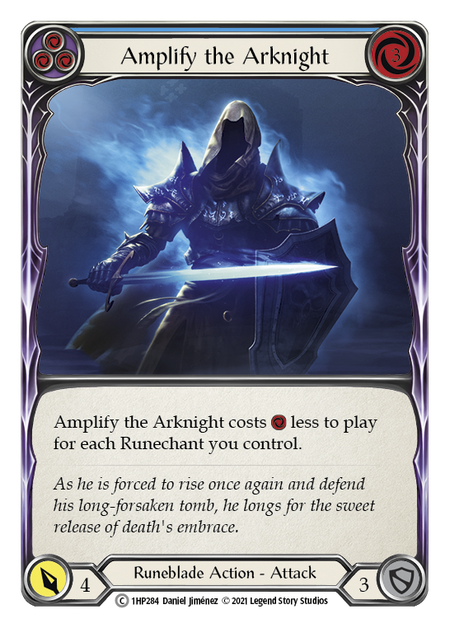
Amplify the Arknight is our next biggest attack action, and its discount ability makes it a force to be reckoned with while requiring very little setup.
The Buffs
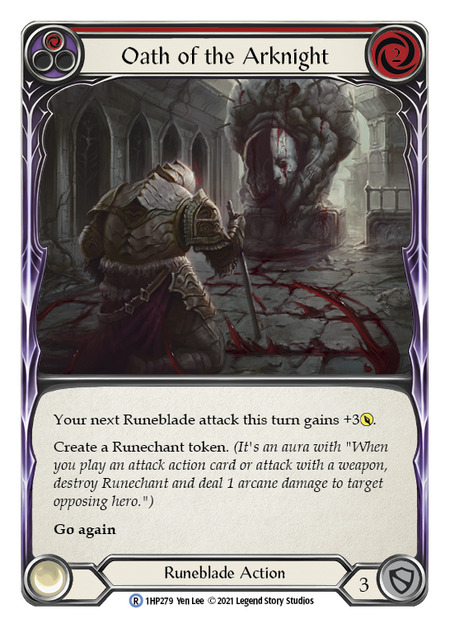


What you see is what you get. We're looking to use these spells to make some large attacks. Oath of the Arknight is great because it often refunds you a resource when you follow up with one of our aforementioned heavy hitters. Notably, since it's a Runeblade card, it can be tutored via Become the Arknight, so we run both Red copies to keep that option open as often as possible.
Pummel helps us play defense thru offense, while also forcing damage through. Ascendancy is easily the best target for our Pummels, as they often can't block with their whole hand anyway, but don't keep it stuck in your arsenal too long as you try to set up that combo.
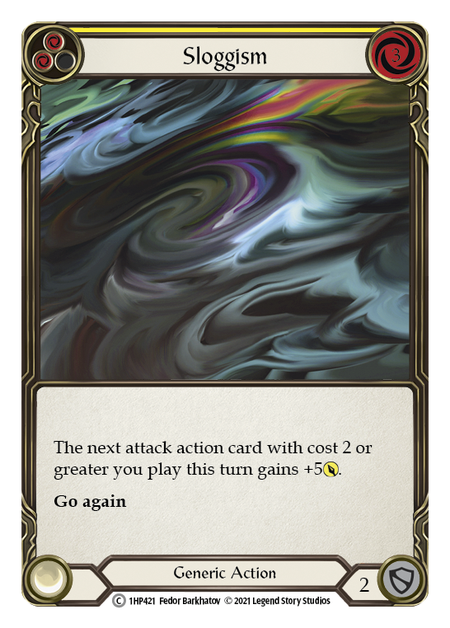
Sloggisms are the perfect lead in to most of our attacks, but you'll want to make sure these end up paired with Ascendancy as often as possible. The pitch selection for our Pummels and Sloggisms are to ensure we don't end up stuck with unplayable buffs in hand. When you find yourself holding two Sloggisms, a Sloggism and a Pummel, or both Pummels, these buffs can always pay for each other.
Go-Wide Enablers

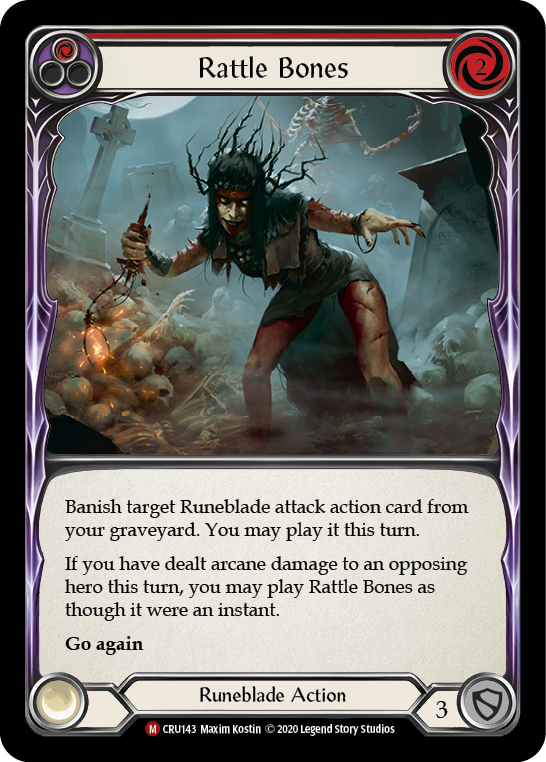
Rattle Bones is often part of our biggest turns, as its instant speed clause can let us have a surprise Go Again that our opponent may not be prepared for. Take this example:
- Sloggism into Arknight Ascendancy, dealing at least 2 damage and 1 arcane damage.
- Close the chain.
- Break Skelata.
- Rattle Bones for free at instant speed to play the same Arknight Ascendancy we just played.
Your opponent may be prepared to stop one Arknight Ascendancy, but usually they are not able to stop two in the same turn.
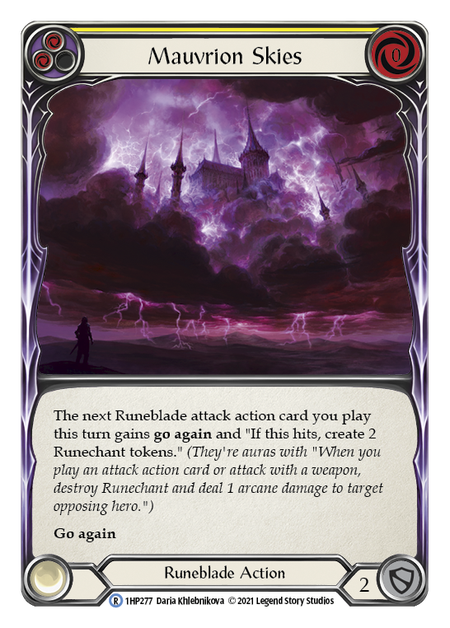
Mauvrion Skies is more of a role player in the Go Wide category, but it's nice to have the option. Playing Mauvrion Skies, Spellblade Assault, and following up with an Amplify the Arknight is a lot of damage potential.
Role Players


Mordred Tide is arguably the best card to see early, as it enables some of our most powerful turns. It works best in conjunction with Read the Runes, Spellblade Assault, or Dread Triptych to generate insane amounts of Runechants, or to have an Ascendancy turn out of nowhere by playing Mordred Tide into Oath of the Arknight plus Arknight Ascendancy.
Read the Runes is fantastic on rate, letting us block aggressively and still have a productive turn. Plus it can combo with Mage Master Boots for a surprise burst of power.
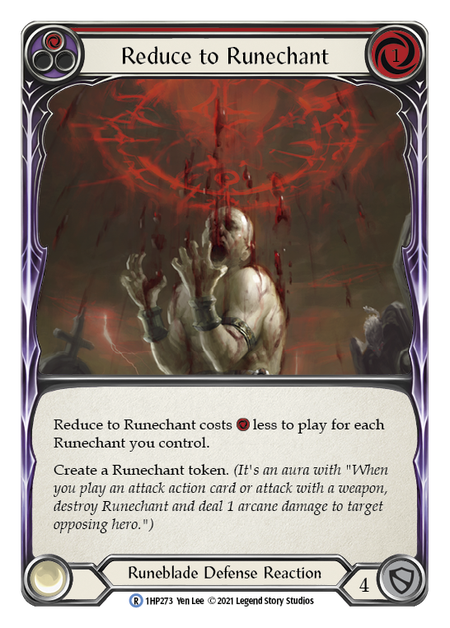
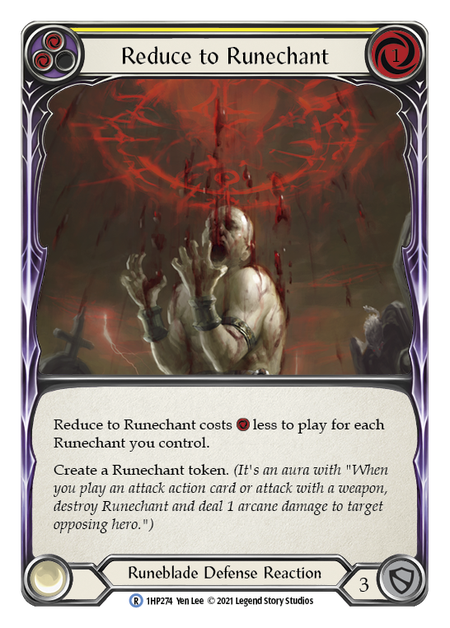
Reduce to Runechant is a very necessary card in the Ninja/Warrior meta we find ourselves in. These cards help get you off your back foot by absorbing damage while still building up your Runechant count.

Spellblade Assault is an innocuous looking card, but it has continued to overperform for me, which is why we're running the whole complement of them. Mordred Tide into any of these attacks will leave us with at least 5 Runechants while either taxing our opponent's hand or getting in for some chip damage. They work with our entire suite of buff spells, and they block for 3 as needed.
Pitch/Block/Supporting Cast

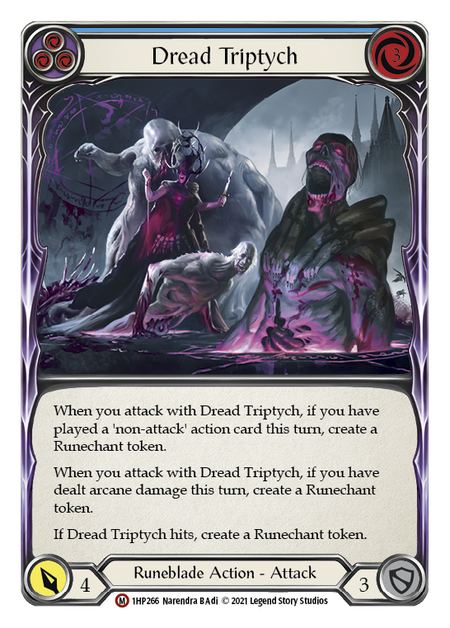
Dread Triptych pitches for 3, blocks for 3, attacks for 4 which is good for its on-hit effect, and forms an insane combo with Mordred Tide (have you noticed the trend yet? Mordred Tide is incredible.)
Become the Arknight is a great role player for us by increasing our ability to find our best cards. The most common targets I search are Arknight Ascendancy, Mordred Tide, and Red Oath of the Arknight.
Blue Oath and Blue Amplify round out the list as two more cards that pitch and block for 3 while also being Runeblade cards for our passive ability. They're also respectable plays in the very late game.
Cards We Could Be Playing, But Aren't
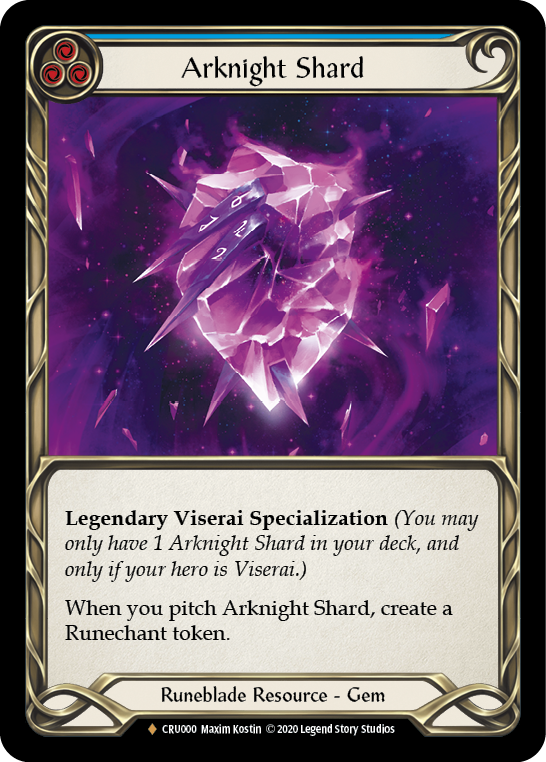


These cards all violate rule number one of all our cards needing to block. Arknight Shard and Gorganian Tome should find homes in a Classic Constructed Runeblade deck. Energy Potion is great for threatening Pummels, and while some other pilots of the deck do play it, I haven't found it to be a necessary inclusion.

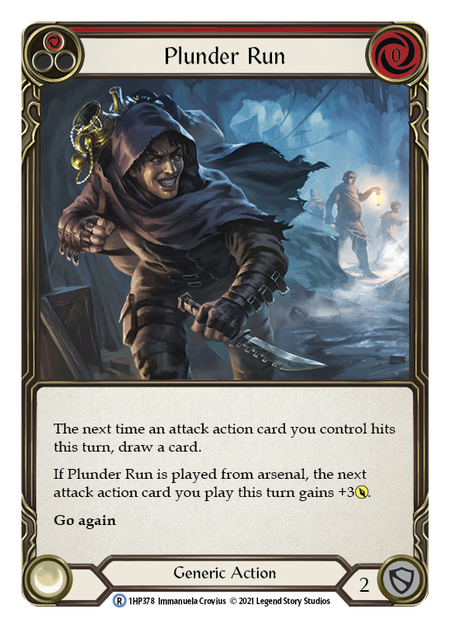
Red Oath of the Arknight got the nod over Come to Fight since we can search for it with Become the Arknight on an Ascendancy turn. Plunder Run only blocks for two and needs to be played from arsenal in order to get the damage buff- which is the part we're more interested in for Blitz. We already have plenty of cards we're trying to cobble together via our arsenal, so this one doesn't make the cut.
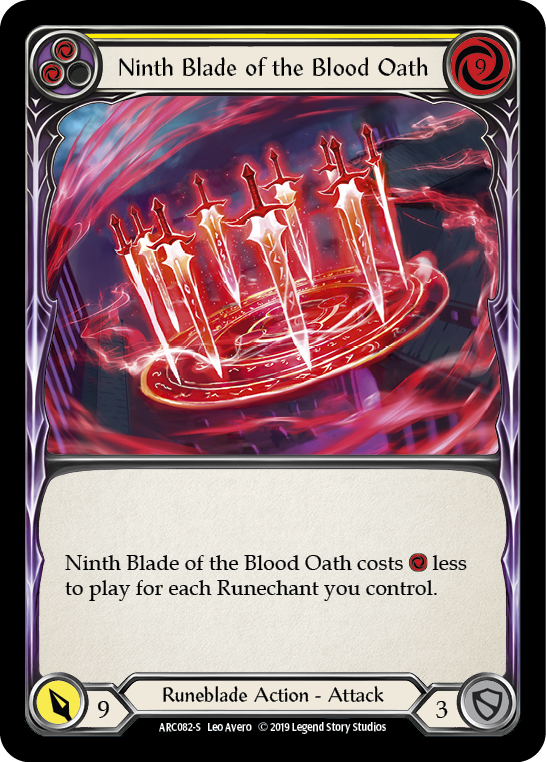
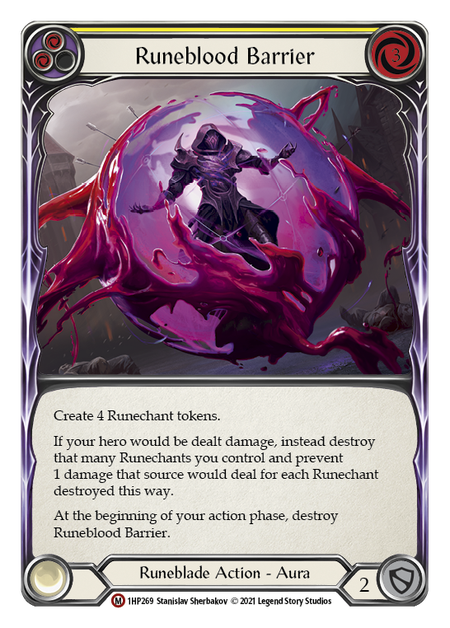
I experimented with Runeblood Barrier a bit and found that playing it basically locks you into blocking heavily for the next turn cycle, since we don't actually want to lose any Runechants. Ninth Blade of the Blood Oath is also pricy, and with our deck wanting to attack fairly frequently, we don't usually reach the Runechant levels necessary to make it free. Save these for the OTK players.
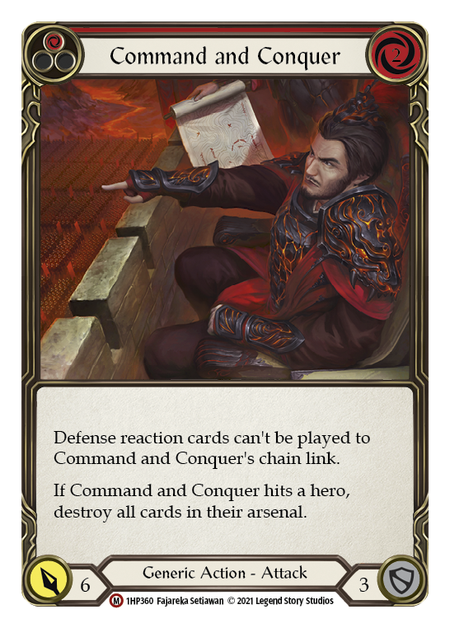
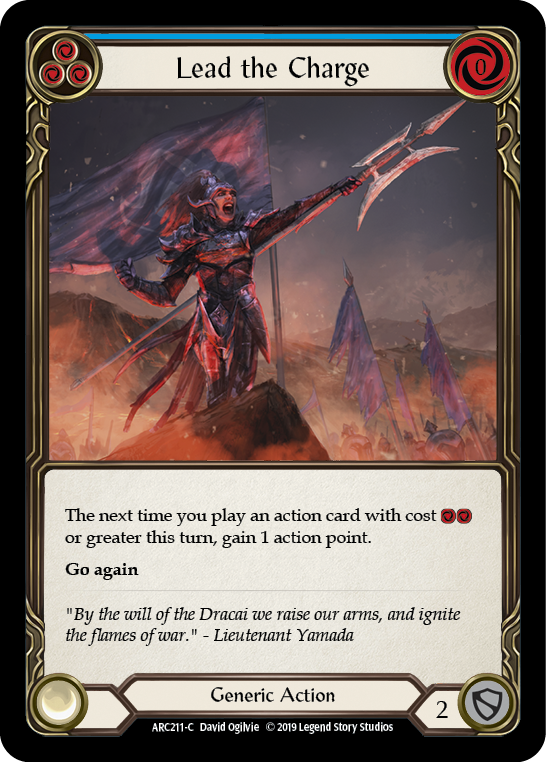
Command and Conquer is obviously powerful, but it not being a Runeblade card can be extremely punishing both for Runechant generating purposes and the fact that neither Oath of the Arknight nor Mauvrion Skies work with it. Lead the Charge does a decent Mauvrion Skies impression and works with Command and Conquer, but increasing the number of generic cards we play takes a toll on the Runeblade synergies.
Play Patterns and Strategy
First things first, you always want to go first. Having a free turn to set up is invaluable. It allows you to effectively mulligan cards you don't want via Grasp of the Arknight, generate as many Runechants as you can with zero pressure, and be the first person to arsenal. Going first also lets you take maximum advantage of the best opening hands that Runeblade has to offer: a turn one Mordred Tide into Read the Runes is the start of a lot of wins for Viserai.
While this deck is not going to be quite as consistent as Ira or Dorinthea, the way we plan to win games is by overpowering our opponents on a few big turns. With proper setup, this deck is capable of immensely powerful plays as early as turn 2.
A turn one Mordred Tide into Read the Runes is the start of a lot of wins for Viserai.
Just playing in Skirmishes, I've attacked an Ira with a Sloggism-powered Arknight Ascendancy plus Pummel on my second turn, all but ending the game there. Playing against Benji in another Skirmish, I hit for 30 damage and they were dead before they got to take a second turn. They blocked with every card and piece of armor they could and it wasn't enough. For those interested, it went like this:
- Turn 1: Mordred Tide -> Read the Runes -> arsenal a Red Reduce to Runechant (4th card in hand is Red Amplify)
- Opp Turn 1: I block with Skelata and use Reduce from arsenal
- Turn 2: break Skelata -> Blue Sloggism -> Yellow Mauvrion Skies ->Arknight Ascendancy (4 RC's hit, AA hit for 4 which left me with 7 Runechants) -> Red Amplify for 6 + 7 RC's
But while the highs can be very high, the lows can be low, and most of your games aren't going to start off so perfectly. This is where the real work starts. It's important to evaluate whether attacking is worth it or not at any given time. Sometimes you'll just get clunky hands and it's important to not be afraid to just throw them in front of some attacks and start over. Blocking heavily and playing Read the Runes is a good turn! Similarly, sometimes a value attack with a buffed Spellblade Assault is the way to go, even if it feels a bit odd to pump a vanilla attack. At worst it leaves you with 3 Runechants, which is a great amount to have.
Not all Runechant amounts are created equal.
• 1 Runechant: Massively important for keeping our Reduce to Runechants free. One is also great because it will very often connect for damage (unless your opponent suspects an impending Rattle Bones). The reason it will usually connect is the same reason you generally don't block the first Kodachi for 1 until you're forced to in the late game. With most cards having a defense value of 3, spending an entire card to block 1 damage is not an efficient use of resources.
• 2 Runechants: This is where it starts to become more worth it to pitch for Arcane Barrier just to block damage, for the same reason that people are more likely to block the Kodachi for 2 before they're forced to.
• 3 Runechants: Here we unlock our most powerful turns, as it lets us get maximum value out of breaking Bloodsheath Skelata (ironically this is the amount of Runechants most likely to be "blocked" by opponents).
• 4 Runechants: This number is important if your priority is connecting with arcane damage for Rattle Bones and Dread Triptych.
• 6 Runechants: The last significant breakpoint for Runechants, as this is the point where our Ascendancies become free. Anytime you can make a big Ascendancy attack without needing to use Skelata is a good turn.
A lot of this decks most powerful plays revolve around Arknight Ascendancy (for good reason, as the card is undeniably strong), but this deck's strongest turns generally involve more than just Viserai's specialized attack. Bloodsheath Skelata and Rattle Bones, often in conjunction with Ascendancy and/or one another, can take our best turns and make them even deadlier. Sloggism, Ascendancy, break Skelata, Rattle Bones, Ascendancy again is pretty close to the dream, but you need to choose your moment carefully. Once the threat of your Skelata is gone, the game can become a bit harder to close.
Sloggism, Ascendancy, break Skelata, Rattle Bones, Ascendancy again is pretty close to the dream, but you need to choose your moment carefully.
One thing this deck can struggle with is playing from behind, which incidentally is exactly the situation in which Ira and Dorinthea are most punishing. Usually the key to getting out from under them involves good blocking and some well-timed Reduce to Runechants, but there are ways to regain the initiative on offense as well, provided we have some health or armor to work with and some number of Runechants in play. Mordred Tide into Dread Triptych immediately gives you 4 Runechants, plus two more for each type of damage that goes through. If arcane damage hits and you have Skelata and a Rattle Bones available, you can break Skelata, play Rattle Bones and that same Dread Triptych again, for free. That's anywhere from 14 to 18 Runechants generated (6-8 of them will stick around for later), not to mention attacking for at least 15 damage, all in a single turn.
Viserai Midrange is a strong deck with fairly close matchups across the board. At our best I don't know if there is a deck that can withstand our onslaught, but getting the various elements to come together during the game can be challenging. Every game will be a puzzle with a multitude of moving parts, but if you're looking for something powerful and different to bring to your next Skirmish, give this Viserai build a try!