This is a republishing of an article that first appeared on FABDB in October 2020. Hayden Dale is the winner of the 2019 Calling in Sydney. Originally from New Zealand, he now calls Australia home. Instantly hooked by the game, Hayden has a huge interest in the competitive side of Flesh and Blood. You can find him on Facebook under Hayden Dale, or over on Instagram @gaming_instyle .
Previously...
Ranger has proven a difficult class for many to get their head around, and if the meta is any clue than she is certainly a tough nut to crack. Hayden Dale walks us through his journey with the infamous Ranger, sharing insights and advice on this hero requiring finesse.
by: Hayden Dale
For three weeks I’d been playing Azalea non-stop in Classic Constructed, learning as much as possible about this oft-maligned hero. I left off last time with an initial build for an Azalea concept focused primarily on the synergy between her hero ability and Death Dealer, with an eye toward targeting the Mechanolgist and Brute matchups. So far I have had some really positive results- which was, I won't lie, a bit of a surprise to me. I had been pretty underwhelmed by the class in general and thought it would probably take most of this series for me to find a list that was competitive.
In Part Two, I want to share some of my learning thus far on Azalea, my observations about the class itself, playstyle and play patterns, card selection, game plans, and also touch briefly on a couple of matchups.
With the focus on Dash and Rhinar, I had started by getting as many games as possible in against these heroes. The Warrior matchup is something I am also very interested in; I think Ranger traditionally has a bad matchup here, so that's been one I have actively tested in these first few weeks as well. In terms of how the testing has gone, overall I’ve been sitting on a 75% win rate with the initial list, with some changing of cards for testing as I have gone. I’ve managed to get in just over 30 games with the deck so far and I will share some of the matchup specific insights a bit later on.
You'll find the week 1 decklist here, if you want to refer back to it.
Initial Results & Learning
I learned a lot about the play patterns of this hero, the best ways to craft a plan over the course of a game, and how to get the most out of key cards.
First, I learned the importance of setting the deck up for the end game so that I have a high density of Take Aims, arrows (preferably zero cost or Head Shot) and a Rapid Fire or two. To craft this end game, I tried to deploy all of my generic attack actions early in the game, pitching the desirable Take Aims, arrows, and Rapid Fires to the bottom. The deck would end up pretty thin, but I was finishing off a lot of games with back to back big attacks: the first to force out a defense reaction from arsenal and leak a bit of damage, the second the killer blow, involving one, two, or even (on a couple of occasions) three Take Aims into a dominated arrow from Azalea’s ability to close the game.
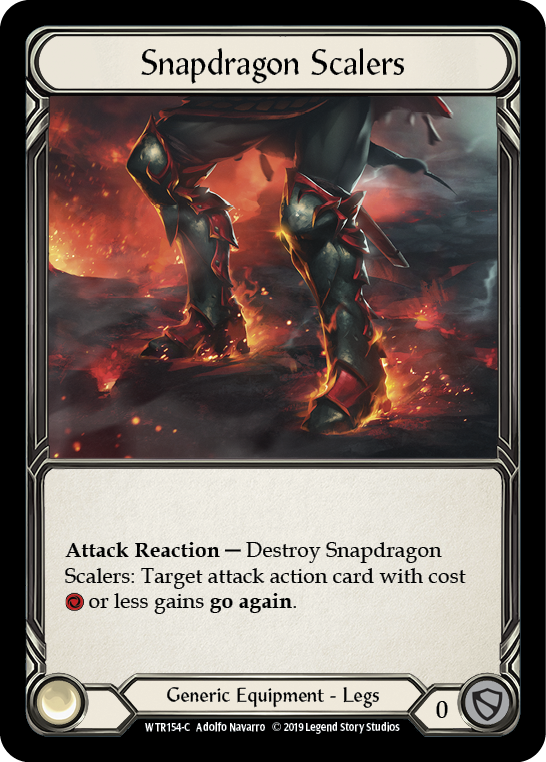
Don’t be afraid to use the Snapdragon Scalers early. One of the most common play errors I observe in this game is players using their equipment far too early and without an understanding of the advantage they lose from not having the threat of activation. So this goes against advice I would usually give; however, in this deck, Snapdragon Scalers act a bit like an insurance policy to give you Go Again on 5-card hands that don’t present you one of the inbuilt ways to do so. It is generally more important to keep pressure on with this deck- and pop the Scalers early if you need to- than let your opponent turn the tempo of the game.
My third big learning so far for playing Azalea: manage your cards! In this deck more than most, the specific combination of cards in your deck are your most important resource. What I mean by this is: as you go through any game, it is going to be important to have specific arrows and/or specific non-arrow cards still in deck. Cards like Razor Reflex, Take Aim, Rapid Fire, and Flock of the Feather Walkers can all be crucial depending on your opponent. It is crucial you know what is left in the deck and approximately where these cards are from your pitching. There are a couple of reasons for this.
- Because of Death Dealer, you will be going through more cards per turn than almost any other deck in the format. You will fatigue easily if you don’t manage your deck, and you will cycle through your deck multiple times, more than likely.
- Each arrow does a specific job, so you want to know which arrow effect you are setting up and playing toward as the game progresses.
- You deal damage to your opponent and keep tempo by having specific four- and five-card hands. Not all your cards are interchangeable, so if you end up with a high density of arrows late and no Take Aim or Rapid Fire because you used them all aggressively early into your opponents defense reactions, you are going to be in trouble.
Card Swaps
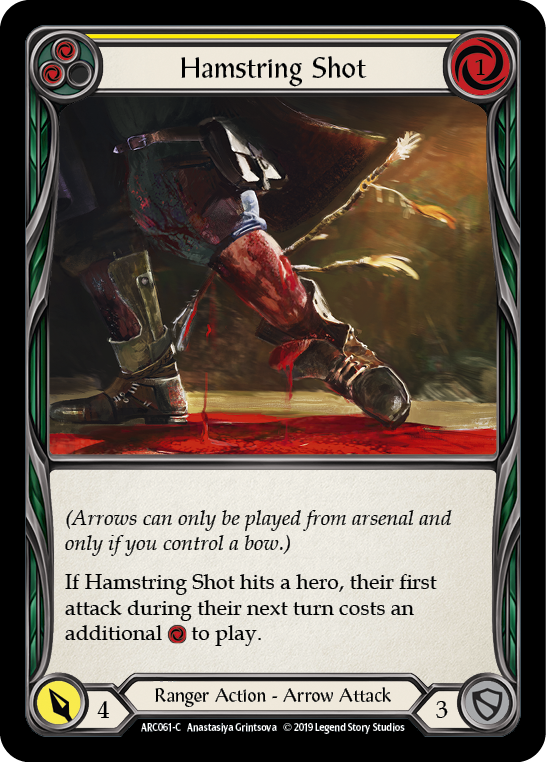
The first changes to the list came quite quickly with me cutting blue cards four and five, the Ridge Rider Shots. Every time I drew these cards I was pretty unhappy, with the rare exception of turns where I needed the resources. My immediate thought was that these should be yellow arrows that can still be valuable late game, as I was finding unless it was an Art of War turn I didn’t need them to be blue. I traded them out for two yellow Hamstring Shots.
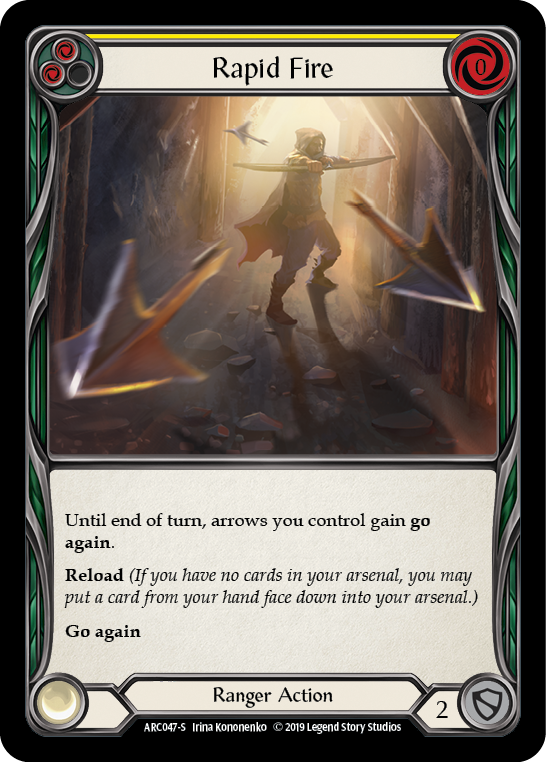
The next change in the list was to cut the third Three of a Kind for a third Rapid Fire. I had severely underestimated how strong Rapid Fire is: it pitches yellow, has Reload, and allows you to set up turns to push damage off Go Again. It's massive in this 'Go Wide'-favored build. The card is vital to a lot of my later turns of the game, and I often wished I had the third. Three of a Kind felt generally strong, but drawing two often felt punishing- that extra copy wasn't even good for blocking. In addition, I didn’t want to increase the 2-blocks in my deck or reduce my threat count if I could help it. Hence, Three of a Kind was the card to make way- which has the additional benefit of keeping the core pretty much the same, as the third copy of either of these cards would not feature in every matchup.
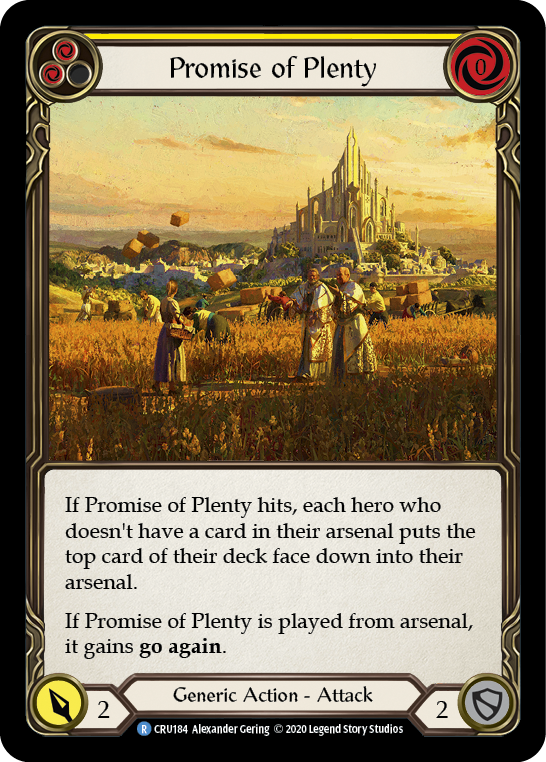
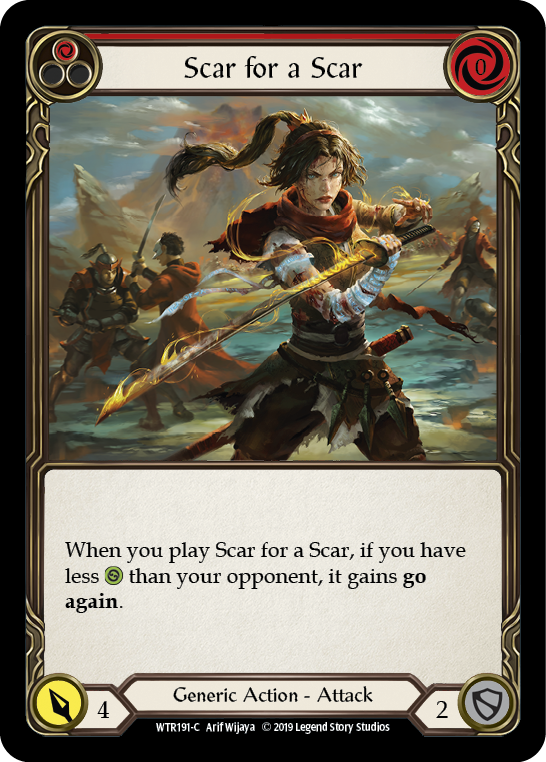
I tested out yellow Promise of Plenty, accompanied by a move to red Scar for a Scar, in place of the two yellow Hamstring Shots and a yellow Sleep Dart. This allowed me to keep the pitch ratios, which were feeling pretty solid, while improving both the Dash and Rhinar matchups with more guaranteed Go Again from Scar for a Scar.
The Current List
Weapons
Equipment
Red
- Eirina's Prayer (3)
- Endless Arrow (3)
- Enlightened Strike (3)
- Flock of the Feather Walkers (3)
- Hamstring Shot (3)
- Head Shot (3)
- Promise of Plenty (3)
- Razor Reflex (3)
- Red in the Ledger (3)
- Remorseless (3)
- Ridge Rider Shot (3)
- Scar for a Scar (2)
- Searing Shot (3)
- Sic ‘Em Shot (3)
- Sleep Dart (3)
- Take Aim (3)
- Take Cover (3)
- Three of a Kind (2)
- Tripwire Trap (3)
Yellow
- Art of War (3)
- Feign Death (3)
- Flock of the Feather Walkers (2)
- Rapid Fire (3)
- Sleep Dart (3)
- Take Aim (3)
Blue
You can view the decklist on FABDB here.
So after two weeks, here is the updated list I am working with. I have gone back to red Promise of Plenty, as the three attack is super relevant to not allow the opponent to blank it with a two defense equipment. (Also, this lets Art of War raise it to 4.) I’m at two copies of red Scar for a Scar for the reasons given earlier, and back to three yellow Sleep Darts. The deck does feel a little light on yellows.
Matchups
So how do I approach some of the key matchups I am most focused on with this build? Below I have shared a brief overview of three key matchups, what cards I am leaving out for these matches, plus any tips I think might not be very obvious. By the end of this series, I will share a full matchup and pre-board guide. For now, let's jump into the targeted matchups.
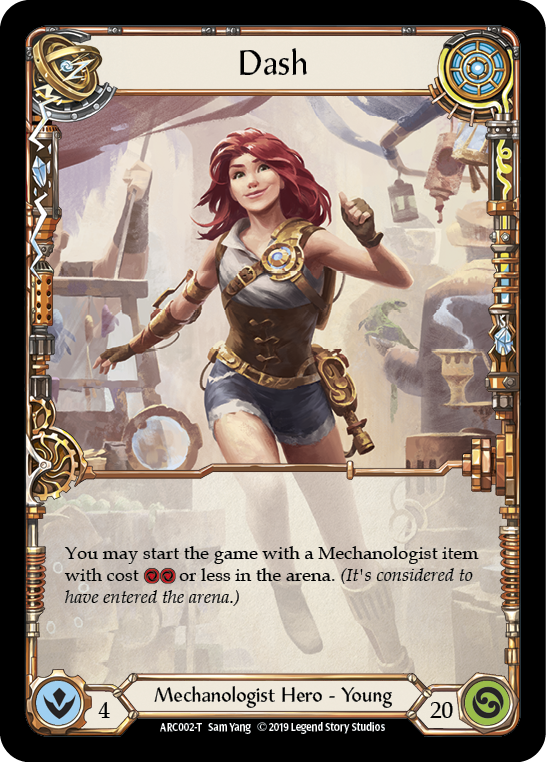
Against Mechanologist, I am leaving all of the defensive cards out (Feign Death, Tripwire Trap, Take Cover, and Eirina’s Prayer), plus the red Sleep Darts as they have no impact on Dash’s hero ability. The gameplan here is to apply pressure from the off and make sure we are getting through damage to punish them early for not blocking fully as they set up Induction Chambers and Plasma Purifiers. We don’t want to throw all of our best cards their way immediately, as we will need some late game for the final push. In fact, Take Aim isn’t super strong in the early game, especially if they have Unmovable. You want to set up Flocks, threaten with 'on hit' effects, and put them in a position where a well timed Razor Reflex can really do some damage. You also want to work toward that late game setup with Take Aims and some Go Again. I would usually pitch Scar for a Scar early, as it is the only generic I am happy to see late here. That is simply because you should be ahead on life early and they will bring it back late, before you look to finish them with two big turns that you have set up. This matchup feels winnable, and I think the focused gameplan of an end game set-up, plus the addition of the Scars to bump the Go Again count, help immensely. It will come down to how well your opponent reacts to the plan and any well timed Unmovables, so keep a close watch on how they utilize their arsenal.
Against Brute, I am again cutting the 12 defensive cards and running a 63-card deck. I think there is an argument to cut straight to 60 and remove three red arrows; however, I’m not exactly sure which arrows I am okay not having in this matchup. Additionally, if your opponent's gameplan involves Tome of Fyendal, a lot of blocking, and chipping with Romping Club, you can actually run out of gas as all their cards block for three (except the Tomes). Running three extra cards of damage can actually be relevant and won’t hurt too much. The reason to play zero of the defensive cards is to ensure you have a five card swing back if the Brute player plays out a big Intimidate turn. Brute is very strong vs. decks that want to block and pick their turns to push damage, or vs. decks that can’t leverage any given four or five cards that they may draw. Thankfully, we don’t really care about blocking in this matchup and we have streamlined our 63 cards to make sure we can swing back hard at the Brute with a full hand!
Basically, all of the arrow 'on hit' effects are great against Rhinar and you win the match by keeping tempo. Your damage comes when they elect not to block to set up a Bloodrush Bellows or multiple Barraging Beatdown turn, or when you get your best five card hands that can go wide enough to guarantee leak. There are quite a few of these hands and they will almost always involve one of Rapid Fire, Art of War, or Razor Reflex. The matchup overall is favored, however it gets worse if you let them away with their big five card hands without having dealt damage in response. Don’t be afraid to block if they give you the chance and your hand can’t guarantee leak damage; setting up a Quicken token or forcing two cards out of their hand on the way back with a Remorseless or Red in the Ledger is fine.
Time for the nine non-arcane defensive cards to shine! Staying in the deck box are three Eirina’s Prayer, three Promise of Plenty, one Art of War, one Rapid Fire, two Yellow Flock of the Feather Walkers, two Scar for a Scar, and three Enlightened Strike. A tight 60 cards, with what is left out being cards that don’t block for three and attacks that the Warrior player can simply ignore. The idea vs. Warrior is really to keep the game as close as possible for the first half, force them to block the arrows that have relevant 'on hit' effects, leverage your defensive cards, and fill the deck back up with the finishers: Take Aim, Rapid Fire, and Art of War. The latter can be a great defensive card in this matchup, so don’t be afraid to use it as such. Realistically, the matchup is still unfavored, but in my experience thus far, with the 9 defensive cards and a tight gameplan to take the tempo late, you can punch through damage, especially on dominated attacks. It's certainly winnable.
What's Next?
I still have a lot of questions still, a few things I want to understand and test out, as well as some matchups to really sink my teeth into. So my efforts will be focused on a few things in the next phase with Azalea…
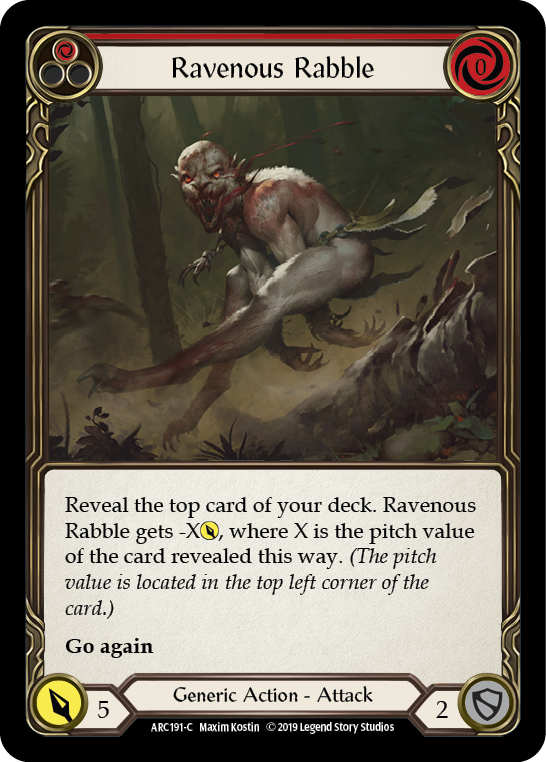
- Should Scar for a Scar be Ravenous Rabble due to the free Opt? Although it feels like every single point of damage in this deck counts and the opt isn’t as relevant until late game when we want to use Azaleas ability, I want to challenge the assumption I have that Scar is just better.
- Can I fit in an extra yellow card or even two, and what would they be? What goes?
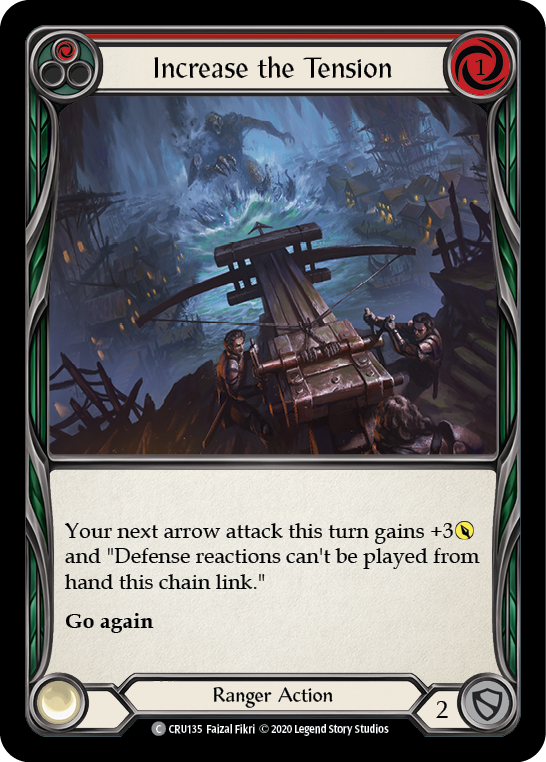
- Are there any matchups where I would actually prefer to ‘go tall’ rather than go wide with cards like Increase the Tension and Come to Fight? If so how would I fit them in?
- Is there an extra, viable end game setup involving Energy Potion and Perch Grapplers?
- How does the Ninja matchup play, and what will my gameplan be?
So there we have it, part two in the books and some interesting learning. I must say I am having a heap of fun with this class and finding the gameplay experience super rewarding so far. If you have any ideas on where to next, perhaps some input on the above questions or even other ideas to be explored in this series, drop a comment and let us know!
Part three of Hayden's Azalea experiment expands the classes she's been tested against and includes a host of fringe card choices to see her across the line, bringing with her a rain of arrows.
by: Hayden Dale